Ikuram KRB-H020B User Manual

Model: KRB-H020B
This carrier has been designed for the transport of bicycle via the use of the rear trailer hitch of your motor vehicle.
KRB-H020B:
84 LBS I 38 KG/SET
Important note:
Please make sure to use within the loading capacity!
IKURAM LIFETIME WARRANTY:
KRB-H020B IF AN IKURAM BIKE RACK IS FOUND TO HAVE A DEFECT IN WORKMANSHIP OR
MATERIAL OVER THE LIFETIME OF THE ORIGINAL PURCHASER, IKURAM WILL
INSTRUCTIONS REPAIR OR REPLACE THE RACK FREE OF CHARGE . THE WARRANTY DOES NOT COVER DAMAGE OR WEAR WHICH OCCURS AS A RESULT OF DAY TO DAY USE OR
GENERAL WEAR AND TEAR.
 WARNING! Improperly installed rack or bikes can fall onto roadway potentially causing a serious accident resulting in bodily injury. Do not use rack on any vehicle on which the rack cannot be properly and safely
installed.
This rack should only be used on a vehicle with a 2” receiver hitch.
 Never mount the rack on trailers or on front of a vehicle.
 Bikes must be secured to the rack using the supplied tie-downs and additional straps if necessary (not supplied).
 Check the rack periodically while in use to make sure all nuts and bolts are tight and that bikes remain properly secured to the rack.
When loading bikes on the rack, please check to make sure that a tire is not placed directly in front of an exhaust pipe as hot exhaust gasses may melt the tire.
 Do not carry tandems, recumbents, or motorized bicycles on this rack.
 Make sure that tail-lights and directional lamps are visible after bikes are mounted.
 Drive conservatively , especially over bumps (never off-road ) . Check periodically during use that all straps is tight and bikes are secured.
 Do not use if any part of the rack is damaged, worn, or missing.
 CAUTION!Use IKURAM KRB-H020B only in accordance with local motor vehicle and traffic regulations
 Install rack and load bicycle only at a safe distance away from moving traffic.
 Only operate vehicle with rack in an upright, locked position.
 Bicycle should never extend beyond sides of vehicle.
 Remove rack from car, or fold carry arms down when not in use.
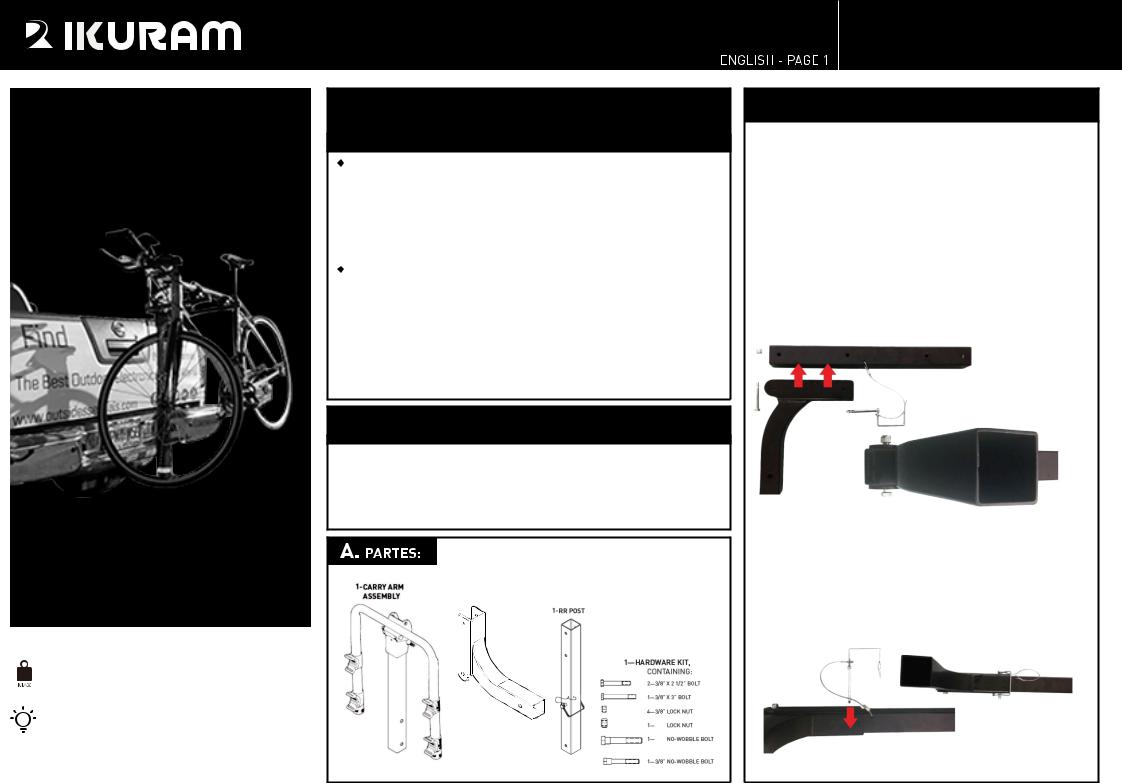
KRB-H020B BOX SHOULD CONTAIN THE
FOLLOWING ITEMS
HITCH INSERT
B. ASSEMBLY INSTRUCTIONS
NOTE: The nuts supplied with this rack have nylon threadlocker at the end of each nut. Once the threads of the bolt reach the threadlocker you will feel resistance as you tighten the nut and bolt. This is normal, continue tightening the nut and bolt until it is securely tightened.
1.Locate The lower mast tube and the “L” shaped hitch connection. Slide the hitch connection over the lower mast tube and line up the holes on both tubes.
2.Locate the 3” bolt and nut and insert through the hole at the bottom of the hitch connector and lower mast. Thread the nut onto the bolt and tighten fully leaving just enough room for the mast to pivot away from the hitch connector.
3.Insert Clevis Pin (attached by a small cable) into the middle of the Lower Mast and insert through the upper hole in the Hitch Insert. Rotate the locking clip to the end of the pin and press onto the pin until the clip snaps into the groove at the end of the pin.
IMPORTANT: Clevis Pin should always be completely inserted and closed when rack is in upright position to keep rack from falling over during use.
5/8"
5/8"
 Loading...