

IKEA Sektion Kitchen Installation Manual
A guide to
install a new
pra
0
...._,
,.__ -"
;L.!!J~ -
0
- -
-
LI
IKEA kitchen
INSTALLATION
GUIDE
0
0
0
0
This guide provides you with tips and
step-by-step instructions on how to
install your kitchen on your own.
rl
-
-
J .. I
r1
-
-
J-- I
0
0
I
I..(
1,
I~
~
-
-
-
-
The step-by-step guide
Installing your new IKEA kitchen correctly
This brochure is your guide to preparing and installing
your new kitchen yourself. Inside you’ll nd clear steps
to follow as well as useful tips and ideas. Use this guide
along with your IKEA assembly instructions to make sure
your kitchen is installed in the right way.
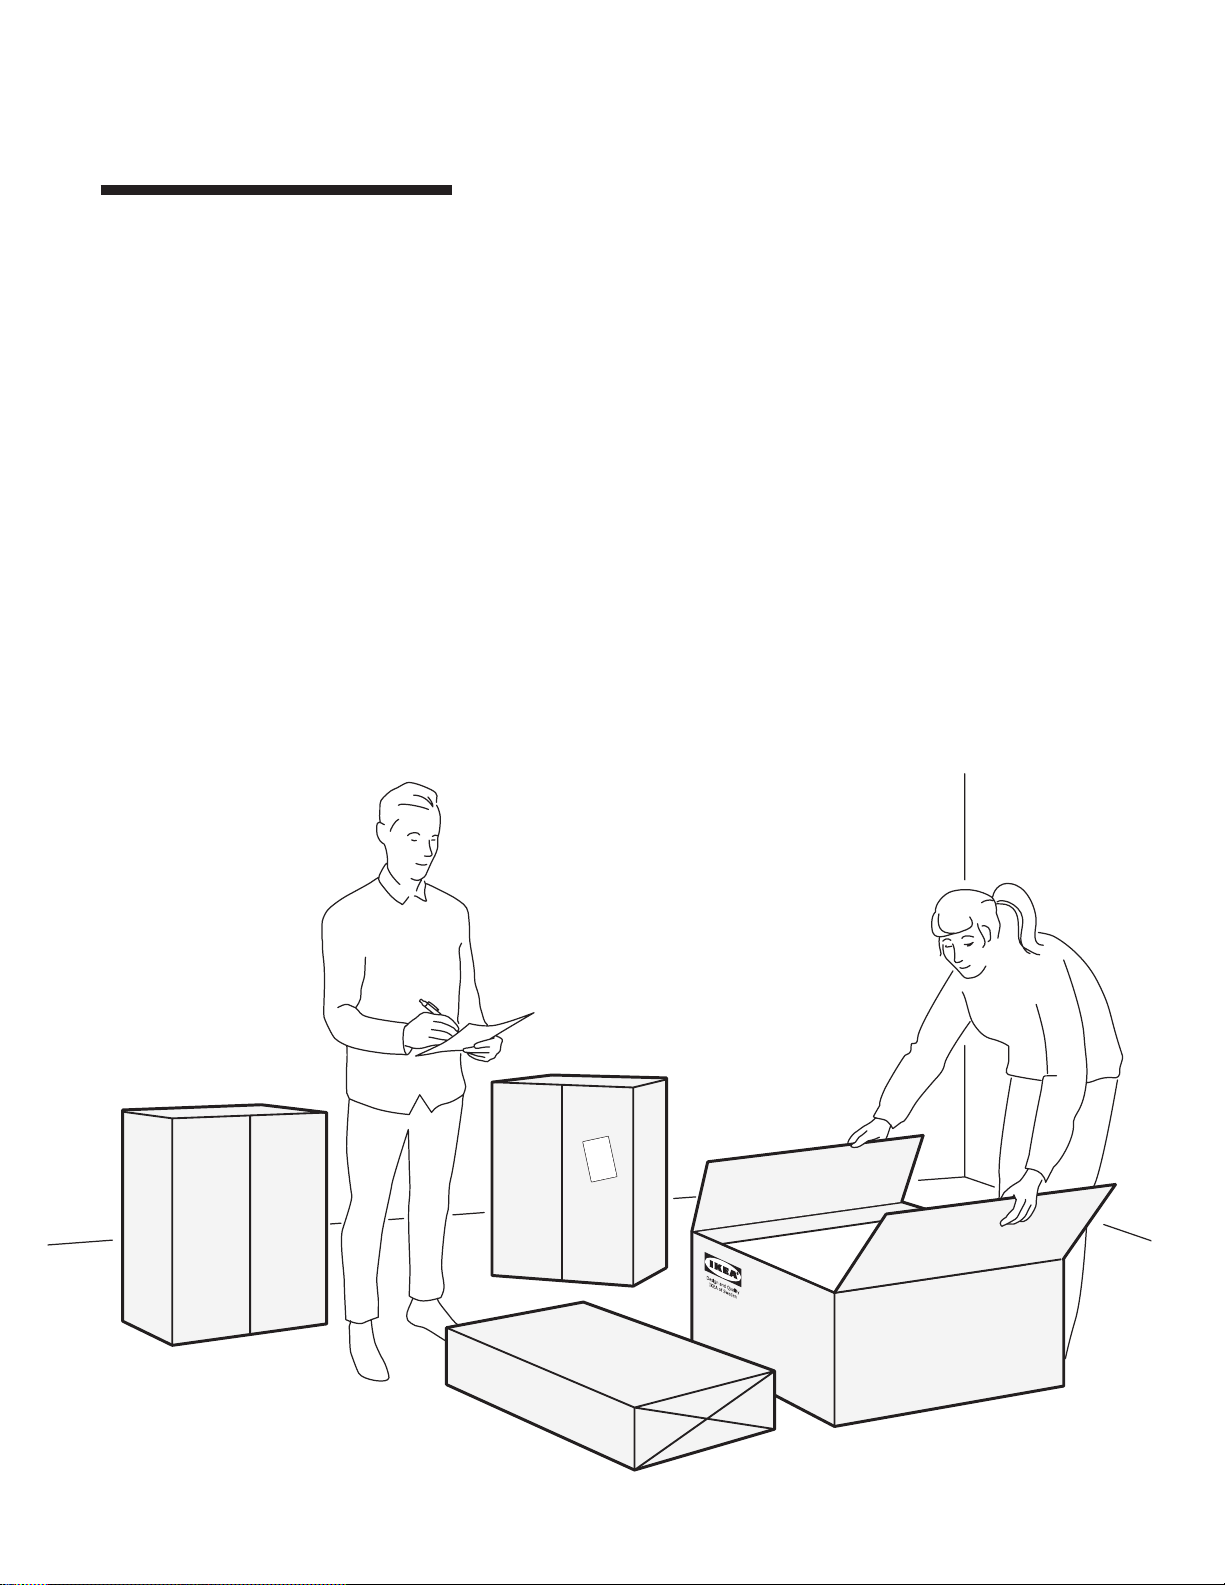
Before you begin
Go through this brochure before you begin to see what
stages are involved in putting in your new kitchen and to
organise what tools you’ll need.
To make sure you have everything for your new kitchen,
compare the packages and parts you have at home
against the order list and the delivery list. You should
only dismantle your old kitchen when you have all your
new parts and appliances. Your kitchen parts and
countertop should be stored indoors, with normal
room temperature and humidity.
It’s helpful if you arrange your cabinets in the order
you will be installing them. Use your packing list and
IKEA home planner drawing to help you. Before you
remove your old kitchen you need to make sure that
your electricity, gas and water is shut o. Use a qualied
professional to disconnect and connect your gas, water
and electricity.
You can do it yourself but you don´t have to
Our kitchens are designed to be as simple as
possible for you to assemble and install yourself.
But we’re here to help as much as you’d like us to.
We can oer you services ranging from planning
and delivery to complete kitchen installations. For
more details see the back page of this guide, kitchen
section of IKEA.ca/kitchenservices or contact your
local IKEA store.
Once your kitchen arrives, check off your
delivery to see that everything is in order.
2

What’s next?
You have now purchased your kitchen from IKEA and are about to start the installation process. Here are some helpful
tips on what to expect as you move through the next process from delivery to install to countertops.
Delivery
Arrange the delivery 5-7 days prior to your installation start date. Clear a space in a
room adjacent to the kitchen. You will want to have space to assemble and arrange
the boxes in sequence of installation. Upon delivery of your kitchen, audit your
delivered products to make sure it matches your order. If you discovered missing and/
or damaged products call 1-866-866-IKEA (4532) or visit your nearest IKEA store for
assistance.
Preparing
It’s now time to get started! You should be preparing your space a minimum of 1 week
prior to your installation. During this time you will be cleaning out all your cabinets,
creating a temporary kitchen space in your home, removing your kitchen, patch, paint
walls, flooring and electrical/plumbing preparations.
0
0
Installation
Our Installation Guide will show you step-by-step how to easily assemble and
install your kitchen. Don’t worry, if installation is not for you we have a team from an
independant service provider who are able to complete the installation for you. Visit in
store or at IKEA.ca/KitchenServices for further details on our installation services.
Custom Countertops
Once your base cabinets are installed with doors/drawers and panels, leveled and
appliances in place, you are able to contact your countertop fabricator for templating
of your custom countertop. Be sure to have your sink and/or cooktop onsite for
templating. Once your countertop has been templated, the countertop fabricator will
return to install your new countertops within 5-10 business days from templating.
Helpful tip, create a temporary countertop solution out of plywood so you can
continue to use your kitchen between templating to installation.
Finishing Touches
You are almost done! Once your countertop is in, this is the time to complete
backsplash, touch up any painting, nal plumbing and/or electrical. Finish o with a
deep clean of your kitchen and you are ready to enjoy your brand new kitchen !
3

Getting to know the IKEA
kitchen system
Below is a summary of all the components to help you in the installation of your new kitchen
SEKTION: wall, base and high cabinet frames.
Available in white or brown
SEKTION: suspension rail makes
attaching SEKTION base, wall and high
cabinets easy
MAXIMERA: fully extending soft
closing drawers, dividers and glass sides
FÖRVARA: ¾ extending non soft
closing drawers
SEKTION: adjustable legs for SEKTION base
and high cabinets. Use in combination with
suspension rail
UTRUS TA: glass and solid shelves
come with shelf pegs to pefectly fit inside
SEKTION cabinet
Toeki cks : installed under SEKTION cabinets
and clip onto SEK TION legs
Door and Drawer Fronts: will attach to wall, UTRUS TA: hinges. Use 110° hinges for standard
base or high cabinets. Doors will be attached doors, 153° hinges for doors with drawers
using UTRUSTA hinges and drawer fronts will inside. All our hinges comes with a built-in
be attached to MA XIMERA or FÖRVARA drawers damper to ensure soft and quiet closing.
4
Fillers: to be cut from ½” or ⅝” thick cover
panels to create the filler needed in your
design. For filler above the fridge, use a 5” high
drawer front
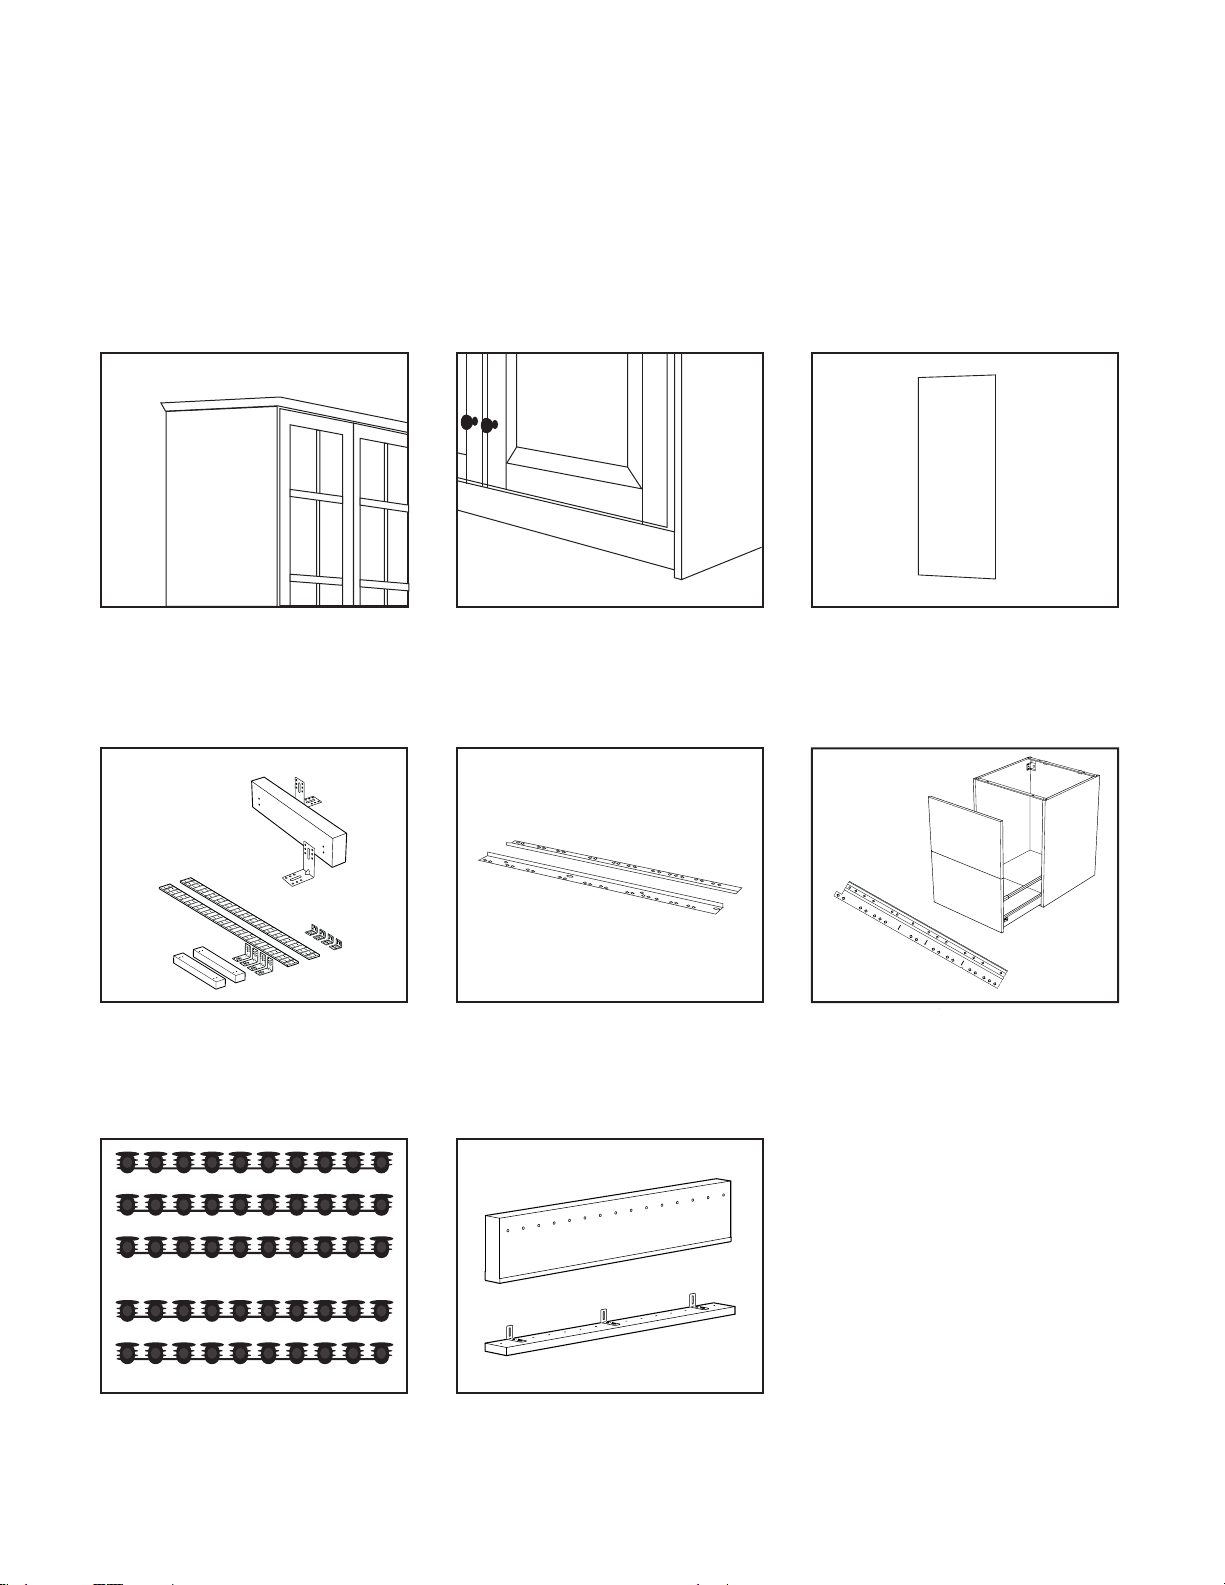
Mouldings: use these pieces for crown and
light valance. Cutting and mitring maybe
required based on your design.
Cover Panels: ½” thick panels are used to cover
exposed ends of your SEKTION wall, base and
high cabinet frames to match the same finish as
your door st yle. Some cutting maybe required
to fit your design.
support of ten to cover and exposed side of a
dishwasher to suppor t a countertop or fridge
to support a deep fridge cabinet. Cutting will be
required to fit your design.
Gables: 5/8” thick gables are used as struc tural
B.
SEKTION: A. support bracket for island secures
kitchen island to floor B. Island assembly kit
makes it easy for you to mount cabinets back
to back, or to at tach a cover panel to the back
of an island or peninsula.
A.
••••
•••
....--W'-...._.
••••
•••••••
front with the other doors and drawer fronts to fronts together.
create a smooth streamlined look.
VÅGLIG: connecting rail to align the dishwasher UTRUS TA: connecting rail for attaching drawer
. ............. .
••••
VARIERA cover cap: covers exposed cabinet
holes for glass door cabinets. Available in white
or brown.
NYTTIG fillers: for microwave hood and range
hoods to align to the depth of the wall cabinets.
5
 Loading...