

Ikea IDT930SAGX Installation Instructions

INSTALLATION INSTRUCTIONS
FOR CUSTOM PANEL ATTACHMENT
UNDERCOUNTER DISHWASHER
STAINLESS STEEL TUB
IMPORTANT: Before installing your dishwasher, please use this instruction sheet as a supplement to the installation instructions.
Custom Panel Models Only
Gather these additional tools and parts before starting
attachment of the custom panel. Read and follow the
instructions provided in this Instruction Sheet.
Additional Tools Needed:
3
■
/32" drill bit
Additional Parts Supplied with Custom Panel Models:
■ 4 – Plastic studs (attached to each other by runners)
■ 4 – Short screws (10-16 hex-head screw)
■ 4 – Long screws (8-18 TORX
■ 1 – Template (located inside Use and Care Guide
bag assembly)
■ 1 – Instruction sheet (located inside Use and Care
Guide bag assembly)
NOTE: The screws supplied are used for only 3/4" (19 mm) thick
wooden panel. If the wooden panel is less than 3/4" (19 mm)
thick, customer must purchase screws locally.
Make sure all these parts are included in the literature package.
If parts are not included, call 1-800-422-1230. In Canada,
call 1-800-807-6777.
®†
head screws)
Install Custom Panel
Custom panel dimensions
*This dimension is for a 4" (102 mm) toekick. If the installation
needs a higher toekick, adjust the height of the wood panel
accordingly except on models with fan assisted dry. Fan
models have a duct at the bottom of the door that would be
exposed if you shorten the door panel for toekick heights
above 4" (102 mm). Toekick heights greater than 6" (152 mm)
are not recommended for this product.
Follow Steps Below:
A customer supplied door panel and handle (together) must
weigh no more than 16 lbs (7.3 kg) and must be made to
specific dimensions. It is recommended that a cabinetmaker cut
the customer panel because of the precise dimensions needed.
NOTES:
■ The handle for the custom panel is not included.
■ All mounting hardware supplied is for a
wood panel. If a thinner wood panel or materials other than
wood are used, it is the customer’s responsibility to obtain the
proper length screws and adjust the pilot holes accordingly.
IMPORTANT: Use a moisture-resistant sealer on both sides
and all edges of the panel to avoid damage from moisture.
3
/4" (19 mm) thick
†®TORX and T20 are registred trademarks of Acument Intellectual Properties, LLC.
W10885892A
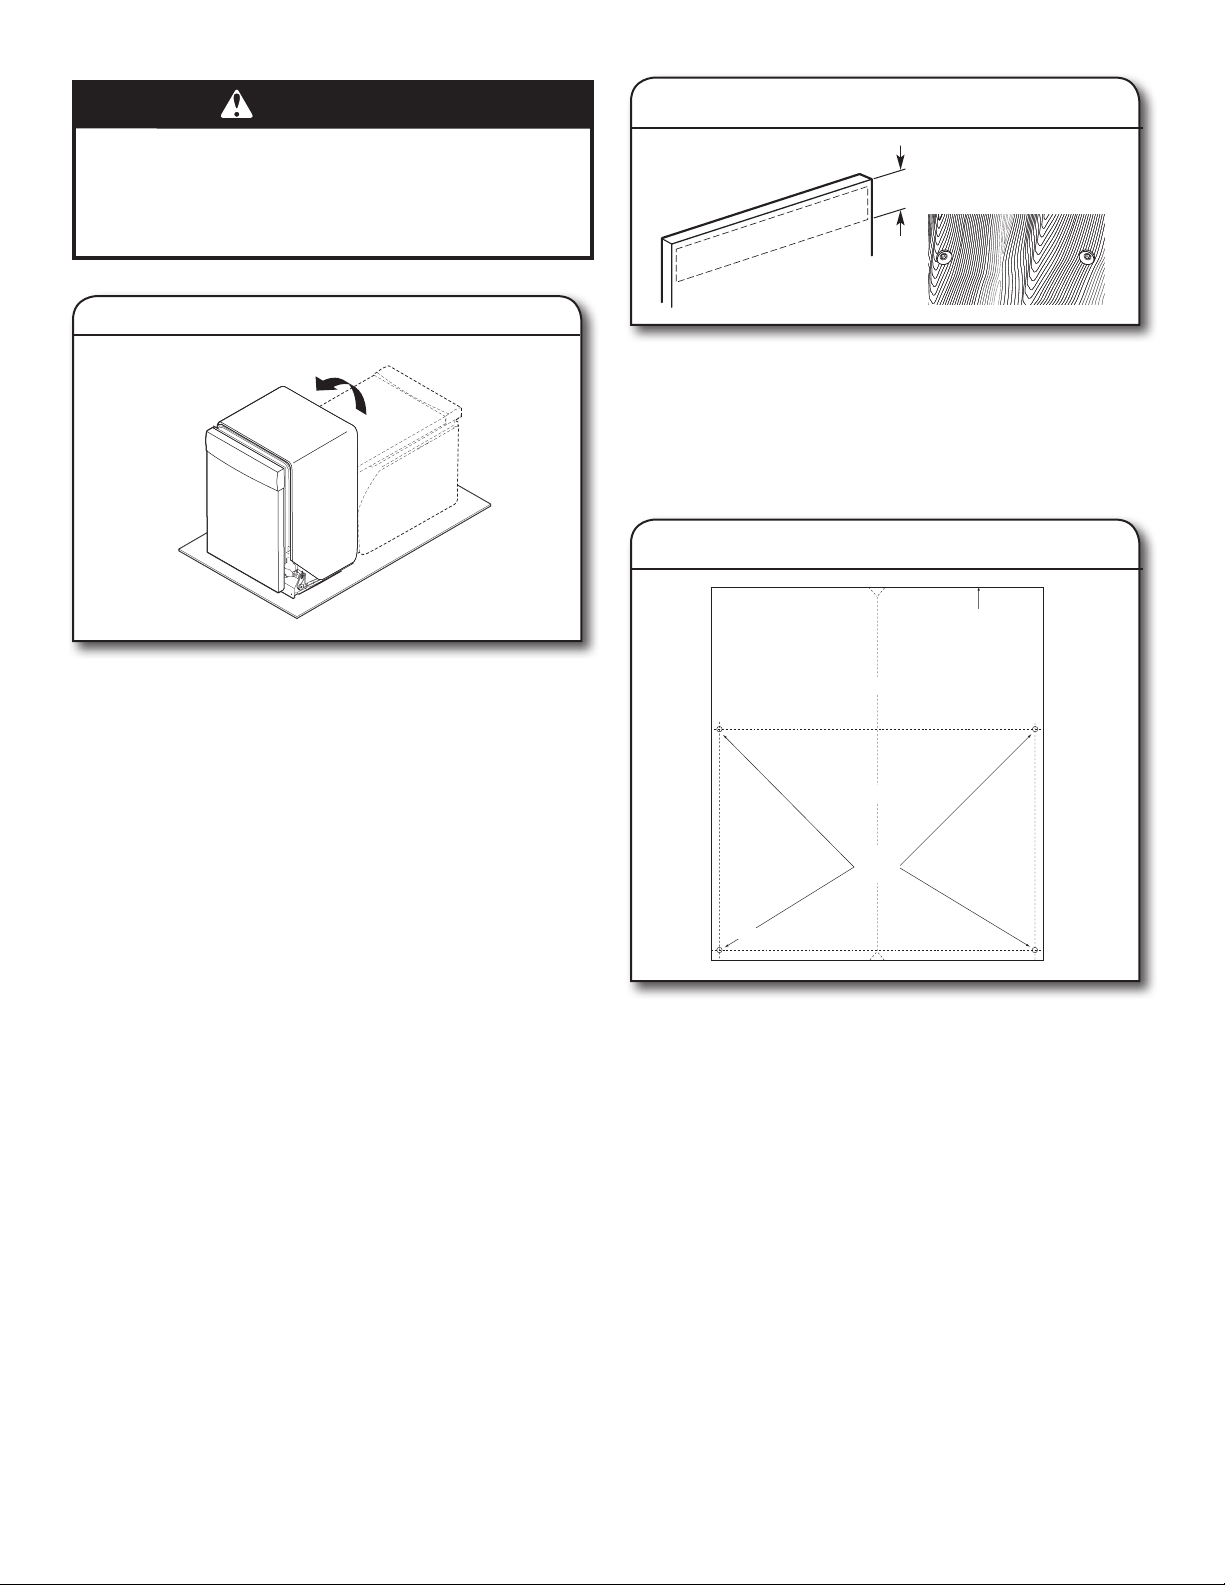
WARNING
Excessive Weight Hazard
Use two or more people to move and install
dishwasher.
Failure to do so can result in back or other injury.
Stand dishwasher upright
Using 2 or more people, stand the dishwasher up.
NOTE: Do not install kick plate until instructed to do so.
1. Attach handle
6"
(15.2 cm)
Install the custom hardware handle(s) on the front of the wooden
panel inside dotted line.
IMPORTANT: If the handle is attached from the back of the
custom panel, the screw holes should be countersunk for the
screws heads to be flush with the panel. If the handle is attached
to the front of the custom panel, the screw lengths cannot
exceed the panel thickness.
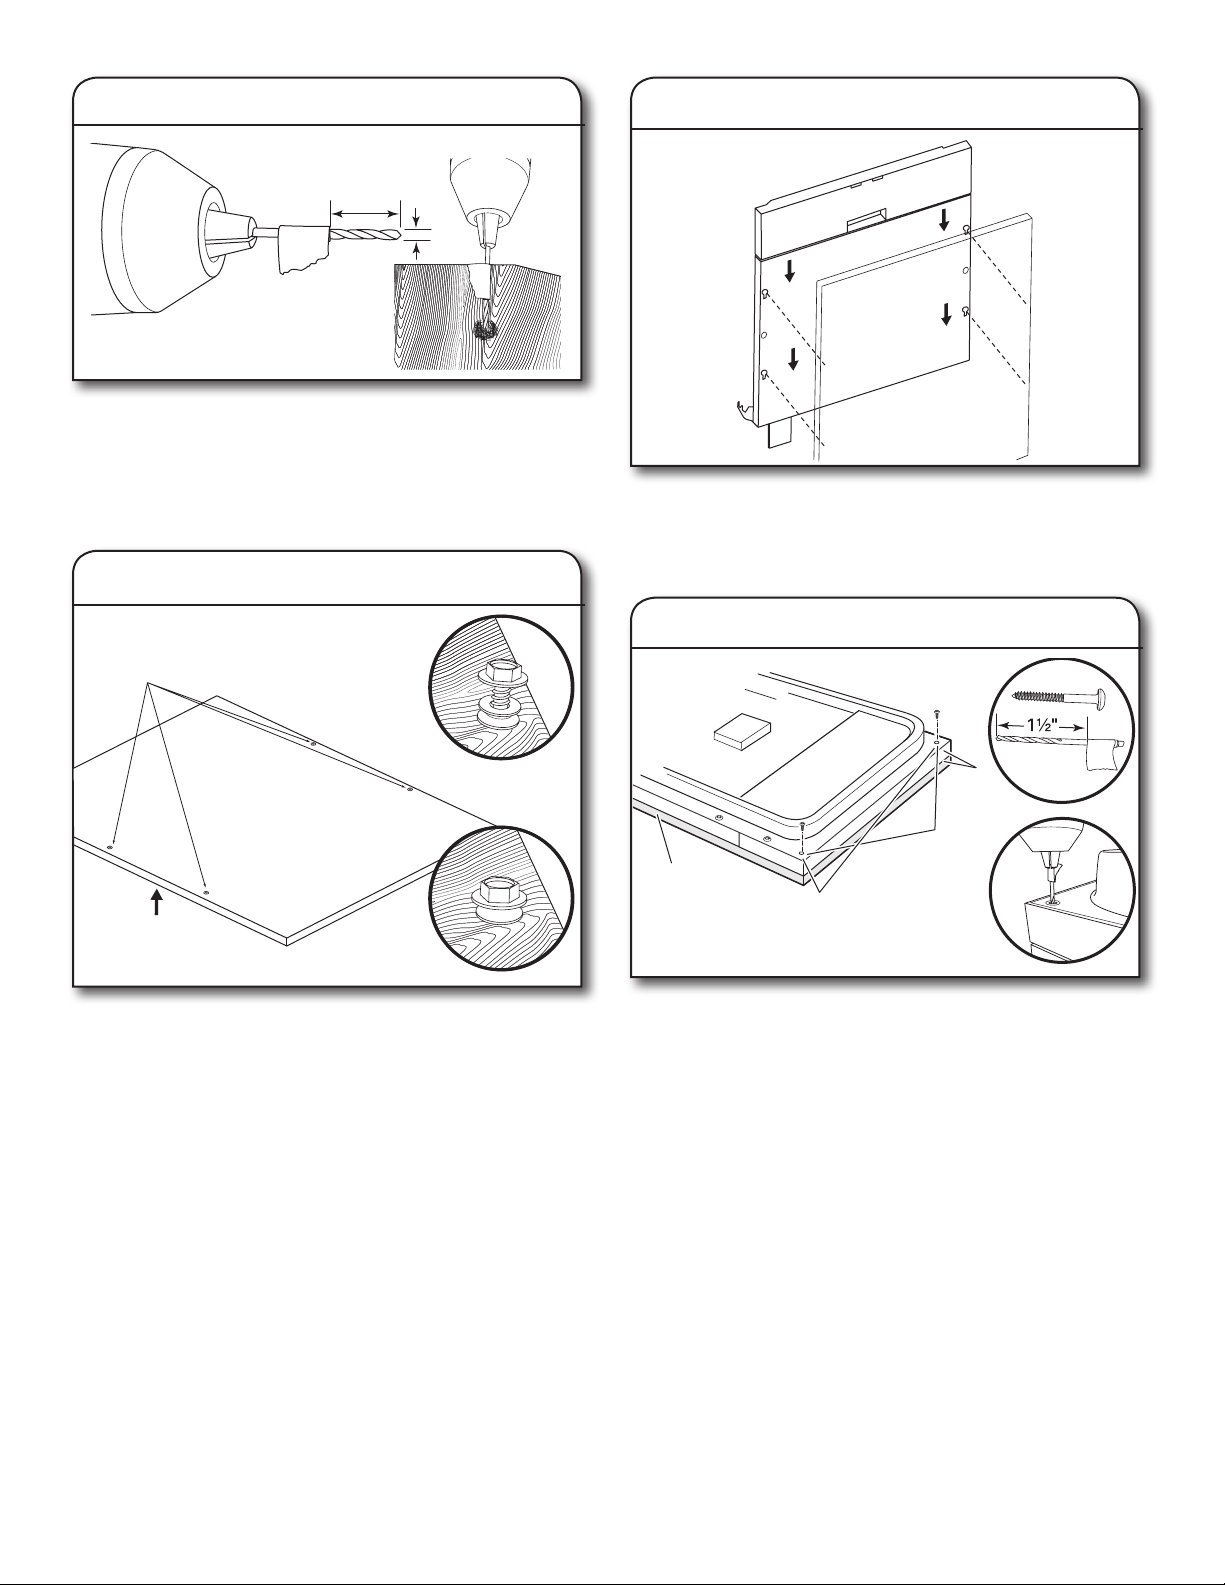
2. Panel template
Top of panel
Wood Panel Template
Centerline
Pilot
holes
W10195005A
Using the template provided, attach it to the backside of the
custom panel with tape. Make sure that the center of the
template is aligned with the center of the wooden panel and top
of the template is aligned to the top face of the wooden panel.
2
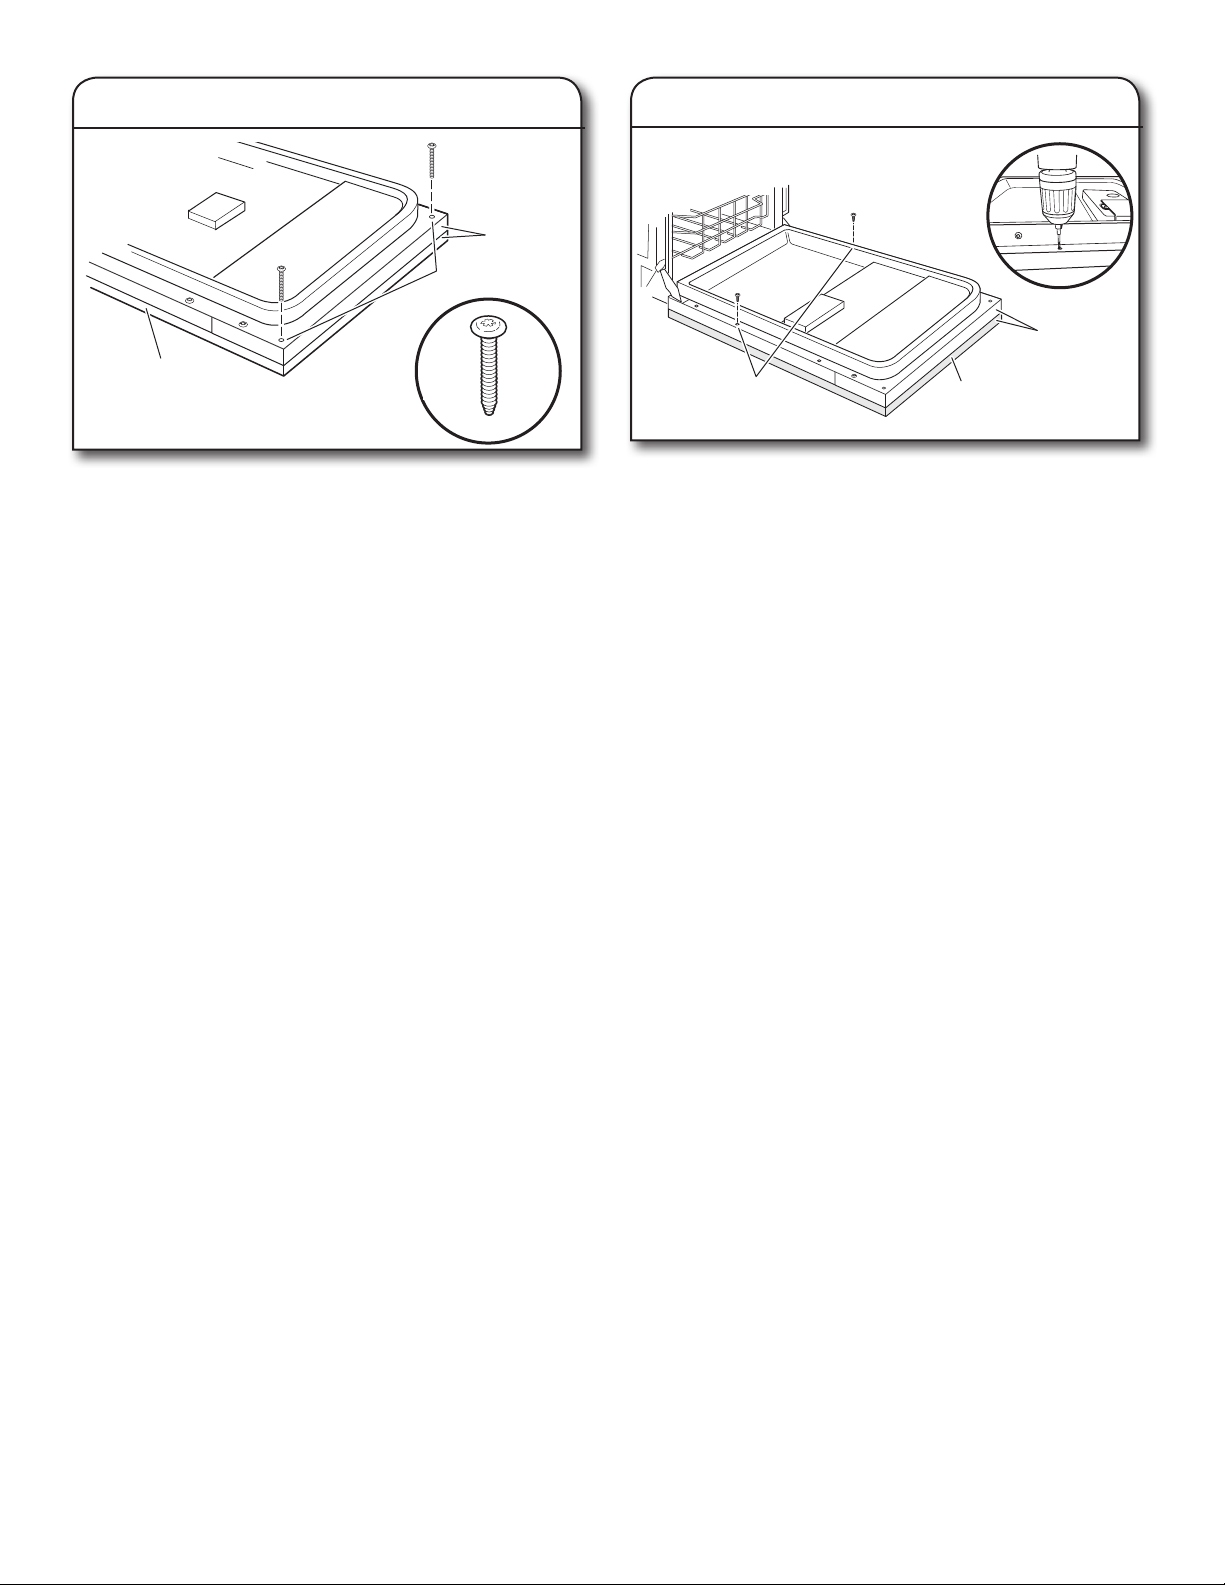
3. Predrill custom panel holes
5. Attach custom panel
NOTE: Do not drill deeper than 5/8" (16 mm) to keep from
drilling through panel. Pilot hole depths given are for 3/4"
(19 mm) thick panel.
Mark 4 pilot holes on the wooden panel using the template
provided. Pre-drill 4 pilot holes using a 3/32" drill bit. Use
tape to mark the drill bit to gauge hole depth. Drill pilot holes
approximately 5/8" (16 mm) into the custom panel.
4. Attach plastic studs
Plastic studs attached
with 4 short screws
Visible side
Wooden panel
assembly
Align the studs on the custom wood panel to the keyhole
slots on the door assembly. Ensure that all 4 plastic studs are
engaged in the keyhole slots. Slide wood panel down until the
top surface of the wooden panel is flush with the top of the door.
6. Align top edges of panel to door
Align
top edges
Drill through
Customer
supplied panel
Remove 2 short screws
and replace with long
screws provided.
these holes.
Attach the 4 plastic studs to the wooden panel using the four
5
/16" hex-head (short) screws provided.
Open the door and align top edges. Use tape to mark a 3/32" drill
bit to gauge the hole depth of approximately 11/2" (38 mm). Drill
pilot holes into the top corners of the door using hole in liner as
a guide.
3
7. Install custom panel
Customer
supplied panel
Align top
Drill through
these holes.
13/8"
screw
edges
8. Remove the short screws
Remove 2 short screws
and replace with long
screws provided.
Customer
supplied panel
Align top
edges
Using a TORX® T15® screwdriver, install two #8 x 13/8" (long)
screws in top corners to secure custom wood panel in place.
Remove the short screws (3rd from top) on either side of the
inner door panel. Use tape to mark a 3/32" drill bit to gauge the
hole depth of approximately 11/2" (38 mm). Drill 2 pilot holes
using the door liner hole as a guide into the panel. Install the
2 remaining long screws.
4
 Loading...