

Ibaby M3 User Manual
iBaby
iBaby
m
m
onitor
onitor
Model:
Model:
M3
M3
User Manual
User Manual
““The manufacturer is not responsible for any legal
The manufacturer is not responsible for any legal
lliability caused by negligence.”
iability caused by negligence.”

iBaby Monitor User Manual
2
Index
1 INTRODUCTION ............................................................................................................................ 4
1.1 PACKAGE CONTENTS ................................................................................................................. 4
1.2 FUNCTION AND FEATURES ......................................................................................................... 4
1.3 PRODUCT SPECIFICATIONS ........................................................................................................ 5
2 APPEARANCE AND INTERFACE ............................................................................................. 6
2.1 APPEARANCE ............................................................................................................................. 6
2.2 BACK PANEL OF THE iBABY MONITOR ...................................................................................... 7
3! ACCESSING THE IBABY MONITOR OVER A LOCAL AREA NETWORK ....................... 7!
3.1! LOCAL AREA NETWORK CONNECTION ...................................................................................... 7!
3.2! ACCESSING THE IBABY MONITOR FROM AN IPOD TOUCH, IPHONE OR IPAD ............................. 8!
3.3 CONFIGURING THE iBABY MONITOR FROM A WINDOWS OC: IP ADDRESS ................................ 8
3.4! ACCESSING THE iBABY MONITOR FROM A PC ......................................................................... 10!
4! ACCESSING THE iBABY MONITOR OVER THE INTERNET ............................................ 13!
4.1! INTERNET CONNECTION ........................................................................................................... 13!
4.2! PORT FORWARDING ................................................................................................................. 13!
4.3! DDNS ...................................................................................................................................... 13!
4.3.1! Manufacturer’s DDNS ........................................................................................................ 13!
4.3.2! Third Party DDNS .............................................................................................................. 14!
5! OTHER SETTINGS ...................................................................................................................... 15!
5.1! NETWORK SETTINGS ................................................................................................................ 15!
5.1.1! Basic Network Settings ....................................................................................................... 15!
5.1.2! WiFi Settings ....................................................................................................................... 15!
5.1.3! ADSL Settings ..................................................................................................................... 16!
5.1.4! UPnP Settings ..................................................................................................................... 16!
5.1.5! DDNS Settings .................................................................................................................... 17!
5.1.6! MSN Settings ....................................................................................................................... 17!
5.2! ALARM SETTINGS .................................................................................................................... 17!
5.2.1! Alarm Settings ..................................................................................................................... 17!
5.2.2! Mail Service Settings .......................................................................................................... 19!
5.2.3! FTP Service Settings ........................................................................................................... 20!
5.2.4! Alarm Server ....................................................................................................................... 21!
5.3! ADVANCED SETTINGS .......................................................................................................... 21!
5.3.1! User Settings ....................................................................................................................... 21!
5.3.2! Multi Device Settings .......................................................................................................... 22!
5.3.3! Other Settings ..................................................................................................................... 22!
5.4! MAINTAINENCE ............................................................ 23ERROR! BOOKMARK NOT DEFINED.!

iBaby Monitor User Manual
3
5.4.1! Device Information ............................................................................................................. 23!
5.4.2! Time Setting ........................................................................................................................ 23!
5.4.3! Firmware Upgrade ............................................................................................................. 24!
5.4.4! Restore Factory Default ..................................................................................................... 24!
5.4.5! User Browsing Log ............................................................................................................. 24!
6! CENTRALIZATION CONTROL ................................................................................................. 24!
7! FAQ ................................................................................................................................................ 25!

iBaby Monitor User Manual
4
1 Introduction
Your iBaby monitor combines a high-quality digital camera with network connectivity and
a clear image to your iPod Touch, iPhone or iPad, or to a PC. You can connect from a
Local Area Network or over the Internet.
1.1 Package contents
! Camera
! User manual and utility CD
! Power adapter
! Bracket
! Cable
! Antenna
! Quick installation guide
! Set of screws
1.2 Function and Features
! Supports 802.11b/g/n protocols for wireless monitoring.
! Supports TCP/IP network protocols with a built-in Web server. Users can view
streaming video from an iBaby Monitor using an iPod Touch, iPhone or iPad, as well
as from a PC running Internet Explorer or similar browsers.
! A built-in microphone allows users to listen to the room being monitored. Users can
also connect the camera to a speaker to support a two-way intercom.
! The iBaby monitor's pan/tilt function allows horizontal panning of 350°and vertical
movement of 70°.
! The design is attractive and the device is easy to install and use.
! Infrared LED for night vision covers 16 feet (5 meters) of area, for 24-hour monitoring,
even in the dark.
! Motion detection, sound detection and alert pins can be connected to external
sensors for warnings.
! A record of alarms can be sent via email, and also stored on a server.
! Supports Universal Plug and Play (UPnP), allowing for automatic router port
forwarding.
! A Dynamic Domain Name Service (DDNS) address provided with the camera, with an
easy-to-read label at the bottom of each unit, allowing users to monitor their iBaby
monitor over the Web.

iBaby Monitor User Manual
5
1.3 Product Specifications
Image Capture
Sensor
CMOS sensor
Total pixels
300k
Minimum illumination
0 Lux(IR on automatically)
Lens
f=3.6mm, F=2.0, Fixed iris
Pan/Tilt
Pan coverage
350°
Tilt coverage
70°
Assistant
Lighting
10pcs 850nm infrared LEDs, 16
feet (5 meters) of distance
Lighting control
Auto control
Video and Audio
Resolution
640*480(VGA)/320*240(QVGA)/1
60*120(QQVGA)
Compression
MJPEG
Frame rate
30 fps
Bit rate
128 kbps ~ 5 Mbps
Image rotation
Mirror /Flip
Audio compression
ADPCM
Network
Basic protocols
TCP/IP, UDP/IP, HTTP, SMTP,
FTP, DHCP, DDNS, UPnP, NTP,
PPPOE
Other protocols
802.11b/g/n
Other Features
Video control
Supported
Dual-way audio
Supported
Motion detection
Supported
Sound detection
Supported
Triggered actions
Email/FTP/external alarm/send
message to alarm server
User access authority
Three levels
Date / time setting
Supported
Upgrades
Upgrade over the network
DDNS
Included
Hardware Interface
Ethernet
10Base-T/100base-TX
Alarm in
1 channel
Alarm out
1 channel
Audio in
Internal Mic and External Mic
socket x 1
Audio out
Audio Line-out socket x 1
Physical Index
Weight
11.5 ounces (358 grams)
Main body
111mm(L) X 110mm(W) X
126mm(H)
iBaby Monitor User Manual
6
Power
DC 5V
Power consumption
<6W
Operating temperature
104ºF ( 0℃~ 40℃)
Operating humidity
10% ~ 80% non-condensing
Software (iPod
Touch, iPhone or
iPad)
iOS 4.0 or later
Can be downloaded for free from
the Apple App store
Software (PC)
OS Supported
Microsoft Windows 98, 2000, XP,
Vista, Windows 7 or higher.
iOS 4.0 or later
Browser
Internet Explorer 6.0 or higher, or
equivalent browser, such as
Firefox.
Application software
IPCMonitor.exe included
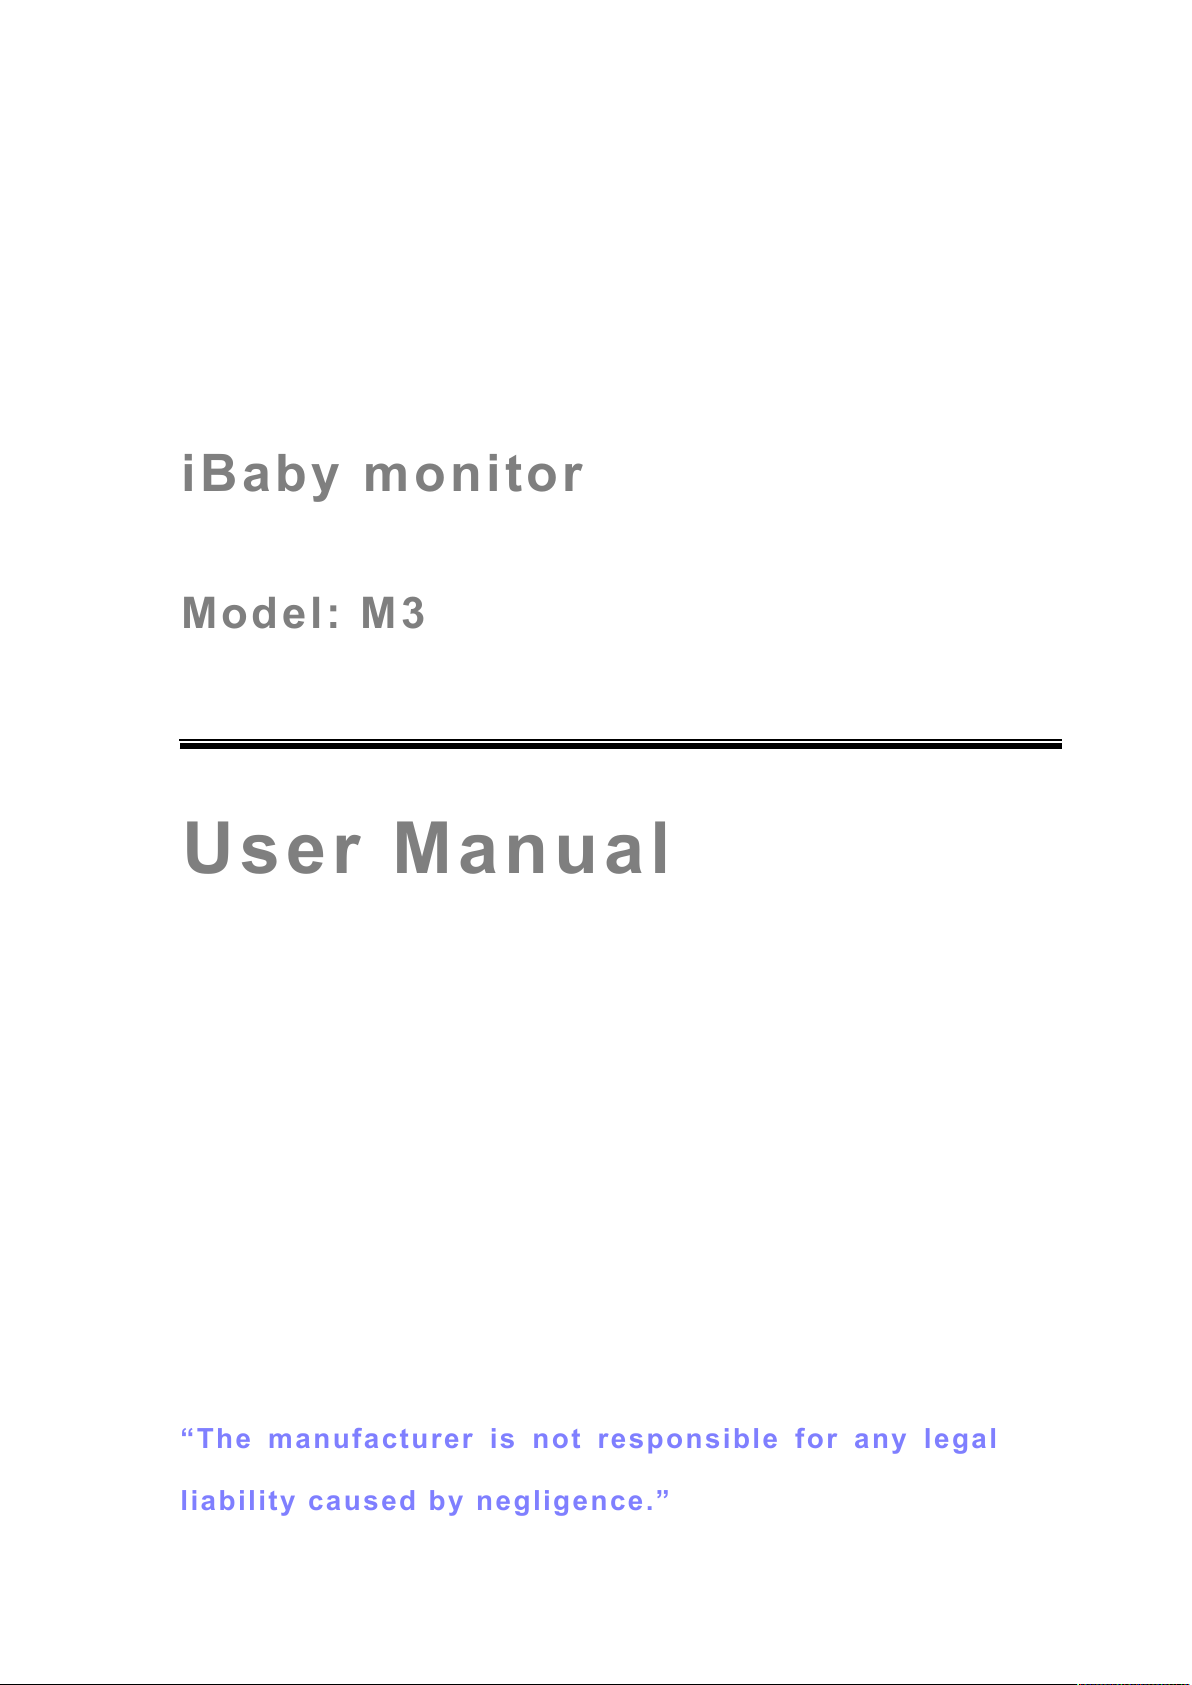
2 Appearance and interface
2.1 Appearance
Figure 1
iBaby Monitor User Manual
7
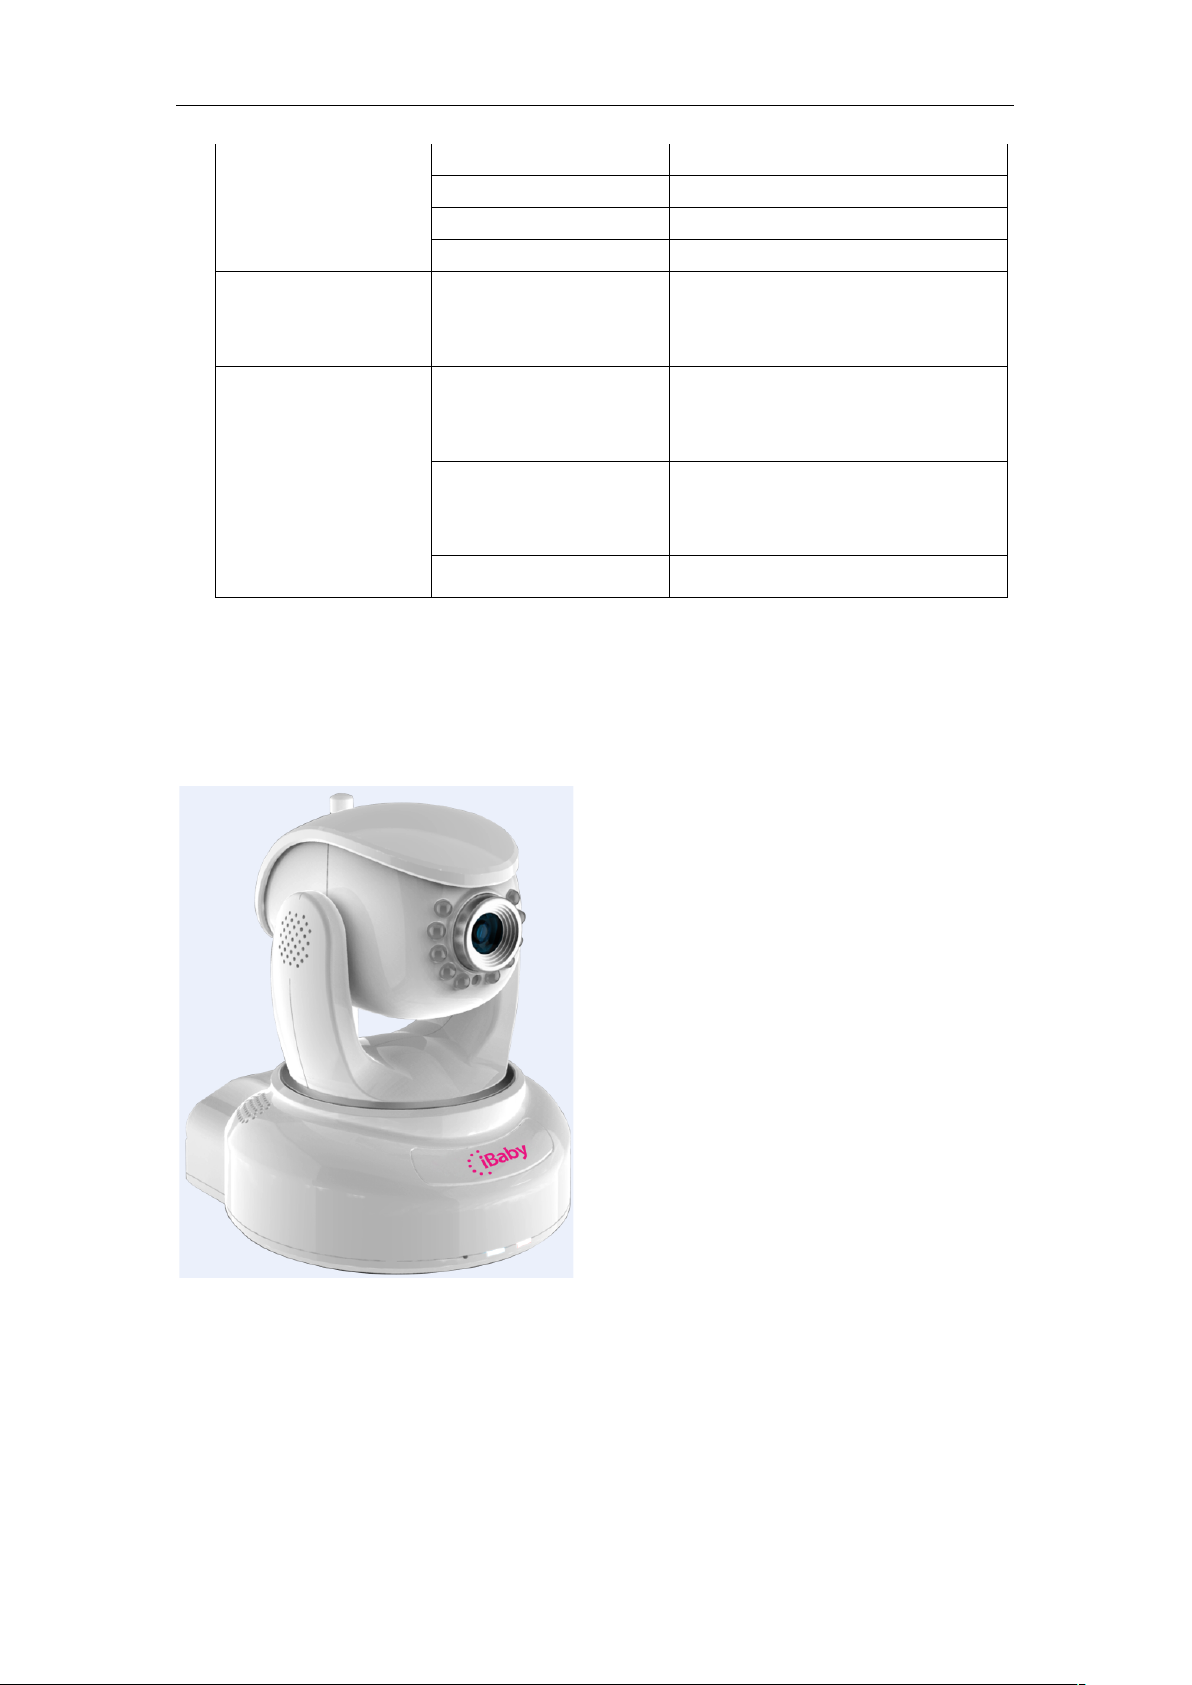
2.2 Back panel of the iBaby monitor
Figure 2
1) Power Input Socket: Connection for power adaptor. The adaptor‘s output is 5 volts,
1.5 amps.
2) RESET Button: Press the RESET button and hold for 10 seconds. The iBaby
monitor will restart with its factory default settings restored.
3) Wi-Fi Antenna Connector: For installing a Wi-Fi antenna.
4) RJ45 Ethernet Socket: The RJ45 Ethernet socket automatically configures itself for
speeds of either 10 MB or 100 MB.
5) Audio Input Socket: For connecting an external microphone. The built-in
microphone is turned off whenever an external microphone is plugged-in.
6) Audio Output Socket: For use with a headphone or speakers.
7) Alarm Output Socket
8) Alarm Input Pin
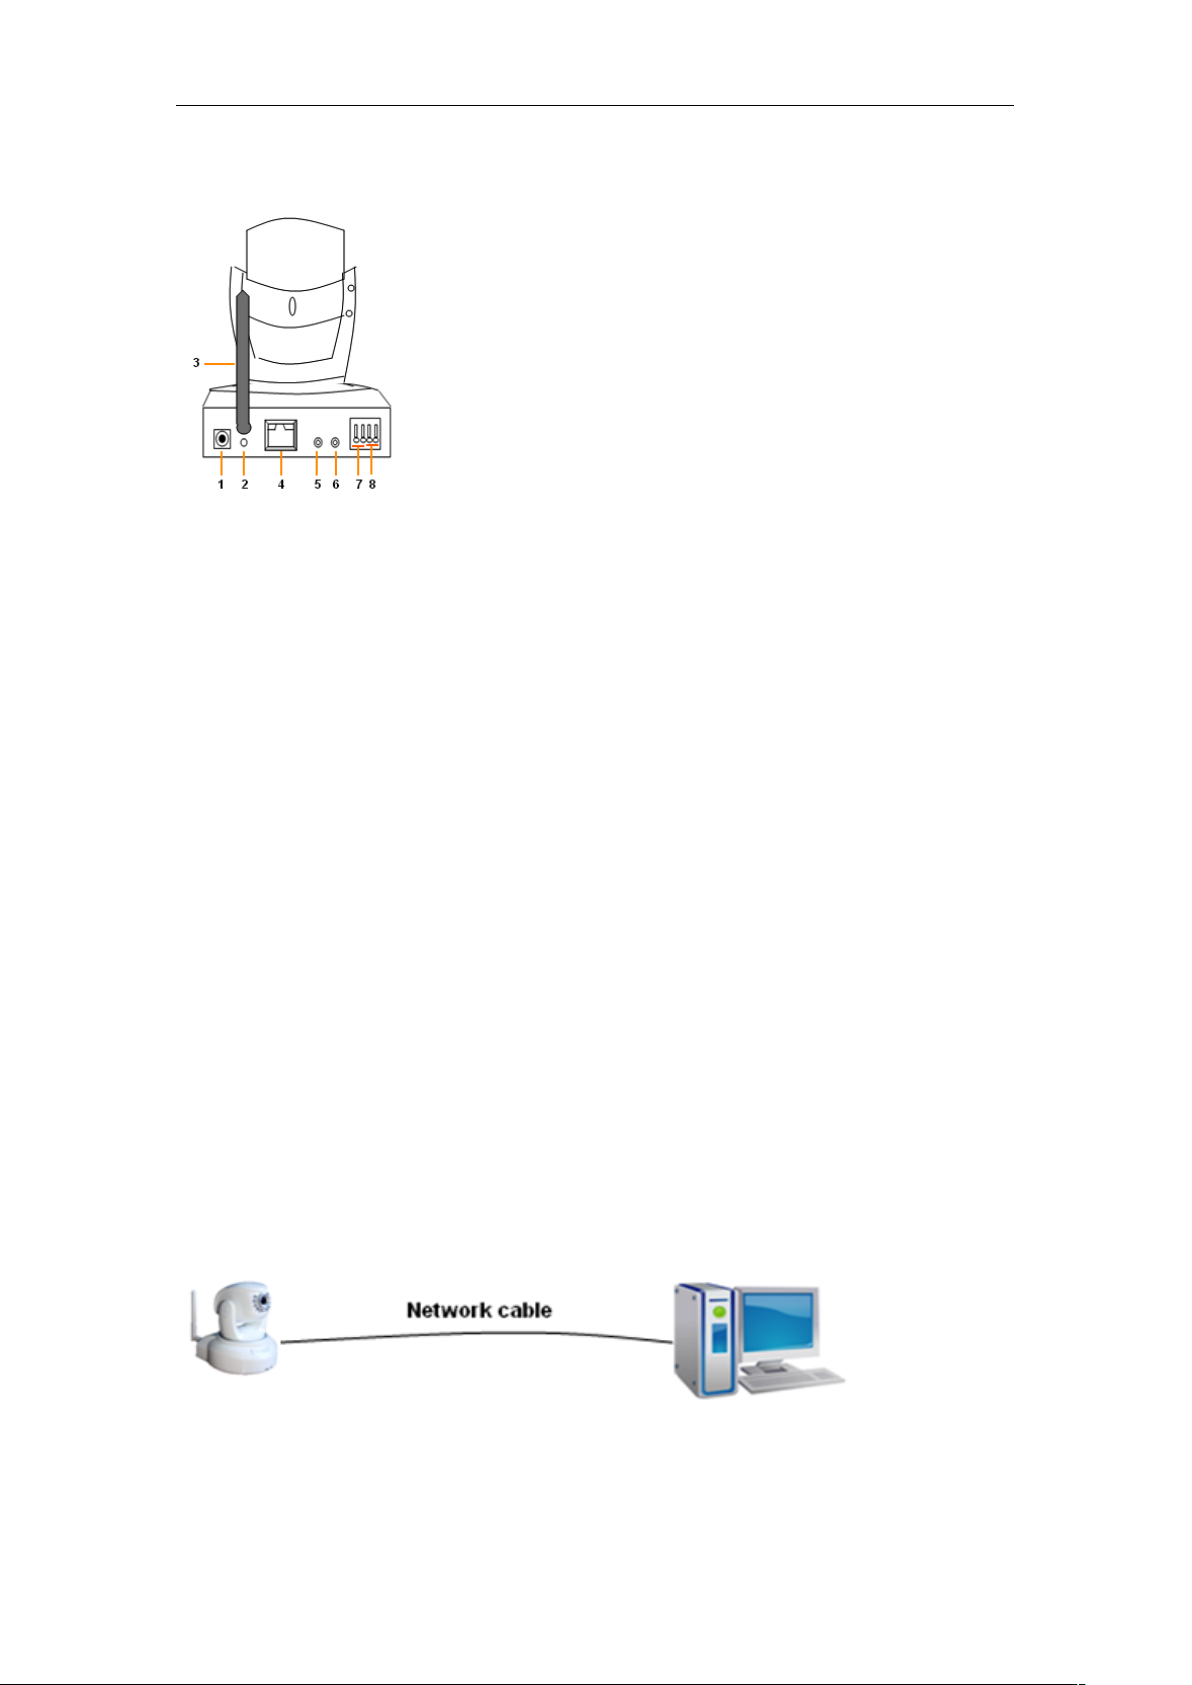
3 Accessing the iBaby monitor over a Local Area
Network
3.1 Local Area Network connection
Figure 3
iBaby Monitor User Manual
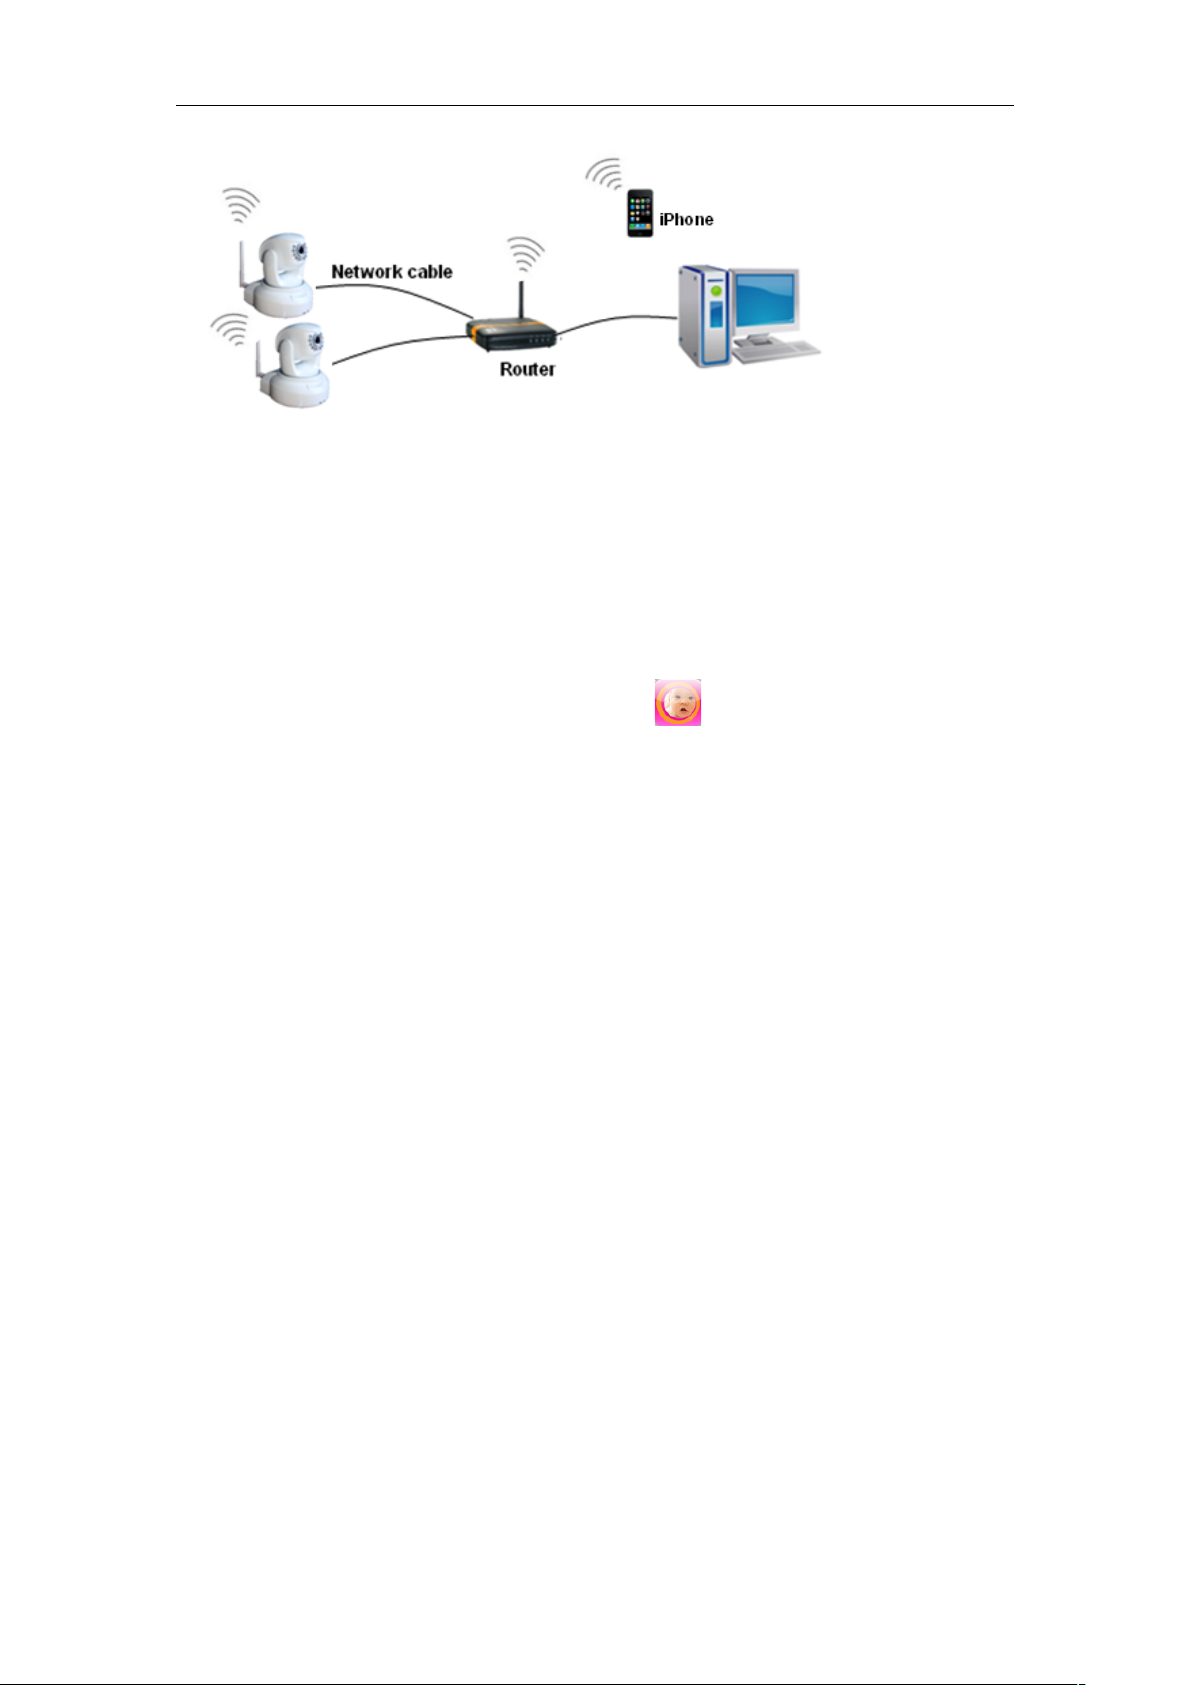
8
Figure 4
3.2 Accessing the iBaby monitor from an iPod Touch,
iPhone or iPad
You first need to install the iBaby monitor App from the Apple App Store. (Find it by searching
for "iBaby monitor BM.") THIS IS A FREE DOWNLOAD. (Before downloading, first confirm
the iOS on your device is version 4.0 or later. If not, update your iOS.)
After the app has been installed, this icon should appear: .
Launch the iBaby monitor App. The App will search for the camera automatically.
Select the “Set Up” button and follow instructions.
3.3 Configuring the iBaby monitor from a Windows PC: IP
Address
Run “BSearch_en.exe” in the CD. You will see the setting interface shown in Figure 5.
 Loading...