How it Works
Log In / Sign Up
Buy Points
How it Works
FAQ
Contact Us
Questions and Suggestions
Users
Hyundai
Loading...
H
H-LCD2200
2
H-LCD2201
H-LCD2202
H-LCD2206
H-LCD2209
H-LCD2212
H-LCD2215
H-LCD2216
H-LCD2217
H-LCD2218
H-LCD2400
H-LCD2417
H-LCD2418
H-LCD2601
5
H-LCD2602
2
H-LCD2617
H-LCD2700
H-LCD3000
H-LCD3200
H-LCD3201
2
H-LCD3202
H-LCD3205
2
H-LCD3206
H-LCD3210
H-LCD3211
H-LCD3212
H-LCD3217
H-LCD3218
H-LCD3700
2
H-LCD4200
2
H-LCD4201
2
H-LCD700
4
H-LCD701
5
H-LCD702
2
H-LCD703
H-LCD704
H-LCD801
2
H-LCD804
2
H-LCD901
2
H-LCDVD1001T
H-LCDVD1002T
H-LCDVD2
H-LCDVD2000
2
H-LCDVD2001
2
H-LCDVD2200
4
H-LCDVD3200
3
H-LCDVD701
H-LCDVD703
H-LCDVD704
H-LCDVD705
H-LCDVD711
H-LCDVD712
2
H-LCDVD713
2
H-LCDVD723
H-LCDVD725T
3
H-LCDVD726T
H-LCDVD800
H-LCDVD901
H-LCDVD902
H-LCDVD904
3
H-LCDVD906T
H-LCDVD908T
2
H-LCDVD909T
H-LED15V12
H-LED15V13
H-LED15V16
H-LED15V20
H-LED15V6
H-LED15V7
H-LED15V8
H-LED19V1
H-LED19V13
H-LED19V15
H-LED19V16
H-LED19V20
H-LED19V21
H-LED19V3
H-LED19V6
H-LED19V8
2
H-LED19V9A
H-LED2202-F
H-LED22ET2001
H-LED22V1
H-LED22V13
H-LED22V14
H-LED22V15
H-LED22V16
2
H-LED22V20
H-LED22V5
H-LED22V6
H-LED22V9A
H-LED24ES5020
H-LED24ET2003
H-LED24FS5002
H-LED24R403BT2
H-LED24V1
H-LED24V11
H-LED24V13
H-LED24V14
2
H-LED24V15
Loading...
Loading...
Nothing found
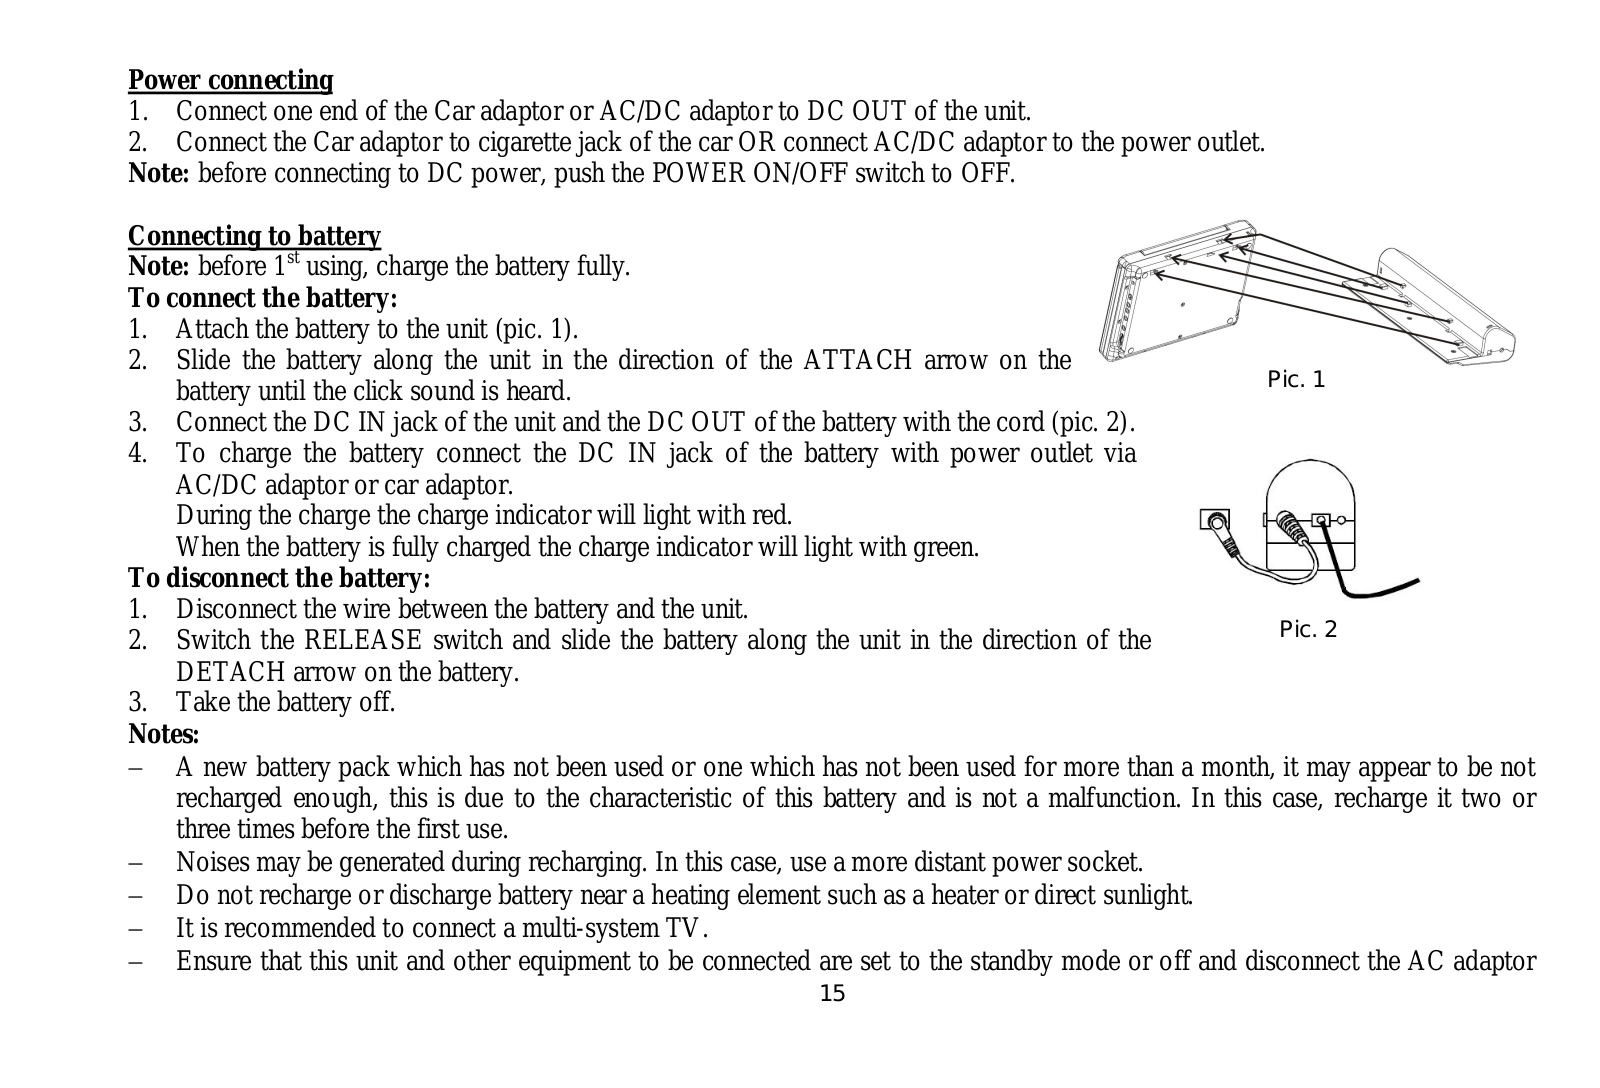
H-LCDVD711
Instruction Manual
55 pgs
1.58 Mb
0
Table of contents
Loading...
Hyundai H-LCDVD711 Instruction Manual
...
Hyundai Instruction Manual
Download
Specifications and Main Features
Frequently Asked Questions
User Manual
Download
Loading...
+
38
hidden pages
Unhide
You need points to download manuals.
1 point = 1 manual.
You can buy points or you can get point for every manual you upload.
Buy points
Upload your manuals