

Page 1
Secure Payment Systems Rev 1.1
41
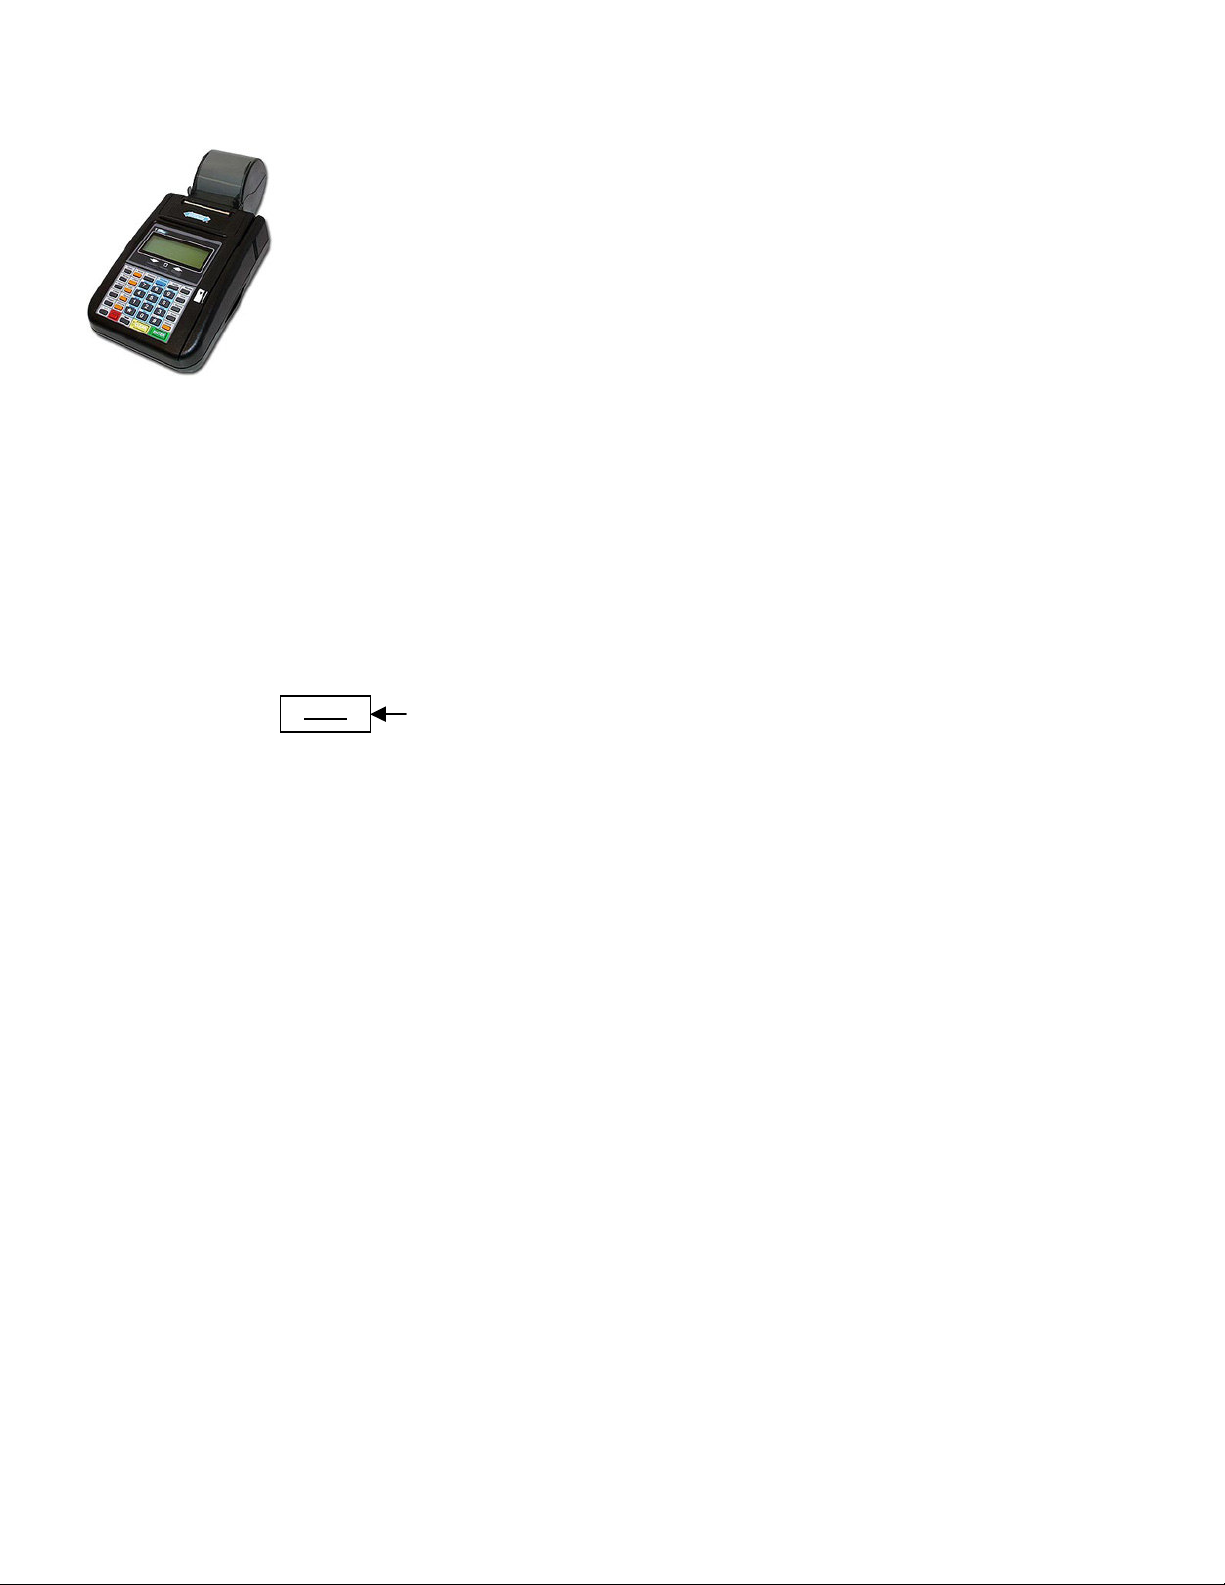
HYPERCOM T7Plus CHECK INSTRUCTIONS
1. Processing a Check
a. Press the “Check” key on the keypad (The check key is the second orange key in the second row)
i. Press the “1” numeric key from the keypad, for manual bank deposit (Check Auth) (i.e. A business
check or a check that was already run and received a “Rerun as Paper” response) and press “Enter”.
(The enter key is the same as “Yes” key and is the green key located at the bottom)
ii. Press the “2” numeric key from the keypad if this is a check for electronic deposit (ACH Check) (and
the check will be handed back) and press “Enter”. (Business checks must be deposited as paper and
may not be converted)
b. Guarantee Yes or No? (If “Check Auth” then the word ACH will not appear)
i. If currently subscribing to the SPS guarantee program “Yes” must be selected at this prompt in order
State Codes
Alabama
42
Alaska
43
Arizona
45
Arkansas
46
California
47
Colorado
48
Connecticut
91
Wash DC
77
Delaware
49
Florida
50
Georgia
51
Hawaii
52
Idaho
53
Illinois
54
Indiana
56
Iowa
57
Kansas
58
Kentucky
59
Louisiana
60
Maine
61
Maryland
62
Massachusetts
63
Michigan
64
Minnesota
65
Mississippi
67
Missouri
68
Montana
69
Nebraska
70
Nevada
71
New Hamp
66
New Jersey
72
New Mexico
55
New York
73
N Carolina
74
N Dakota
75
Ohio
76
Oklahoma
78
Oregon
44
Pennsylvania
79
Rhode Island
80
S Carolina
81
S Dakota
82
Tennessee
83
Texas
84
Utah
85
Vermont
86
Virginia
87
Washington
88
W Virginia
89
Wisconsin
90
Wyoming
92
Amer Samoa
93
Military ID
94
Guam
95
Puerto Rico
96
Virgin Islands
28
Alberta
29
Brit Columbia
30
Manitoba
31
New Bruns
32
Newfoundland
33
NW Terr
34
Nova Scotia
35
Ontario
36
Pr Edward Isl.
37
Quebec
38
Saskatchewan
39
Yukon Terr
to for claims to be covered. The terminal will not prompt for ACH or non-ACH if subscribing to
verification services only.
c. ACH Check Amount? …
i. Please enter the $ amount and press “Enter”
d. ACH Check Drivers License Number (if not prompted then the terminal will proceed to (5) below)
i. Please swipe the magnetic strip license
• If a good swipe the terminal proceeds to (e) below
• If a bad swipe or no magnetic strip then:
(a) Begin manual entry of the customer’s driver’s license number as exactly seen on the
ABC
license. If letters are required, press the “Shift” key (The shift key is the first key in the last
row) and the desired letter simultaneously. When finished, press “Enter” to see:
• State Code – Type the two digit state code and press “Enter” (the state code table is
located to the left on this page)
• DOB prompt follows the phone # prompt if manual.
e. ACH Check Insert Check
i. Slide the check thru the imager or check reader
• If a bad read then try again or if unable to get a good read press the “Cancel” key (The cancel
key is the red key in the last row) and start over when the terminal prompts “Check Auth” or
“ACH Check” at step (1) above and then manually enter the Account number at the “Enter
MICR Number” prompt. After entering the Account number and pressing “Enter”, terminal will
display:
• Enter Account # … when finished press “Enter”
• Enter Routing # … when finished press “Enter”
f. Enter Check # … Type in check number located in the upper right hand corner of check.
g. Enter phone #…. Type the customer’s home phone beginning with area code.
h. Date of birth #…Type the customers date of birth.
i. Terminal Begins Dialing Sequence (Dialing. Connecting, Receiving, Transmitting, etc.)
i. If the terminal displays: “OKAY NNNN” the terminal will finish printing the authorization receipt, which
the customer must sign to complete the transaction. The terminal will then prompt to print another
receipt for the customer copy.
Secure Payment Systems Customer Service/ Technical Support – 888.313.7842
Page 2

Secure Payment Systems Rev 1.1
Cable Requirements:
HYPERCOM T7Plus CHECK INSTRUCTIONS
2. Miscellaneous Administrative Issues
a. Reprint Receipt (in case there was a printer problem)
i. Press the “Reprint” key (The reprint key is the last key in the third row) and enter in the invoice number found on the original
copy. If original copy not available, press the “Reports” key (The reports key is the first key in the third row) on the terminal,
press “3” for audit and then press “Enter”. (Or call customer service at (888) 313-7842 and ask for the last 6 digits of the item
number of the transaction)
b. If the terminal displays: “Call Ctr – NN” (where NN = a two digit number) you must immediately call the SPS voice authorization center
for operator approval. Upon receiving approval you must then:
i. Force the authorization into the batch (similar to forcing a credit card transaction), by immediately rerunning the transaction just
like the original transaction (do not delay, the customer needs to sign a printed receipt)
c. If the terminal displays an error response such as: “Micr/Chk # Error” or “DL Error” or “DOB Error” or “Phone # Error” or “State
Code Error” then rerun the transaction from the beginning. If the terminal responds with “Rerun As Paper” then rerun the
transaction from the beginning and select “1” at step #1 above.
3. Voiding an eCheck transaction
a. To void a transaction, press the “Void” key and enter the invoice number found on the receipt or audit report. Verify that the amount is
correct for the transaction and press “Enter”
4. SPS Batch Close (if using the ACH check conversion service)
a. If not on “Auto Settle”, press the “Settle” key (The settle key is the fifth key in the first row) .At the: “Enter password” prompt, enter
the password (generally it is four zeros (0000)) then press “Enter”
i. The Terminal will scan the batch and then display totals and ask if they are correct.
ii. If satisfied with totals press “Yes” or “Enter”. The terminal will dial the SPS processing center, clear the batch, and print a totals
report.
5. Printing Reports
a. Printing a Summary Report
i. Press the “Reports” key on the keypad (The Reports key is the first key in the third row)
ii. Press “4” for summary and then press “Enter”
b. Printing an Audit Report
i. Press the “Reports” key on the keypad (The Reports key is the first key in the third row)
ii. Press “3” for audit and then press “Enter”
iii. Type in the Host number and press “Enter”
c. Printing Batch History Report
i. Press the “Reports” key on the keypad (The Reports key is
the first key in the third row)
ii. Press “5” for history and then press “Enter”
iii. Type 03 for SPS and press “Enter”
iv. Type the desired start date in Month, Day, and Year format,
and then press “Enter”
6. Automatic Image transmission --- The terminal automatically causes images to be transmitted after the batch is settled. A receipt will be
printed denoting the number of images uploaded if successful, or the number of images not uploaded if unsuccessful. Please call the SPS
Customer Service line if image uploads are unsuccessful for more than two days in a row.
7. Manual Image Transmission (in case of failed automatic transmission – if using an imager)
a. Press “FUNCTION” key (The function key is the blue key in the first row) and then type 80 and press “Enter”
b. Terminal will display 1 = SEND 2 = CLR (clear images) 3 = INFO (states number of images in a storage). Select 1 to send images.
Supported check readers;
Magtek Mini MICR Cable Part Number: 22517577
Supported imagers;
Magtek MICR Imager Cable Part Number: 22410311
RDM EC5000 series Cable Part Number: 810306-001 A
RDM EC6000 series Cable Part Number: 810306-001 A
Note: Paper based transactions (where you select non ACH are not included in terminal reporting / batches)
Secure Payment Systems Customer Service/ Technical Support – 888.313.7842
Page 3

Secure Payment Systems Rev 1.1
HYPERCOM T7Plus GIFT CARD INSTRUCTIONS
1. Activating a gift card
a. Press the “Card Verify” key, select Gift and press “Enter”
b. Press “1-ACTIVATE” and then press “Enter”
c. Swipe the gift card
d. Enter the reference number printed at the back of the card and press “Enter”
e. Enter the amount of the activation and press “Enter”
2. Making a Sale
a. Press the “Card Verify” key, select Gift and press “Enter”
b. Press the “3” key and press “Enter”
c. Swipe the gift card
d. Enter the amount of the purchase and press “Enter”
3. Crediting a Sale
a. Press the “Card Verify” key, select Gift and press “Enter”
b. Press “4” to run the transaction as “Refund”
c. Swipe the gift card
d. Enter the item number found on the receipt and press “Enter”
e. Enter the amount of the refund and press “Enter”
4. Voiding a Sale
a. Press the “Void” key
b. Enter the invoice number found on the receipt or audit report
c. Verify that the amount is correct for the transaction and press “Enter”
5. Balance Inquiry
a. Press the “Balance Inquiry” key
b. Press the “3” key and press “Enter”
c. Swipe the gift card
Secure Payment Systems Customer Service/ Technical Support – 888.313.7842
Page 4

6. Adding Value to a gift card
a. Press the “Card Verify” key, select Gift and press “Enter”
b. Press the “2” key and press “Enter”
c. Swipe the gift card
d. Enter the amount to add to the card balance and press “Enter”
7. Transferring funds from one gift card to another (Balance Transfer)
a. Press the “Card Verify” key, select Gift and press “Enter”
b. Press the arrow key to go to the next menu
c. Press the “6” key for Balance Transfer
d. Swipe the gift card from which the balance is to be transferred
e. Swipe the gift card on which the balance is to be transferred to
8. Reprint Receipt
a. Press the “Reprint” key
b. Enter the invoice number found on the original receipt and press “Enter”
9. Closing a Batch
a. If not on “Auto Settle”, press the “Settlement” key
b. Enter the password and press “Enter” The default password is four zeros (0000)
10. Printing a Summary Report
a. Press the “Reports” key, then “4” for Summary and press “Enter”
11. Printing an Audit Report
a. Press the “Reports” key, then “3” for Audit and press “Enter”
b. Enter the Host number and press “Enter” The gift card host is usually “03”
12. Printing Batch History Report
a. Press the “Reports” key, then “5” for History and press “Enter”
b. Type 03 for SPS and press “Enter”
c. Enter the desired start date in Month, Day, and Year format, and then press “Enter”
Secure Payment Systems Customer Service/ Technical Support – 888.313.7842
Page 5

Secure Payment Systems Rev 1.1
HYPERCOM T7Plus LOYALTY CARD INSTRUCTIONS
1. Issuing a Loyalty Card
a. Press the “Verify” key on the keypad (The verify key is the orange key in the first row). Press the “4” numeric key from the
keypad, if the transaction is intended to run as a Loyalty Card transaction and press “Enter”. (The enter key is the same as “Yes”
key and is the green key located at the bottom)
b. Press “2-ISSUE” to activate the loyalty card and then press “Enter”
c. Swipe the loyalty card through the slot on the right side of the terminal
d. Type in the full reference number printed at the back of the card and press “Enter”
e. Terminal begins Dialing sequence (Dialing, Processing, etc.) It will give an approval and print a copy of the issue receipt and will
prompt to print another receipt for the customer copy.
2. Accumulation on a Loyalty Card
a. Press the “Verify” key on the keypad (The Verify key is the orange key in the first row)
b. Press the “4” numeric key from the keypad, if you intend to run the transaction as a Loyalty Card transaction and press “Enter”. (The
enter key is the same as “Yes” key and is the green key located at the bottom)
c. Press the “1” numeric key from the keypad, to run the transaction as a Accumulation and press “Enter”
d. Swipe the card through the slot on the right side of the terminal
e. Type in the amount of accumulation and press “Enter”
f. Terminal begins Dialing sequence (Dialing, Processing, etc.) It will give an approval and print a copy of the accumulation receipt and
will prompt to print another receipt for the customer copy.
3. Redemption on a Loyalty Card
a. Press the “Verify” key on the keypad (The verify key is the orange key in the first row)
b. Press the “4” numeric key from the keypad to process the transaction as a loyalty card transaction and press “Enter”
c. Press “3” to run the transaction as “Redeem”
d. Swipe the loyalty card through the slot on the right side of the terminal
e. Type in the level of redemption and press “Enter”
f. Terminal begins Dialing sequence (Dialing, Processing, etc.) It will give an approval and print a copy of the redemption receipt and will
prompt to print another receipt for the customer copy
4. Performing a Balance Inquiry
a. Press “Bal Inq” on the keypad (The balance inquiry key is the first key in the second row)
b. Press the arrow key on the keypad (next to the “no” key) to go to the next menu
c. Press “4” for balance inquiry about the loyalty card and swipe the card through the slot on the right side of the terminal
d. Terminal begins Dialing sequence (Dialing, Processing, etc.) It will give an approval and print a copy of the balance inquiry receipt
5. Transferring a Loyalty Card balance
a. Press the “Verify” key on the keypad (The verify key is the orange key in the first row)
b. Press the “4” numeric key from the keypad to process the transaction as a loyalty card transaction and press “Enter”
c. Press the arrow key on the keypad (next to the “no” key) to go to the next menu
d. Press “6” for balance transfer
e. Swipe the card from which the balance is to be transferred
f. Swipe in the card on which the balance is to be transferred
g. Terminal begins Dialing sequence (Dialing, Processing, etc.) The terminal processes the transaction, transfers the balances, prints a
copy of the balance transfer receipt and prompts to print another receipt for the customer copy
Secure Payment Systems Customer Service/ Technical Support – 888.313.7842
Page 6

Secure Payment Systems Rev 1.1
HYPERCOM T7Plus LOYALTY CARD INSTRUCTIONS
6. Miscellaneous Administrative Issues
a. Reprint Receipt (in case there was a printer problem)
i. Press the “Reprint” key (The reprint key is the last key in the third row) and enter in the invoice number found on the original
copy. If original copy not available, press the “Reports” key (The reports key is the first key in the third row) on the terminal,
press “3” for audit and then press “Enter”.
b. Void Transaction (in case a transaction is to be cancelled)
i. On the keypad, press the “Void” key (The void key is the third orange key from the top) and type in the invoice number found on
the receipt or audit report. Verify that the amount is correct for the transaction and press “Enter”
7. SPS Batch Close
a. If not on “Auto Settle”, press the “Settle” key (The settle key is the fifth key in the first row) .At the: “Enter password” prompt, enter
the password. (Generally it is four zeros (0000)) then press “Enter”.
i. The Terminal will scan the batch and then display totals and ask if they are correct.
ii. If satisfied with totals press “Yes” or “Enter”. The terminal will dial the SPS processing center, clear the batch, and print a totals
report.
8. Printing a Summary Report
a. Press the “Reports” key on the keypad (The Reports key is the first key in the third row)
b. Press “4” for summary and then press “Enter”
9. Printing an Audit Report
a. Press the “Reports” key on the keypad (The Reports key is the first key in the third row)
b. Press “3” for audit and then press “Enter”
c. Type in the Host number and press “Enter”
10. Printing Batch History Report
a. Press the “Reports” key on the keypad (The Reports key is the first key in the third row)
b. Press “5” for history and then press “Enter”
c. Type 03 for SPS and press “Enter”
d. Type the desired start date in Month, Day, and Year format, and then press “Enter”
Secure Payment Systems Customer Service/ Technical Support – 888.313.7842
 Loading...