

© 2017 Hunter Douglas. All rights reserved. All trademarks used herein are the
property of Hunt er Douglas or their respective owners. 5110540123 5/17
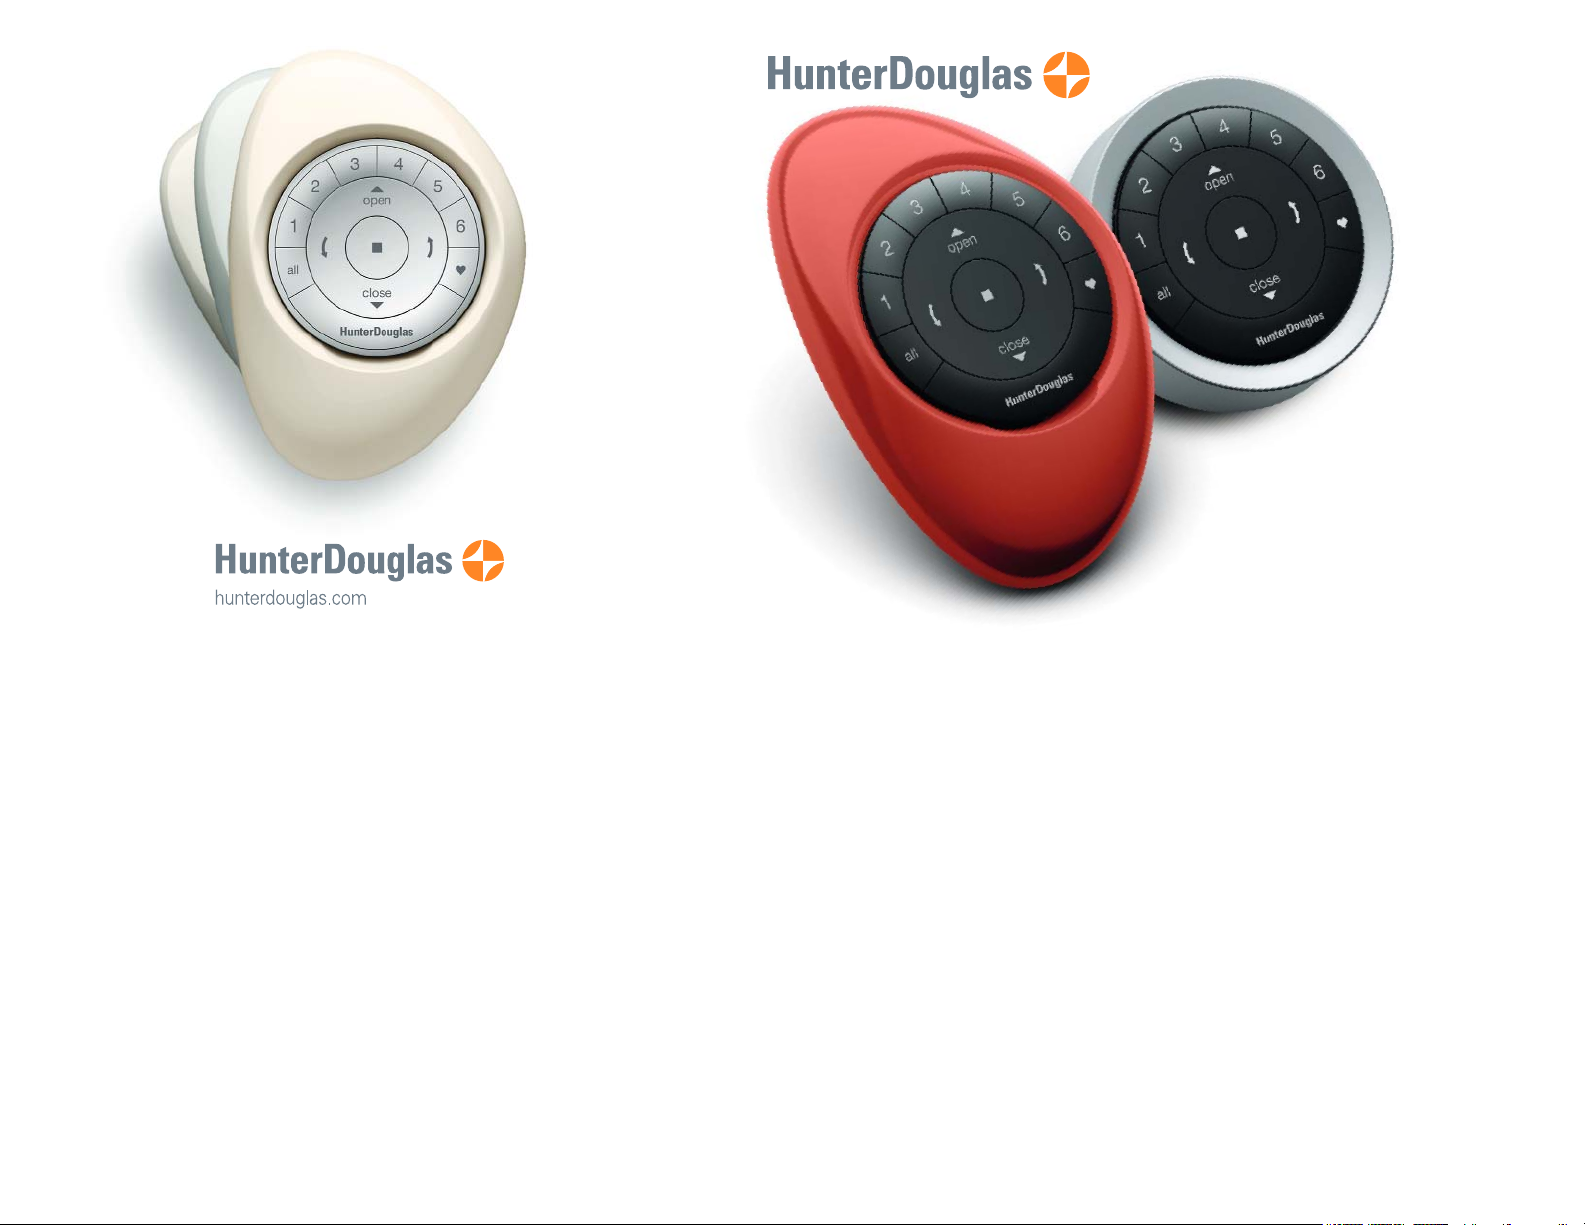
Pow er Vi ew® Motorization
REM OTE CONTROL GUIDE
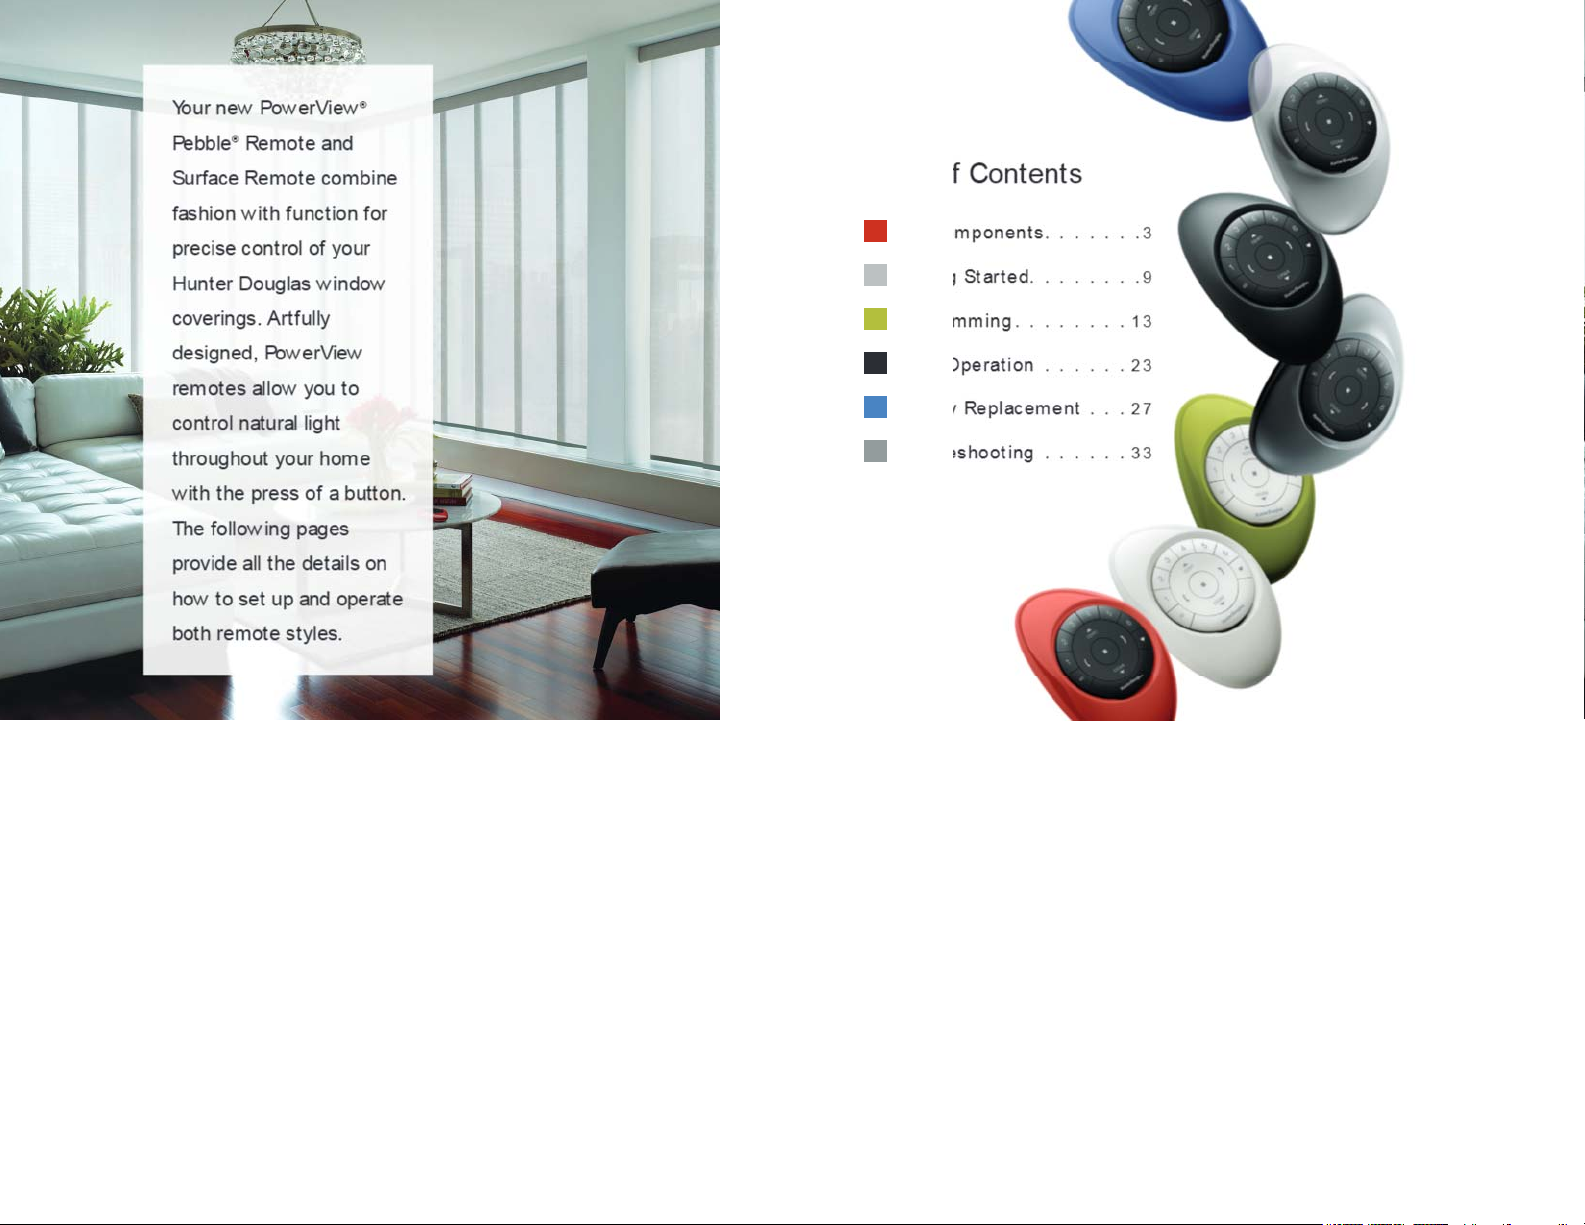
Table of Contents
Skyline® Gliding Window Panels
Key Components . . . . . . . 3
Get t ing St art ed. . . . . . . . 9
Pro gram min g . . . . . . . . 13
Basic Operat ion . . . . . . 23
Batt ery Repl acem ent . . . 27
Tro ubleshoo t ing . . . . . .
33
3
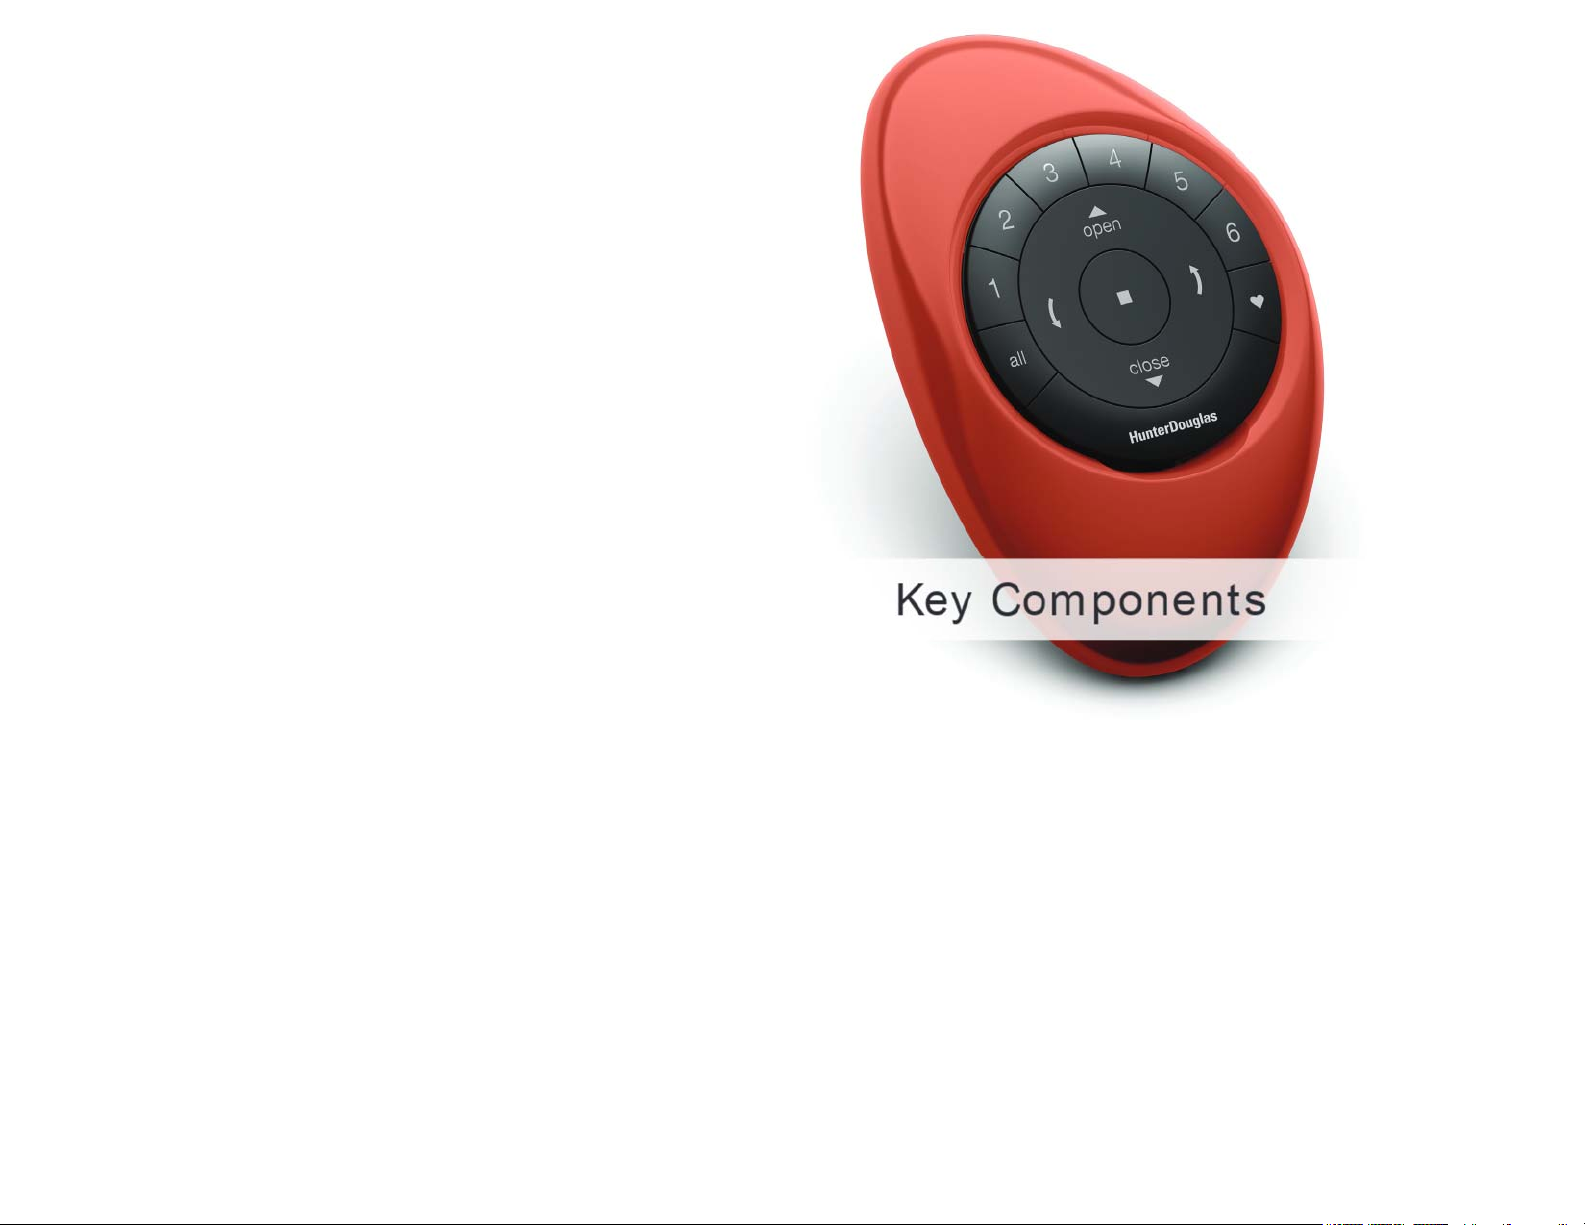
KEY COM PONENTS
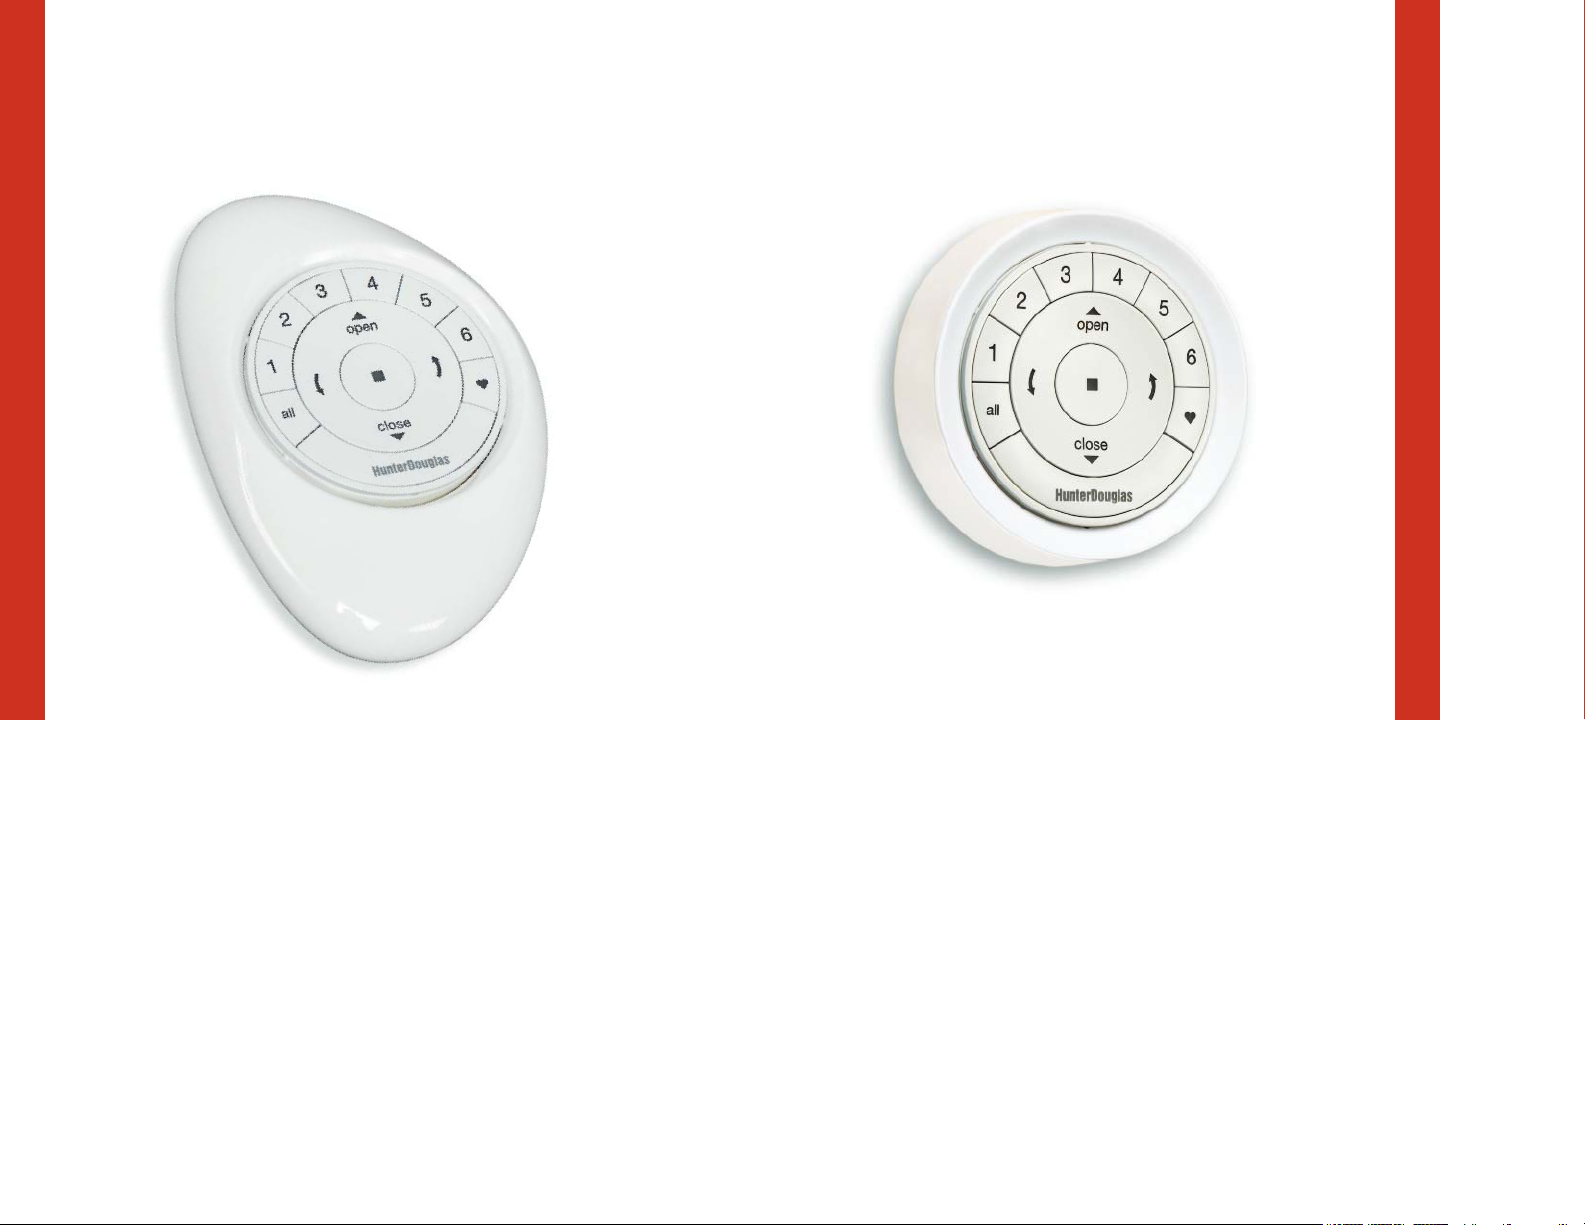
POWERVIEW® PEBBLE® REM OTE
POWERVIEW® SURFACE REM OTE
KEY COM PONENTS
Ergonomically designed, the PowerView® Pebb l e®
hand-held remot e is available in ten on-trend colors
to complement your home décor.
The sleek PowerView® Surface is w all-mounted so you know
your remote is always right where you left it.
54
KEY COM PONENTS
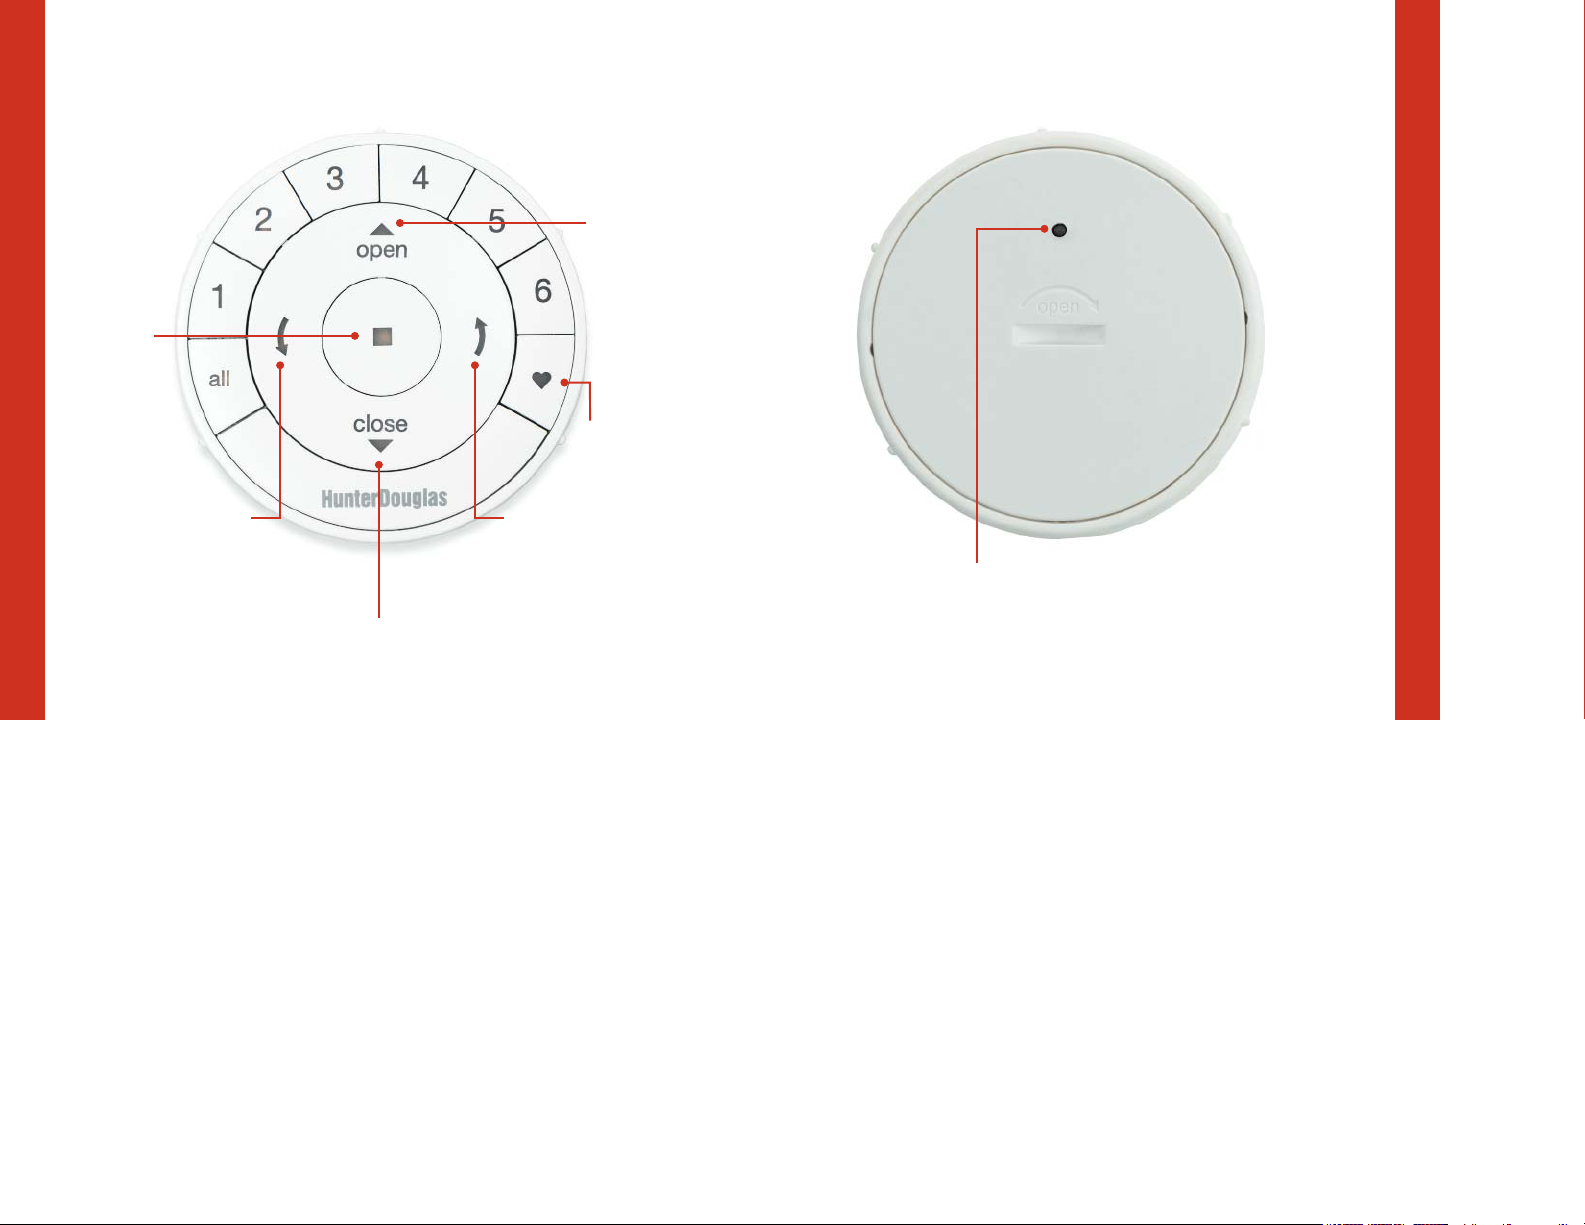
REM OTE M ODULE FRONT
GROUP 3 GROUP 4
REM OTE M ODULE BACK
KEY COM PONENTS
GROUP 1
STOP
Press and
hold for
program
mode.
6
GROUP 2
LEFT A RROW
Function varies
with shade type.
GROUP 5
OPEN
GROUP 6
FA VO RI TE
Shade position
RIGHT ARROW
Function varies
with shade type.
PROGRAM M IN G ACCESS
CLOSE
7
KEY COM PONENTS
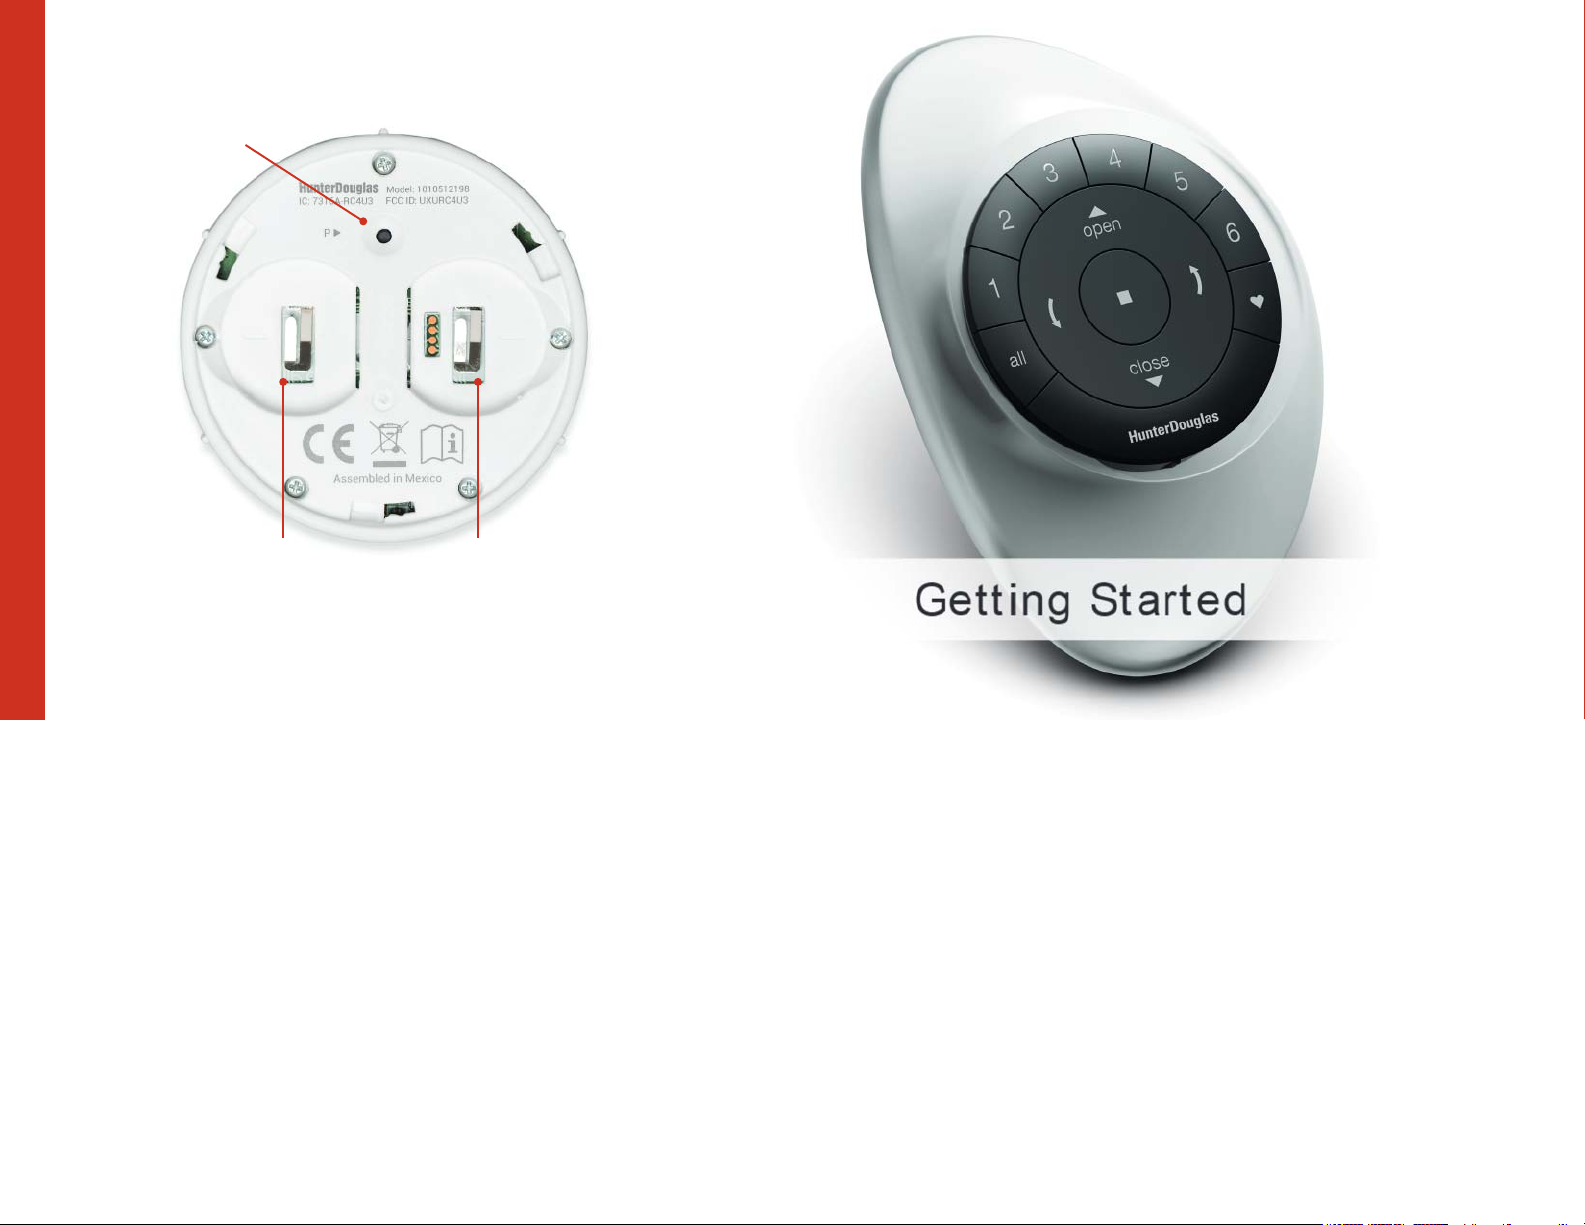
REM OTE M ODULE (BACK COVER REM OVED)
PROGRAM M ING
COMPA RTMENT
BATTERY
3V CR 2032
8
BATTERY
COMPA RTMENT
3V CR 2032
9

GETTING STARTED
IMPORTANT: The Pow erView® Remote w ill not operate a
GETTING STARTED
window covering until the w indow covering has been added
to a GROUP.
Inserting t he remote module into the PowerView® Pebble® (hand-held):
Getting started
First, activate the remote by pulling both plastic t abs from the
back battery compartment .
1. Center the Hunter Douglas logo on the remote m odule
above the indent ation on the bottom rim of t he Pebble.
2. Align the ribs on the remote module w it h the grooves on
the Pebble.
3. Gently push the rem ote m odule into t he Pebble until it
NOTE: If placing the remote module into a Pewter or Clear
Frost Pebble
®
, ensure the provided color insert is seated at the
is snug.
bottom of the Pebble cutout .
Ribs on remote
to be aligned
with the
grooves on
the Pebble.
Center logo
10
11

GETTING STARTED
Mounting the PowerView® Surface:
1. Choose a location to mount the Surface.
2. Orient the Surface mounting plate so that the Hunter Douglas
logo is horizontal and level. Mark screw holes.
3. If you are mounting the Surface onto dryw all, use a
7
/32" drill bit to drill pilot holes. Tap drywall anchors into
the pilot holes until the
ange of the anchor is ush
with the drywall.
4. If you are mounting the Surface onto wood, use a
3
/32" drill bit to drill the screw holes.
5. Attach the Surface mounting plate using the screws provided.
6. Align the Surface ring with its mounting plate and t w ist
the Surface ring clockw ise to lock it in place.
Inserting the remot e module in t he Surface:
1. Align the ribs on the remote module w it h the grooves
on the Surface.
2. Gently push the remote module into the Surface until
it is snug.
Rib s o n
remote to be
aligned wit h
the
grooves on
the Pebble.
Center logo
1312

PROGRAM MING
14
IMPORTANT: If you have multiple remotes, please follow
the steps below t o pair all remotes to the same Pow erView
Netw ork. If you only have one remote, please refer to page 19
for additional programming steps.
®
Pairing additional rem ote(s) to the
Po w erV ie w
Follow these st eps to pair remotes to the same Pow erView
Shade Network. A ll rem o tes in a home should be paired to
the same network. This allows for easy installation of additional
control options, such as the Pow erView Hub and PowerView
Repeaters. Remotes paired to the same network will be able
to operate the speci
1. Locate the programming access on the back cover of
the remote module.
2. Using a paper clip, press and hold the recessed P button
for 6 seconds.
NOTE: The Group Numbers (1– 6) will
PRESS of the reset butt on follow ed by three times at
6 seconds.
3. Press and hold STOP on the remote, until the indicator
buttons blink. The remote is now in program mode.
4. Press and hold the STOP button on the new rem ote
while pressing and releasing
5. The backlit GROUP buttons on the n ew remote will ash
tw ice t o indicate the rem ote has been paired to the
PowerView Shade Netw ork.
6. Press and hold STOP on the remote, until the indicator
lights stop blinking to exit program mode.
®
Shad e Net w ork
c window coverings they are assigned to.
ash tw ice on the
STOP on the original remote.
Pairin g Pow erView® Repeat ers
to a remote created Pow erView
Shade Netw ork
Repeaters extend the range of the radio frequency (RF)
signal emitted by the PowerView
PowerView Surface, or the PowerView Hub when used with
the PowerView App.
1. PLUG the Repeat er Kit into an electrical ou t let .
2. Press and hold STOP on the PowerView Pebble
Remote, until the indicator lights blink. The remote
is now in program mode.
Hold the remote w ithin 3 feet of the Repeater to
complete Step 3.
3. Pres s STOP on the remote. The Repeater is now
paired to the PowerView Shade Network.
4. Press and hold STOP on the remote, until the
indicator lights stop blinking to exit program mode.
®
Pebble® Remote, the
PROGRAM MING
15

PROGRAM MING
Pairin g re m o t e (s) t o a Po w erVie w® Hub
created PowerView Shade Network
A Hub previously paired to an existing remote created
Pow e rVi ew
netw ork during setup, can have additional Pebble
remotes paired to it, even if the remot es are introduced after
the initial Hub setup. The repeater’s green light w ill
whenever it repeats a command sent by a device on the
same PowerView Shade Network.
NOTE: The Group Numbers (1–6) w ill
3. Hold the remote module within approximately
Com pl ete Steps 4 and 5 at t he same tim e.
NOTE: The Group Numbers (1–6) w ill
®
Shade Network or t hat had created its ow n
®
or Surface
ash,
1. Locate the programming access on the back cover of
the remote module.
2. Using a paper clip, press and hold the recessed P button
for 6 seconds.
the PRESS of t he reset bu tton follow ed by t hr ee t imes
at 6 seconds.
12 inches of the Hub.
ash tw ice on
4. Press and hold the STOP button on the remote module.
5. Press and hold the
for approximately three seconds.
that the remote module has been paired to the
PowerView Shade Netw ork.
P
button on the back of the Hub
ash to indicate
Creating a D uplicate Rem ote
A duplicate remot e w ill operate the same set of window
coverings and GROUPS as the original remote.
1. Locate the programming access on the back cover of
the remote module.
2. Using a paper clip, press and hold the recessed P button
for 6 seconds.
NOTE: The Group Numbers (1–6) will
PRESS of the reset button followed by three times at
6 seconds.
3. Press and hold STOP on the original remote, until
the indicator lights blink. The remote is now in
program mode.
4. While pressing and holding ALL on the new remote,
press and release
5. The backlit GROUP buttons on the duplicate rem ote
will
ash tw ice to indicate all of the information from
the orig in al remote has been copied.
6. Press and hold STOP on the original remote, until
the indicator lights stop blinking to exit program mode.
STOP on the original remote.
ash tw ice on the
PROGRAM MING
16
17

PROGRAM MING
Deactivating the remote’s auto-w ake
feature
The auto-wake feature activates the backlights on the remote,
whenever the remote is handled. This feature is useful for
immediately seeing w hich shade GROUP buttons were activated
last, but deactivating this feature will help to conserve battery
life. When the auto-wake feature is deactivated, press
wake the remot e and see which group buttons are active.
1. Press and hold the GROUP 6 button on the rem ote for
approximately 6 seconds.
2. The GROUP numbers (1– 6) will blink once to indicate
the auto-wake feature has been disabled.
STOP to
Reactivating a remote’s auto-w ake
feature
1. Press and hold the GROUP 6 button on the remote for
approximately 6 seconds.
2. The GROUP numbers (1– 6) will blink t w ice to indicate
the auto-wake feature has been enabled.
NOTE: It is recomm ended that only similar window coverings
be included in a GROUP because of differences in product
features and operation. When a window covering is added to
a GROUP fo r the
Shade Network that links w indow coverings and devices together.
A GROUP can be a single window covering or multiple
window coverings. There are six unique assignable GROUPS
to use on each remote. A window covering may be assigned
to more than one GROUP.
rst time, it is also added to the Pow erView®
Join a w indow covering to a GROUP
1. Press and hold STOP on the remote, until t he
indicator lights blink. The remot e is now in program mode.
2. Press the desired GROUP number (1– 6) on the
remote. The backlit GROUP number will
it is selected.
3. Press and hold the m anual control butt on on the
window covering.
4. While continuing to press the m anual button, press
5. Press and hold STOP on the remote, until the
OPEN on the rem ote. The window covering will
move slightly to indicate it has been joined to the
GROUP. Release the manual control button.
indicator lights stop blinking to exit program mode.
ash t o s how
PROGRAM MING
1918

PROGRAM MING
Remove a w indow covering from
a GROUP
1. Press and hold STOP on the remote, until the
indicator lights blink. The remote is now in program m ode.
2. Press the desired GROUP number (1– 6) on the
remote.The backlit GROUP number will
it is selected.
3. Press and hold the manual control button on the
window covering.
4. While continuing to press t he manual butt on, press
5. Press and hold STOP on the remote, until the
CLOSE on the remote. The window covering will
move slightly to indicate it has been removed from
the GROUP. Release the manual control button.
indicator lights stop blinking to exit program mode.
ash t o show
Set a FAVORITE position
Each window covering has one FAVORITE position, w hich is
set at 50% open by default. Setting a new FAVORITE position
overw rites any previous setting.
1. Open or close the w indow covering to the desired position.
2. Press and hold STOP on the remote, until the indicator
lights blink. The remot e is now in program mode.
3. Press and hold the manual control button on the
window covering.
4. While continuing to press t he manual control button,
press
covering will move slightly t o indicate it has set this
window covering position as your FAVORITE. Release
the manual control button.
5. Press and hold STOP on the remote, until the
indicator lights stop blinking to exit program mode.
FAVORITE on the remote. The window
♥
PROGRAM MING
2120

PROGRAM MING
Resetting w indow covering programming
This reset erases Network information stored in the w indow
covering, including GROUP assignment s, preventing any input
device from operating the w indow covering. Its primary use is during
installation to correct GROUP and Net work assignments. This reset
does not affect t ravel limits.
1. Press and hold the m anual control butt on for 12 seconds.
The w indow covering will move slightly once after 6 seconds,
then again after 12 seconds. Release the button.
2. Refer t o “ Join a window covering to a GROUP” on
page 19 to program the w indow covering to a group.
W h at’s th e Difference?
Paired rem ot e Cloned remot e
Same Pow erView
Netw ork I.D. as original remote.
®
Shade
Same Pow erView Shade
Netw ork I.D. as original remote.
22
Can be programmed differently
from original remote.
Can control a different set
of w indow coverings and/or
different GROUPS.
An exact duplicate of
original remote.
Must cont rol the same set
of w indow coverings and/or
GROUPS.
23

BASIC OPERATION
Once the w indow coverings have been joined to a GROUP or
multiple GROUPS, the remote is ready to operate the w indow
covering(s). Multiple w indow coverings can be operated at the
same time.
NOTE: Some PowerView
operation from the basic operation listed here. For full instructions
on how to operate your PowerView w indow t reatment, please
consult the IOC that came w ith your window t reatment.
®
window treatm ents offer variable
Basic Op eration
1. To w ake up the remote, simply pick it up or press
a. Multiple GROUP buttons may be selected at t he
b. To d e s el e c t a G RO UP, press the GROUP button again.
STOP. The last GROUP(S) selected w ill be
highlighted and active.
2. Press ALL or GROUP 1– 6 button(s) to select speci c
window covering(s) to operate. Selected GROUP button(s)
will light to show they are selected.
same time.
The backlit GROUP button will go out.
3. Pre ss OPEN to open t he selected w indow covering(s).
4. Press CLOSE to close the selected w indow covering(s).
5. For window covering(s) w ith vanes or a middle rail*,
press the
covering and open the vanes, rotate the vanes to
the right, or fully raise the middle rail.
6. For window covering(s) with vanes or a middle rail,
press the
the vanes to the left , or fully low er the middle rail.
a. NOTE: Single-function w indow coverings will not
operate by pressing the ARROW buttons.
RIGHT ARROW to close t he w indow
LEFT ARROW to close t he vanes, rotate
7. Pre ss STOP to stop window covering/vane movement
anywhere along its travel.
8. While a w indow covering is in motion, press the opposite
of its mot ion (
9. Press
* Applies to Top-Down/Bottom -Up and Duolite™ window coverings only.
The bottom rail on Top-Dow n/Bottom -Up window coverings operates
using the OPEN and CLOSE commands.
♥
to your preset FAVORITE position.
OPEN or CLOSE) to reverse direction.
FAVORITE to send selected w indow covering(s)
BASIC OPERATION
24
25

27

BATTERY REPLACEM ENT
Replacing batteries in th e rem ote
Replacing the batteries in the remote module w ill not cause the
loss of any window covering programming, including GROUPS
and FAVORITE. The remot e uses two CR 2032 batteries.
1. For the Pebble
indentation, gently lift and remove the remote module
from the Pebble. For the Surface Remote, remove the
Surface from its mounting plate by tw isting the Surface
counter-clockwise. Push the remote module out from
the back of the Surface.
®
Remote, slide your thumb in the
2. Rotate the back cover of t he remot e module
clockwise t o unlock.
3. Remove the back cover from the remote
module.
BATTERY REPLACEM ENT
2928

BATTERY REPLACEM ENT
4. Using a nger or small
screwdriver, gently lift
and remove the
old batteries.
6. Align and replace the back cover onto the
backside of t he remot e module.
7. Rotate the back cover counter-clockwise to
lock the back cover in place.
NOTE: Once the back cover is in place,
ensure the programming access point is
aligned with the recessed P button.
8. Align the ribs on the rem ote m odule w ith
the grooves on the Pebble
®
or the Surface.
BATTERY REPLACEM ENT
9. Gently push the rem ote m odule into the
Pebble or the Surface until it is snug.
5. Insert new batteries,
making sure each
is snug.
30 31

33

TROUBLESHOOTING
34
W hat is a Pow erView® Shade Netw ork ?
The Pow er Vi ew® Shade Network is a unique radio frequency that
allows Pow erView M ot orization devices to communicate w ith each
other w it hin a home. All PowerView devices w ithin a home should
be added to the same PowerView Shade Netw ork. This allow s for
easy installation of additional control options, such as the PowerView
Hub, PowerView Repeaters and PowerView Scene Controllers.
Additionally, Remotes joined to t he same Pow erView Shade Network
will be able to operate all window coverings in the Pow erView Shade
Netw ork as desired.
Troubleshooting
1.
None of the backlit buttons illum inate on my rem ote w hen
I press the buttons.
• Check to make sure the batteries are inserted properly and
• Join an existing PowerView Shade Network with the remote.
are new.
2. I programmed my w indow covering to w ork from t w o different
remotes. The window covering w orks w ell w ith the second
remote, but w ill no longer respond to t he
• Check to make sure the batteries in both remotes are
inserted properly and are new.
• All PowerView remotes within a home need t o be included
in the same PowerView Shade Netw ork. Refer to “ Pairing
additional remote(s) to the PowerView Shade Net work” on
page 14.
rst remote.
3. My window covering does not respond w hen I press
OPEN or CL OSE.
• Make sure that there is power to the w indow covering
and that the w indow covering functions properly by
pressing the m anual control button on t he w indow
covering.
• Make sure the correct GROUP number or ALL has
been selected before pressing
Active GROUP buttons w ill be backlit.
• Add the w indow covering(s) to a GROUP on the remot e.
Refer to “ Join a window covering to a GROUP” on
page 19.
OPEN or CLOSE.
4. My window covering operates when I press OPEN
or
CLOSE, but not when I press either of the arrow
buttons.
• The arrow buttons are for operating Top-Down/Bottom-Up
shades, Duolite
operable vanes only. Refer to the product ’s Installation,
Operation, and Care instructions for proper operation.
• If the w indow covering is a Top-Down/Bottom-Up shade,
a Duolite shade, or a shading or sheer with operable
vanes, reset the travel limits on the w indow covering.
Press and hold the manual button on the w indow
covering for 6 seconds, until it jogs. The window covering
will then run an auto-calibration sequence.
™
shades, and shadings or sheers with
TROUB LESHOOTING
35

U.S. Radio Frequency FCC Compli ance
This devi ce compli es wit h Part 15 of the FCC Rules. Operati on is s ubject to t he fol lowi ng t wo condit ions:
(1) This devi ce may not cause harmf ul i nter ference, and
(2) This devi ce must accept any i nter ference r eceived, i ncludi ng int erf erence that may cause undesired operat ion.
This equi pment has been t ested and f ound to compl y wit h the l imi ts f or a Class B di git al devi ce, pursuant to Part 15 of t he FCC Rules. These limi ts are desi gned
to pr ovide reas onable prot ecti on against harmful i nterf erence i n a resi denti al i nstal lat ion. Thi s equipment generates, uses and can radi ate radi o fr equency
energy and, i f not inst all ed and used in accordance w it h the i nstruct ions, may cause har mful i nter ference t o radio communicat ions. However, ther e is no
guarant ee that int erfer ence wil l not occur in a par ti cular i nstal lat ion. If t his equi pment does cause harmful int erf erence to r adio or t elevi sion r ecepti on, whi ch
can be det ermined by t urning t he equipment off and on, t he user i s encouraged to t ry t o correct the i nter ference by one or more of the f oll owing measures:
• Reori ent or r elocat e the recei ving ant enna.
• Incr ease the separat ion bet ween the equi pment and recei ver.
• Connect t he equipment int o an outl et on a ci rcui t di ff erent f rom t hat t o which t he recei ver i s connected.
• Consult the deal er or an exper ienced radi o/ TV t echnici an for help.
Any changes or modi
Indust ry Canada
Under Indust ry Canada regulat ions, t his r adio tr ansmitt er may only oper ate usi ng an antenna of a type and maximum (or lesser ) gain approved f or t he
tr ansmitt er by Indust ry Canada. To reduce pot enti al r adio i nterf erence to ot her users, the ant enna type and i ts gai n should be so chosen that t he equival ent
isot ropi call y radi ated power (e.i. r.p.) i s not more t han that necessary f or successf ul communicat ion.
This devi ce compli es wit h Indust ry Canada li cence-exempt RSS st andard(s). Operat ion i s subject to t he fol low ing t wo condi ti ons: (1) thi s device may not caus e
int erf erence, and (2) t his devi ce must accept any int erf erence, i ncludi ng int erf erence that may cause undesir ed operati on of the devi ce.
Class B Digital Devic e Notice
This Class B di git al apparat us compli es wi th Canadian ICES-003, RSS-Gen and RSS-210.
Industr ie Canada
Conformément à l a régl ementati on d’I ndustri e Canada, le pr ésent émett eur radi o peut fonct ionner avec une ant enne d’ un type et d’un gai n maximal (ou
inf éri eur) approuvé pour l’ émetteur par Indust ri e Canada. Dans l e but de r éduire l es ri sques de broui ll age radioél ectr ique à l ’i ntent ion des aut res ut il isat eurs,
il faut choisi r le t ype d’ant enne et son gai n de sort e que la puissance i sotr ope rayonnée équival ente (p. i.r.e. ) ne dépasse pas l’ int ensit é nécessair e à
l’ établ issement d’une communicat ion sat i sfai sante.
Le présent appar eil est conf orme aux CNR d’ Industr ie Canada appli cables aux appar eil s radio exempt s de li cence. L’exploi tat ion est autor isée aux deux
condit ions sui vantes : (1) l’ appareil ne doit pas produir e de brouil lage, et (2) l ’ut il isat eur de l ’apparei l doi t accepter t out br ouil lage radi oélect ri que subi, même
si l e broui ll age est suscept ibl e d’en compromett re l e foncti onnement.
Apparei l Numérique de Classe B – Avi s
Cet apparei l numéri que de classe B est conf orme à la norme NMB-003, CNR-Gen et CNR-210 du Canada.
CAN ICES-3 (B)/NMB-3(B)
European Conformi ty
We, t he undersigned,
Hunter Dougl as Window Fashions
One Duet te Way, Broom
Hunter Dougl as Europe B.V.
Piekstr aat 2, 3071 EL Rotter dam, The Netherl ands
cert if y and declar e under our sol e responsi bil it y that the PowerVi ew
2004/ 108/EC and R&TTE di rect ive 1999/ 5/ EC.
A copy of t he ori ginal declarat ion of conformi ty may be found at ww w.h unt erd ougl as. com/ RFcer ti
cati ons not expr essly approved by t he part y responsibl e for compliance coul d void t he user’s aut horit y to oper ate the equi pment.
eld, CO 80020, USA
®
Remot e Cont rol c onforms wi th t he essent ial requir ements of t he EMC di rect ive
cations.
37
 Loading...