

Humminbird WIDE PORTABLE User Manual

WHAT YOU HAVE
The Humminbird Portable is available in several different configurations. You may have
purchased the Portable case complete with a Humminbird fishfinder ready for operation. The
Portable case is also available to adapt a Humminbird product you already own to portable
operation.
This manual serves for all applications and there may be minor differences in the hardware
included depending on the configuration you purchased.
The Humminbird Portable contains the portable case, a non-removable power cable, cable
connector hardware kit, and a transducer mounting hardware kit. This kit contains everything
necessary to adapt one of several different transducers to the portable (suction cup) mount.
There are some parts included which may not be used depending on the type of transducer you
have.
Humminbird Portables are sold with Wide One Hundred, Wide 128, Wide Optic, and Wide Portrait
fishfinders. Included are the portable case, a non-removable power cable, transducer mounting
hardware, and the cable connector hardware kit. The type of transducer included varies with the
fishfinder.
This Operation Manual covers the assembly and operation of the Portable Case and transducer.
Operation of the fishfinder is covered in the fishfinder Operation Manual.
A phillips head screwdriver is required for installation.
If you purchased a Portable Case with a fishfinder, additional mounting systems are available as
accessories, which allow both a permanent mount and portable use of the same fishfinder. Refer
to the Accessory catalog for ordering information.
INSTALLATION
PORTABLE CASE ASSEMBLY
Your new Humminbird Portable case incorporates a quick-disconnect mount and connector
system for quick and easy removal of your Humminbird unit from he case. The mount allows the
unit to tilt 90 degrees for easy viewing from any location.
Open the Portable case and disconnect the cover from the base at the hinge point.
If the Humminbird unit is included, pivot it forward and remove it from the Portable case by
depressing the latch on the rear of the unit, and lifting the unit from the mount.
Remove the two battery compartment lids by lifting upwards on the front lip.
Locate the connector hardware kit and the transducer hardware kit stored in the battery
compartments.
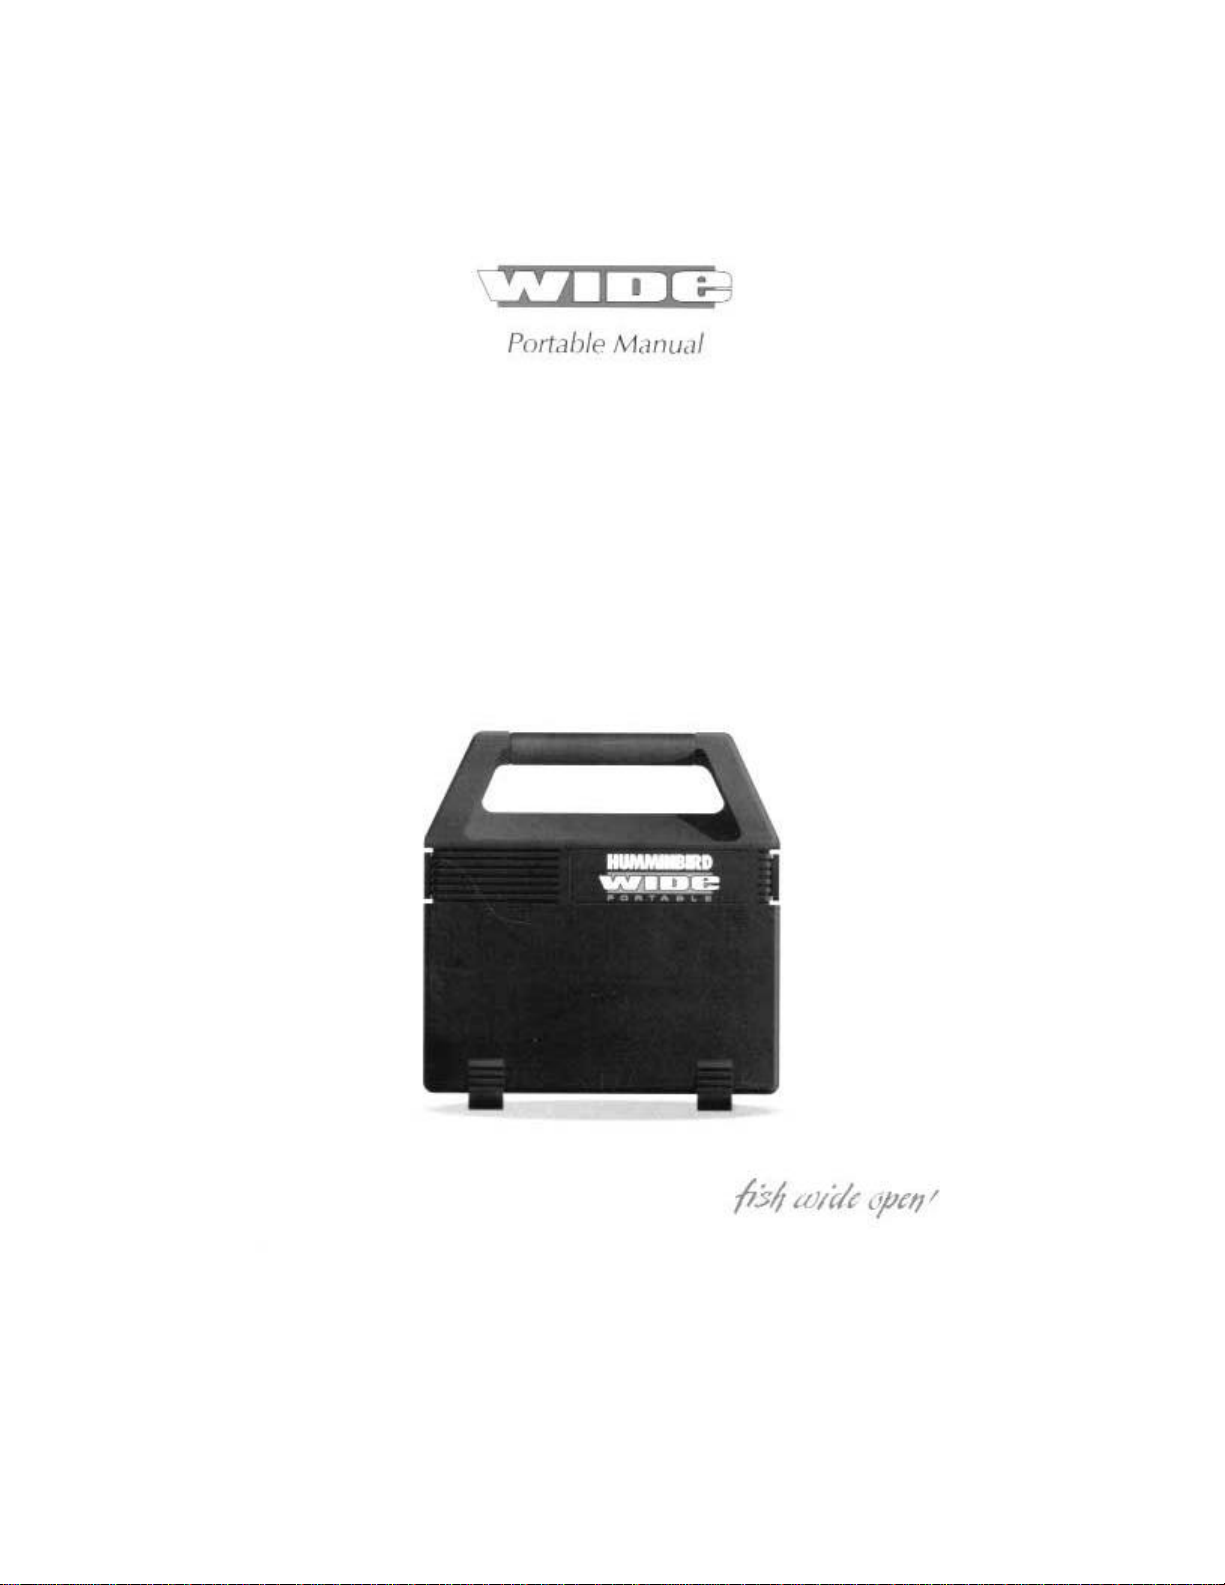
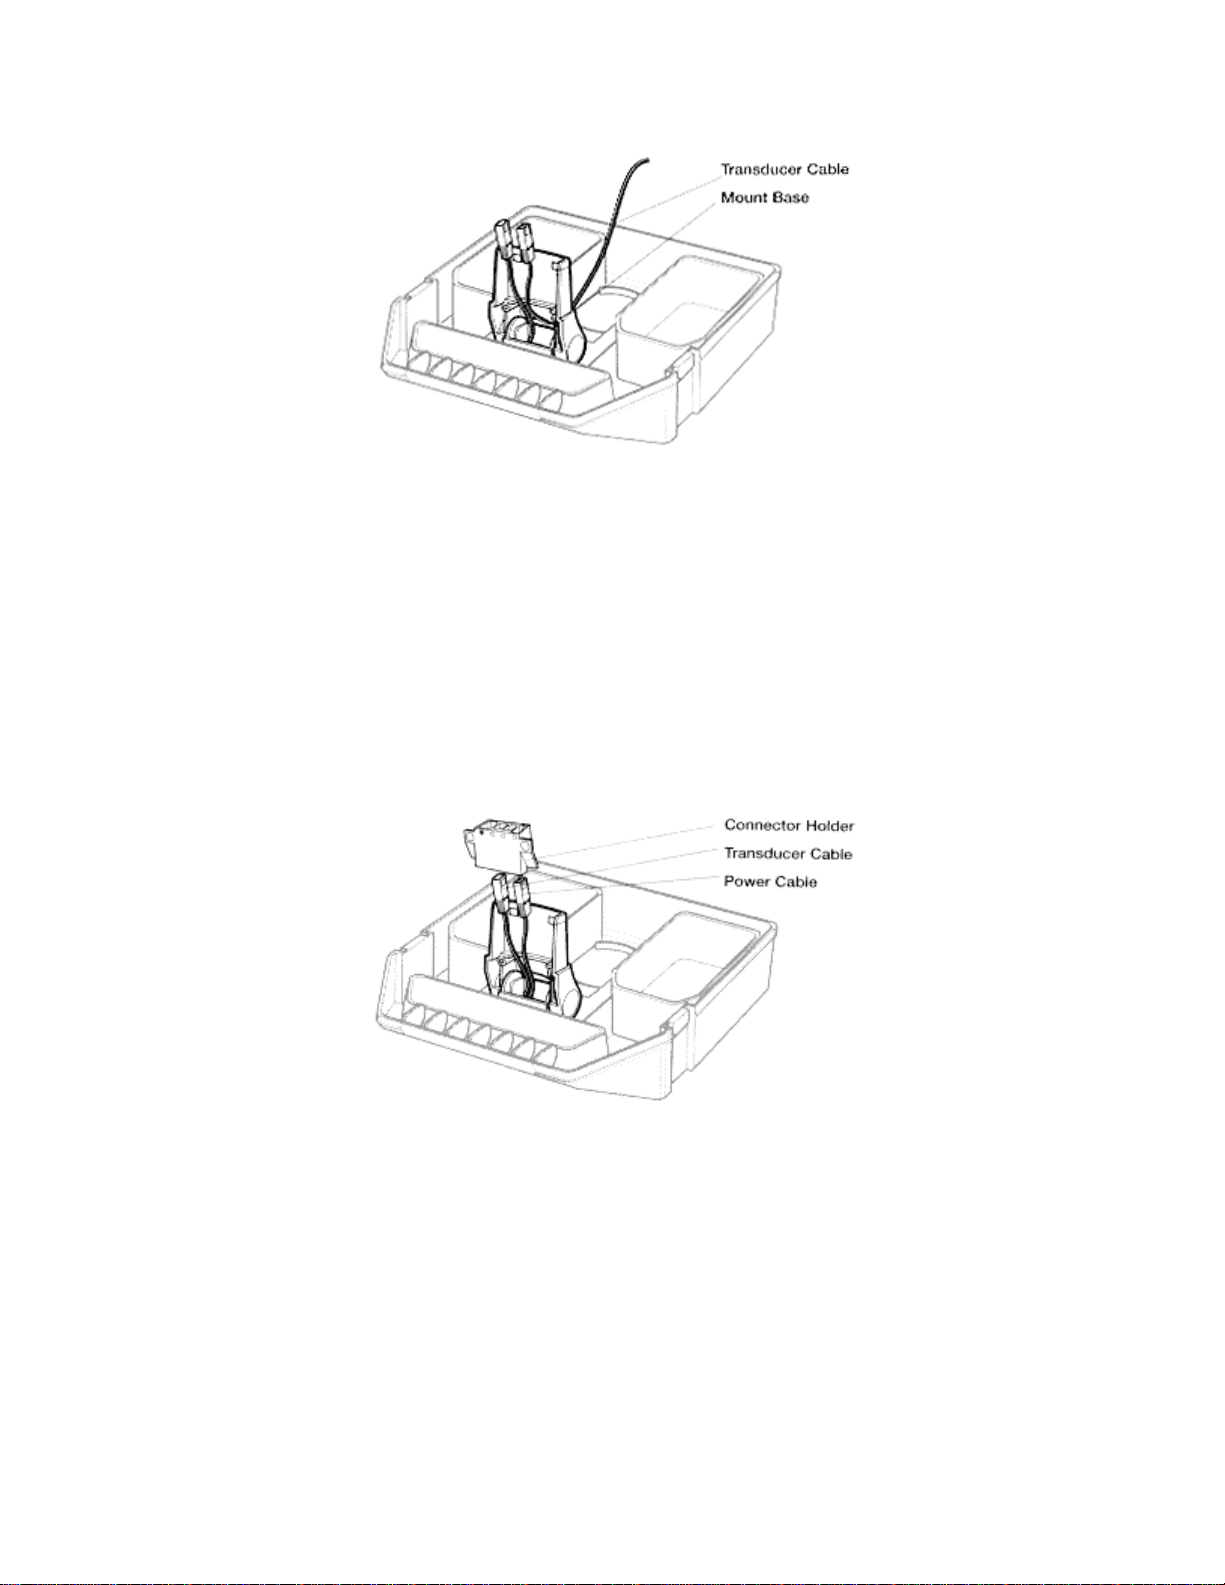
Refer to the illustration and route the transducer cable through the rear of the mount base. Insert
the power and transducer cable into the connector holder. The slots for the connectors are keyed
to prevent reversed installation, so be careful not to force the connector into the holder. The slots
for the connections are keyed to prevent reversed installation, so be careful not to force the
connector into the holder.
If you are also using the Temp/Speed accessory (Wide Optic and Wide Portrait only), install that
connector at this time also.
Carefully pull the excess cable from beneath the mounting surface so the connector holder aligns
with the mounting holes on the front of the mounting bracket.
 Loading...