

Human HumaSens User Manual
Headline
HumaSens
Glucose Meter
User Manual

2
Table of Contents
Chapter 1 HumaSens Glucose Meter 3
1.1 Introduction 3
1.2 Contents of the Kit 3
1.3 Symbols 4
1.4 System Components 5
Chapter 2 Meter Setup 6
2.1 Replacing the Battery 6
2.2 Set Date, Time and Units 6
2.3 Coding the Meter 8
2.4 Control Te st 9
Chapter 3 Performing a Test 11
3.1 Before Tes t in g 11
3.2 Te st Procedures for Blood Glucose 13
3.3 Safety Instructions 14
Chapter 4 Meter Memory Function 14
Chapter 5 Storage and Handling 15
Chapter 6 Icons and Alert Tones 16
6.1 Screen Icons 16
6.2 Alert To n es 16
Chapter 7 Error Messages and Troubleshooting 17
Chapter 8 Specif ications 18
Chapter 9 Limitations of Blood Glucose Tests 19

3
1.1 Introduction
The HumaSens Glucose Meter by HUMAN provides you
with accurate, plasma-calibrated results based on elec-
trochemical sensor technology. This system measures
blood glucose levels precisely and displays results within
10 seconds.
Intended Use:
The HumaSens Glucose Meter is designed to measure
the blood glucose levels in whole blood and must only
be used with HumaSens Glucose test strips. The test
strips are for self-testing outside the body (in vitro
diagnostic use). The system is also suitable for use by
healthcare professionals. It should be used only for
testing glucose with fresh capillary blood samples taken
from a fingertip.
The HumaSens Glucose test strips are calibrated against
the Kodak EKTACHEM DT60 analyzer using venous
plasma. Calibration can be referenced to the NIST SRM
917b standard.
Please read the entire user manual carefully before
using the HumaSens Glucose Meter to test your blood
glucose level. This user manual guides you through the
operating procedures with illustrated directions and
helps you find the required information.
1.2 Contents of the Kit
Please check the HumaSens Glucose Meter package for
the following items:
Description Qty.
HumaSens Glucose Meter 1
HumaSens Glucose test strips (10 pcs/vial)
Code Strip (glucose) 1
Chapter 1 HumaSens Glucose Meter
4
Headline
HumaSens Glucose control solution (4 ml)
HumaSens user manual 1
HumaSens quick guide 1
Lithium battery 3V (CR2032) 1
Pouch 1
Lancets (10 pcs/bag)
Lancing device 1
Lancing device user instructions 1
Glucose test strip user instructions 1
Glucose control solution user instructions 1
Patient diary 1
Optional: (not included in the standard kit package,
please contact your authorized distributor for ordering.)
[REF]
HumaSens Glucose test strips (2x25 strips/box) 17542/25
Lancets (100 pcs) 17543
HumaSens Glucose control solution (2x4 ml) 17545
PC connector cable 17549
PC software 17550
Battery pack 17548
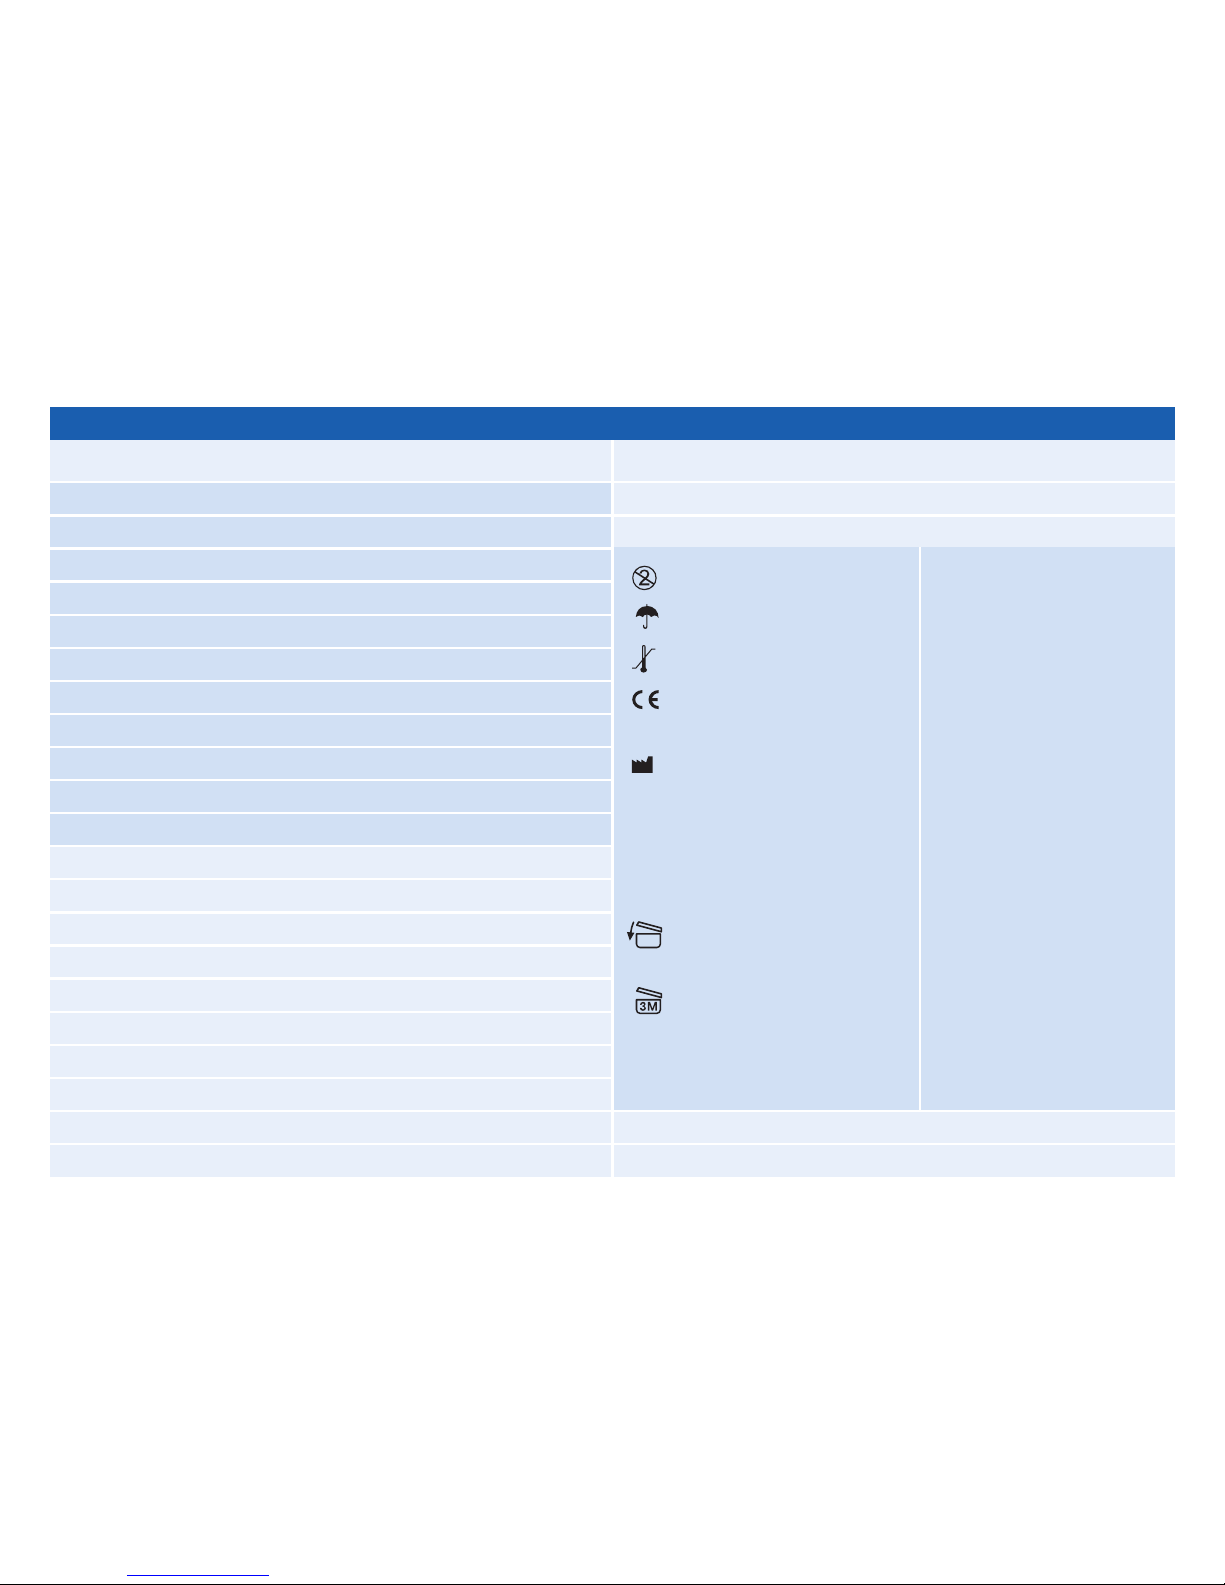
1.3 Symbols
EC
representative
Catalogue
number
In vitro
diagnostic
device
Lot number
[EC¤REP]
[REF]
[IVD]
[LOT]
Do not re-use
Keep dry
Storage temperature
Product conforms to
directive 98/79/EC
Manufacturer
Expiry date
Consult manual
Attention
Recap immediately
after use
Use within 3 months
after initial opening
½
¼
Š
Chapter 1 HumaSens Glucose Meter
5
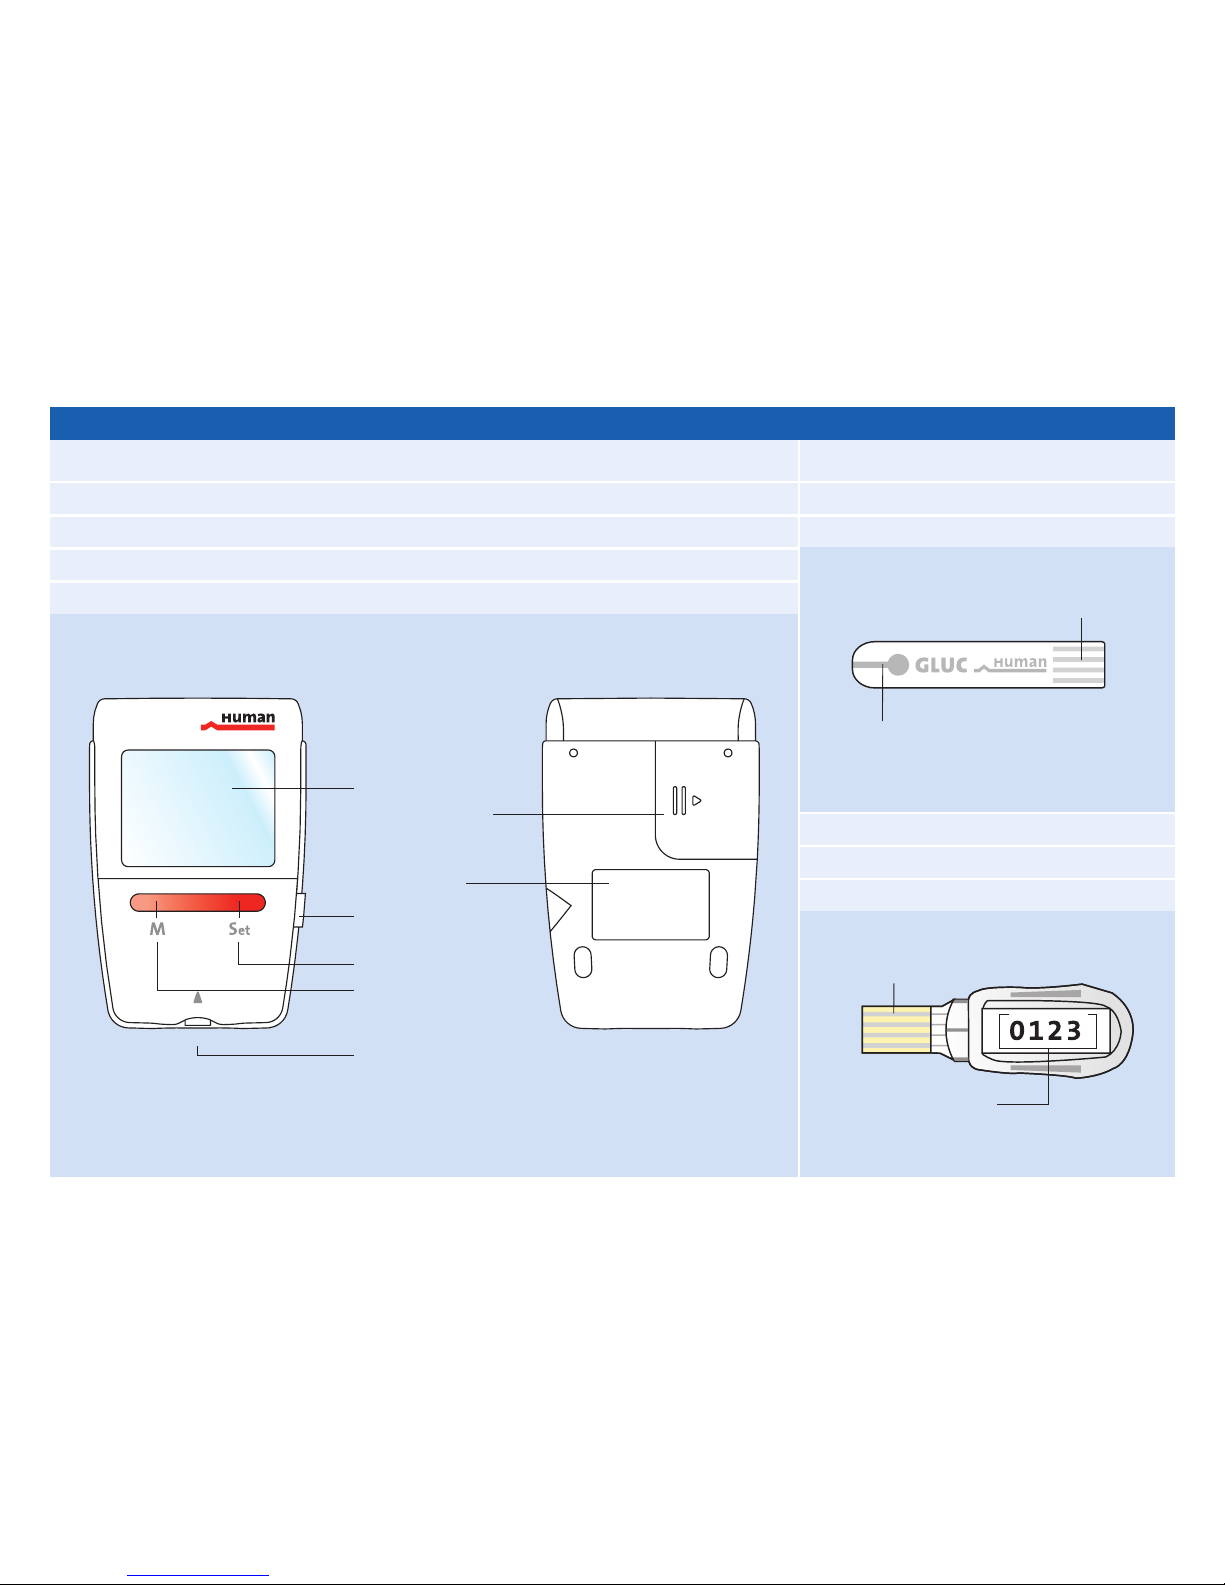
1.4 System Components
Glucose Meter (Front View) Glucose Meter (Back View)
Glucose test strip
Code strip
M button
Strip port
Set button
Screen
Battery cover
Type plate
PC connection
port
Electrodes
Sample entry zone
Electrodes
Code number
6
Headline
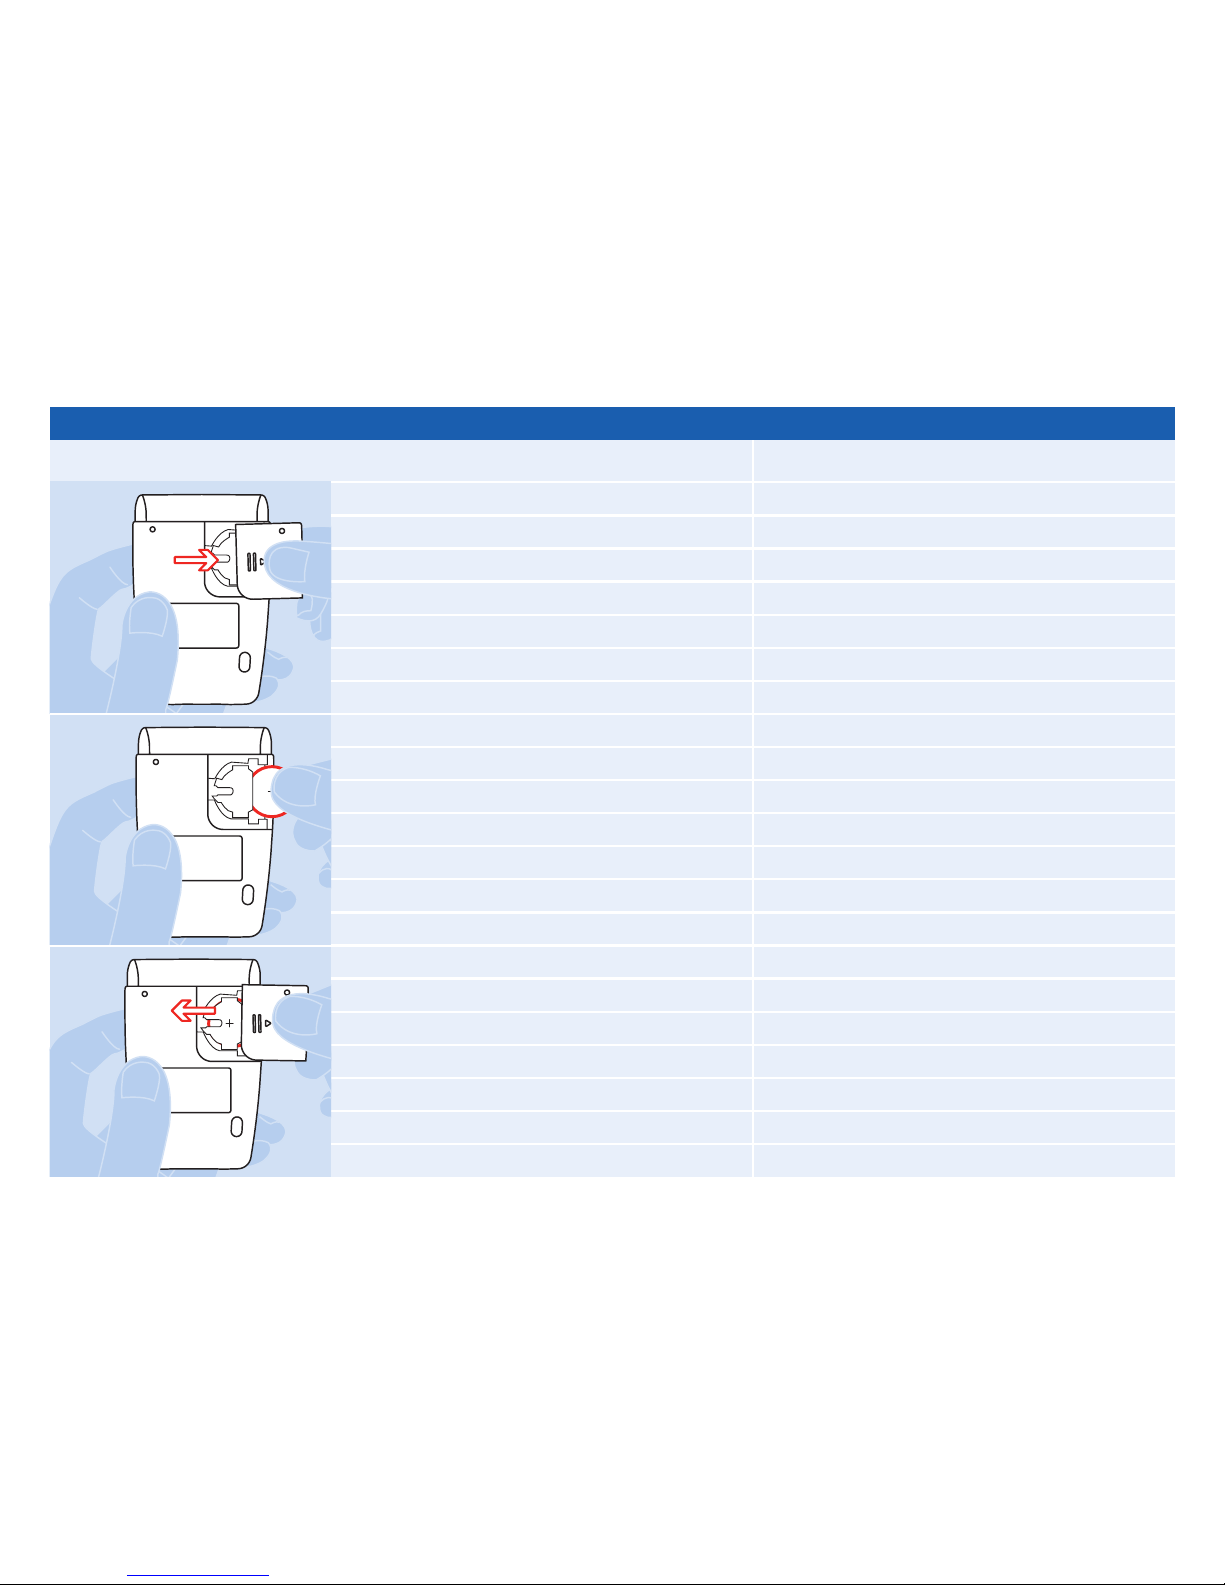
Before first use, remove the transparent
protective foil from the battery.
2.1 Replacing the Battery
The battery is located inside the meter.
Use only 3V lithium batteries (CR2032).
Do not use with different types of
batteries, as this may damage the
electronics of the meter.
Instructions
1. Remove the back cover by pulling it to
the side.
2. Insert a new battery into the battery
socket with the “+” side facing up.
3. Replace the battery cover.
2.2 Set Date, Time and Units
The setup has to be completed before
first use or after a battery change. Press
and hold the “Set” button for at least
two seconds. The meter will beep once
and enter the setup mode.
In setup mode, the LCD screen of the
meter shows all setting options conse-
cutively, starting with a flashing year
number:
1. Set the Year
A. When the meter enters setup mode,
the year will flash on the screen.
B. Click the “M” button to advance in
one-year increments to set the correct
year.
C. After setting the desired year, click
the “Set” button again, and the meter
advances to the month setting.
2. Set the Month
A. Click the “M” button until the correct
month appears.
1
2
3
Chapter 2 Meter Setup
 Loading...