

Human HumaReader HS Service manual

Gtl`Qd`cdqGR
|
| Service Manual
Cat.-No. 16670/2

QduhrhnmKhrsnesgdL`mt`k
No. DATE / Rev. REVISION DESCRIPTION
1 01/2007-03 First edition
2 02/2007-05 Correction of typing errors
i

ii
NOTICE
Analytical instruments for in vitro diagnostic application involve the handling of human samples and controls
which should be considered at least potentially infectious. Therefore every part and accessory of the respective
instrument which may have come into contact with such samples must equally be considered as potentially
infectious.
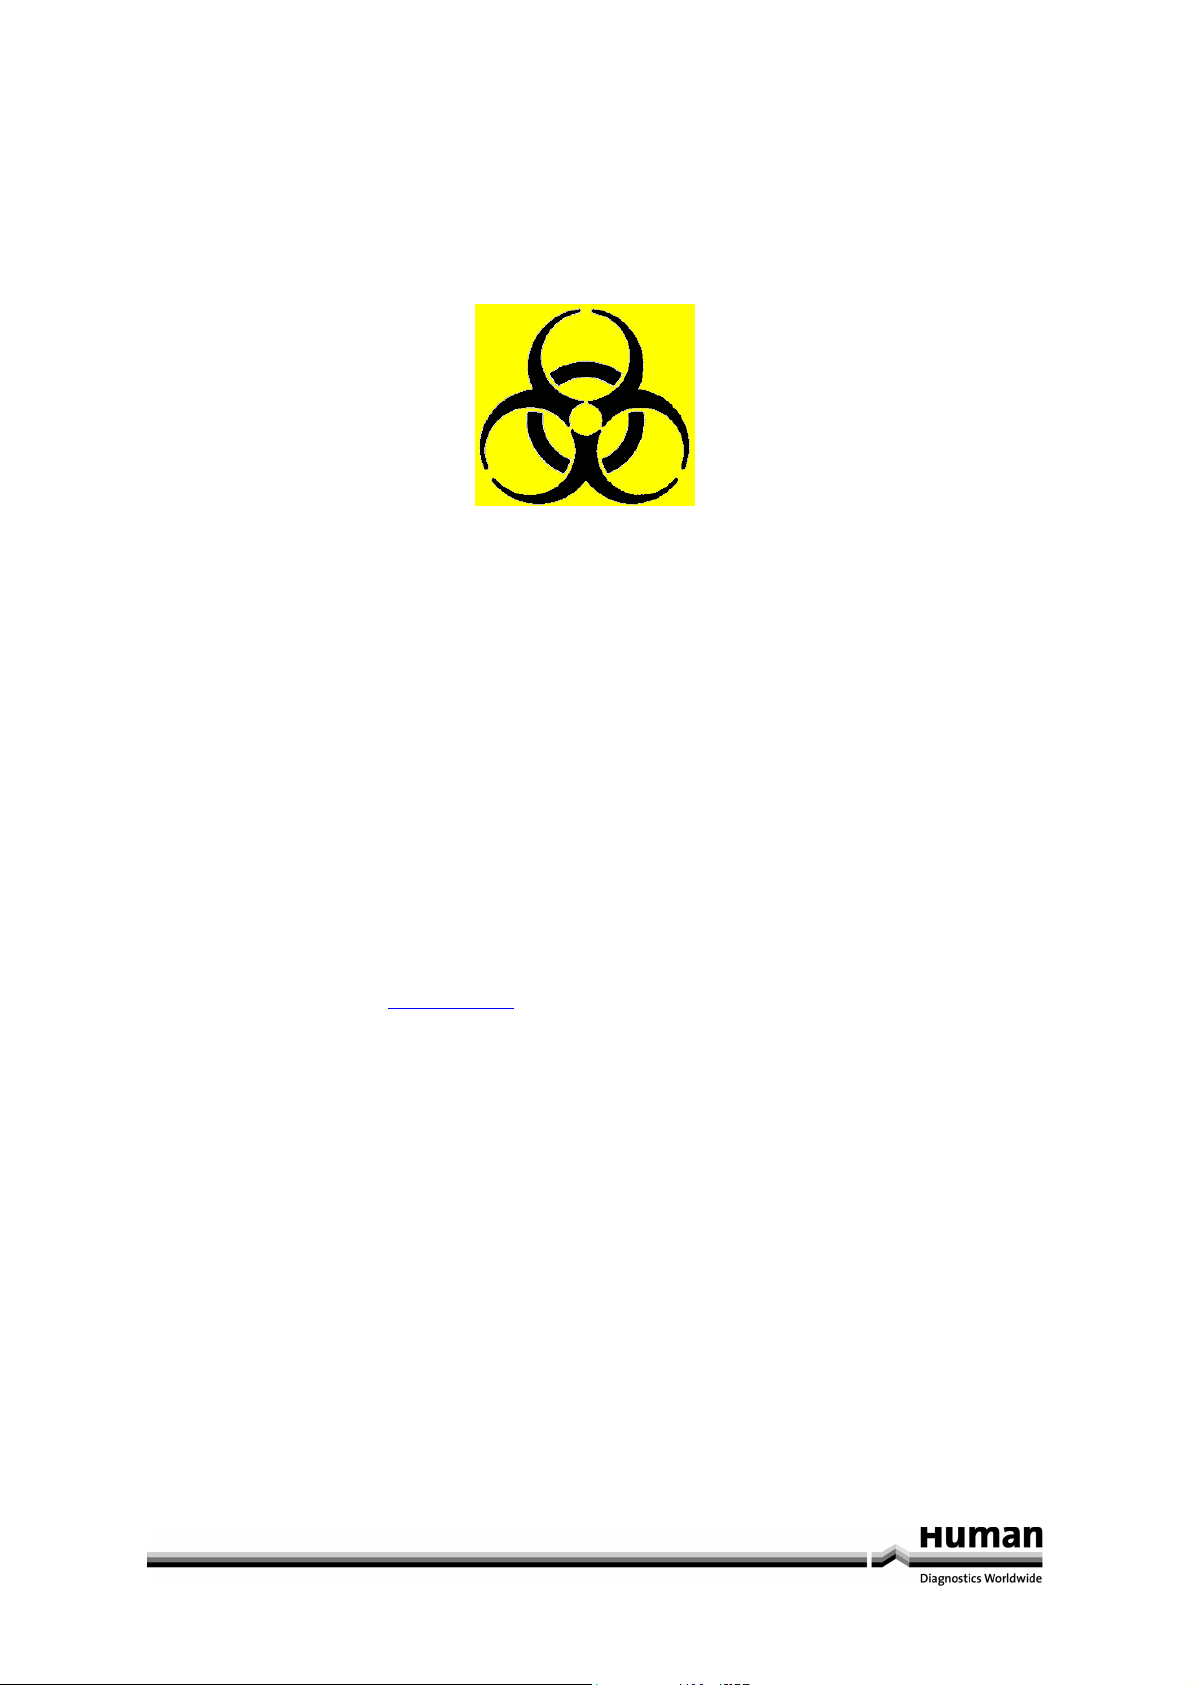
BIOHAZARD
The „BIOHAZARD“ warning label must be affixed to instrument prior to first use with biological material !
Servicing Note:
Before doing any servicing on the instrument it is very important to thoroughly disinfect all possibly contaminated
parts. Before the instrument is removed from the laboratory for disposal or servicing, it must be decontaminated.
Decontamination should be performed by authorised well-trained personnel only, observing all necessary safety
precautions. Instruments to be returned have to be accompanied by a decontamination certificate completed by
the responsible laboratory manager. If a decontamination certificate is not supplied, the returning laboratory will
be responsible for charges resulting from non-acceptance of the instrument by the servicing centre, or from
authority’s interventions.
HUMAN
Gesellschaft für Biochemica und Diagnostica mbH
| Max-Planck-Ring 21 · 65205 Wiesbaden · Germany
| Tel.: +49 61 22/99 88-0 · Fax: +49 61 22/99 88-100
| e-Mail: human@human.de · www.human.de
a

b

Bnmsdmsr
1 Instrument Specifications 2
2 Installation and daily maintenance 3
2.1 Unpacking the instrument 3
2.2 Environmental requirements 3
2.3 Connecting the printer and powering on the instrument 3
3 Function Description 4
3.1 Function description of power supply board 4
3.2 Function description of mainboard 4
3.3 Description of the principle of the mainboard 4
3.4 Function description of front-end board 4
3.5 Function description of control board 4
3.6 Function description of LCD transfer board 5
3.7 Function description of LCD screen 5
4 Daily Maintenance and Cleaning 6
4.1 Instrument cleaning 6
4.2 Maintenance of LCD touch-screen 6
4.3 Clean the fiber ends 6
5 Instrument Assembly/Disassembly & Replacement of Parts 7
5.1 Instruction on the disassembly instrument 7
5.2 Replacement of commonly used parts 7
5.2.1 Replacement of bulb 7
5.2.2 Replacement of light-filtering sheet 7
5.2.3 Replacement of front-end board 8
5.2.4 Replacement of photocell 8
5.2.5 Replacement of small cart 8
5.2.6 Replacement of drive board 9
5.2.7 Replacement of LCD transfer board 9
5.2.8 Replacement of optical fiber 10
5.2.9 Replacement of power supply unit 11
5.2.10 Filter installation 11
5.2.11 Filter Test 13
5.2.12 Check the AD value 13
6 Common Malfunctions & Solution 14
7 Component pictures 17

1 Instrument Specifications
Weight: 10kg
Overall dimensions: 450mm (L) x 330mm (W) × 140mm (H)
Power: AC110V-AC250V 50-60Hz
Fuses: 250V/3.15A
Work Environment: temperature 10°C – 40°C; Humidity 20%-85%
Store Environment: -20°C –50°C
Lamp: OSRAM 64607, 8V/50W
Standard Wavelength: 405, 450, 492, 630nm (substitute filters from 340-700nm available)
Abs range: 0-3.500A
Measurement range: 0-2.000A
Accuracy: 0-2.0A: ±1.0%or±0.007A
Precision: 0-2.0A: ±0.5%or±0.005A
Linearity: ±2.0% or ±0.007A
Reading speed: Continuous mode <5s, step by step mode <15s
Warm up time: 1 minute
CPU: Embedded RISC cpu
Store content: 200 test, 1000 patient information, 10000 test data
Interface: RS-232C serial interface, parallel printer interface
Display: 5.7“ LCD display (320×240 discernibility,256 gray scale)
Input: Touch panel and pen, external mouse (special order)
2/19

2 Installation and daily maintenance
8QSDFNLQJWKHLQVWUXPHQW
Unseal the the packing box and remove the material used for transport. Retain the packing box and packing
material for future transport.
1. Take the instrument out of the box.
2. Remove the packing material and remove the instrument from the plastic packing bag.
3. Check the contents of the packing box for the following:
-HUMAREADER HS
-user manual
-service manual
-power cord,
- RS-232 serial cable
-touch pen
- spare bulb
-mouse
-spare fuse
(QYLURQPHQWDOUHTXLUHPHQWV
Select a location not exposed to direct sunlight. The HUMAREADER HS should be placed on a smooth surface with
sufficient working space. The front edge of the instrument should be close to the edge of the table. Avoid excessive
vibrations (e.g. from a centrifuge).
Note: the ambient working temperature should be between 10°-40°C, with humidity between 20%-85%.
In order to ensure the proper functioning of the instrument, the following environmental conditions must be
avoided:
- large temperature fluctuations
- temperatures outside the recommended range
-dust
- proximity to equipment that generates an electromagnetic field
The mains supply must fulfill the following requirements:
- AC90V-AC250V
- 50-60Hz
- 120VA
Note:
- The AC mains supply must be well earthed
- Grasp the plug itself, not at the power cord, to unplug the power cord.
&RQQHFWLQJWKHSULQWHUDQGSRZHULQJRQWKHLQVWUXPHQW
1) Make sure that both the printer and the instrument are switched off.
2) Plug one end of the power cord into the instruments power socket.
3) Plug the other end of the power cord into the AC socket.
4) Plug one end of the parallel printer cable into the parallel port on the back of the printer.
5) Lock the plug with the steel wire fastener
6) Plug the other end of the printer cable into the instrument’s parallel printer port.
7) Plug the printer’s power cord into the to AC mains socket.
3/19
+XPD5HDGHU+6
Service Manual
 Loading...