

Hotpoint Ariston DSRLAAV22S.1, DSRLAAV22P.1, RLAAV22K.1, RLAAV22P.1 Operating Instructions Manual
Page 1
Page 2
Operating Instructions
LARDER
II
English,1
DSRLAAV22S.l
DSRLAAV22P.l
RLAAV22K.l
RLAAV22P.1
Contents
Important
lnstallation,2-4
Transportation
Installation
Plug replacement (UK &Ireland only)
Door Reverse
Description
Overall view
User
Before use
Using
Useful information
Energy saving
instructions,6-7
yourappliance
safety
ofthe
tips
and
instructions,
appliance,5
•
1
~~~~~~~~~~~~~l"*n
Maintenance
General
Light bulb
Hints
Normal operating sounds
Food storage
Energy
~tt:l~=tte~e¥er=lt
Trouble
Assistance,
replacement
and
saving
shooting,
and
tips,9-1
advice
ot
a
f.lO'Ne-r=
12
care,S
0
fa i
1-L-J
11
r=e
II
Hotpoint
Page 3
~Important
safety
and
instructions
•
These warnings are provided
all
them
before installing
in
the interests
or
using this appliance.
Installation
• This appliance
when moving
• It is dangerous to alter the specifications or
attempt to modify this product
• Ensure that the appliance does not stand
the electrical supply cable.
•
Any
electrical work required to install this
appliance should be carried out by a qualified
electrician or competent person.
• Parts which heat up should not be exposed.
Whenever possible the back
should be close to a wall but leaving the
required distance for ventilation as stated
the installation instructions.
• The appliance should be left for hours after
installation before it is turned on,
allow the refrigerant to settle.
is
heavy. Care should
it.
be
in
any way.
of
the appliance
in
order to
taken
on
in
Child Safety
• Do not allow children to
the controls
or
play with the product.
tamper
with
of
your safety. Ensure that you understand
Maintenance and Cleaning
• Switch
carrying out any cleaning or maintenance
work.
At the End
• When disposing
authorised disposal site.
Remove
•
eateAes are reiTleveel, te
children being trapped inside.
off,
and unplug the appliance before
of
the Appliance
of
your appliance, use
the
plug
and
ensure
instruction book carefully ·
before use and retain
for future reference.
that
any
f3FeveRt
Life
locks
yew1=19
an
or
During
•
This
appliance
only,
specifically for the storage of edible
foodstuffs
Use
only.
is
designed for domestic
use
1
Page 4
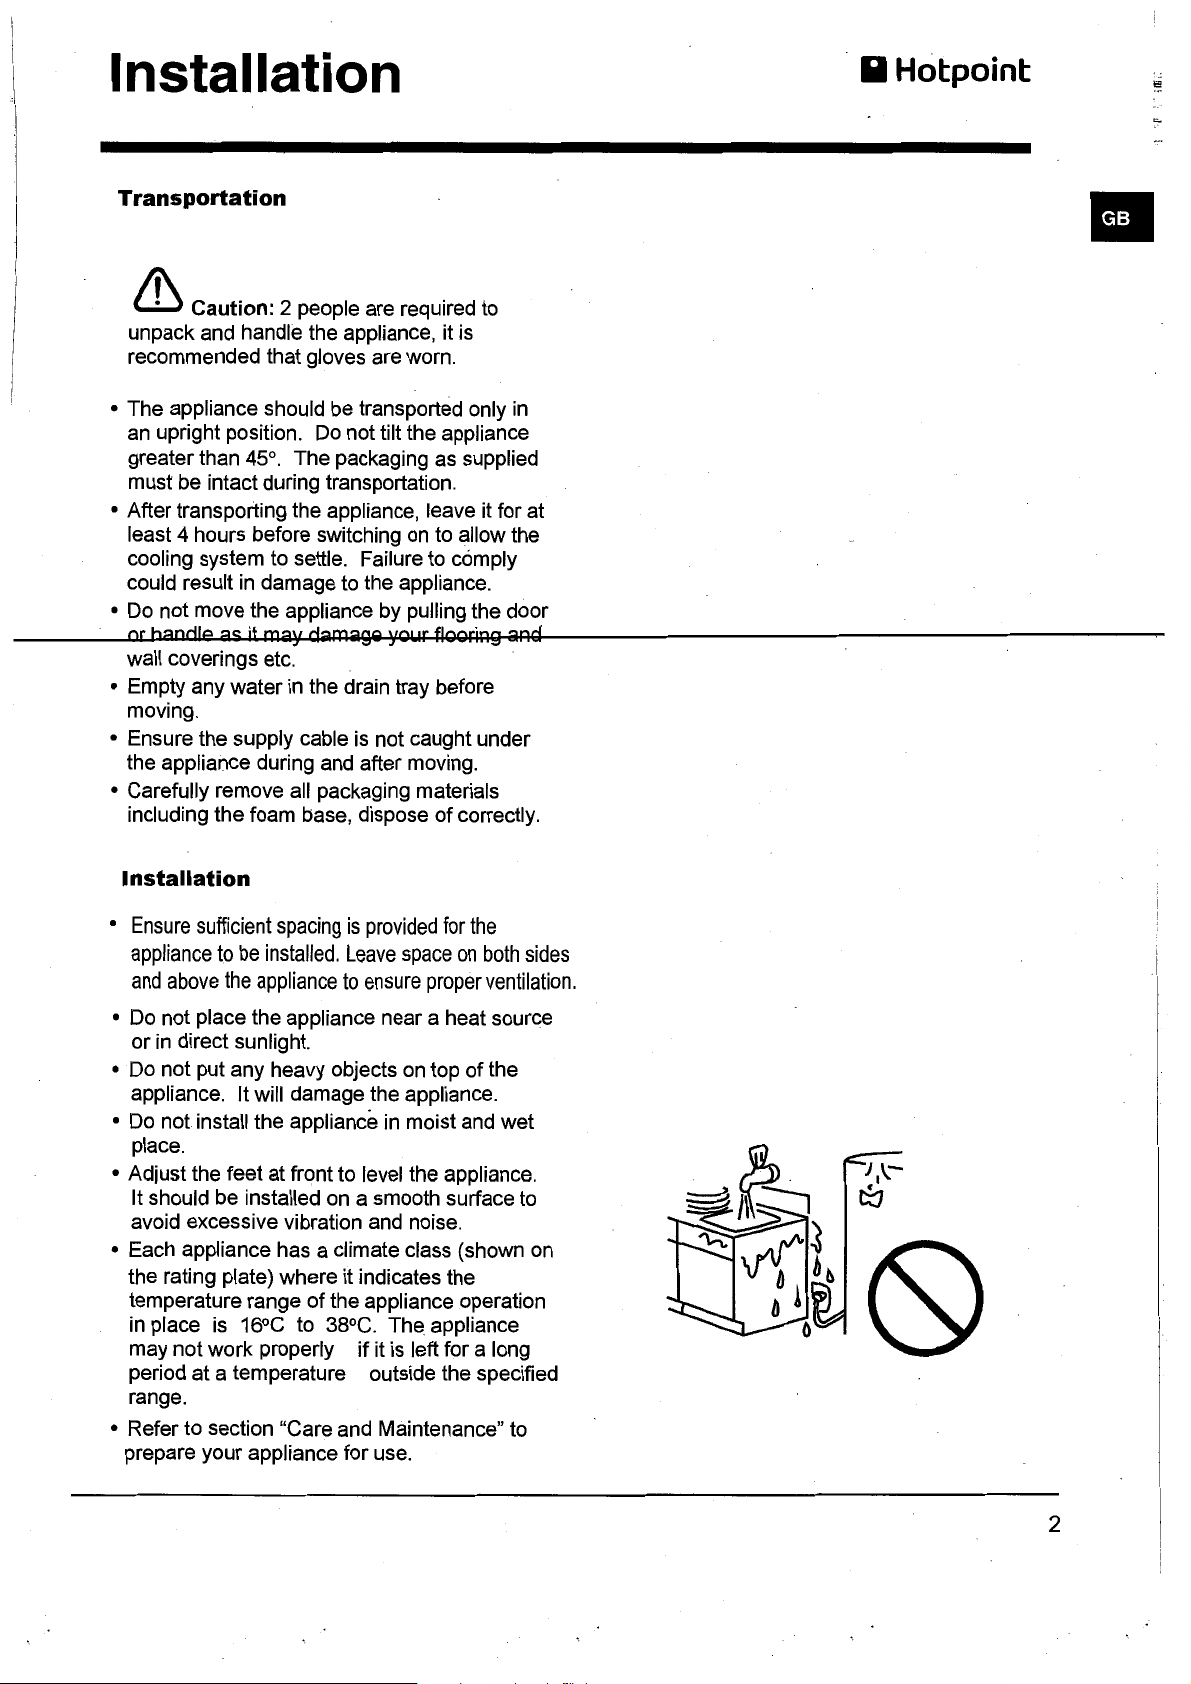
Installation
Transportation
& Caution: 2 people are required to
unpack and handle the appliance, it is
recommended that gloves are worn.
II
Hotpoint
•
• The appliance should be transported only
an upright position.
greater than 45°. The packaging as supplied
must be intact during transportation.
• After transporting the appliance, leave it for at
least 4 hours before switching on to allow the
cooling system to settle. Failure to comply
could result in damage to the appliance.
• Do not move the appliance by pulling the door
or
handle
wall coverings etc.
• Empty any water
moving.
• Ensure the supply cable is not caught under
the appliance during and after moving.
• Carefully remove all packaging materials
including the foam base, dispose
Installation
•
Ensure
appliance
and
sufficient
above
as
to
the
jt
be
Do
not tilt the appliance
way
dar:¥:1.9'i
in
the drain tray before
spacing
installed.
appliance
is
provided
Leave
to
ensure
y01.1r
space
proper
flggriR!)
of
for
in
anQ
correctly.
the
on
both
sides
ventilation.
• Do not place the appliance near a heat source
or
in
direct sunlight.
• Do not put any heavy objects on top
appliance. It will damage the appliance.
• Do
not
install the appliance in moist and wet
place.
• Adjust the feet at front to level the appliance.
It should be installed on a smooth surface to
avoid excessive vibration and noise.
• Each appliance has a climate class (shown on
the rating plate) where it indicates the
temperature range
in place is 16°C to 38°C.
may not work properly
period
range.
• Refer to section "Care and Maintenance" to
prepare your appliance for use.
at
a temperature outside the specified
of
the appliance operation
The.
if
it is left for a long
of
the
appliance
2
Page 5

•
Plug
replacement
Should you need to replace the plug; the wires
the power cable are coloured
way:
Blue - Neutral 'N'
(UK & Ireland
in
the following
only)
-
in
BrownGreen &
As the colours
may not correspond with the coloured markings
identifying the terminals
proceed as follows:
Tl
1e
the terminal in the plug that is marked with the
letter E or by the earth symbol.
The blue wire must be connected to the terminal
that is marked with the letter
The brown wire must be connected to the
terminal that is marked with the letter
If power supply cord is damaged, it must
replaced by the manufacturer or its service
agent or a similar qualified person in order to
avoid a hazard.
91
Live 'L'
Yellow-
ee1
1
8t
yellovo
Earth 'E'
of
the wires
ooi1 e 11
in
the power cable
in
your plug, and
1ust
be
eo1
N.
11
1eeted
L.
to
3
Connect green/yellow
lead to 'E'
Connect
blue lead ---'-..!!....j><"
to
'N'-
1\leutral
or-
Earth
~
Connect
brown lead
to·~-
Live
Page 6

II
Hotpoint
Door Reverse
& Warning: Remove the main plug before
reversing the door. 2 people
reverse the door.
1.
Remove the screws (6) holding
(7)
to
the unit. Remove the top panel.
2. Remove the two screws (1) holding the top
hinge (5) (right side) to the frame. Remove
the top hinge (5).
3.
Lift the door
place it on a non-scratching surface.
4. Remove the two screws (8) holding
5.
Remove the left front leg (4) and transfer it to
the right side.
6.
Before replacing the bottom hinge (2),
remove the hinge pin (9) and reverse
direction
bottom hinge (2) on the left hand side using
the two screws (8).
7.
Refit the hinge pin (9) into the bottom hinge
(2).
8.
Lower
9.
While holding the door in the closed position,
reassemble the upper hinge (5) on
hand side using the two screws (1). Do.not
tighten the screws (1) until the
upper
10. Refit the top panel (7) using the screws (6)
off
the bottom hinge pin and
of
the hinge (2). Reassemble the
the door onto the bottom hinge pin (9).
door is level with the counter top.
may
be required to
the
top
top panel
the
the
the
left
of
the
/
0
Door
FIGURE 1
opening
from
left
••
9
side
Door
FIGURE2
opening
from
right
side
4
Page 7

Description of the
appliance
Overall view
•
The instructions contained
directly represent the appliance f:)urchased.
SHELVES
Drain for DEFROST
WATER
in
this manual are applicable to different model refrigerators. The diagrams may not
Temperature Control Knob
FRUIT
VEGETABLE bin
and
-------11---+11---
··~··.-.~··
..
-·
l"'c:==::::':::::====-=_:.="":-rf>-+--
BOTTLE shelf
5
Page 8

User
Instructions
II
Hotpoint
Before
Final
1.
2.
3.
4.
& The compressor starts up and
this is not a defect.
Using
1. Temperature
'The
temperature knob midway first.
• To ensure the compartment is maintained at the desired temperature, it is advised to monitor the
temperature periodically by a thermometer and adjust the temperature knob accordingly.
• Load the appliance after switch on for a while to allow the temperature reach the desired setting.
2.
Storing
• Use the fridge compartment
•
Do
•
Do
• Set the temperature knob at medium position for storing fresh food.
• Do not mix already frozen food and fresh food.
use
checks
Good air circulation around the appliance positioned.
The feet have been adjusted for perfect levelling.
Clean the compartment per recommendation
Plug
your
compartment
not exceed the food capacity that the appliance able to handle.
not put warm food to the appliance immediately as it may cause excessive cooling
before
in
the appliance and interior light will come on when the door is open.
appliance
fresh
operating
adjustment
temperah
food
the
appliance
in
section " Maintenance and Care".
in
operation may produce some background noise and it is normal,
trp
can
he
set
by
the
temperah
to
store fresh food and drinks.
I[A
knob
\J\le
recommend
settjng
the
of
the compartment.
•
6
Page 9

•
Useful
The following guidelines and recommendations are suggested to obtain the best results and storage
hygiene.
• Frequent door openings can cause internal temperature rise so the door shall be closed as soon as
• For hygiene reasons, it is always a good practise to pack, wrap and cover the food before storing.
• Use a polythene bag to store raw
information
possible after use.
meat
and place on the lowest shelf. Avoid contact with cooked food
to
prevent contamination. For safety reason, store raw meat for two to three days only.
• Cooked dishes must be stored
• Food and beverages shall cool to room temperature before storing.
• Bottles can be placed
• Some fruits and vegetables like pineapples, melons, tomatoes, and cucumbers shall be wrapped
Energy
• Place your fridge away from direct sunlight, your oven or any other heat sources. Allow 20
space on both sides and above, and at least 5
• Cover all food stored, and arrange it so that cold air can circulate freely.
• Higher cold setting will use more energy. Do not set to maximum cold if it is not necessary.
• Cool the hot/warm food to room temperature before put them into your fridge.
• Frequently open and close door would cause internal temperature rise and it will consume more
energy.
• Close the door(s) properly, and make sure the seals and hinges are airtight. Check the seals by
putting a sheet
seals need replacing.
saving
in
the
tips
of
paper between the door and the main body
in
doOr
c:Jirtight
section.
covered containers.
em
behind.
of
the fridge.
em
clear
If
the paper moves, your
in
• The pre-set combination
this product.
7
of
drawers, baskets and shelves have already set in the most efficient use
of
Page 10

II
Maintenance
General
&
Important:
maintenance. ·
• Never use any sharp instruments or abrasive substances, soap, household cleaner, detergent or wax
polish for cleaning.
• Use luke warm water to clean the cabinet
• Never clean the appliance with flammable fluids. It could cause a damage and fire hazard.
• Clean the exterior
• Avoid water goes
• Clean the condenser (located at the back
remove the dust every year.
• Shelves are all removable for cleaning purpose.
Always
unplug
of
the appliance and door seal with a damp cloth and dry it through.
in
the temperature control box. Clean with a dry cloth only:
and
the
appliance
care
from
the
power
of
the appliance and wipe it dry.
of
the appliance) with a vacuum cleaner. It is suggested to
socket
during
Hotpoint
cleaning
and
•
its
Important:
the condenser metal wires at the back
Light
If the light bulb needs to
Precautions
! The appliance was designed and manufactured
provided for safety reasons and must be read carefully.
This appliance complies with the following Community Directives:-
-89/336/EEC
bulb
of
Care must be taken while cleaning/carrying the appliance not to touch the bottom
of
the appliance, as this could cause injury to fingers and hands.
replacement
be
replaced, please contact the Technical Assistance Service.
and
tips
in
compliance with international safety standards. The following warnings are
03.05.89 (Electromagnetic Compatibility) and subsequent amendments; - 2002/96/CE.
CE!
73/23/EEC
of
of 19/02/73 (Low Voltage) and subsequent amendments;
8
Page 11

II
Hotpoint
Warning
• This appliance
· (including children) with reduced physical, sensory
or mental capabilities, or lack of experience and
knowledge, unless they have been given
supervision or instruction concerning use of the
appliance by a person responsible for their safety.
Children should
do not play with the appliance.
• For compression-type appliances which use
flammable refrigerants, instructions shall include
information pertaining to the installation, handling,
servicing.
•
-WARNINGother means to accelerate the defrosting process,
other than those recommended by the manufacturer.
-WARNING-
•
•
-WARNINGinside the food storage compartments of the
appliance, unless they are of the type
recommended by the manufacturer.
is
not intended for use by persons
be
supervised to ensure that they
Do
not use mechanical devices or
Do
not damage the refrigerant circuit.
Do
not use electrical appliances
••
• Appliances which use flammable insulation blowing
gases, instructions shall include information
regarding disposal of the appliance.
•
Do
not store explosive substances such
cans with a flammable propellant
• This appliance
and similar applications .
is
intended to be used in household
as
aerosol
in
this appliance.
10
Page 12

•
Trouble shooting
If
the appliance does not work, before calling for Assistance (see Assistance), check for a solution from the following list.
..
Malfunctions:
The internal light does not
illuminate.
The refrigerator does not cool well.
The food inside the refrigerator is
beginning to freeze.
The motor runs continuously.
The appliance makes a lot of noise. • The appliance has not been installed
The back wall of the refrigerator unit • This shows the appliance is operating normally.
is covered
wate.
in
frost or droplets of
Possible causes I Solutions:
• The plug has not been inserted into the electrical socket, or not far
enough to make contact, or there
• The door do not close properly or the seals are damaged.
• The door are opened too frequently.
• The TEMPERATURE ADJUSTMENT knob is not in the correct position
• The refrigerator have been over-filled.
• The TEMPERATURE ADJUSTMENT knob is not
in
• The food is
• The door is not closed properly or is continuously opened.
• Tile outside
• The appliance has been installed between cabinets that vibrate and
make noise.
• The internal refrigerant makes a slight noise even when the compressor is
off. This is not a defect, it is normal.
contact with the back inside wall of the refrigerator.
diiibielil
teiiipeldtUie is
is
no power
ve1y
lligli.
on
a level surface .
in
the house.
in
the correct position.
There is water at the bottom of the •
refrigerator.
The water discharge hole is blocked .
11
Page 13

Assistance
II
Hotpoint
Guarantee
12 months Parts and Labour Guarantee
Your appliance has the benefit of our manufacturer's guarantee, which covers the cost of breakdown repairs for
twelve months from the date of purchase.
if,
This gives you the reassurance that
workmanship or materials, we will, at our discretion, either repair or replace the appliance at no cost to you.
This guarantee
The appliance has been installed and operated correctly and
maintenance instructions.
The appliance
The appliance has been used for normal domestic purposes only.
1'1
18
appliaiiC8 I
person not authorised by us.
Any repair work must be undertaken by us or our appointed agent.
Any parts removed during repair work or any appliance that
The appliance is used
The guarantee does not cover:
Damage resulting from transportation, improper use, neglect or interference or
installation.
Replacement of any consumable item or accessory. These included but not limited
light bulbs, fluorescent tubes and starters, covers and filters.
Replacement of any removable parts made of glass or plastic.
is
used only
1as
1 lot
on
b8811
in
the United Kingdom or Republic of Ireland.
within that time, your appliance is proven
is
subject to the following conditions:
the electricity or gas supply printed
alt81
8d,
881
vic8d,
11
1ai1
1tai1
1ed,
dis1 1 1a1
is
in
accordance with our operating and
on
the rating plate.
1tled,
replaced become our property.
01
all
to
be
defective because of either
1e1
voise
i11te1
fe1
ed
voitl'
as
a result of improper
to:
plugs, cables, batteries,
by
a119
••
THIS GUARANTEE WILL NOT APPLY
DOMESTIC
PREMISES.
IF
THE
APPLIANCE
HAS
BEEN
USED
IN
COMMERCIAL
OR
NON-
5 Year Parts Guarantee
lndesit also offers you a free 5 year parts guarantee. This additional guar.antee
appliance with
engineer's time. To activate the extra parts warranty on your appliance, simply call our registration line
us
and the parts being fitted by one of our authorised engineers. There will be a charge for our
24 24 (Republic of
lr~land
01
230 0800)
is
conditional
on
you registering your
on
Extended Guarantees
We
offer a selection of protection plans that enable you to fully cover yourself against the expense of repair bills for
the life of your policy.
To
find the ideal plan for you please call our advice line
Ireland
01
230 0233).
on
08448 226 226 (Republic of
Free Helpdesk Service
We
have a dedicated team who can provide free advice and assistance with your appliance
technical difficulties within the first
(Republic of Ireland 0818 313 413) for telephone assistance,
90
days of ownership. Simply call our lndesit Service Hotline
or,
where necessary,
to
arrange for
if
you
experience
on
08448 224 224
an
engineer
08448 24
any
to
call.
12
Page 14

After Sales Service
II
No one
is
better placed to care for your lndesit appliance during the course of its working life than
Essential Contact Information
We are the largest service team
1000 fully qualified engineers on call to ensure you receive fast, reliable, local service.
Please note: Our advisors will require the following information:
us-
manufacturer.
lndesit Service
in
the UK and Ireland offering you access to 400 skilled telephone advisors and
UK: 08448 224 224
Republic of Ireland: 0818 313 413
www.indesitservice.co.uk
Model number:
Serial number:
Parts and Accessories
the
We supply a full range of genuine replacement parts as well as accessory products that protect and hygienically
clean your appliance to keep it looking good and functioning efficiently throughout its life.
UK: 08448 225 225
Republic of Ireland: 0818 313 413
www.indesitservice.co.uk
Appliance Registration
We want to give you additional benefits of lndesit ownership.
register your appliance with
UK: 08448 24 24 24
Republic of Ireland:
www.indesitservice.co.uk
lndesit Company
lndesit Company Unit 49 Airways Industrial Estate, Dublin 17
As part of lndesit's continued commitment to helping the environment, lndesit reserves the right to use quality, recycled
components to keep down customer costs and minimise material wastage.
Please dispose of packaging and old appliances carefully.
and cut the mains cable off flush with the appliance. Dispose of these parts separately to ensure that the appliance can
longer be plugged into mains socket, and the door cannot
UK
Ltd. Morley Way, Peterborough, PE2 9JB
Recycling and Disposal Information
To
activate your free 5
us.
01
230 0800
To
minimise the risk of injury to children, remove the door, plug,
be
locked shut.
yearparts
guarantee you must
no
13
 Loading...