How it Works
Log In / Sign Up
Buy Points
How it Works
FAQ
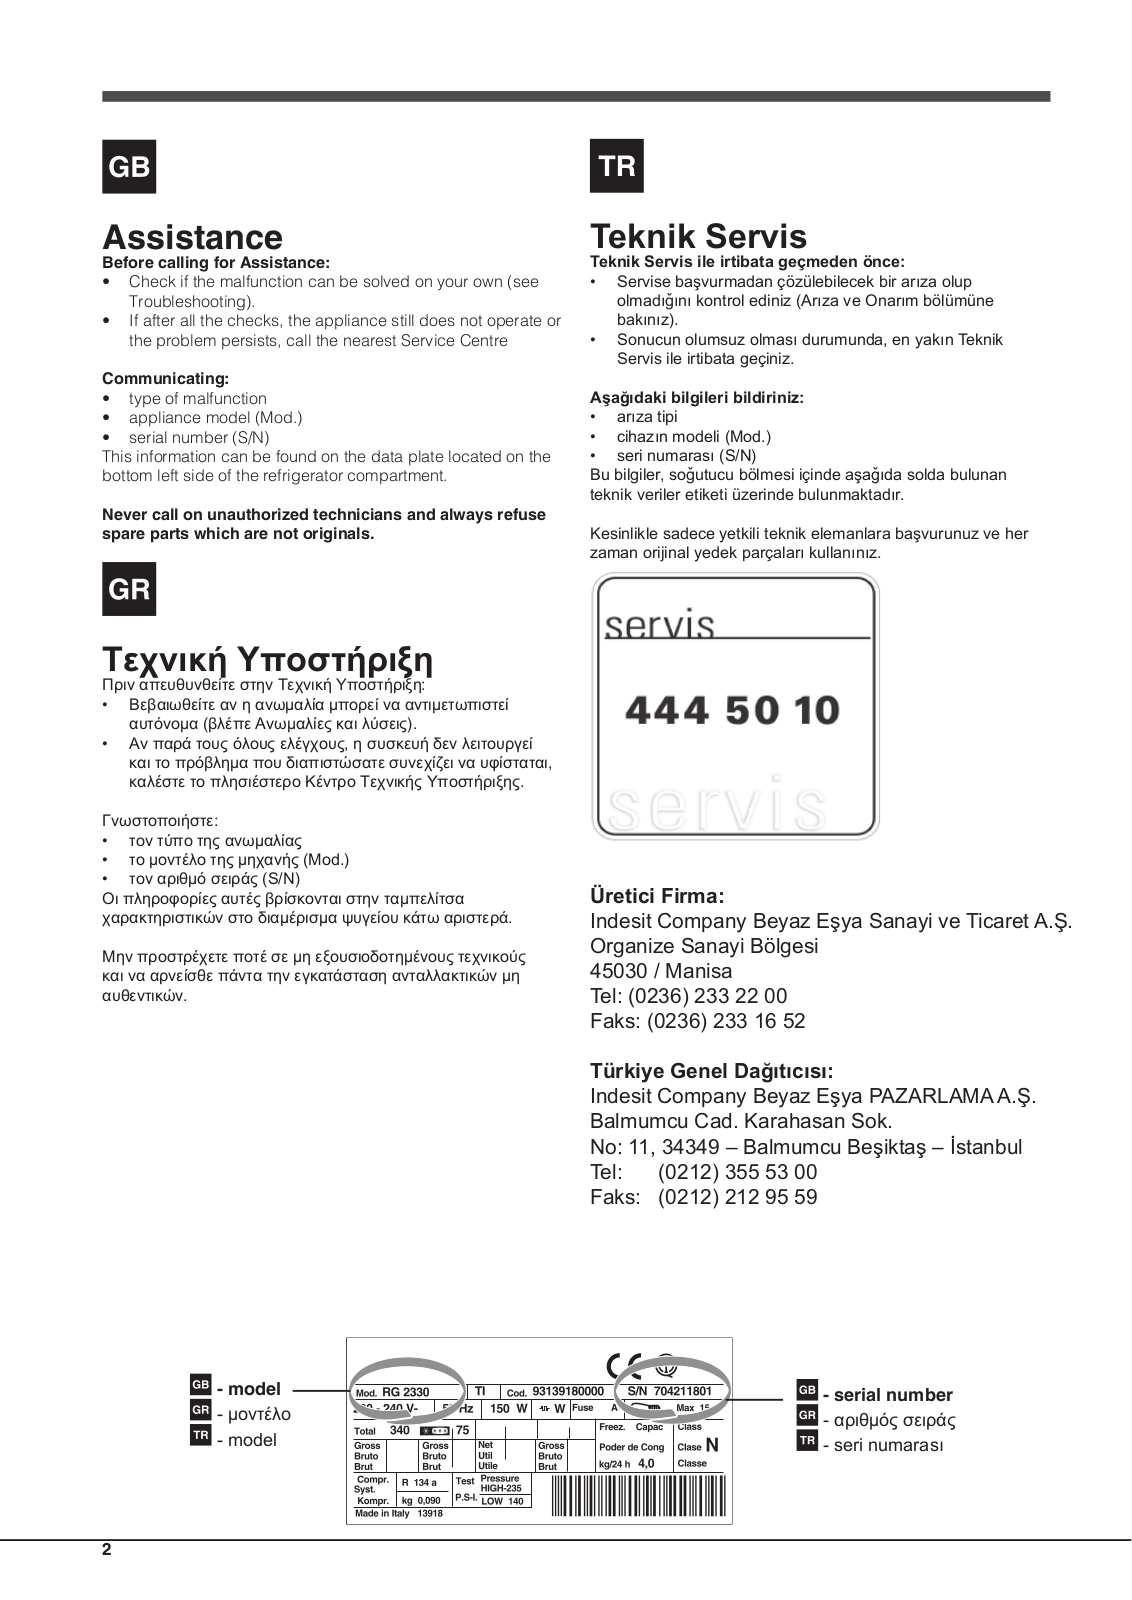
Contact Us
Questions and Suggestions
Users
HOTPOINT/ARISTON
Loading...
M
MS3 734 IX HA
5
MS3 744 IX HA
5
MSAA46
MSK 103 X HA
MSK 103 X HA S
MSTB 6B00
2
MSZ 801 D/HA
MSZ 802 DF
MSZ 802 DF/HA
2
MSZ 902 NDF(EX)/HA
MSZ 922 DF
MSZ 922 NDF/HA
MSZ 926 NDF/HA
MTA 1167
MTA 1167 (X)
MTA 1185
MTA 1185 (X)
MTA 242 I
MTA 243
MTA 243/HA
MTA 2919 V
MTA 291 V
MTA 293 V
MTA 294 V
MTA 331 V
MTA 333 V
MTA 401 V
MTA 4511 V
MTA 4512 V
2
MTA 4513 V
MTA 4553 NF
MTA 45 D2 NF BS
MTAA 241
2
MTAA 241 V (TK)
MTAA 242
2
MTAA 24S
MTAA 24W
MTAA 292 V
MTAA 331 V
MTAA 4511 V
2
MTAA 4512 V
MTB 241/HA
MTB 45 D1 NF
MTB 45 D2 NF
MTL 0813 (TK)/HA
2
MTL 0818 (TK)/HA
MTL 0819 (TK)/HA
MTL 0828 F
MTM 0811 F (TK)/HA
MTM 081 F (TK)/HA
MTM 0821 F
MTM 1511
2
MTM 1711
3
MTM 1711 FF
MTM 1711FF/HA
MTM 1711/HA
2
MTM 1712 FF
MTM 1712FF/HA
MTM 1721 C
MTM 1722 C
MTM 1901
MTM 1901 TK/HA
MTM 1908 TK/HA
MTM 1911 F/HA
MTM 1911 V (GH)/HA
MTM 1913 F/HA
MTM 1921
MTM 1921 V
2
MTM 1922 V
MTM 1922 V/HA
MTM 1923 V
MTM 1923 V/HA
MTMN 1901 F SK
MTP 1911
MTP 1911 F
2
MTP 1911 F/HA
MTP 1912
MTP 1912 F
MTP 1912 F/HA
MTP 1922 F/HA
MTZ 629 NF
MU41NF
MVB 7125 S
2
MVB 91019 S
2
MVC 7105
MVC 7105 S
MVC 7105 S CIS
4
MVDB 8614
MVDB 8614 SX
MVDF 9614 SX
MVDF 9614 SX CIS
MVE 111419 BX
2
MVE 7129
MVE 7129 X
MVE 91219 S
MVFTA+ 5H X RFH
MVFTA+ M X RFH
MVSB 6105 X
2
MVSB 6125
MVSB 6125 S
Loading...
Loading...
Nothing found
MTM 0821 F
User Manual
16 pgs
2.29 Mb
0
Table of contents
Loading...
HOTPOINT/ARISTON MTM 0821 F User Manual
...
HOTPOINT/ARISTON User Manual
Download
Specifications and Main Features
Frequently Asked Questions
User Manual
Download
Loading...
+
hidden pages
Unhide
You need points to download manuals.
1 point = 1 manual.
You can buy points or you can get point for every manual you upload.
Buy points
Upload your manuals