

Hotpoint RGB746GEN Use And Care & Installation
stfrom
RGB746GEN
Anti-Tip Device
Appliance Registration
Care and C1eaning 19-25
Clock and Timer
Consumer Services
Features
Flooring Under Range
InstallationInstructions
Leveling
Model and Serial Numbers 2,6,31
Power Outage?
Set the C1ock
Set the Timer
oven 11 Warranty Back Cover
Air Adjustment
Baking, Baking Guide
Broiler Pan and Rack 17,23,25
Broiling, Broiling Guide 17, 18
Control Settings
1
Door Removal
3,6,36 Roasting,RoastingGuide 15, 16
2
9
39 Problem Solver 27,28
6,7 Safety Instructions
Self-CleaningInstructions
Shelves
ThermostatAdjustment
11, 15, 19,25
30,31 Surface Cooking 10
29-38
36
9 Cookware Tips
9
9
26
12-14
8,9
23
Burner Grates
Burners
Control Settings
Flame Size 10,27
Lighting Instructions 10
Installation
19-21
24
2-5
22, 25
22,25
10
10
29-38
~S~
& mtiuation
andCare
of Model
Light; Bulb Replacement 11,24
Oven Bottom Removal
1
Oven Vents
Preheating
I
-----.,
~
,..
‘> J
f
;
\
.-Q ---
...-..,,
..,’
‘t
i
..
4,5, 11,23 GE Answer Center”
~6, 35
14
800.626.2000
.-,
..:
It is intendedto help youoperale
and maintainyour new range
properly.
I<eepithandy for answersto your
questions.
If you don’tunderstand something
or need morehelp, write (include
your phonenumber):
ConsumerAffairs
Hotpoint
AppliancePark
Louisville,KY 40225
.,,
writedownthe mode]
serialnumbers.
and
You’llfind them on a label located
eitl~eron the front frame when you
open the oven door or on the front
frame behind the storage drawer.
These numbers are also on the
Consumer Product Ownership
Registration Card that came with
your range. Before sending in this
card, piease write these numbers
here:
Model Number
Serial Number
Use these numbers in any
correspondence or service calls
concerning your range.
If youneed Service.e.
To obtainservice,see the
ConsumerServicespage inthe
back of(hisbook.
To obtainreplacementparts,
contactGE~otpoint Appliance
Parts Martsor FactoryService
Centers.
We’reproud of ourservice and
want you tobe pleased. Iffor some
reason you are nothappy withthe
serviceyou receive, here arethree
stepsto follow for furtherhelp.
FIRST, contactthepeople who
serviced yourappliance.Explain
why you are not pleased,In most
cases, this willsolve theproblem.
NEXT, if you are stillnot pleased,
write all the details—including
your phone number—to:
Manager, ConsumerRelations
Hotpoint
Appliance Park
Louisville, Kentucky 40225
FINALLY,if your problem is still
not resolved, write:
Major Appliance Consumer
Action Panel
20 North WackerDrive
Chicago, Illinois 60606
0
2
0
3
4a
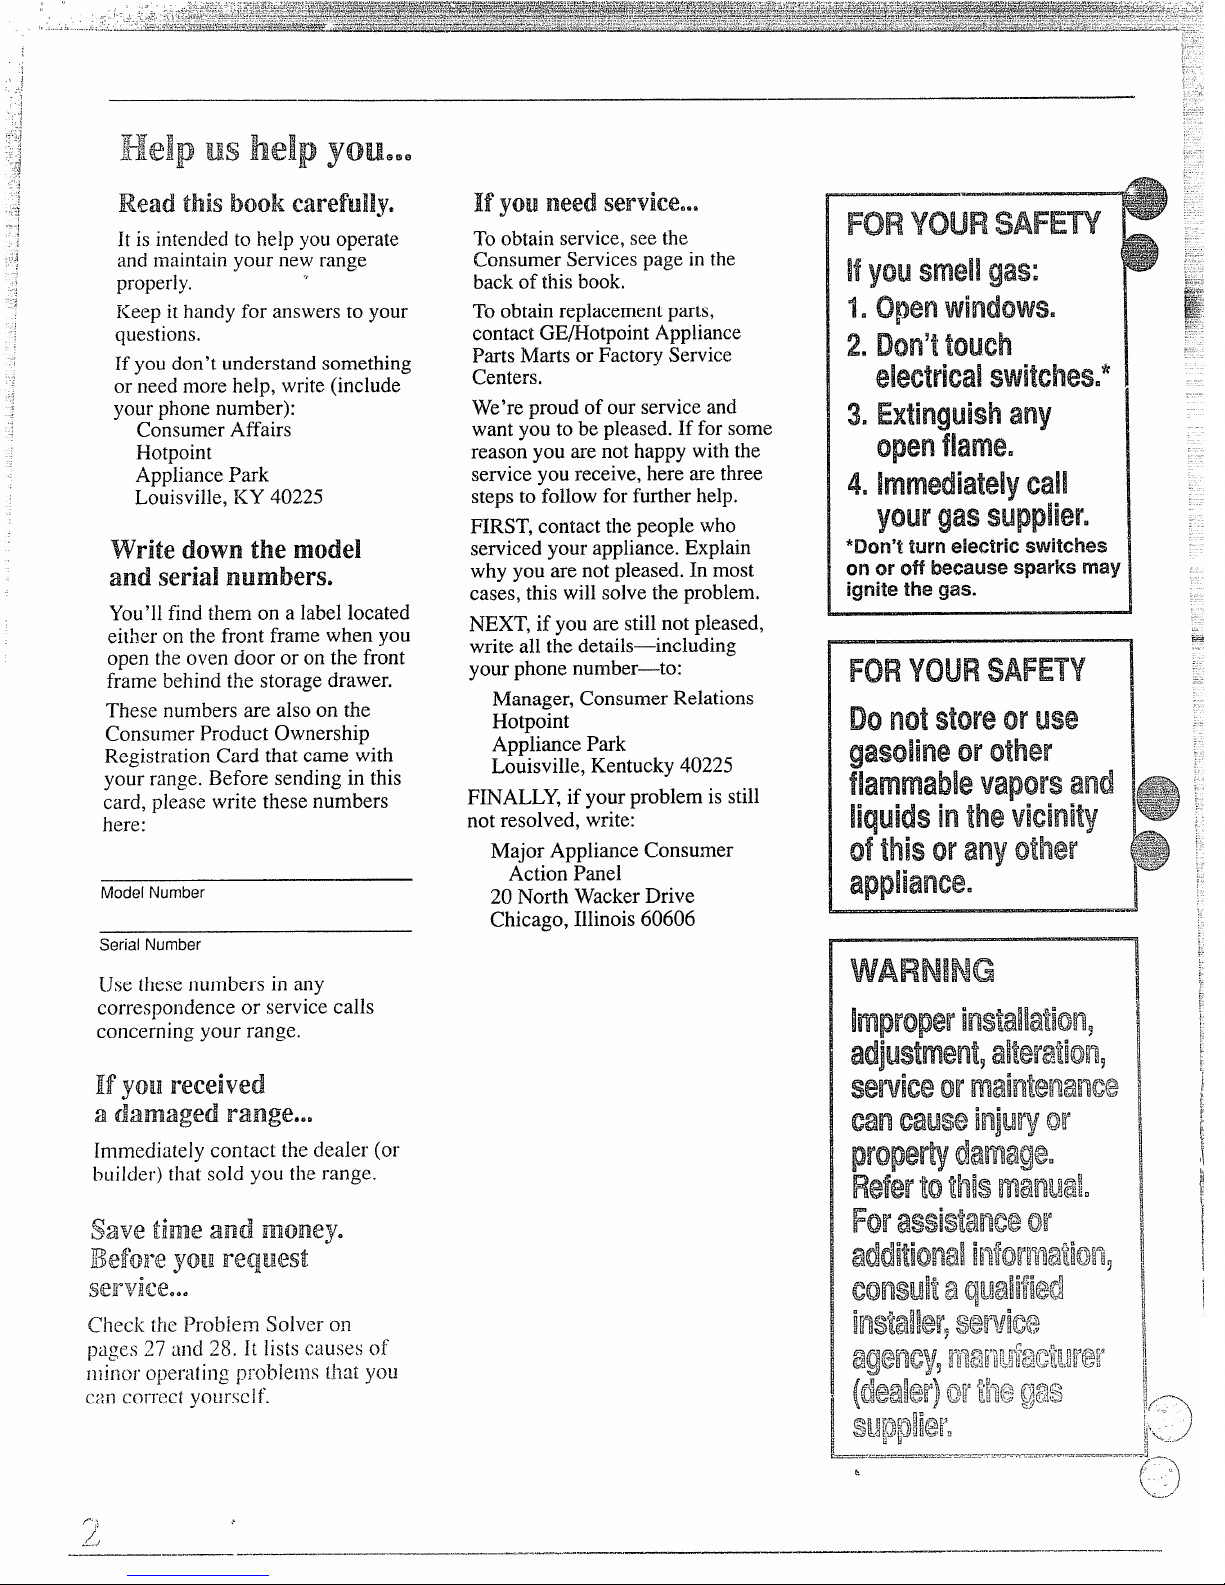
FORYOURSAFETY ~
WARNING
IfyotB received
a damagedrange..,
Immediately contact the dealer (or
l>ui]der)that sold you the range.

IMPQRFANT
SAFETY NOTICE
California Safe Drinking
The
Watel and Toxic Enforcement
Act requires the Governor of
California to p~~b~isha list of
substances known to the state to
cause cancer, birth defects or
other reproductive harm, and
requires businesses to warn
customers of potential exposure
to such substances.
Gas appliances can cause minor
exposure to four of these
substances, namely benzene,
carbon monoxide, ‘formaldehyde
and soot, caused primarily by
the incomplete combustion of
natural gas or LF’fuels. Properly
adjusted burners, indicated by a
bluish rather than a yellow
flame, will minimize incomp~ete
combustion. Exposure to these
substances can be minimized by
venting with all open window or
using a ventilation fan or hood.
grounded, three-prong outlet in
accordance wi~hthe Natio~~al
Electrical Code. Do not use
an extension cord with
this appliance.
@Be sure all packing materials
are removed from the range
before operating it to prevent
fire or smoke damage should
the packing material ignite.
oLocate range out of kitchen
tra~~e
path and out of drafty
locationsto prevent poor air
Circulation.
~Besureyourrangeiscorrectly
adjusted by a qualified service
technician or instaIierfor the
type of gas (natural or LP)
that is to be used.
can be converted for use with
either type
Installation Instructions.
eAfter prolonged use of a
range~ high floor temperatures
may result and many floor
coverings w~ll not withstand
this kind of UseeNever install
the range over vinyl tile or
Iinoleurn that cannot withstand
such type of’use. Never install it
directly over interior kitchen
carpeting.
of gas. See
Your range
INTERESTTo CHIKJDREN
SHOULDNOTBE STORED
CABINETSABOVEA.
IN
RANGE(JR ONT14E
BACILSPLASHOFA
RANGE—cEmDREN
CLIMBING ON THE RANGE
TO REACH ITENISCOULD
BE SERIOUSLYINJUWD.
Can tip and
injury Could
result. To
prevent
accidental
tipping of
the range9
attach the
supplied
Anti-Tip
device to
the wall. (See Installation
Instructions.) To check if the
device is installed and engaged
properly, carefully tip the range
forward. The Anti-Tip device
should engage a bracket on the
back wall of the range that will
prevent it from tipping over.
If you pull the range out from
the wall for any reason, make
sure the Anti-Tip device is
engaged with the bracket when
you push the range back agai~~st
the wall.
..——-----—————..-
——.-——

“ Neverwear loosefittiilgor
llang~ng
garmentswhileIlsing
the .app[iance. Be careful when
reaching for items stored in
cabinets over the cooktop.
Flammable material could be
ignited if brought in contact
with flame or hot oven surfaces
and may cause severe bums.
eFor yotnr safety? never use
your appliance for warming
or heating the H*oom.
~Do not use water on grease
fires. Never pick up a flaming
pan. Turn off burner, then
smother flaming pan by
covering pan completely with
well-fitting lid, cookie sheet or
flat [ray. Flaming grease outside
a pa~ican be put out
by
covering with baking soda or, if
available, a multi-purpose dry
chemical or foam-type fire
extinguisher.
oDo Hot store flammable
materials in
an oven or near
‘theCooktop.
“Do not store or use
Colmbustib]ematerials9
gasoiine or Otherflammable
vapors and Iiquidsin the
vicinityofthis or
any other
appliance.
eDo not jet cooking grease or
other fla~llmablelllaterials
aeculllulate in or near tile
YaBlgeo
ewhe~l Cling ]Iorl{,follow
[he directions exactly ancl
ttiwayscook the nle;~ito an
internal temperature of at least
170°F.This assures lhat,
in the
renloie p(Jssi~3i1i1ythat trichina
nlay [?eprescllt in the meat, it
will Iockilled a~}dthe meai will
bc Salk {()Cal.
surface(;ool{ing
Q Always use theI.ITE
positionwhen ignitingtop
burnersand make surethe
burnershave ignited.
eNever leave surface burners
unattended
at highflame
settings.
Boilovercauses
smokingand greasy spillovers
that may catch onfire.
o
Adjusttop burner Ralnesize
soit doesnotextendbeyond
the edgeofthe cookware.
Excessive flame ishazardous.
“use only
dry pot holders—
moist or damp pot holderson
hot surfaces may result in bums
from steam. Do not let pot
holders come near open flames
when lifting cookware. Do not
use a towel or other bulky cloth
in place of a pot holder.
~To minimizethe possibility
of burns,
ignition of flammable
materials, and spillage, tum
cookware handles toward the
side or back of the range
without extending over adjacent
burners.
Q
Always turn surface burner
to OFF before removing
Cool<ware.
“carefully watch foods being
fried at a high
flameSettiIIge
~Neverblock the vents(air
openings)of the range.
They
provide the air inlet and outlet
that are necessary for the range
to operate properly with correct
combustion. Air openings are
locatedat the rearof the cooktop,
ai the top and bottom of the
oven cloor and under the storage
drawer.
e Donotusea wokonthe
cooking
surfaceiftilewokhas
a round metalringthat is
piaced over the burner grate
to support the wok. This ring
acts as a heat trap, whichmay
~
damage theburner grate and
;
k
burnerhead. Also, it may cause
‘
the burner to work improperly.
This may cause a carbon
monoxidelevel above that
allowed by cu~~entstandards,
resulting in a health hazard.
~Foods for frying shou~dbe
as dry as possible.Frost 013
frozen foods or moisture 011
fresh foods can cause hot fat to
bubble up and over sides of pan.
~Use least possible amount of
fat for effective shallow or
deep-fat frying. Pilling the pan
too full of fat can cause
spillovers when food is added.
~If
a combination of oils or
fats wiii be used in f~.ying, stir ,g~a.
o
.i~.;<$~
together before heating or as -..
:*g2*
watch as it heats.
~Use a deep fat thermometer
whenever possible to prevent
overheating fat beyond the
smoking point.
~use proper pan size—
Avoid
pans that are unstable
oreasily
tippecl.Select cookware havi~lg
flat bottoms large enough to
properly contain food and.avoid
boilovers and spillovers and
large enough to cover burner
grate. This will both save
cleaning time and prevent
hazardous acct~mulationsof
food, since heavy spattering or
spillovers left 0]2range can
ignite. Use pa~3swith handles
that can be easily grasped a~~d
remain cool.
>..-.—
fy
t
.’
\
>
~.._.
(
‘“-
L.. ,.’
,<’;,
1,
.. ...——— .———
——..—.
.—.———
,*% of-range cooking.
hot Oven. The hot air and
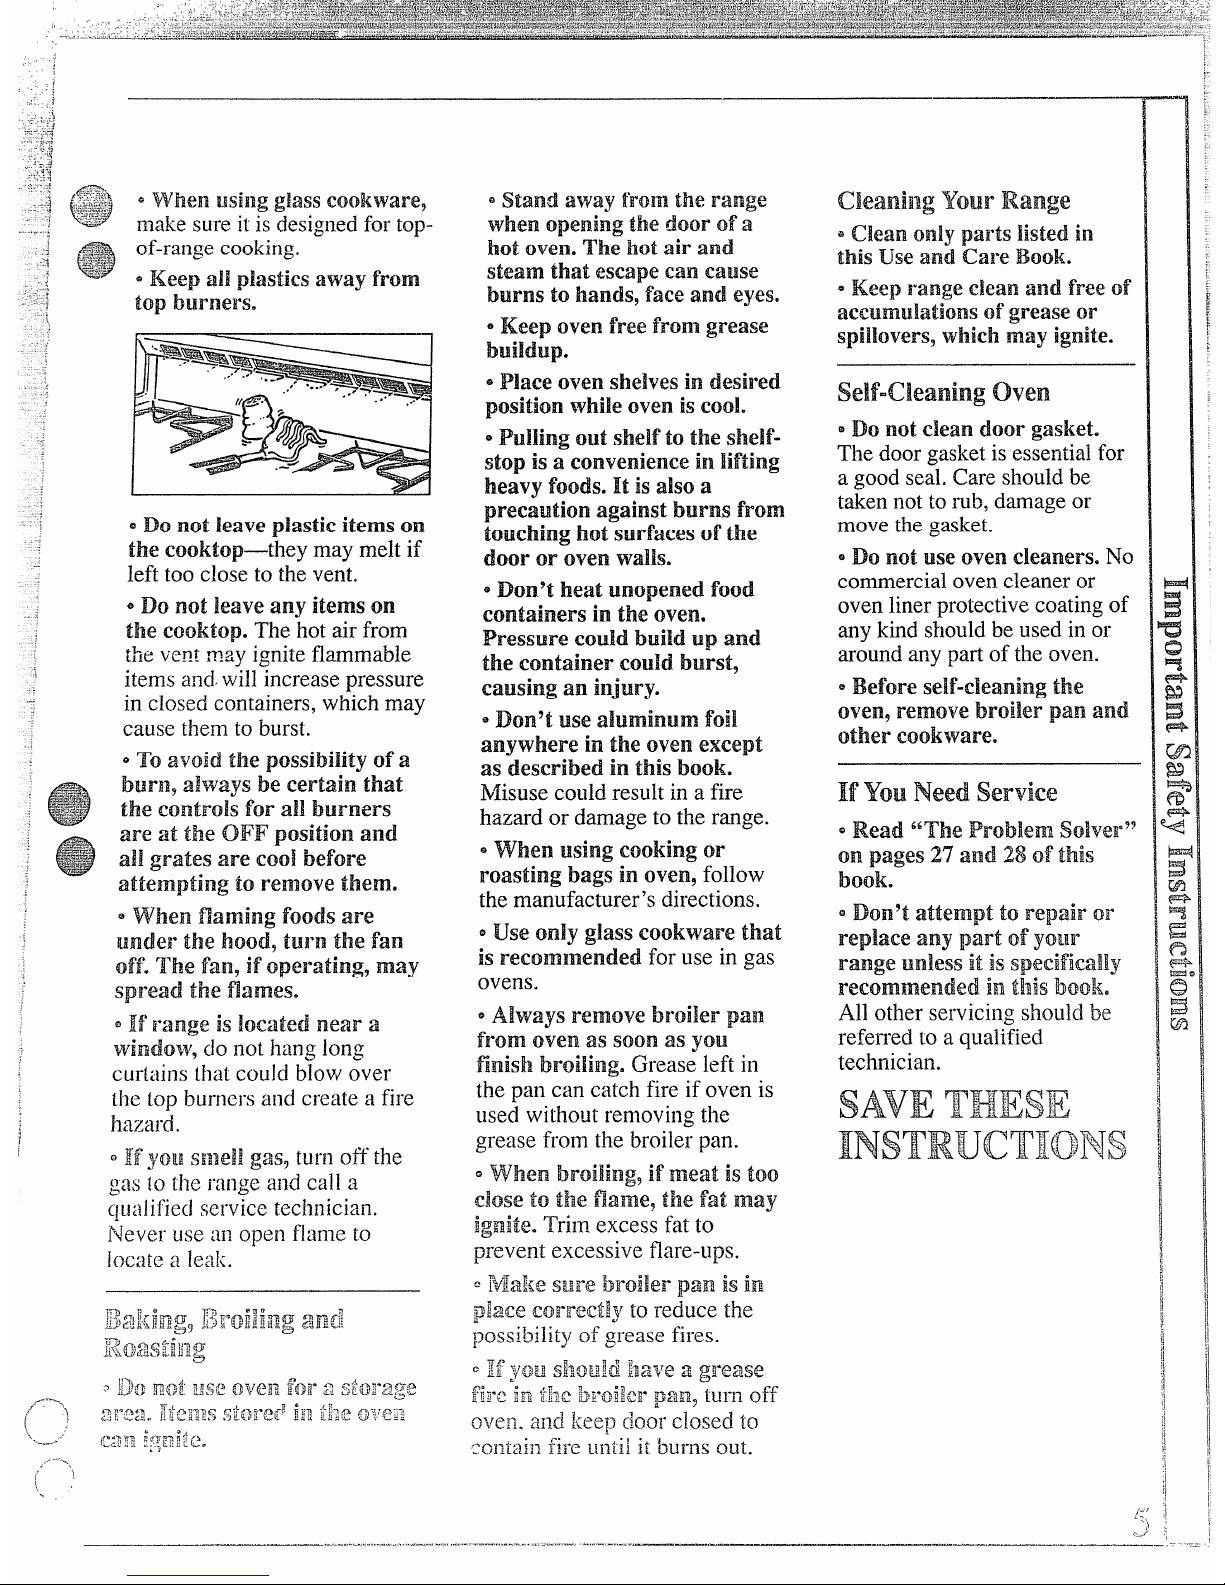
QDonotleave plasticitemson
the eooktop—they may melt if
left too close to the vent.
0Do not leave any items on
the cooktop. The hot air from
the vent may ignite flammable
iterns aricl.will increasepressure
in closed containers, which may
cause them to burst.
eTo avoid the possibility of a
burn, always be Certain that
the controls for all burners
are at the OFF position and
al~grates are coo] before
attelnpting to remove them.
oWhen flaming foods are
under the hood9turn the fan
OffqThe fa119if Operatingymay
spread the flamese
QIf range is Iocated near a
window9CIOnot hang long
curtains that could blow over
tl]e top burflcrs and create a fire
hazard.
oIf yo~l Slllei] gas, turn off the
gas io tile range arid call a
q~l:]lified service techilician.
Never t~sean open
flame to
ioctl[e a leak.
steam
that escapeCan Cause
burns tohands, face and eyes.
e Placeoven shelves indesired
position whileoven is Coole
ePuIiingoutshelftothesheif-
Stop is a convenience inIifting
heavy foods. It isalso a
precautionagainst burns from
tauching hot surfaces of the
door or oven walls.
e Don’theat unopenedfood
containers
intheoven.
Pressure
Couldbuildup and
the
containerCouidburst,
causingan i~ljury.
s Don’tuse aluminum foil
anywhere in the oven except
as described in this book.
Nfisusecould result in a fire
hazard or damage to the range.
o when using cookingor
roasting bags in oven9follow
the manufacturer’s directions.
@useonlyglassCookwarethat
is reeomlnended for use in gas
ovens.
e AIways remove broiler pa~l
fromoven as soon as you
finis~~broiling.Grease left in
the pan can catch fire if oven is
used without removing the
grease from the broiler pan.
ewhen broiiingy if meat is too
close to the flame~the
fat may
~g~~~eo ~riln excess
fat to
prevent excessive flare-tips.
CleaningYour Range
~
Cleanonly partslistedin
this use and care Book.
“ Keeprange cleanand freeOf
accumulationsof greaseor
spiilovers9Wlliehmay ignite.
self=c~eaningoven
~Donotclean doorgasket.
The door gasketis essentialfor
a good seal. Careshould be
taken not torub, damageor
move the gasket.
eDonotuse oven Cleanerse No
commercial oven cleaner or
oven liner protective coating of
any kind should be used in or
around any part of the oven.
“ Before
self-cleaning the
oven9removebroiler pan
and
other Cookwaree
IfY’uNeedservice
QRead 66The Problem Solver99
on pages 27
and 28of this
bOOke
@Don9tattempttorepairor
replace any partofyotli”
range unless it is specifically
recommended
inthis book.
All other servicing should be
referred to a qualified
technician.
SAVETHESE
INSTRUCTIONIS
‘..
.’
,
——.-.—.——— ——.-............ .........
...-”.- . . . . . . . . . . . . . .. . . . . . . . . . . . . . . . .. .
. . . ..— -—,..———
.——— .—...— ,—...—.—.—.—
—.
—

@
_____
-
_L?~
...-.-.
-J.
.. . .-
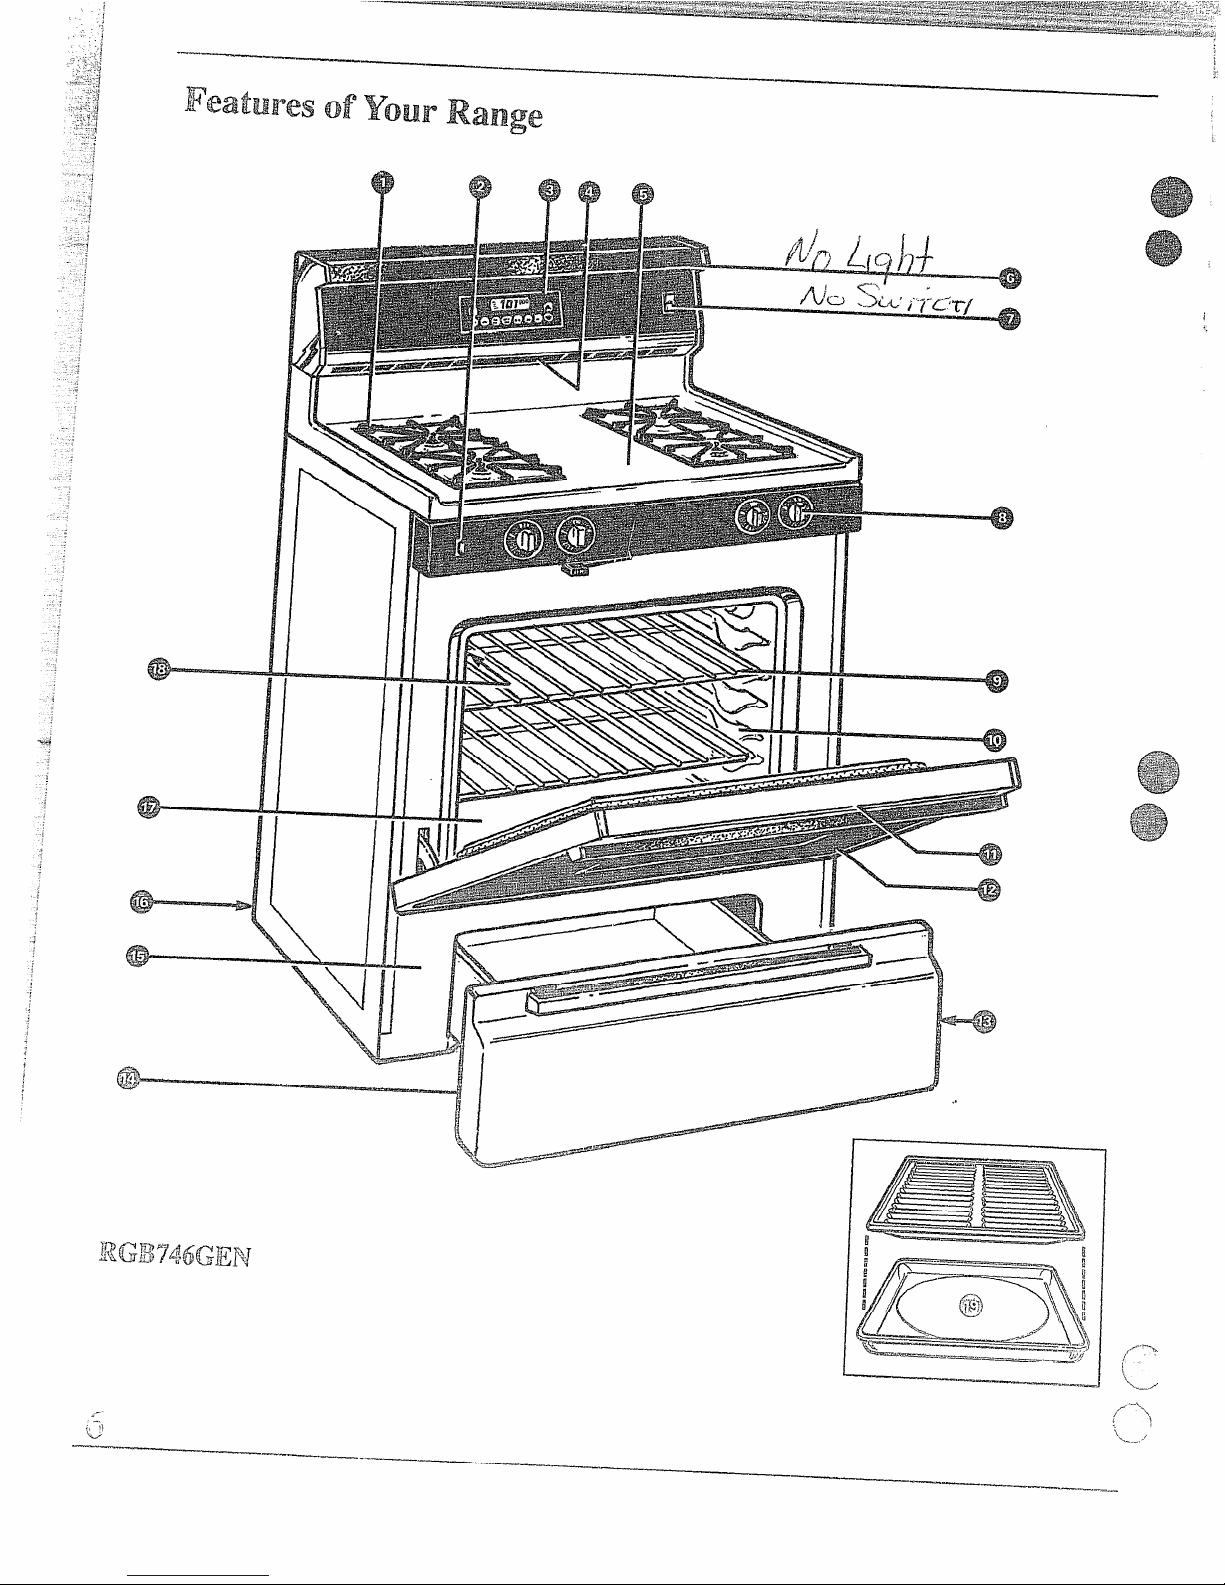
Feature Index
I
See page
1 Grates, Drip Pans (onmodels soequipped) and Sutiace Burners
22,25
2 Oven Lamp On/Off Switch 11
3 Electronic Oven Control, Clock and Timer
I
8,9
4 Oven Vents I 4,5, 11,22
5 Lift-Up Cooktop (Locks in up positionto simplify cleaning underneath.)
22
I
11,24
9 Oven Shelves (Easily removed or repositioned on shelf supports.)
11,23,25
10 Oven Shelf Supports
11
11 Air Ventin Oven Door (Top of Oven Door.)
23
12 Removable Oven Door (Easily removed for oven cleaning.)
23
13 Air Intake (Under Storage Drawer.)
23
14 Storage Drawer
23
15 Model and Serial Numbers
2
16 Anti-Tip Device (Lower right rear corner on range back.
3,36
See Installation Instructions.)
17 Oven Bottom
I
24,35
18 Oven Interior Light
~~,~4
19 Broiler Pan and Rack
, 17,23,25
1
J
m
,,
It
f
I
t
c
\
..

.
*
--s
6
.
b
:
1. INCREASE. Short ~apsto this
pad increasetime or temperature
by small amounts.Press& hold
pad to increasetime or temperature
by largeramounts.
2. DECREASE. Short tapsto this
pad decrease timeor temperature
by small amounts.Press & hold
pad to decrease time or
temperatureby larger amounts.
3. BAKE. Touchthis pad to select
bake function.Then tap or press
INCREASE or DECREASE pad to
display desired ~emperature.
4. BROIL. Touch thispad to select
broil function.Then tap
INCREASE pad once to broil at
LO (450°F.) or twice to broil at HI
(550”F.).Tap DECREASE pad to
change back to LO broil.
5. CLEAN. Touch tl]ispad to
select self-cleaning function. See
Self-Cleaning Instructions on
pages 19 and 20.
&bb
7. STOP TIME. Use this pad
along with COOK TIME and
INCREASE or DECREASE pad to
set the ui’ento start automatically,
cook for a specified time and stop
automatically at a time you select.
8. CLOCK. Touchthispad before
settingtheclock.To setclock, first
touchCLOCK pad. “TIME” will
flashin thedisplay.TapINCREASE
or DECREASEpad tochangethe
timeof dayby smallamounts.Press
& hold INCREASEor DECREASE
pad tochangethe timeof dayby
largeramounts.
9. TIMER. Touch this pad to
select timer function. The timer
does not control oven operations.
Touch pad again to turn it off.
To set timer, first touch TIMER
pad. “TIMER” will flash in the
display. Tap INCREASE or
DECREASE pad to change the
time by small amounts. Press &
hold INCREASE or DECREASE
pad to change the time by larger
amounts.
Hours and minutes will be
displayed if the time set on the
timer is more than 1 hour. Minutes
and seconds will be displayed if
the time set on the timer is less
Lh:in1hour.
B
o
.
b
10.CLEAR/OFF. Touch thispad
to cancel all oven operations
except clock and timer.
11.PROGRAM STATUS.Words
lightup in the displayto show the
selectedoven mode.
12.TIME DISPLAY. Shows the
time of day, the times set for the
timer or a~tomaticoven operation.
13. OVEN TEMPERATURE
A“NDBROIL DISPLAY.Shows
..
the oven temperature or the broil
setting selected.
14.
FUNCTIONINDICATORS. :
Lights up to show whether oven is
in bake, broil or self-cleaning
mode.
*
j
f.
i.
f
\
t
~it,
(
\
[
6. COOK TIME. Touch this pad
and then touch Ihe INCREASE or
DECREASE pad to set the amount
of time you want your food to
cook. Touch BAKE and the
ir’CREASE or DECREASE pad to
\
[
SC[the oven temperature. The oven
1
*
‘i
wil~shut off after the selected
i
~200JcTime has run oLIt.
—. :
/~-.
“[
\
t
\
\
x.~~
.....
1
~fl=
i?
1
I
.. \
.
..-”
.——. .-.......—.—
.————
.——— —-
—.———.——--.—— -----
,.!>
—.—....——
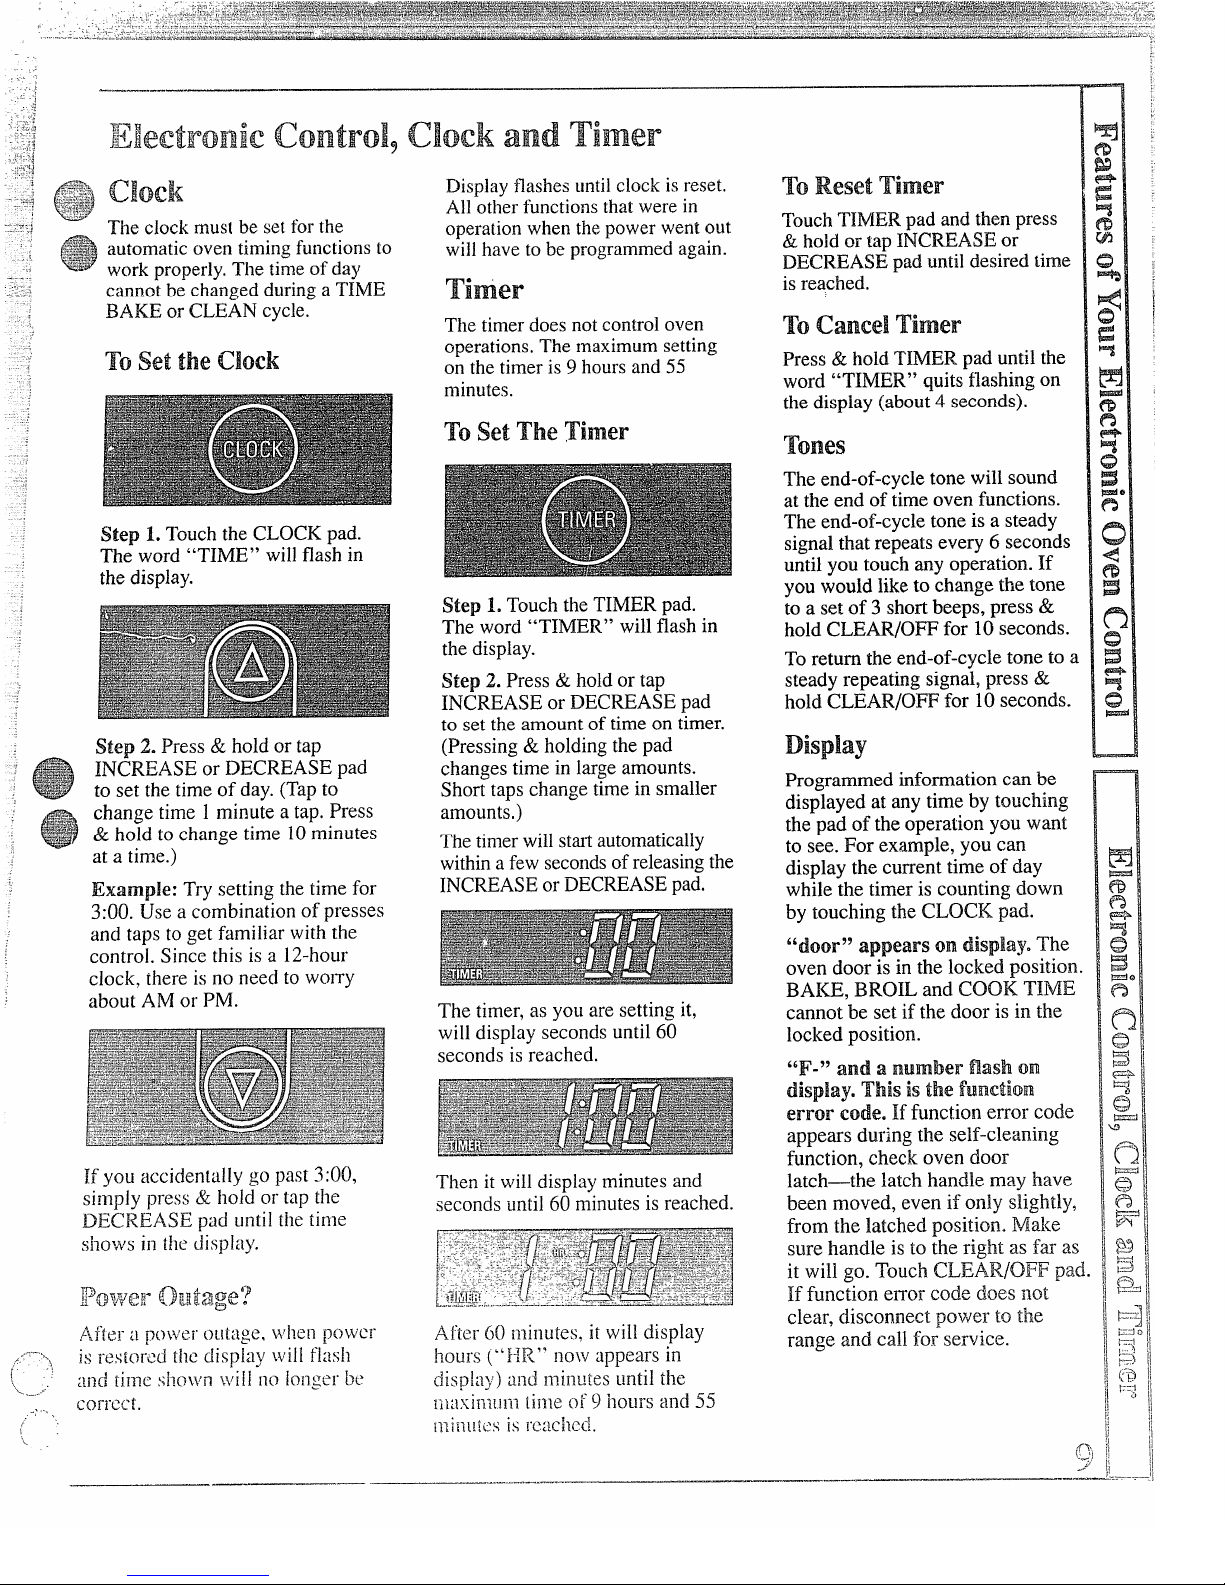
The clock must be setforthe
automaticoven timingfunctionsto
work properly,The time of day
cannotbe changed during a TIME
BAKE or CLEAN cycle.
To set the clock
Step 1.Touch the
CLOCK
pad.
The word “TIME” will flash in
the display.
Step 2. Press& hold or tap
INCREASE or DECREASE pad
to set the time of day.(Tap to
change time 1minute a tap. Press
& hold to change time 10minutes
at a time.)
Example: Try setting thetime for
3:00. Use a combination of presses
and taps to get fiamiliarwith the
control. Since this is a 12-hour
clock, there is no need to worry
about AM or PM.
Displayflashes untilclock isreset.
All other functionsthat werein
operationwhen thepower went out
willhave tobe programmedagain.
Timer
The timerdoes notcontroloven
operations. The maximumsetting
on thetimer is9 hoursand 55
minutes.
To setThe Timer
Step 1. Touchthe TIMER pad.
The word “TIMER” will flashin
the display.
Step2.Press& hold or tap
INCREASE or DECREASE pad
to set the amount of timeon timer.
(Pressing & holding the pad
changes time in large amounts.
Short taps change time in smaller
amounts.)
Thetimer will stal automatically
withina few seconds of releasingthe
INCREASEorDECREASEpad.
The timer, as yOLIare setting it,
will display seconds until 60
seconds is reached.
Then it willdisplay minutesand
secondsuntil 60 n~inutesis reached.
To ResetTimer
TouchTIMER pad and thenpress
& hold or tap INCR.EASEor
DECREAS~ pad untildesired time
isreached.
To cancel Timer
Press & hold TIMER pad untilthe
word “TIMER” quitsflashing on
the display (about4 seconds).
Tones
The end-of-cycletone will sound
at the end of time oven functions.
The end-of-cycle tone is a steady
signalthat repeatsevery 6 seconds
until you touch any operation. If
you would liketo change the tone
to a set of 3 shortbeeps, press &
hold CLEAR/0~ for 10 seconds.
Toreturn the end-of-cycle tone to a
steady repeating signal,press &
hold CLEAR/0~ for 10seconds.
Dispiay
Programmed information can be
displayed at any time by touching
the pad of the operation you want
to see. For example, you can
display the current time of day
while the timer is counting down
by touching the CLOCK.pad.
“door” appears on display. The
oven door-is in the locked position.
BAKE, BROIL and COOK TIME
cannot be set if the door is in the
locked position.
“F-” and a number nash on
display. This is the function
error code. If function error code
appears during the self-cleaning
function, check oven door
latch—the latch handle may have
been moved, even if only slightly,
from the latched position. Make
sure handle is to the rigi~tas far as
it will go. Touch CLEAR/OFFpad,
If function error code does Ilot
clear, disconnect pov4erto the
range and call for-service.
-,<
d
——.-..— . . . ..——””-. .—
———.—
.———..
— .—
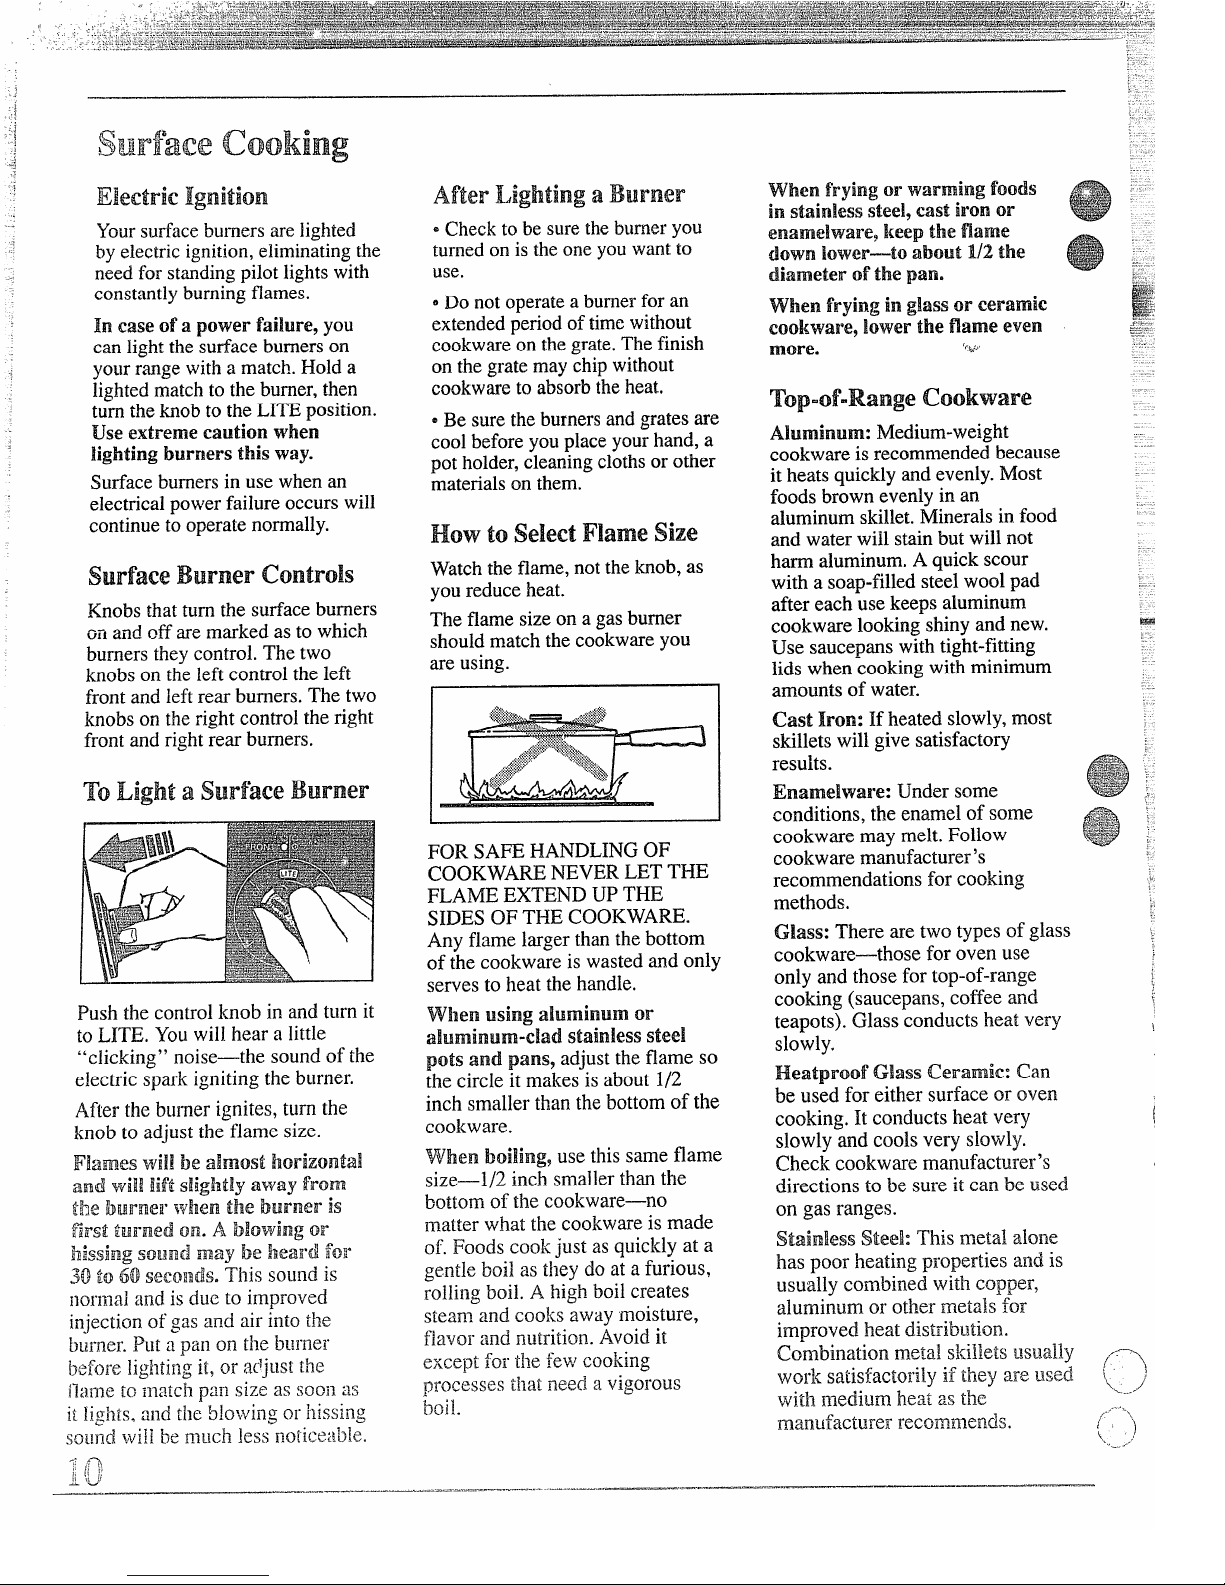
Electric Ignition
Yoursurfaceburners arelighted
by electric ignition,eliminatingthe
need for standingpilot lightswith
constantlyburningflames.
In case ofa power failure,you
can lightthe surface burnerson
your range with a match. Hold a
lightedmatch to the burner,then
turn the knob tothe LITE position.
Use extreme caution when
lighting
burnersthisway.
Surface burners in use when an
electricalpower failure occurs will
continueto operatenormally.
surface Burner
controls
Knobs that turn the surfaceburners
~riand off aremarked as to which
burners they control. The two
knobs on the left control theleft
front and left rear burners. The two
knobs on theright control the right
front and right rear burners.
To Light a surface Burner
AfterLightingaBurner
*Check to be surethe burneryou
turnedon is theoneyou want to
use.
*Do not operatea burnerfor an
extendedperiod of time without
cookwareon thegrate.The finish
on thegrate maychip without
cookwareto absorbtheheat.
sBe sure the burnersand grates are
coolbefore youplace yourhand, a
pot holder,cleaningclothsor other
materialson them.
How toselectFlamesize
Watchthe flame, not theknob, as
you reduce heat.
The flame sizeon a gasburner
shouldmatch the cookwareyou
are using.
FOR SAFE HANDLING OF
COOKWARE NEVER LET THE
FLAME EXTEND UP THE
SIDES OF THE COOKWARE.
Any flame larger than the bottom
of the cookware is wasted and only
serves to heat the handle.
pots and pans? adjust theflame so
the circle it makes is about 1/2
inch smaller than the bottom of the
cookware.
Wghem
boiling,use this same flame
size—1/2 inch smaller than the
bottom of the cookware—no
matter what the cookware is made
of. Foods cook just as quickly at a
gentle boil as they do at a furious,
rolling boil. A high boil creates
steam and cooks away moisture,
flavor and nutrition. Avoid it
except for tile few cooking
processes tl~atneed=
a vigorous
boil.
mu_.. ____ .__-.._ .__. _..= =..=...._ - . .
.
..”.-....
-.. . . . . . . . .
.
- —.—
when frying or warmingfoods
instainless steelycastironor
enamelware lieepthe frame
down lower—toabout 1/2the
diameter of the pan.
when frying inglassor ceramic
cool{ware,lower the flame even
more.
“’’w’”
Top”of”Range cookware
Aiuminum: Medium-weight
cookware is recommended because
it heats quickly andevenly.Most
foods brown evenly in an
aluminumskillet. Minerals in food
and water will stainbut will not
harm aluminum.A quick scour
with a soap-filled steel wool pad
after each usekeeps aluminum
cookware lookingshiny and new.
Use saucepans with tight-fitting
lids when cookingwith minimum
amounts of water.
Cast Iron: If heated slowly,most
skilletswill give satisfactory
results.
Enamelware: Under some
conditions, the enamel of some
cookware may melt. Follow
cookware manufacturer’s
recommendations for cooking
methods.
Glass: There are two types of glass
cookware—those for oven use
only and those for top-of-range
cooking (saucepans, coffee and
teapots). Glass conducts heat very
slowly.
Heatproof Glass Ceramic: Can
be used for either surface or oven
cooking. It conducts heat very
slowly and cools very slowly.
Cb.eckcookware manufiacturer’s
directions to be sure it can be used
on gas ranges.
$tainless Steel: This metal alone
has poor heating properties and is
usually combined with copper,
aluminum or other metals for
im~roved heat distriblltion.

.....—. .—.—,.——
—-.>
,
‘j
—.-
.,-
-.
. .,
.,
ElectricIgnition
‘Fheovenburner and broil burner
are lighted by electric ignition.
Tolighteitherburner,touch the
padforthedesiredfunctionand
press& holdor tap INCREASEor
DECREASEpad untilthe desired
[temperatureis displayed.The burner
sho~ldignite within60 seconds.
After the ovenreaches the selected
temperature,the oven burner
cycles-off completely,then on
with a full flame-to keep the
oven temperaturecontrolled.
CAUTION: DO NOT MAKE
ANY ATTEMPT TO OPERATE
THE ELECTRIC IGNITION
OVEN DURING AN
ELECTRICAL POWER
FAIL~JRE.The oven or broiler
cannot be litduring a power
failure. Gas will not flow unless
the glow bar is hot.
If the oven is in use when a power
failure occurs, the oven burner
shuts off and cannot be re-lit until
power is restored.
oven Light
The oven I.ightcomes on
automatically when the door is
opened. Use the switch on the
lower controlpanel to turn the light
on and off when the door is closed.
.,._.-----~
&+Light .,<~
f
(~n moti%~ equip~ed)
h
use the switg~o< ~e upper
“ The ventopeningsand nearby
surfacesmay become not.Do not
touch them.
“ Handles ofpotsand pans on
the Cooktopmay become hot if
left
tooclosetothe vents
~Do notleave plasticitems on
the cooktop—they may melt if
left too close to the vent.
~Metal items will become very
hot if they are left on the cooktop
and could cause burns.
~Do not leave any items on the
cooktop. The hot air from the vent
may ignite flammable items and
will increase pressure in closed
containers, which may cause them
to burst.
oven shelves
The shelves are designed with stoplocks so when placed correctly on
the shelf supports, they will stop
before coming completely out of
the oven and will not tiltwhen you
are removing food from them or
piacing food on them.
Wheil placing cookware on a shelf,
pu!i the shelf out to [he “stop”
position. Place t!lecookware on
tl~eshelf, then slide the shelf back
into the oven. This will e~irninaie
I“etl(’hillginio th< hoi oven.
.,.+.....—.—
——.”...— ------ ,--- —-=-. -,, ~ .- —-— —-—-—--—-. -———..-—.
.—— -
I I
1111
Toremove a shelf from the oven
pull ittoward you,tilt front end
upward and pull shelfout.
To replace, place shelf on shelf
supportwith stop-locks(curved
extensionunder shelfl facingup
and toward rear ofoven. Tiltup
front and push shelftoward back
of oven untilit goes past” stop”
on oven wall. Then lowerfront oi
shelf andpush it all the way back
shelfPositions
The oven hasfive shelf supports
for normalbaking and roasting-—
A (bottom),B, C, D and E (top).
It also has a speciallow shelf
position (R)for roastingextra Itige
items, such as alarge turkey.Shelf
positionsfor cookingare suggested
on Baking and Roastingpages.
I
As your oven heats up, the
temperature change of the air
in the oven may cause water
droplets to form on the door
glass. These droplets are
l~armlessand.will evapo]:ateas
the oven continues to heat up.
.
,._-.____..._-_ .__. ..___..
.
$
:
Youroventemperatureiscontrolled
.
very accuratelyusingan electronic
..
controlsystem.lt is recommended
thatyou operatethe rangefor a
..
numberof weeks usingthetime
givenon recipesas aguideto
becomefamiliar withyouI-new
oven’s performance. If youthink
an adjustment is necessary,see
AdjustingOven Thermostaton
page 24.
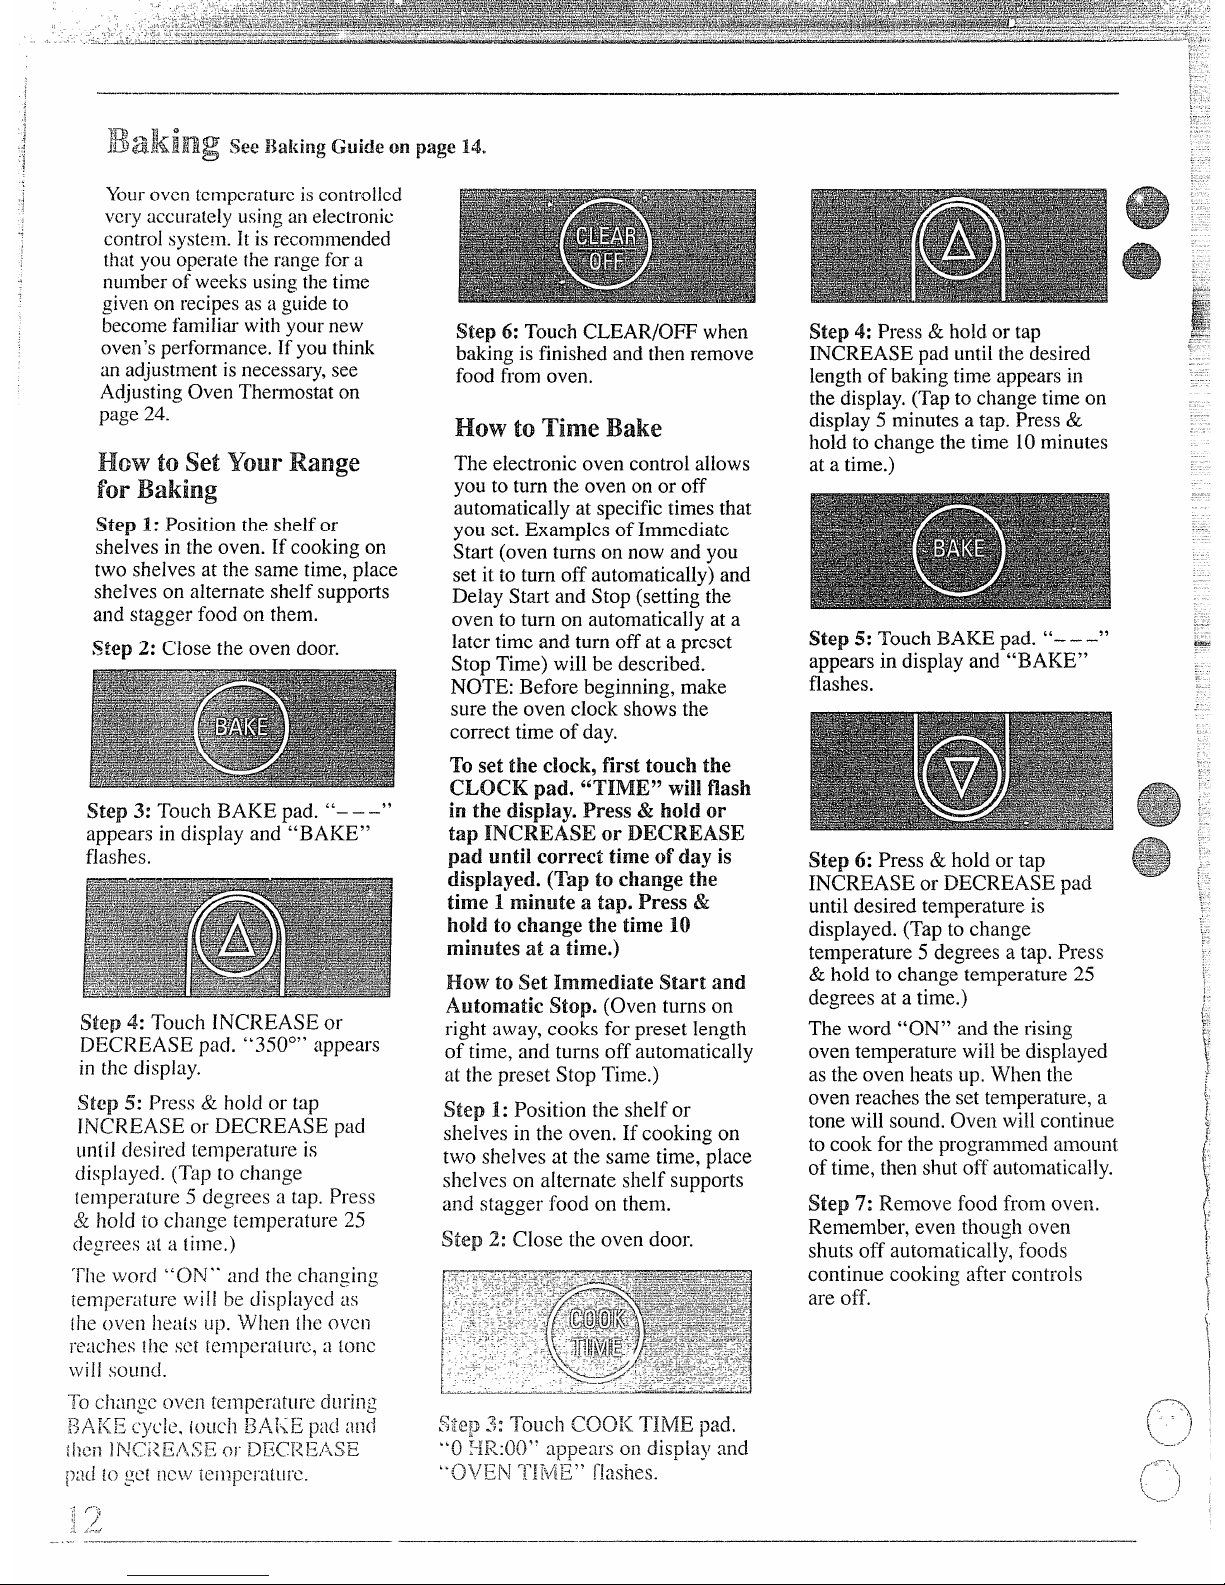
How to set Your Range
for Baking
Step 1: Position the shelfor
shelves in the oven. If cookingon
two shelves at the same time, place
shelves on alternate shelf supports
and stagger food on them.
Step 2: Close the oven door.
Step 3: Touch BAKE pad. “-– –“
appears in display and “BAKE”
flashes.
Step 4: Touch INCREASE or
DECREASE pad. “350°” appears
in the display.
Step 5: Press & hold or tap
INCREASE or DECREASE pad
un[ildesired temperature is
displayed. (Tap to change
[temperature5 degrees a tap. Press
& hold to change temperature 25
(iegrees i~ta tinle.)
“rileword “ON*’ and the changing
temperature wi1!be displayed as
(he oven he;~isup. When lhc OVCII
reac:heslilt set [cI?lpci”a[urL2,a [one
will sound.
To chan:c oven [emperaturc during
!]}~,;<Ec’ycje,/ot[ch ~lAi{Epad :lII<i
ihcil1Ni:~?EAs)FJOi-DE.cIlzG}~\sE
pad 10gel new icmpci”a[urc.
.. >.-\
~;‘/7
- . ...
Step 6: Touch CLEAR/OFF when
baking isfinished and thenremove
food fromoven.
How toTime Bake
The electronicoven controlallows
you to turn the oven on or off
automaticallyat specifictimes that
you set. Examples ofImmediate
Start (oven turnson now and you
set it to turn off automatically)and
Delay Start and Stop (settingthe
oven to turn on automaticallyat a
later time and turn offat a preset
Stop Time) willbe described.
NOTE: Before beginning,make
sure the oven clock showsthe
correct time of day.
To set the c~ock,first touch the
CLOCK pad. “TIME” will flash
in the display. Press & bold or
tap INCREASE or DECREASE
pad until correct time of day is
disp~ayed.(Tapto change the
time 1 minute a tap. Press &
hold to change the time 10
minutes at a time.)
How to Set Immediate Start and
Automatic Stop. (Oven turns on
right away, cooks for preset length
of time, and turns off automatically
at the preset Stop Time.)
Step 1: Position the shelf or
shelves in the oven. If cooking on
two shelves at the same time, place
shelves on alternate shelf supports
and stagger food on them.
Step ‘2:Close the oven door.
r--:-’$:~?~?”?_-._’-7z2+:&5z+$+5$s%$+’$s%’
~;,. .-
-:<>:>+.-=>L:?:x<9?32’:=3::-??<~<Z
)1 ----=--::j
[. “;;:::<:’::i~@qs?$B-@$_-i”
~ ; ::,,.,-:--:“4L ‘++~f::i ‘2:~z?3:;?;:-;+-~-
.-..
~
‘-=~\y~ols~;>s!-:z:?~$z?’
f. ;- ‘“-
--.-_.:,.-,-..
-’y<:>5~’’::_:?7:::~;i..;~:””;j;j
t
-.
r.
—.
-A~.-~--.M_
SteFj 3:
Touch COO1<TIME pad.
“0 ‘-JR.0{)”:~upearson disp[a}~and---
1
L~i>~,7}2[\J‘~]~/~-E’l f]:lSheS.
ti<d
Step 4: Press& holdor tap
INCREASE pad untilthe desired
lengthof bakingtime appears in
the display, (Tapto change time on
display5 minutesa tap. Press &
hold to changethe time 10minutes
at a time.)
Step 5: Touch BAKE pad. “-– –“
appears in displayand “BAKE”
flashes.
Step 6: Press& hold or tap
INCREASE or DECREASE pad
until desired temperature is
displayed. (Tap to change
temperature 5 degrees a tap. Press
& hold to change temperature 25
degrees at a time.)
The word “ON” and therising
oven temperaturewill bedisplayed
as theoven heats up.When the
oven reaches theset temperature,a
tone will sound.Oven willcontinue
to cook for theprogrammed amouni
of time, then s?lutoff automatically.
Step 7: Remove food from ove~],
Remember, even though oven
shuts off automatically, foods
continue cooking after controls
are off.
.,..
.... ..——.-.—.-—-...-—.-.——
..-.—— ——
———
—
 Loading...