

Hopkins 526018 User Manual
User Manual
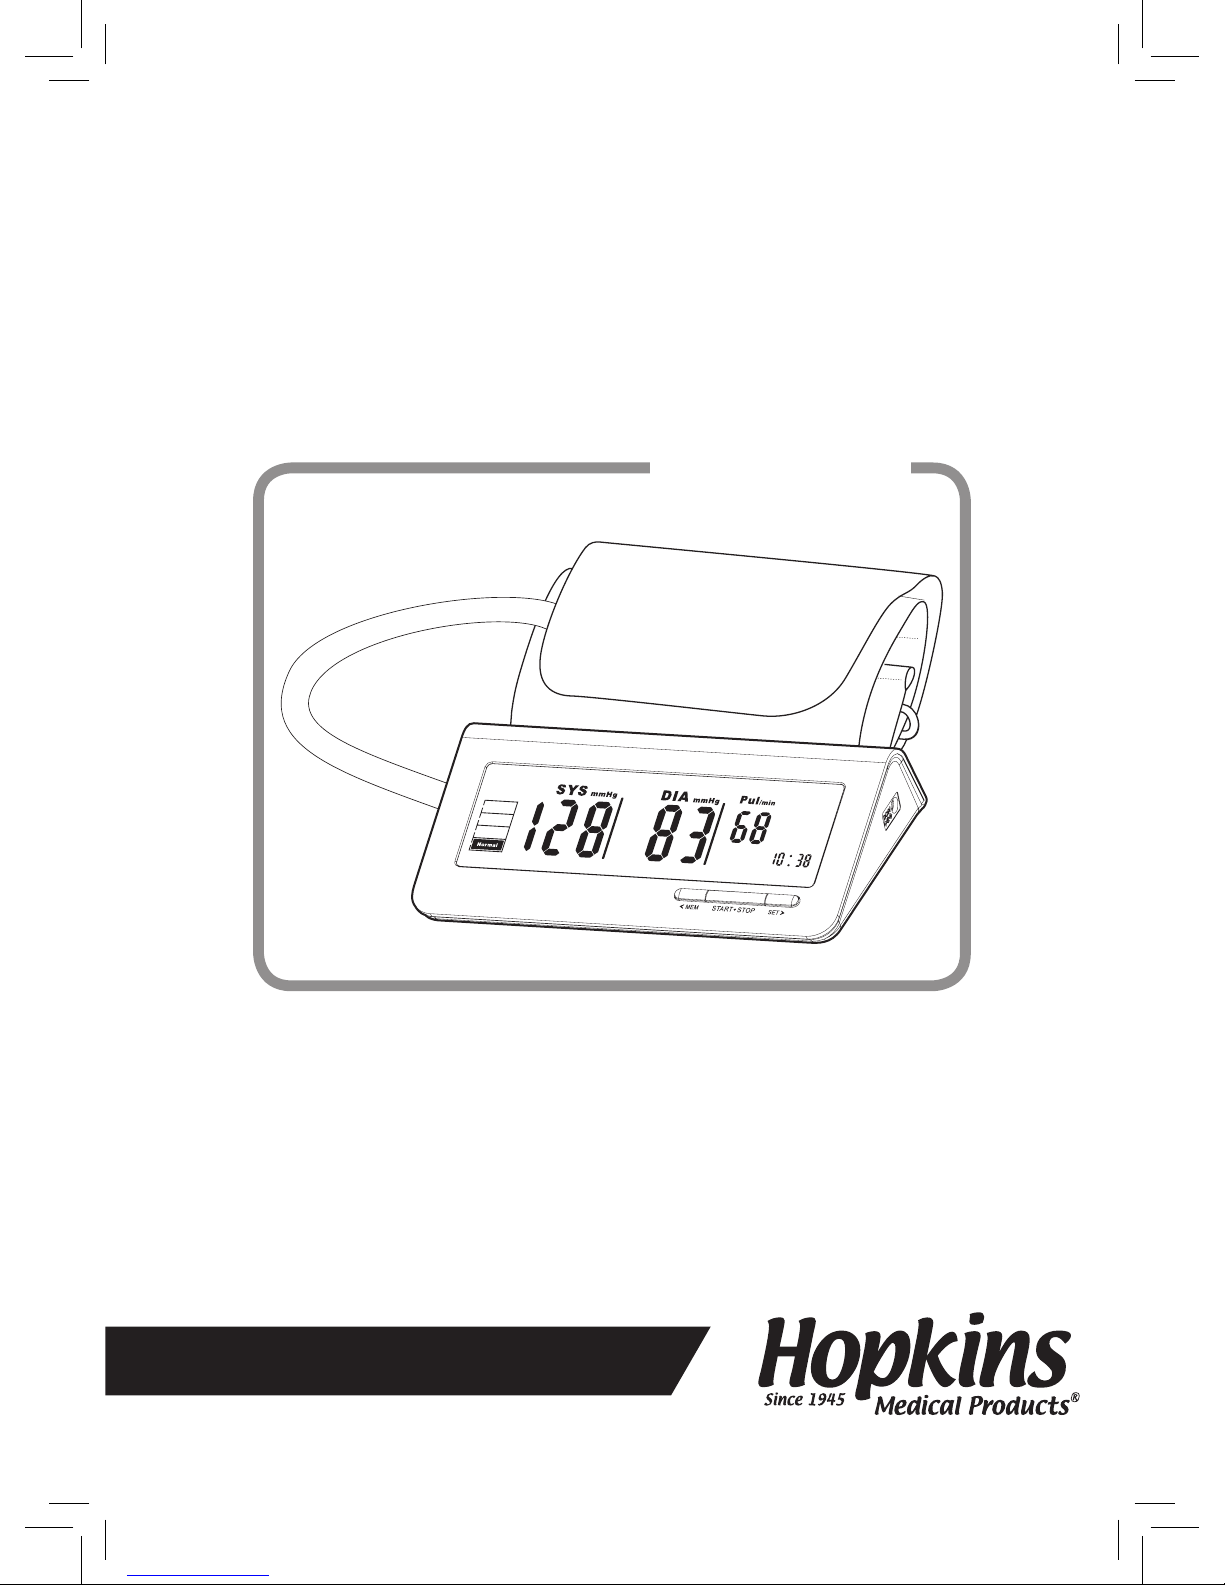
Hopkins® IMPACT Digital BP Monitor
Thank you for selecting the Hopkins® IMPACT Digital BP Monitor
#526018. To use this BP monitor correctly and safely, please read this
entire manual thoroughly and keep it for your reference.
Item #526018

INDEX
INTRODUCTION ................................................................................................. 1
• Safety information
• LCD display
• Monitor components
BEFORE YOU START ..................................................................................... 4
• Installing and replacing batteries
• Setting date and time
MEASUREMENT ................................................................................................. 7
• Positioning the cuff
• Taking a measurement
RECALLING RECORDED MEASUREMENTS .............................................. 9
• Recalling records
• Deleting records
INFORMATION FOR THE USER ..................................................................... 11
• Tips for operation
• Maintenance
ABOUT BLOOD PRESSURE ........................................................................... 13
• What are systolic and diastolic pressure?
• What is normal blood pressure?
• Why does my blood pressure uctuate throughout the day?
• Why is the reading I get from a healthcare provider different from the ones I take at home?
• Which arm should I use to take my blood pressure?
TROUBLESHOOTING ...................................................................................... 15
SPECIFICATIONS ............................................................................................. 16
WARRANTY INFORMATION ......................................................................... 21
Thank you for selecting the Hopkins® IMPACT Digital BP Monitor (Item #526018). This monitor
fea-tures blood pressure measurement, pulse rate measurement, and an auto-save function.
Readings taken by the #526018 are equivalent to those obtained by a trained observer using the
cuff and stethoscope auscultation method.
This manual contains important safety and care information, and provides step by step instructions
for using this product. Read this manual thoroughly before using this product
INTRODUCTION
1
• Measures Systolic Blood Pressure
• Measures Diastolic Blood Pressure
• Measures Pulse Rate
• Retains historic records of up to 60
previous measurements
• Large 5.5” x 1.5” bright LCD display
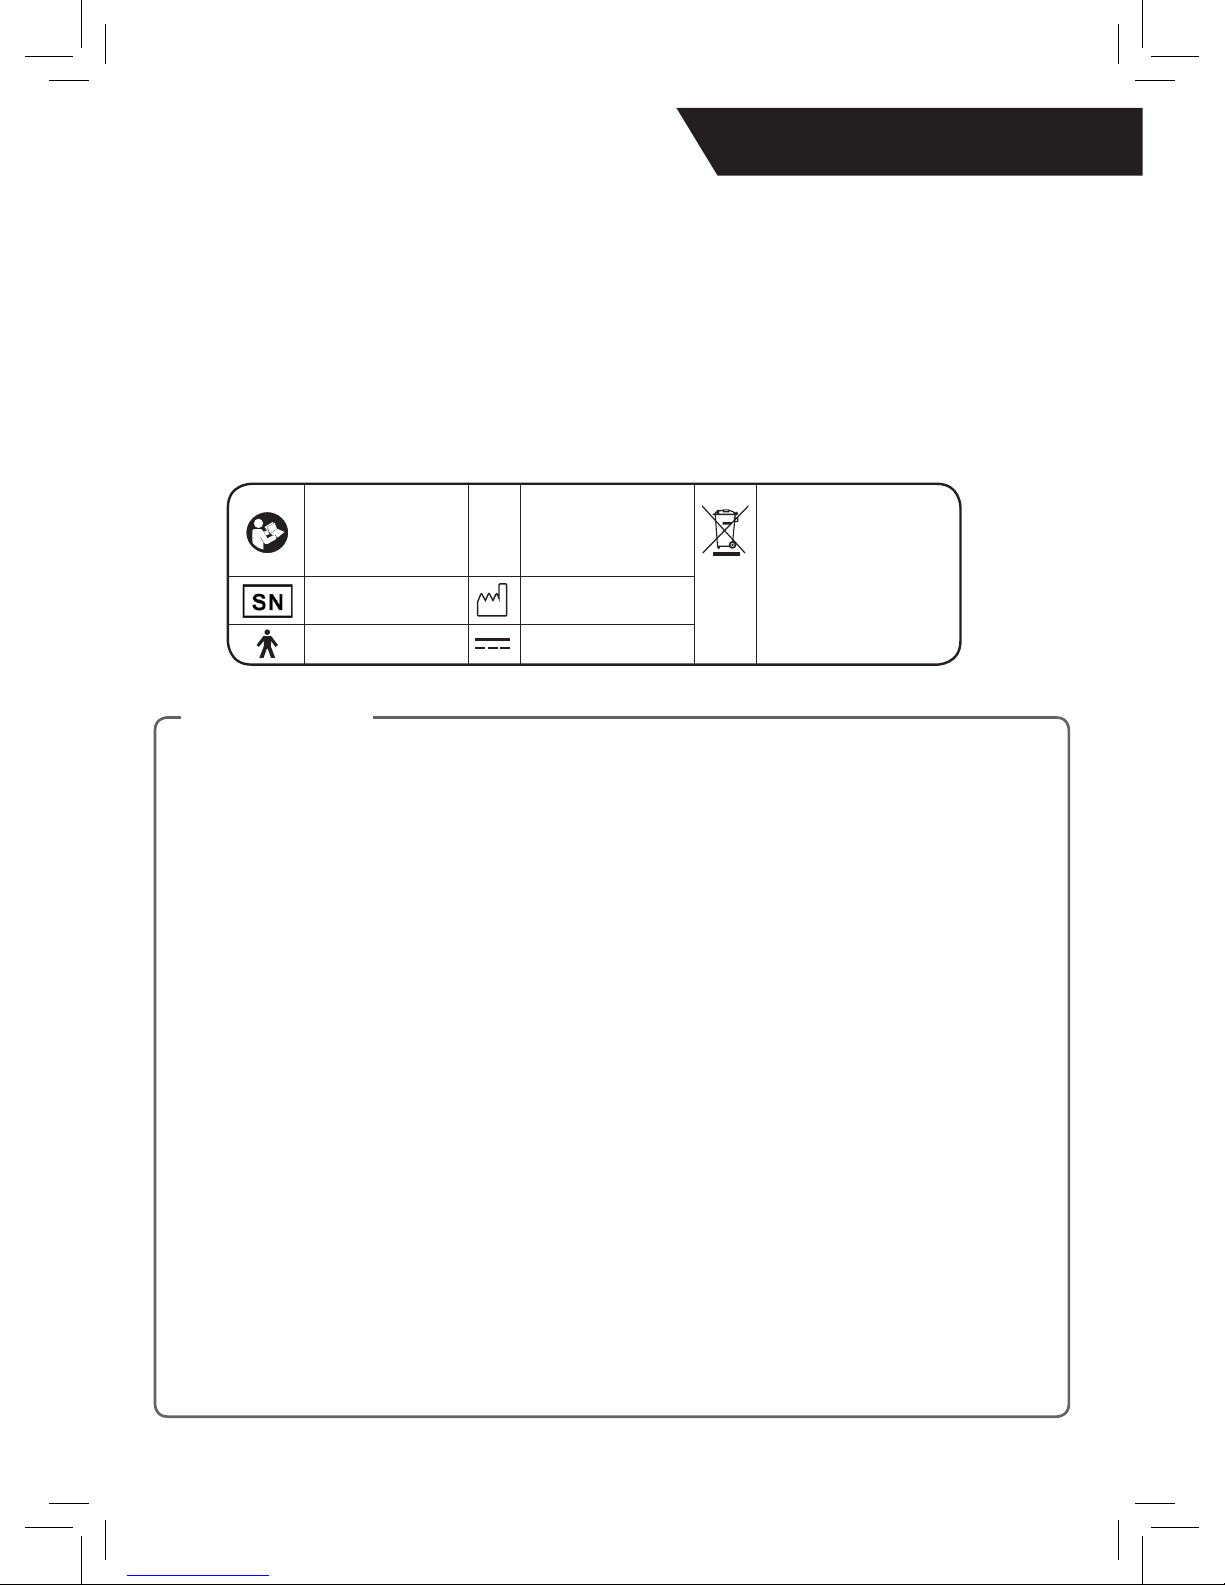
The following symbols may be used in the user manual, product labeling, or on
other components. They are the requirement of standard and use.
♥ Features
♥ Safety Information
Type B applied part Direct current
Follow instructions/
directions for use mandatory action
Species serial
number
DISPOSAL: Do not
dispose this product as
unsorted municipal waste.
Collection of such waste
separately for special
treatment is necessary.
Manufacture Date
!
Caution: These notes
must be observed to
prevent any damage
to the device.
• This device is for adult use only.
• To avoid measurement errors, carefully read this manual before using
this device.
• This device is intended for non-invasive measuring and monitoring of
arterial blood pressure. It is not intended for use on extremities other
than the arm or for functions other than obtaining a blood pressure
measurement and pulse rate.
• Do not confuse self-monitoring with self-diagnosis. This unit allows you
to monitor your blood pressure. Do not begin or end medical treatment
based solely on self-monitoring, consult a physician for treatment
advice.
• If you are taking medication, consult your physician to determine the
most appropriate time to measure your blood pressure. Never change
a prescribed medication without consulting your physician. This unit
is not suitable for continuous monitoring during medical emergencies
or operations.
• Sensitive people, including pregnant women pre-eclamptic patients,
patients who have implanted medical electronic instruments and have
atrial brillation (AF), premature ventricular beats and peripheral arterial
disease (PAD), should avoid using the unit whenever possible.
• This device has been evaluated clinically with a manual cuff/
stethoscope auscultation as a reference. Blood pressure
measurements determined with this device are equivalent to those
obtained by a trained observer using the cuff/stethoscope auscultatory
method within the limits prescribed by the American National Standard
for manual, electronic, or automated sphygmomanometers.
• If the cuff pressure exceeds (300 mmHg), the unit will automatically
deate. Should the cuff not deate when pressures exceeds (300
mmHg), detach the cuff from the arm and press the START/STOP
button to stop ination.
• This device is not AP/APG equipment and not suitable for use in the
presence of a ammable anesthetic mixture with air, or with oxygen,
or nitrous oxide.
• This unit is not suitable for continuous monitoring during
medical emergencies or operations. This device cannot be used
simultaneously with HF surgical equipment.
• This device is not intended for patient transports outside a healthcare
facility.
• To avoid measurement errors, please avoid strong electromagnetic
eld radiated interference signals or electrical fast transient/burst
signals.
• The manufacturer will make available on request circuit diagrams,
component parts list etc. The materials of the cuff have been tested
and found to comply with requirements of ISO 10993-5:2009 and ISO
10993-10:2010. It will not cause any potential sensitization or irritation
reaction. Never apply the cuff over damaged skin.
• Please dispose of any accessories, detachable parts, and the ME
EQUIPMENT itself according to your local guidelines.
• Please do not attempt to repair the unit yourself in the event of
malfunctions. Only have repairs carried out by authorized service
centers.
• Please report to Hopkins Medical Products if any unexpected
operation or events occur.
• We recommend that you have your device calibrated after every two
years of use. Please contact Hopkins Medical Products to have your
device calibrated.
• Please use only a soft cloth to clean the entire unit. Don’t use any
abrasive or volatile cleaners.
• Always check this device to make sure that it is in proper working
condition before use.
CAUTION
!
INTRODUCTION
2
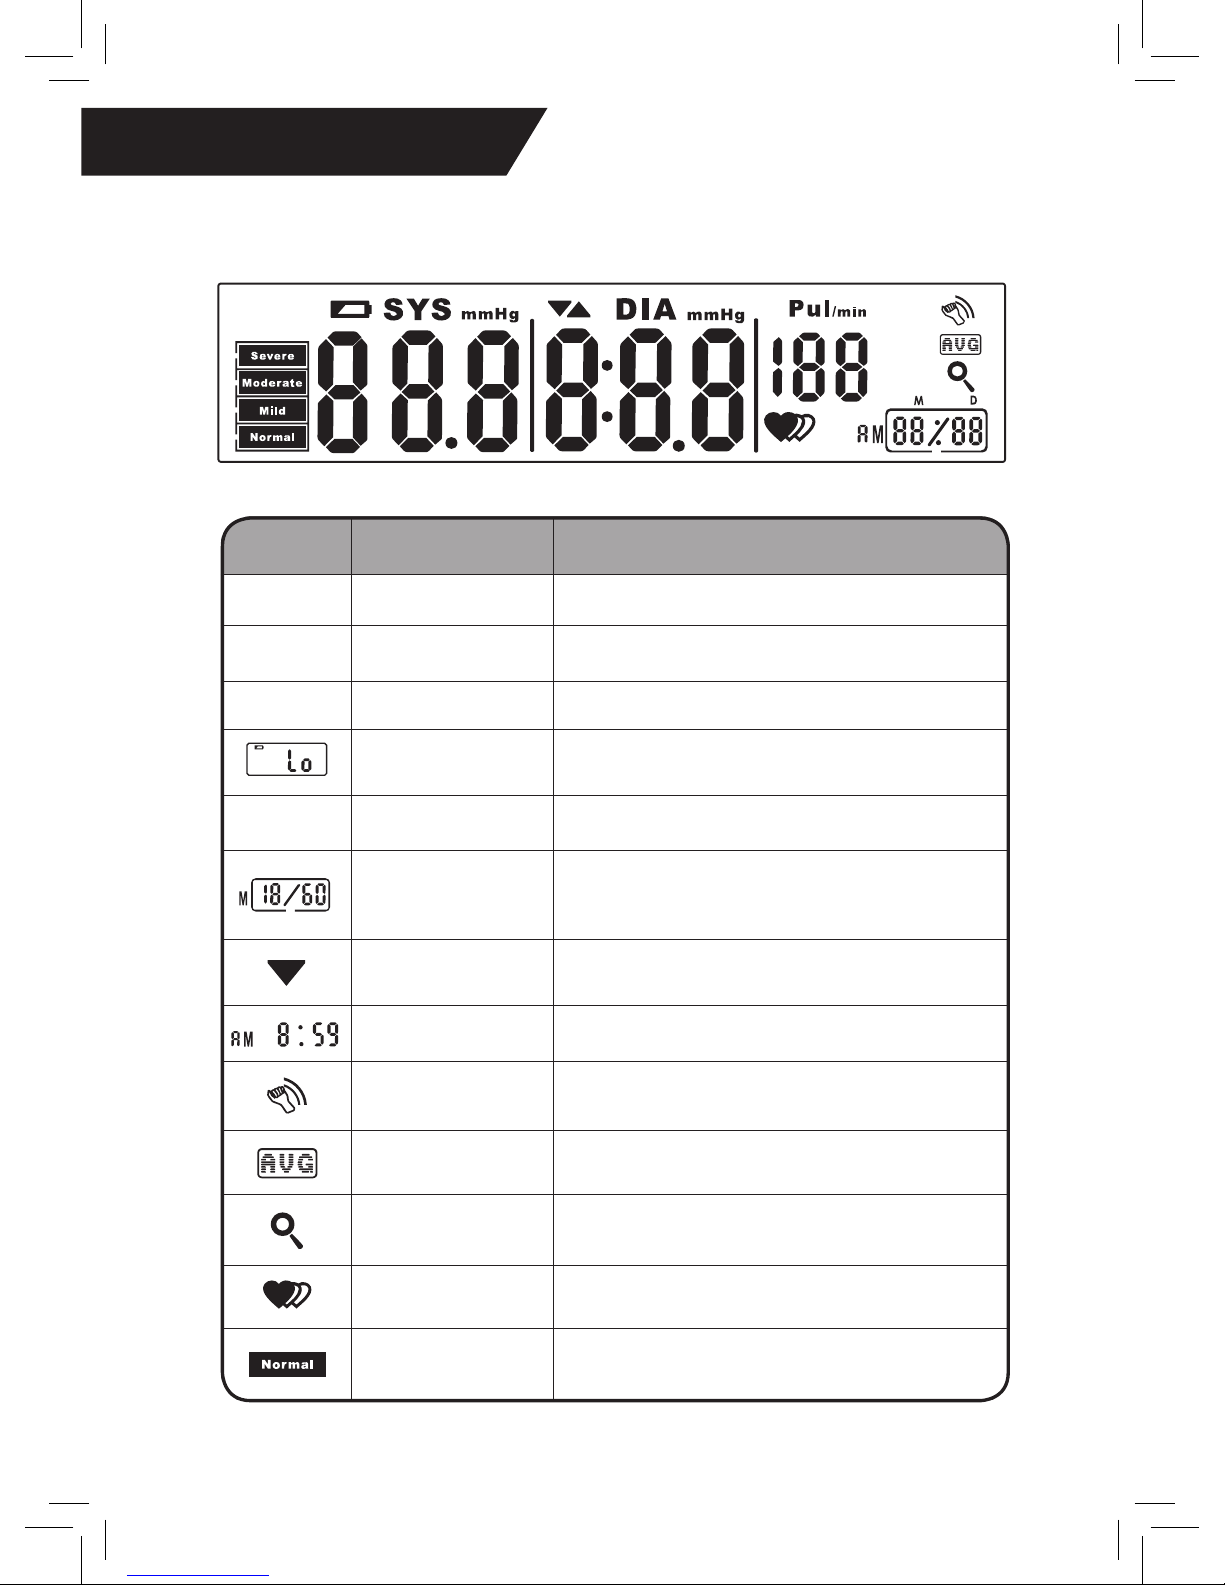
♥ LCD Display
SYMBOL DESCRIPTION EXPLANATION
SYS
Systolic BP High pressure result
DIA
Diastolic BP Low pressure result
Pul/min
Pulse Pulse per Minute (Beats per Minute)
Low Battery Batteries are low and need to be replaced
mmHg
Millimeters Mercury Measurement unit of blood pressure
Memory
If “M” shows, the displayed measurement value
is from the memory of recorded measurements
(See page 9 for instructions)
Deating
The unit is deating and the air is being
exhausted from the cuff
Time (hour:minute) The current time (set by user)
Shock Warning
Inaccurate readings may occur if unit is hit,
dropped, shaken, or otherwise shocked
Average The average of the blood pressure measurements
Recalling The stored records are being retrieved
Irregular Heartbeat Irregular heartbeat (arrhythmia) detected
BP Category
Indicator
Blood pressure level reading
(See page 13 for instructions)

AAA
AAA
AAA
AAA
CUFF TUBING
A
IR CONNECTOR
PLUG
AIR HOSE
LCD DISPLAY
MEM/DOWN BUTTON
START/OFF BUTTON
SET/UP BUTTON
CUFF
BP CATEGORY
INDICATTOR
INTRODUCTION
3
♥ Monitor Components
♥ Parts Included
#526018 Hopkins® IMPACT
Digital BP Monitor
Adult Digital Cuff
Cuff Circumference: 8.5” - 12.5”
(22cm - 32cm)
Four AAA Batteries
BATTERY COMPARTMENT
Pressure Measurement
System Components:
1. Cuff
2. Air Connector Plug
3. Micro Control Unit
3. Pump
4. Valve
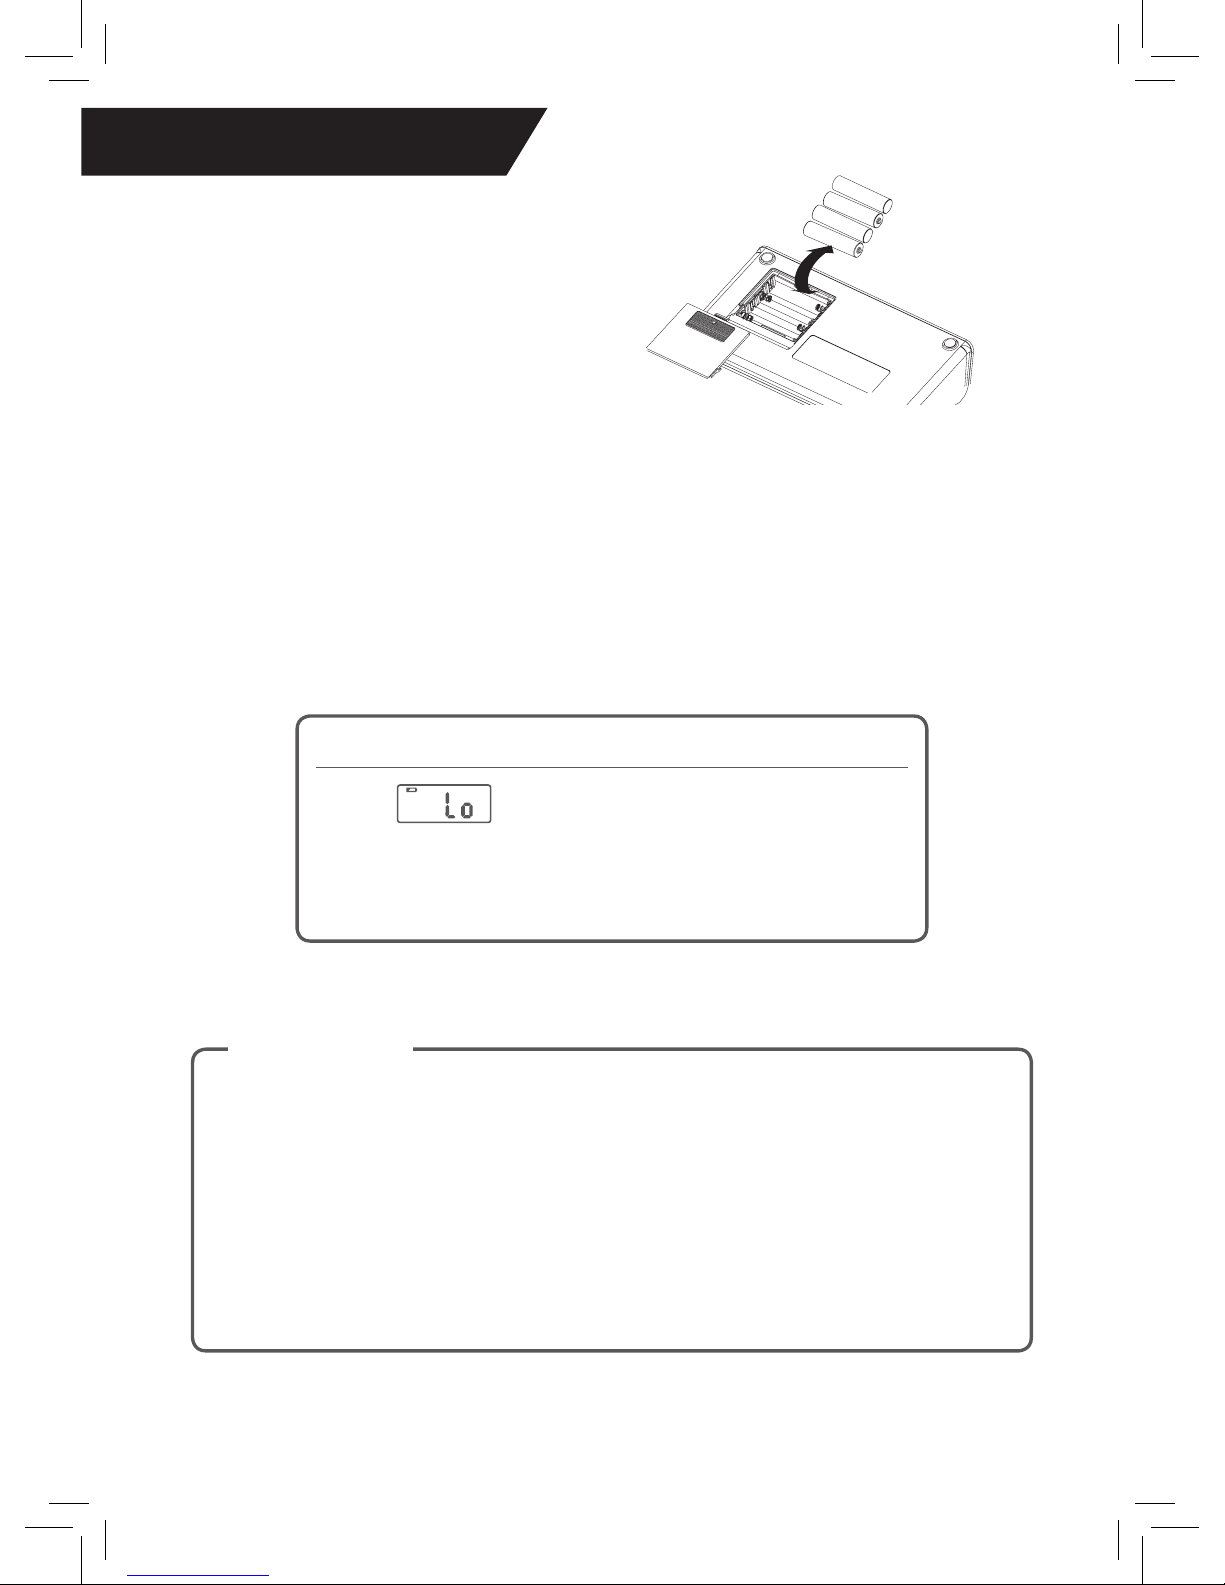
1. Slide off the battery cover on the back of the unit.
2. Install the batteries by matching the correct polarity, as shown above.
Always use the correct battery type (4 alkaline AAA size)
3. Replace the battery cover.
BEFORE YOU START
4
♥ Installing the Batteries
• If this device will be stored for an extended period of time, please remove the batteries
in order to avoid corrosion.
• Used batteries are harmful to the environment, so please dispose of appropriately.
Remove the old batteries from the device and follow your local recycling guidelines.
• Never dispose of batteries in a re. Batteries may explode when exposed to heat.
• Battery corrosion is not covered under your three year limited warranty.
CAUTION
!
Replace the batteries when any of the following occurs:
• The screen shows
• The display dims
• The display does not light up
START STOP
ME
MS
ET
START STOP
ME
MS
ET
START STOP
ME
MS
ET
BEFORE YOU START
5
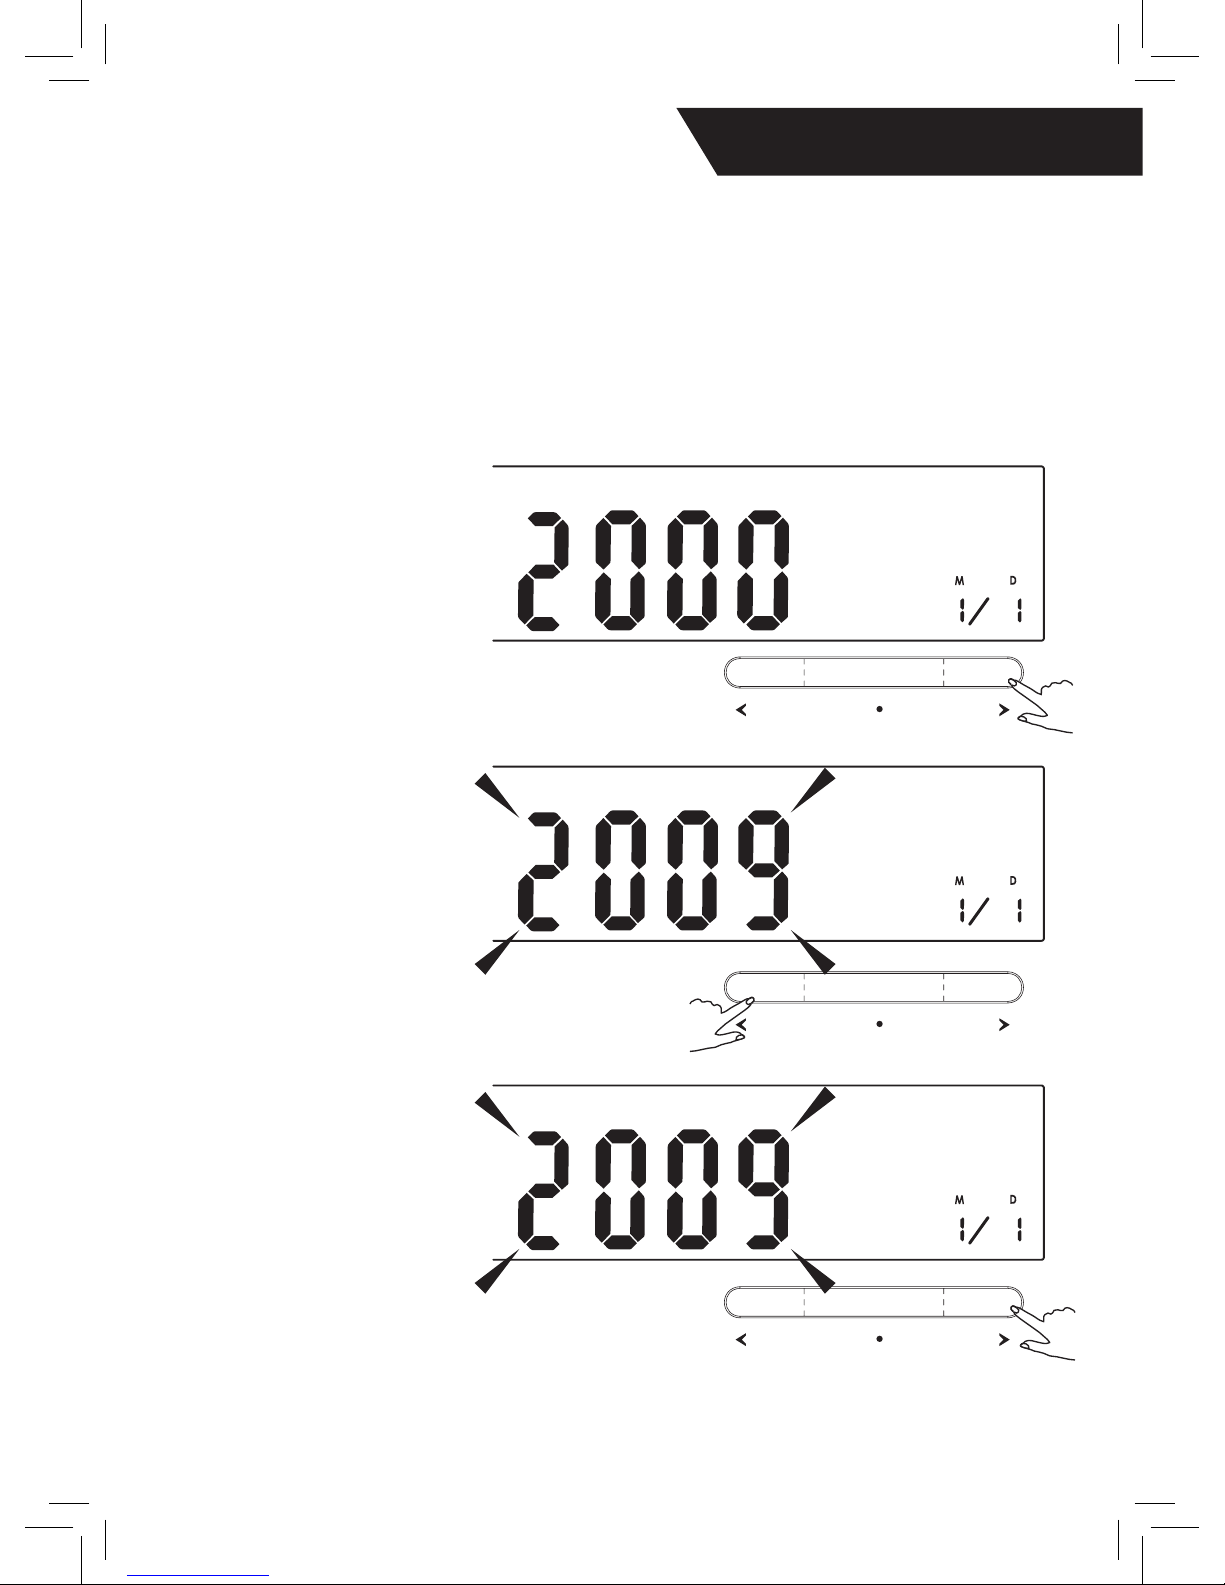
♥ Setting the Date and Time
It is important to set the clock before using your blood pressure monitor
so that a time stamp can be assigned to each record stored in the memory.
(The year can be set to anywhere between 2000 and 2050.)
1. When the unit is off,
press and hold the “SET”
button for 3 seconds to
enter the mode settings.
2. Press the “MEM” button
to advance to the current
[YEAR].
3. Press “SET” when
you have reached the
correct year to save your
choice and advance to
the next step.

START STOP
MEM SET
START STOP
MEM SET
START STOP
MEM SET
START STOP
MEM SET
START STOP
MEMSET
START STOP
MEM SET
START STOP
MEM SET
START STOP
MEM SET
START STOP
MEM SET
START STOP
MEM SET
START STOP
MEM SET
START STOP
MEM SET
START STOP
MEM SET
START STOP
MEM SET
START STOP
MEM SET
START STOP
MEM SET
START STOP
MEM SET
BEFORE YOU START
6
4. Repeat steps 2 and 3 to set the [MONTH] and [DAY]
6. Once you have set the clock, the
screen will read “done” and the monitor
will then turn off automatically.
5. Repeat steps 2 and 3 to set the [HOUR] and [MINUTE]
 Loading...