

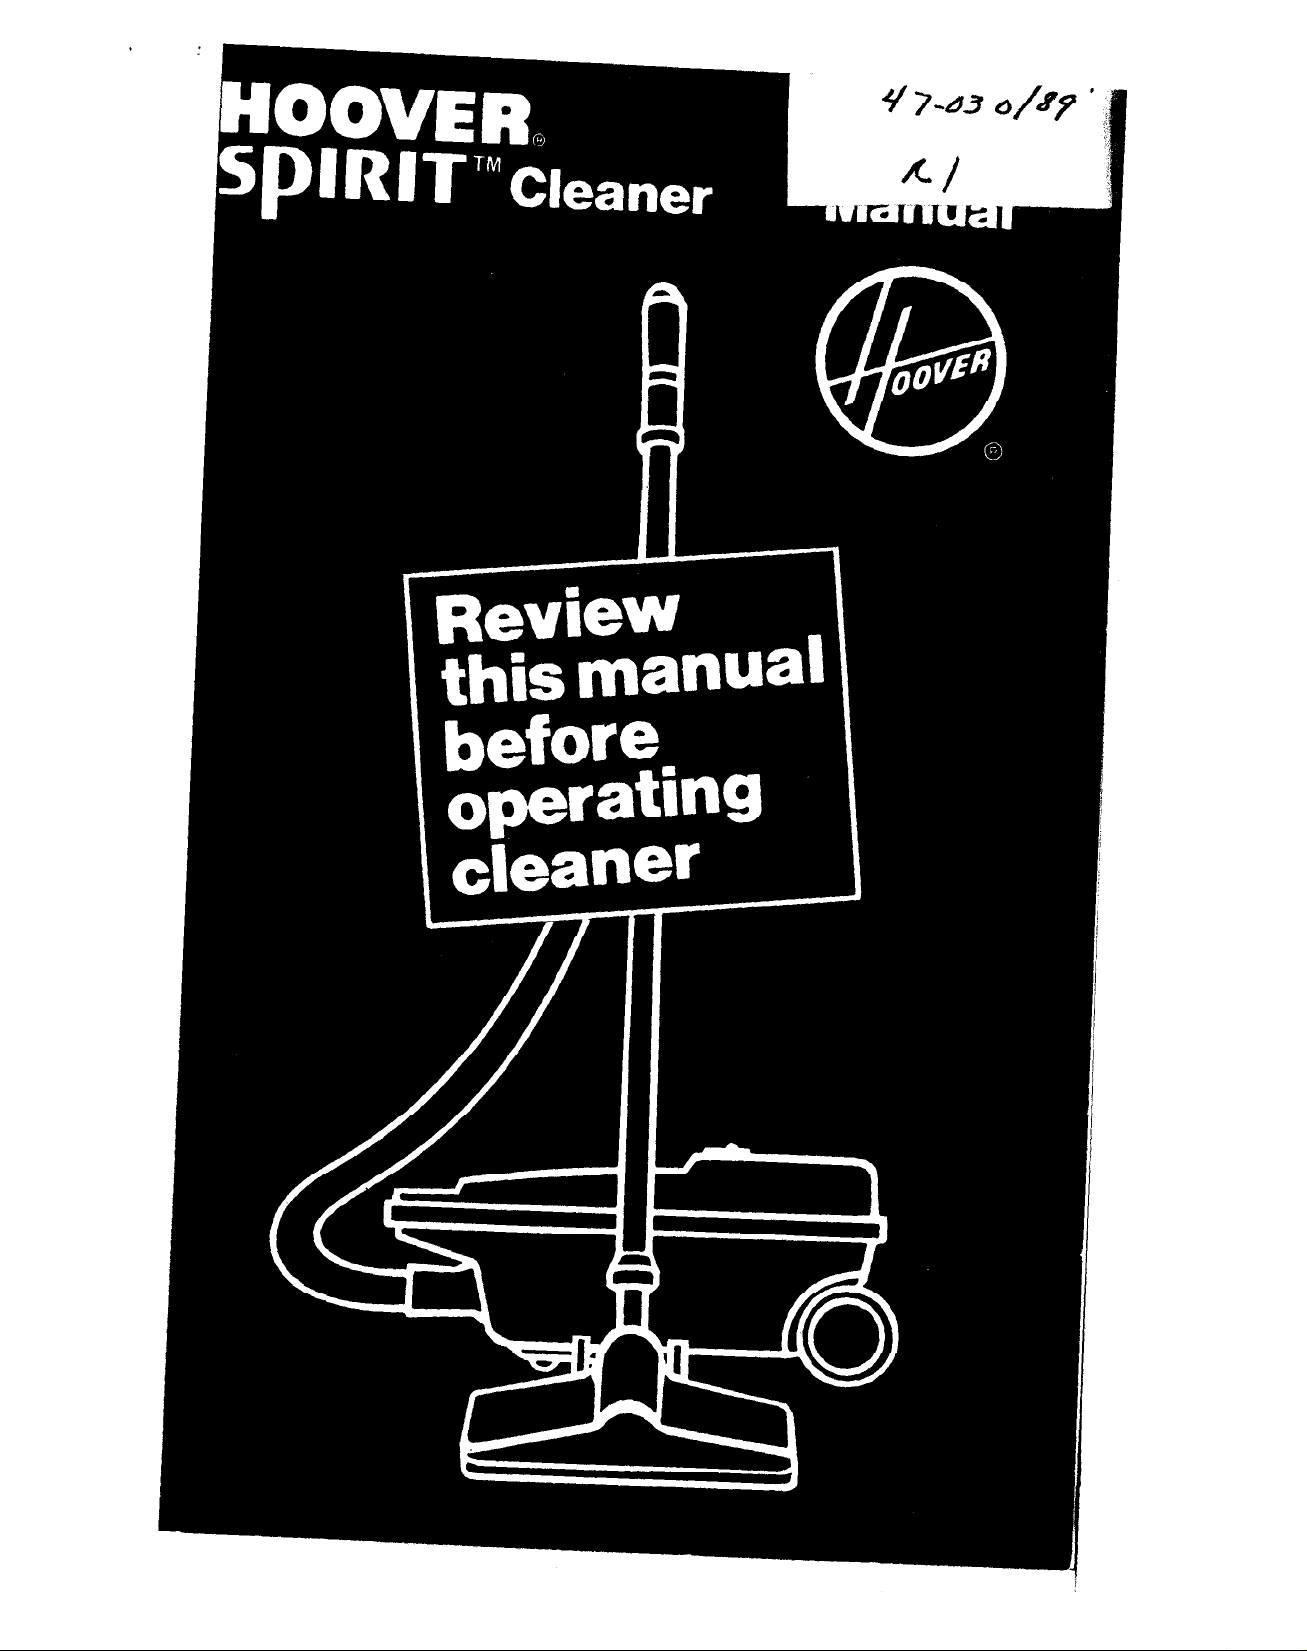
Hoover Spirit Vacuum Cleaner User Manual
Fill in and retain!
The HOOVER vacuum cleaner you have just purchased is a combination cleaner. It has a nozzle for carpet and floor cleaning and cleaning
tools for above the floor cleaning.
The model and serial number appear on the bottom of the cleaner.
For your personal records, please enter these numbers in the spaces
provided below and retain in a safe place.
Your cleaner is model
and has serial number
Save!
Index
Assembling Cleaner.
Cleaner Description.
Energy Saving Tips.
How to Use
Bag Check Indicator.
Cleaning Tools.
Rug and Floor Nozzle.
Suction Regulator.
If You
Important Safeguards.
Lubrication..
Maintenance
ToClean Stairs...........................~....ll
Havea
Cleaning Secondary Filter.
Replacing Bag.
Replacing Rug/Floor Nozzle Brush
and Litter Picker
Problem
...............................
...........................
.........................
...........................
........................
............................
......................
..........................
.........................
.........................
...................
..........................
........................
.5
.3-4
.I8
.9
.I0
.6-8
.9
.I7
.2
..I
.I3
. ll-13
14-16
8
0 1991,1994The
1
Hoover Company
Important Safeguards!
l Read all instructions.
l Warning: Electric shock could occur if used outdoors or on wet sur-
faces.
l
Close supervision is necessary when any appliance is used by or
near children. Do not allow vacuum cleaner to be used as a toy or to
run unattended at any time.
l Do not use cleaner to pick up matches, or live ashes and cigarette
butts.
l Never vacuum in the presence of flammable or combustible liquids
or fumes.
l Avoid picking up hard, sharp objects with the cleaner. They may
damage the cleaner and the bag.
l Unplug cleaner when not in use. Turn machine off at switch before
unplugging.
l Always disconnect cord from electrical outlet before servicing the
cleaner.
l Change bag frequently when picking up very fine materials such as
powder.
l Grasp the plug to disconnect from wall outlet to avoid damage to
cord, plug, prongs, or receptacle.
l If cleaner has a cord reel, hold onto the plug while cord is being re-
wound to prevent cord from whipping.
l The use of an extension cord is not recommended.
l
If cleaner is in disrepair, do not attempt to operate.
l Have repairs made by the qualified personnel at Hoover Factory
Service Centers or Authorized Hoover Warranty Service Dealers.
l Use vacuum cleaner only for its intended use as described in the in-
structions. Use only attachments recommended by this appliance
manufacturer; others may cause hazards.
Save these instructions!
Quality
pr2iF
Employee
Particbation
I
Q
k
0
2
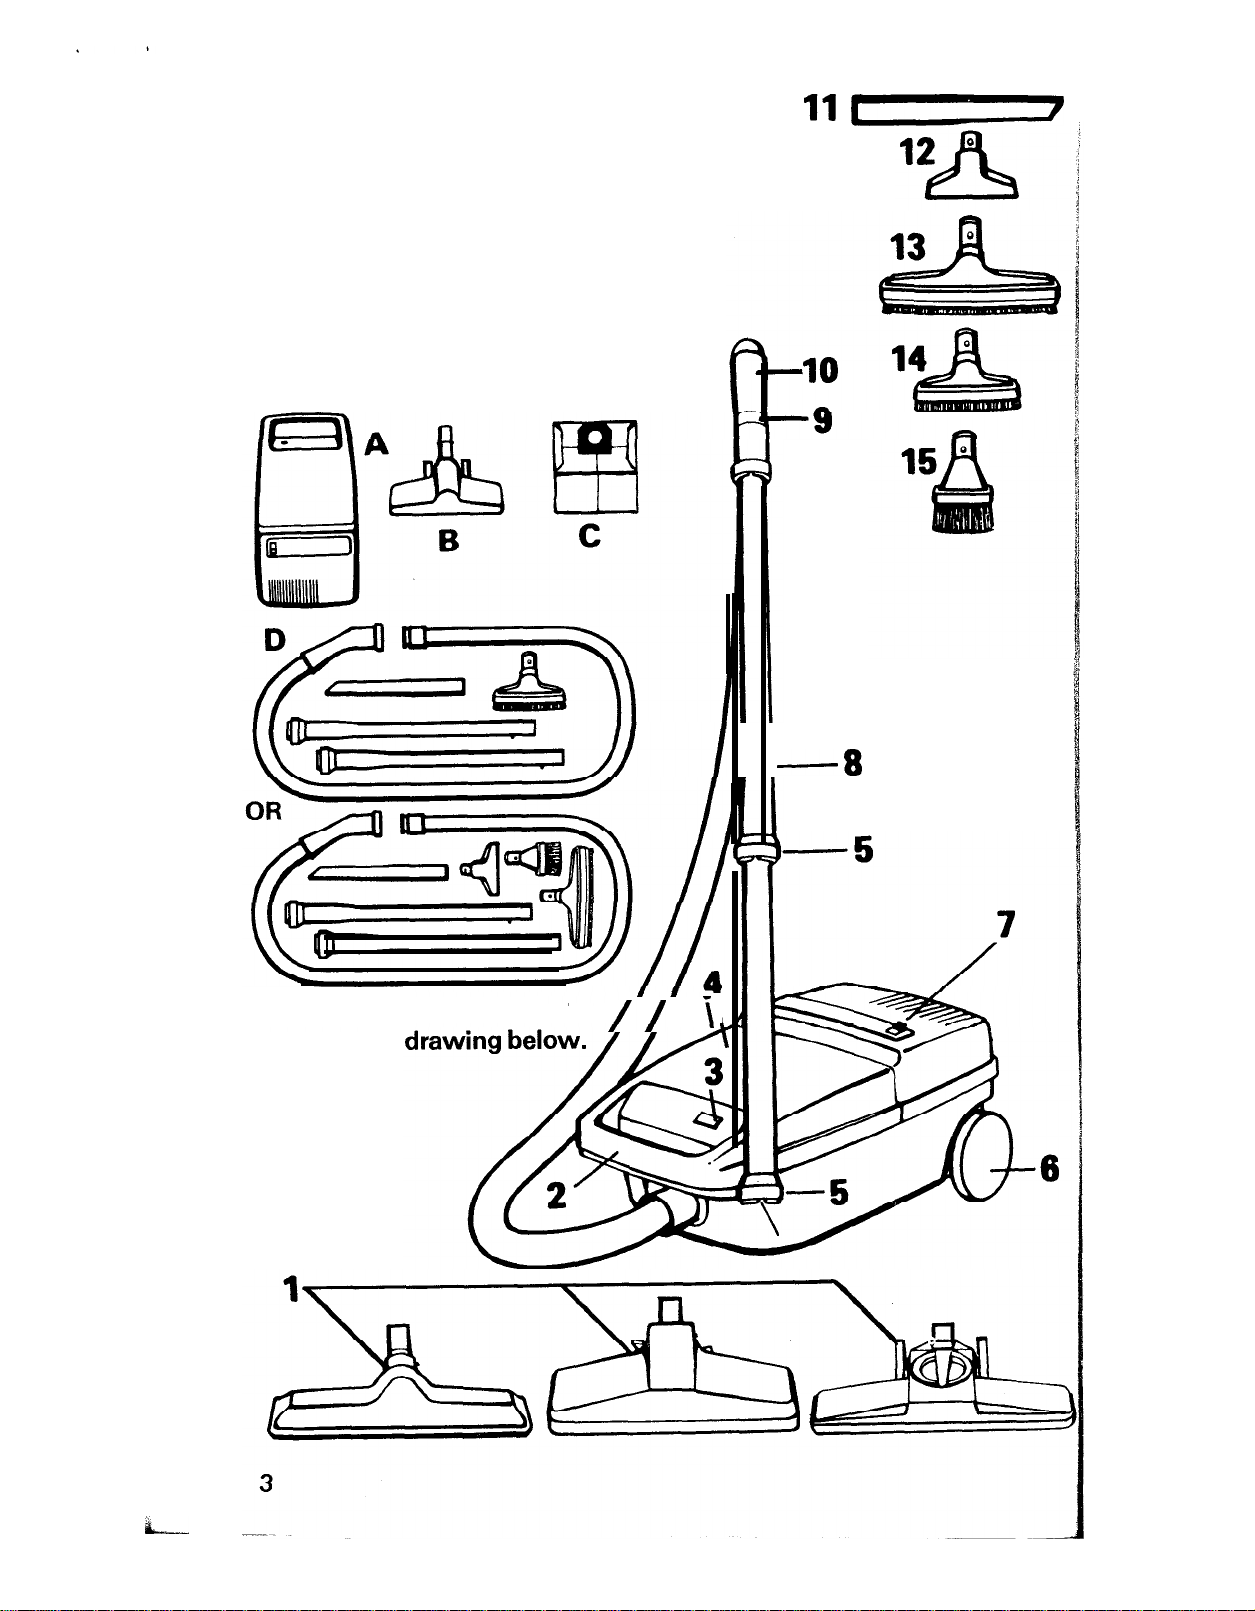
Unpacking
Unpack the cleaner from the
carton and identify the parts
shown. Remove and dispose of
the cardboard packing.
A. Canister cleaner
B. Rug and floor nozzle
C. Throw away bag
D. Extension wands, hose
and cleaning tools
11 I
The cleaner assembled will
look like the
-8
//
i
k.
1. Combination rug and floor nozzle
each model)
2. Carrying handle
*
3. Bag check indicator
shows red when throw away bag should be
checked.
4.
Cover
is removed by lifting up top section of carrying handle and
pulling forward.
(ONE nozzle is included
with
5. Plastic latch ring
is located on extension wands and handle; rotates
to lock wands and cleaning tools.
6.
Large wheels
provide easy towing; pull cleaner using hose to guide
cleaner over carpet, area rugs and door sills.
7. On-Off switch
8. Extension wands
is conveniently located on top of the cleaner.
are used with the rug and floor nozzle. One or
both wands may be used with cleaning tools.
)
9. Suction regulator
can be set for MINIMUM, MEDIUM or MAXIMUM suction by rotating the plastic ring until the raised plastic indicator on the ring is directly under the desired setting.
10. Hand grip
is on one end of hose for use with extension wands or
cleaning tools.
11. Crevice tool
“12.
Furniture nozzle
“13.
Wall/floor brush
“14.
Multi-purpose brush
“15.
Dusting brush
“Available on some models
Operate cleaner only at voltage specified on data plate on bottom of
cleaner.
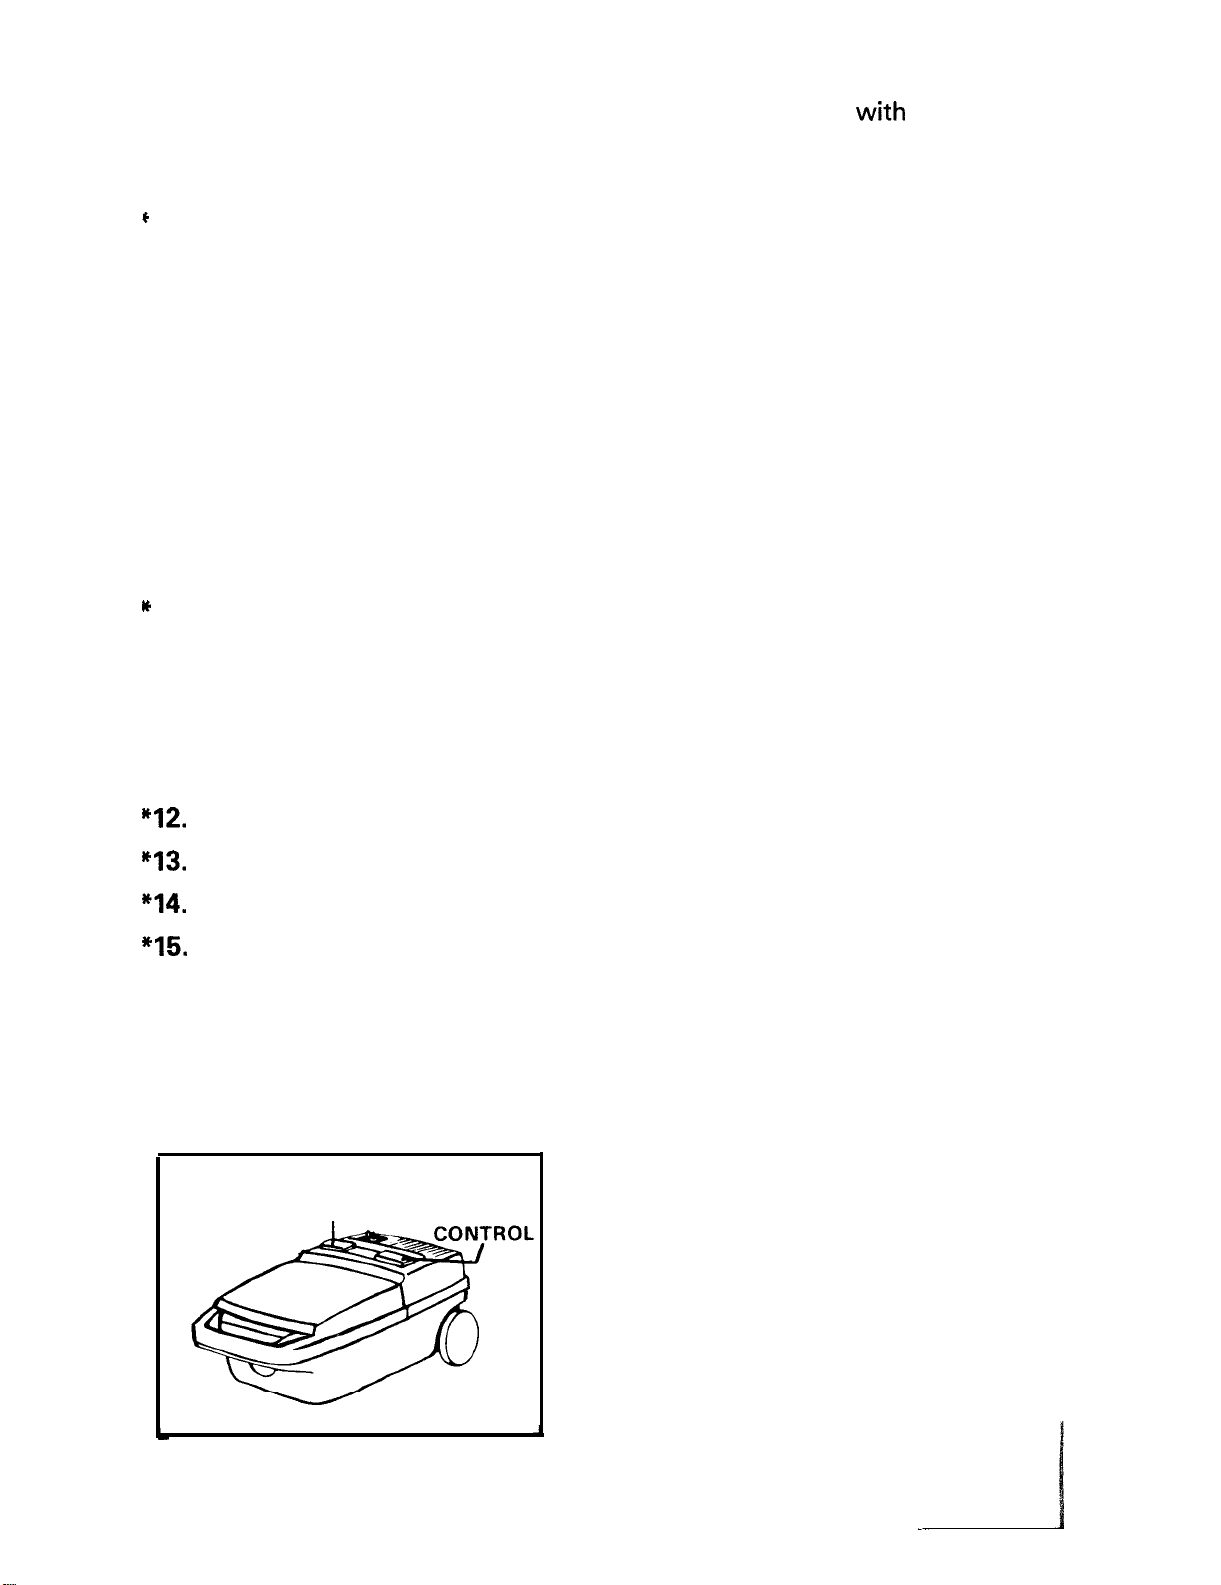
CORD REWIND
CONTROL
ON-OFF
Some models have a foot operated ON-OFF switch and cord rewind control. Pull cord to the desired length. Retract cord for
storage by
holding plug and step-
ping on cord rewind control.
4
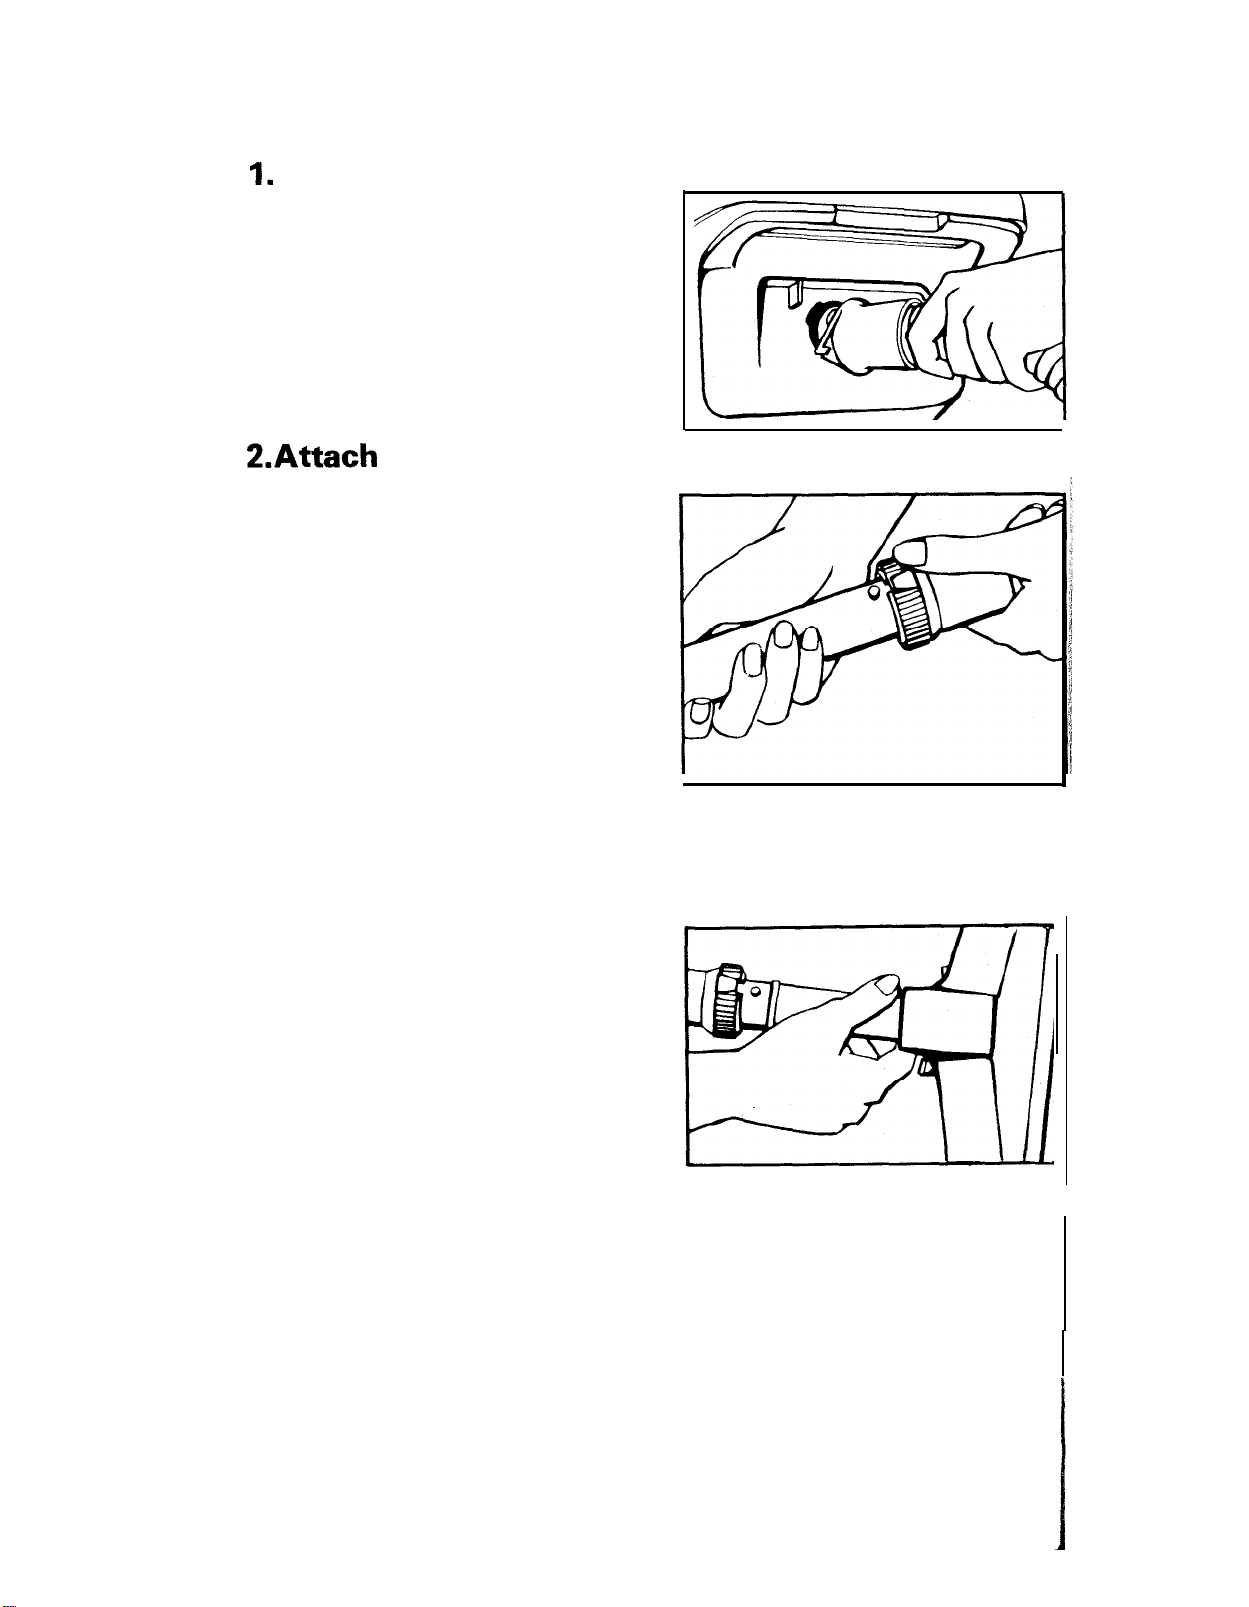
How to assemble
I.
Connect hose
To connect hose, insert large end
into opening of cleaner, lining up
largest projection on hose with
largest notch of opening. Turn
hose to the right to tighten. To
disconnect, depress latch, and
turn hose to the left.
2.Attach extension wands,
cleaning tools and nozzle
To attach the extension wand to
the hose, rotate the plastic latch
ring on the hand grip to accept
the button projection on end of
wand. Turn latch ring to lock
wand in place. To remove, reverse
the above procedure.
Attach second wand, in the same
manner, when using rug and floor
nozzle or for added length when
using cleaning tools.
Cleaning tools may be attached
directly to the hand grip when extra length is not required.
5
 Loading...