

Page 1
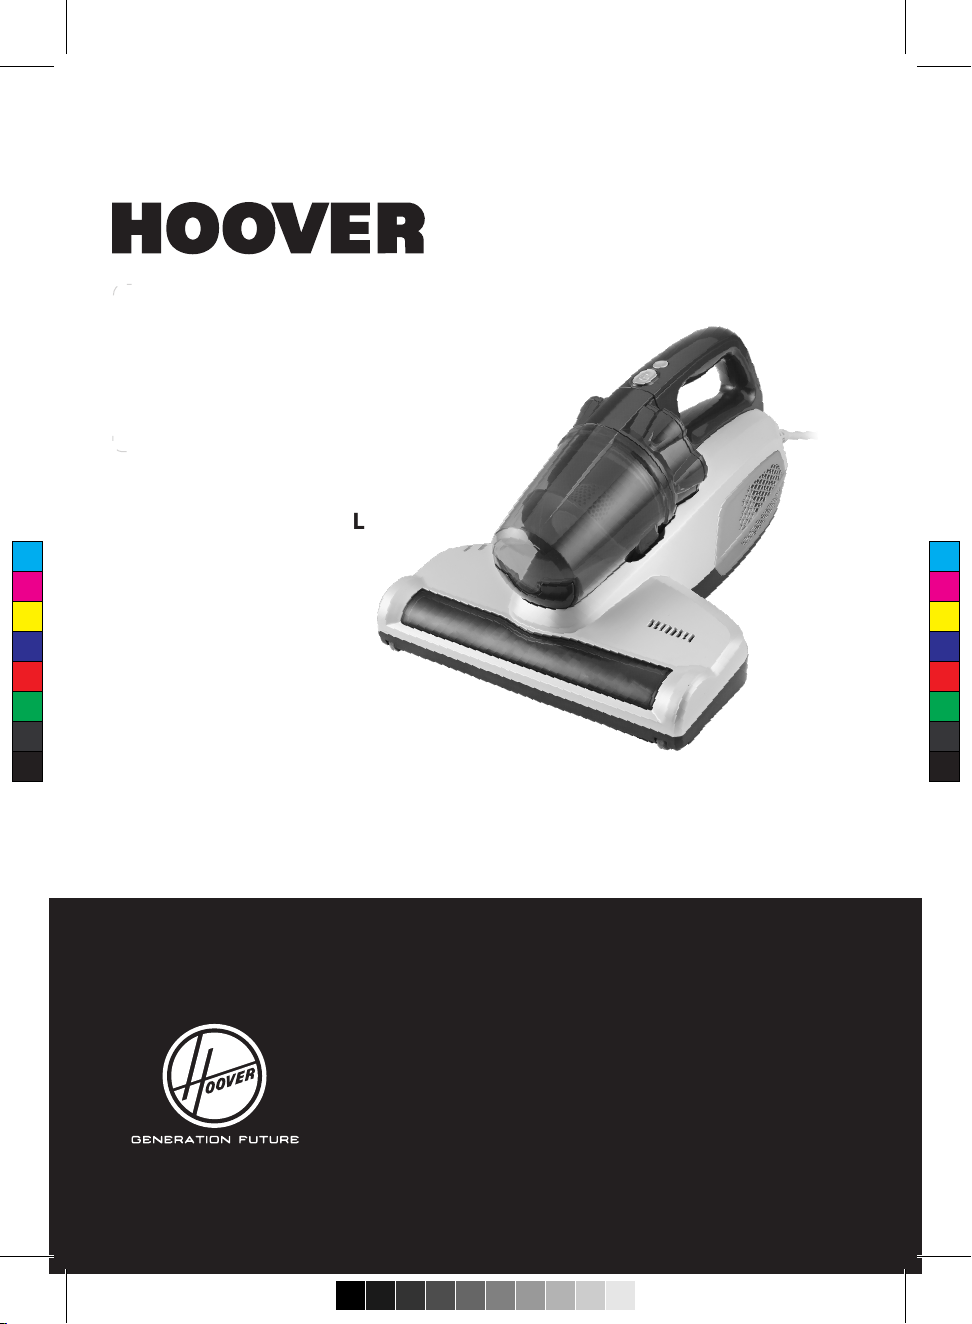
INSTRUCTION MANUAL
C
M
Y
CM
MY
CY
CMY
K
®
Page 2
A
B
C
F
G
E
H
I
K
J
D
L
M
C
M
Y
CM
MY
CY
CMY
K
1 2
N
O
3 4
Page 3
5 6
C
M
Y
CM
MY
CY
CMY
K
7
8
9 10
11
12
Page 4

GB
INSTRUCTIONS FOR SAFE USE
This appliance should only be used for mattress, blanket, pillow, cushion,
sofa and other textiles cleaning, as described in this user guide. Please make
sure that you fully understand this guide before operating the appliance.
This appliance can be used by children aged from 8 years and above and
persons with reduced physical, sensory or mental capabilities or lack
of experience and knowledge if they have been given supervision or
instruction concerning the use of the appliance in a safe way and understand
the hazards involved. Children shall not play with the appliance. Cleaning
and user maintenance shall not be made by children without supervision. If
the power cord is damaged stop using the appliance immediately. To avoid
a safety hazard, an authorised Hoover service engineer must replace the
power cord.
DO’S and DONT’S
Only use attachments, consumables or spares recommended or supplied
by Hoover.
Do frequently clean the bin and pre-motor lter assembly.
Do not leave the appliance plugged in. Always switch o and remove the
plug from the socket after use, or before cleaning the appliance or any
maintenance task.
Do not pick up hard or sharp objects, matches, hot ashes, cigarette ends or
other similar items.
This product is tted with a UV-C lamp, avoid watching the bottom of the
machine when the power is on to prevent UV-C radiation to human body.
Please do not concentrate the UV-C lamp in one place for prolonged
periods, this may damage the cleaning object.
Do not continue to use your appliance if it appears faulty.
Do not use the appliance to clean animals or people.
Do not use your appliance out of doors or on any wet surface or for wet pick
up.
WARNING: This appliance contains a UV-C emitter. Do not stare at the light
source.
Hoover service: To ensure the continued safe and ecient operation of
this appliance we recommend that any servicing or repairs are only carried
out by an authorised Hoover service engineer.
Static electricity: Some blankets can cause a small build up of static
electricity. Any static discharge is not hazardous to health.
1
Page 5

GETTING TO KNOW YOUR MATTRESS CLEANER
A. Mode Selector*
B. Power Button
C. Bin Assembly
D. Indicator Lamps
D1 - Vacuum Indicator
D2 - Agitator Indicator
D3 - UV-C Lamp Indicator
E. Bin Top Cover
F. Bin Lower Cover
G. Pre-Motor Filter
H. Mesh
I. Bin
J. Bin Release Cover
K. Power Cord
L. UV-C Lamp
M. UV-C Lamp Cover Plate
N. Rotating Agitator
O. Agitator Cover Plate
USING YOUR MATTRESS CLEANER
Make sure all the components are correctly assembled, Extract the power cord and plug into the power supply.
The appliance will make a 3 tone sound to indicate it is ready to start.
1. Vacuum + Rotating Agitator + UV-C Lamp Mode
Press the on/o button [1], the appliance will automatically start up all 3 modes, Vacuum, Rotating Agitator and UV-C Lamp.
This will be indicated by 3 illuminated indicator lamps D1, D2 & D3.
At this setting, the appliance will use the UV-C radiation to kill mites, bacteria, and other harmful organisms.
The rotating agitator will disturb and loosen any dust allowing the appliance to vacuum the debris into the bin.
2. Vacuum + Rotating Agitator Mode
Press the on/o button [1], the appliance will automatically start up all 3 modes, Vacuum, Rotating Agitator and UV-C Lamp, to
switch o the UV-C lamp, press the Mode Selector* o
This will be shown by 2 illuminated indicator lamps D1 & D2.
At this setting, the appliance will use the rotating agitator to disturb and loosen any dust allowing the appliance to vacuum the
debris into the bin.
3. Vacuum + UV-C Lamp Mode
Press the on/o button [1], the appliance will automatically start up all 3 modes, Vacuum, Rotating Agitator and UV-C Lamp, to
switch o the Rotating Agitator, press the Mode Selector* tw
This will be shown by 2 illuminated indicator lamps D1 & D3.
At this setting, the appliance will use the UV-C radiation to kill mites, bacteria, and other harmful organisms.
The Vacuum function will vacuum the debris into the bin.
WARNING: In order to avoid accidental injury , the UV-C lamp WILL ONLY WORK when within a distance of 10 cm from the object
being cleaned or at a working angle less than 30 degrees. If the cleaner is outside these parameters then the UV-C LAMP INDICATOR
D3 and the UV-C lamp will SWITCH OFF AUTOMATICALLY.
At any time during use, press the On/O button to switch the appliance o.
nce [1].
ice [1].
GB
MATTRESS CLEANER MAINTENANCE
1. Bin Cleaning
Turn o the appliance, unplug the power, press the bin release button and remove the bin assembly [2,3].
Rotate the bin and remove [4] Empty the contents of the bin and clean [5].
Unlatch the bin top cover [6], remove the Pre-motor lter and wash with hand warm water [7], allow to dry thoroughly
before replacing in the appliance. Rinse and wipe clean any dust build up on the Mesh [7] After cleaning, ret the bin to
main body [8,9].
Cleaning the Washable Filters
To maintain optimum cleaning performance regularly remove the lters and tap against the side of the bin to release
dust. The lters should be washed by hand in warm water when the lter has reached an excessive dust level. Do not use
hot water or detergents.
IMPORTANT: All bagless cleaners require regular lter cleaning. Failure to clean your lters may result in air blockage,
overheating and product failure. This may invalidate your guarantee.
*Certain models only
2
Page 6
IMPORTANT: Always ensure the lters are fully dry before use. Do not use the product without the lter tted.
2. Agitator Cleaning
To remove the agitator cover plate, remove the screw, press the 4 release clips and remove the agitator cover plate [10].
Using scissors, carefully cut and remove any tangled threads or hair etc from the agitator body.
After cleaning replace the agitator cover [11] and secure the cover in place using the screw.
3. UV-C Lamp Cleaning
To remove the UV-C Lamp cover plate, remove the 2 screws [12] and remove the UV-C cover plate.
Use a dry soft cloth or cotton swab to gently wipe clean the lamp [12].
After cleaning replace the UV-C Lamp cover plate and secure the cover in place using the 2 screws.
IMPORTANT:
1. The penetrability of the UV-C lamp is weak, any paper, lead, glass or plastic may greatly reduce the intensity of UV-C
irradiation. Any dust or oil on the UV-C lamp will directly aect the penetrability. The UV-C lamp should be cleaned
regularly.
2. Do not touch the UV-C lamp with your bare nger, the stain you leave on it will aect the penetration of sterilisation
light.
3. Regularly check and maintain the lters.
4. If the appliance will not be used for a long time, please store the appliance in a cool dry place, do not store your
appliance in damp conditions or in direct sunlight.
TROUBLE SHOOTING
The following is a list of commonly encountered problems and solutions.
If any of these problems persist contact your local Hoover representative.
GB
The Mattress Cleaner does not work
Reduced Suction
UV-C lamp does not work
Mattress stops working suddenly
1. Is there a working electricity
supply to the appliance?
2. Has the appliance
been switched on?
1. Is the appliance blocked?
2. Is the Pre-Motor
Filter Blocked?
1. The reection of the object
surface is very poor or is too
far away from the appliance.
2. Is the appliance being used
at an angle over 30 degrees?
3. Is the infrared sensor on the
bottom of the appliance dirty?
4. Is the UV-C lamp damaged?
1. Has the appliance overheated? In order to avoid the motor
1. Check the power supply with
another electrical product.
2. Switch on the Power Button.
1. Clean the suction inlet.
2. Clean up the bin and
Pre-motor lter.
1. Normally the UV-C lamp will
turn on automatically within
10cm of the cleaning surface.
2. Appliance must be used at
less than a 30 degree angle for
the UV-C Lamp to operate.
3. Clean the sensors with a
semi-dry cotton cloth.
4. Contact Hoover after-sales
service to replace the UV-C lamp.
overheating, security mechanisms
have been added. If this happens,
stop using the appliance, clean
the Pre-Motor Filter and Bin.
Wait two hours for the appliance
to reset before re-using.
3
Page 7

IMPORTANT INFORMATION
Hoover spares and Consumables
Always replace parts with genuine Hoover spares. These are available from your local Hoover dealer or direct from Hoover. When
ordering parts always quote your model number.
Consumables
• Pre-Motor Filter S119 35601675
• Agitator Y32 35601676
The Environment:
The symbol on the product indicates that this product may not be treated as household waste. Instead it shall be handed
over to the appliance collection point for recycling of electrical and electronic equipment.
accordance with the local environmental regulations for waste disposal. For more detailed information about treatment,
recovery and recycling of this product, please contact your local city oce, your household waste disposal service or the
shop where you purchased the product.
This product complies with the European Directives 2006/95/EC, 2004/108/EC and 2011/65/EC.
HOOVER Limited Pentrebach, Merthyr Tydl, Mid Glamorgan CF48 4TU, UK
Disposal must be carried out in
YOUR GUARANTEE
The guarantee conditions for this appliance are as dened by our representative in the country in which it is sold.
Details regarding these conditions can be obtained from the dealer from whom the appliance was purchased.
The bill of sale or receipt must be produced when making any claim under the terms of this guarantee.
Subject to change without notice.
GB
4
Page 8

C
M
Y
CM
MY
CY
CMY
K
®
Hoover Limited
Pentrebach
Merthyr Tydfil
Mid Glamorgan
CF48 4TU
HOOVER CUSTOMER HELPINE
03444 995 599
PRINTED IN P.R.C
48017691/01
 Loading...