

Page 1

Vacuum Cleaner Troubleshooting
Charge indicator light flashes red and product switches off
The brush may have jammed
If there is a blockage or build up of debris around the brush roll preventing it from turning, then
the power will automatically stop and the charge light will flash red. Before attempting to use
your Freedom stick again the brush roll will need to be removed and cleaned.
Before doing this make sure the continuous running switch has been switched off to make sure
the product is safe to work on.
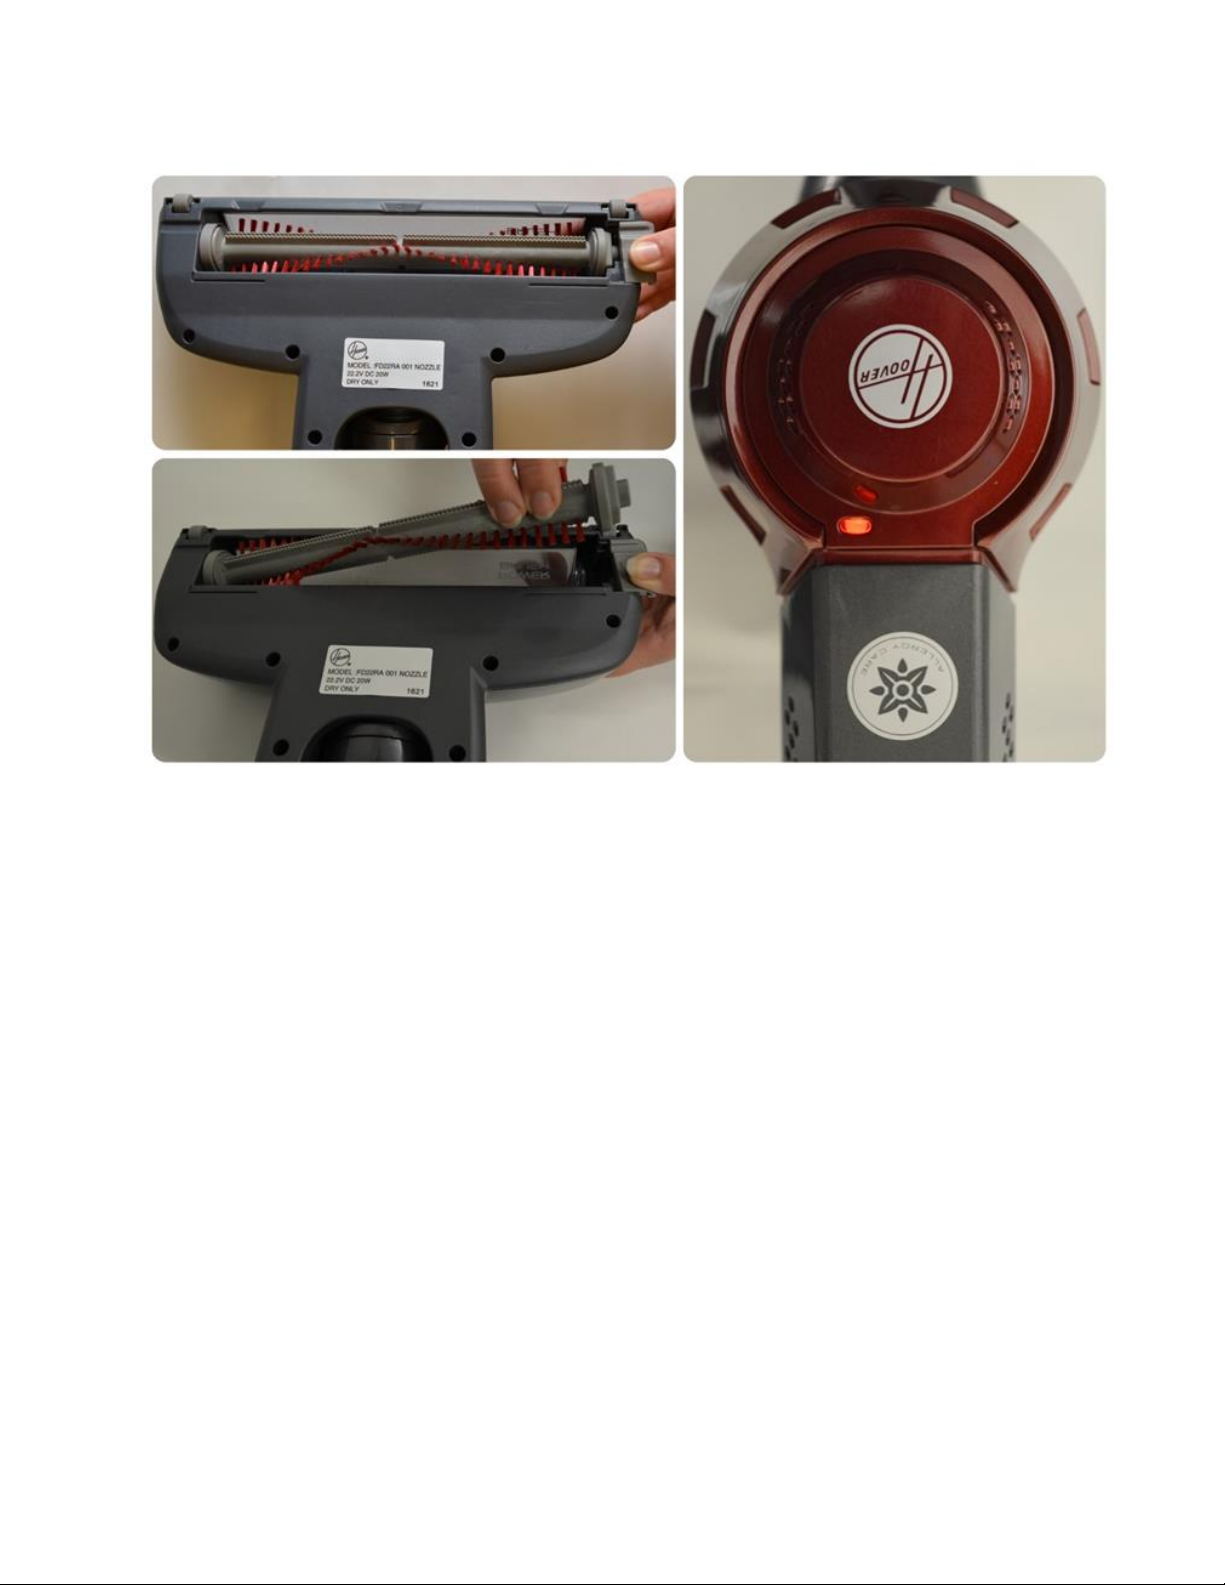
Slide the brush lock bar away from the centre of the product as shown and then you can lift out
the brush roll. Remove any debris, hair and threads from around the brush, you may need to use
scissors to carefully cut away any thing tangled up.Take care not to damage the bristles. Remove
any other debris that is found in the area around the brush or the hose leading to the extension
tube. Put the brush roll back and continue cleaning.
Page 2

Pictures (left) showing how to remove the brush roll for cleaning
Charger gets warm
This is normal
It is normal for the charger to feel warm when connected to the product and charging it.
Charging indicator light flashes blue and red
Reset the battery by removing it.
Page 3
The battery may require a reset and this can be done easily by removing the battery from the
handle of the product and then simply re fitting it. The red light will turn blue when the battery
is fully charged.
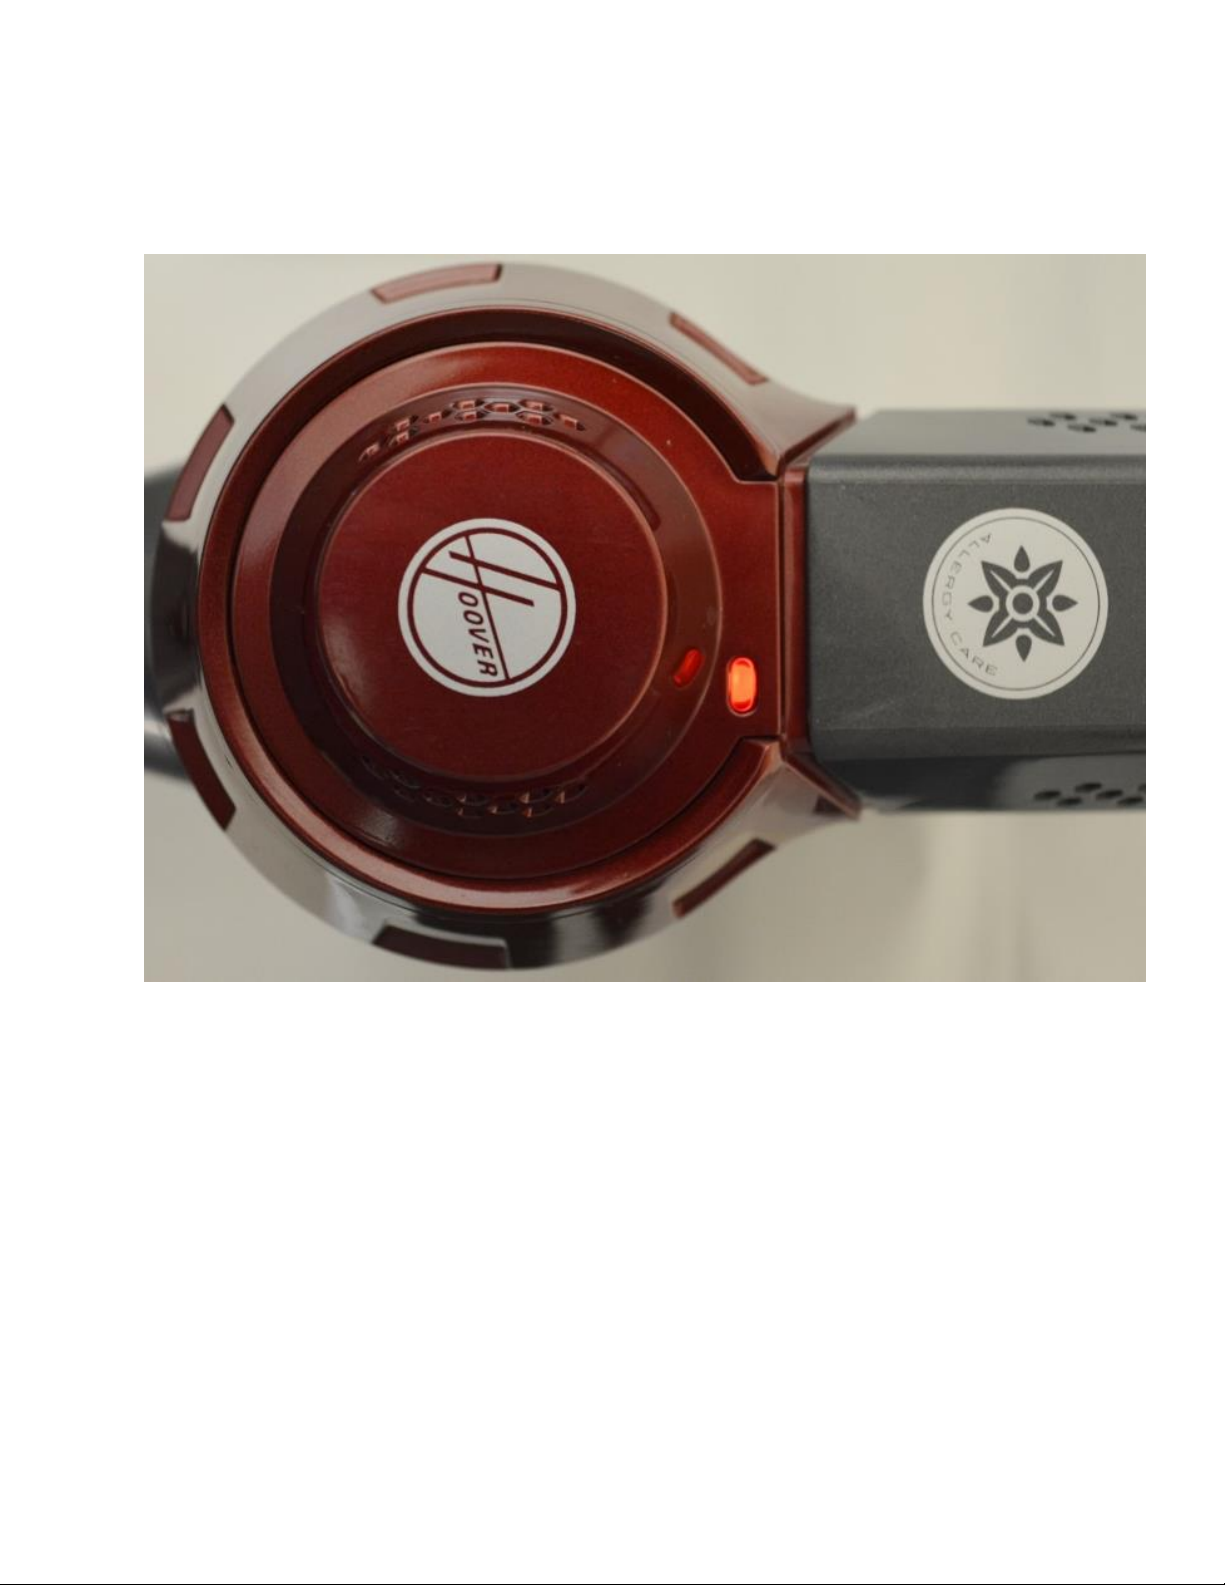
Above - charging light glows read indicating the unit is charging up
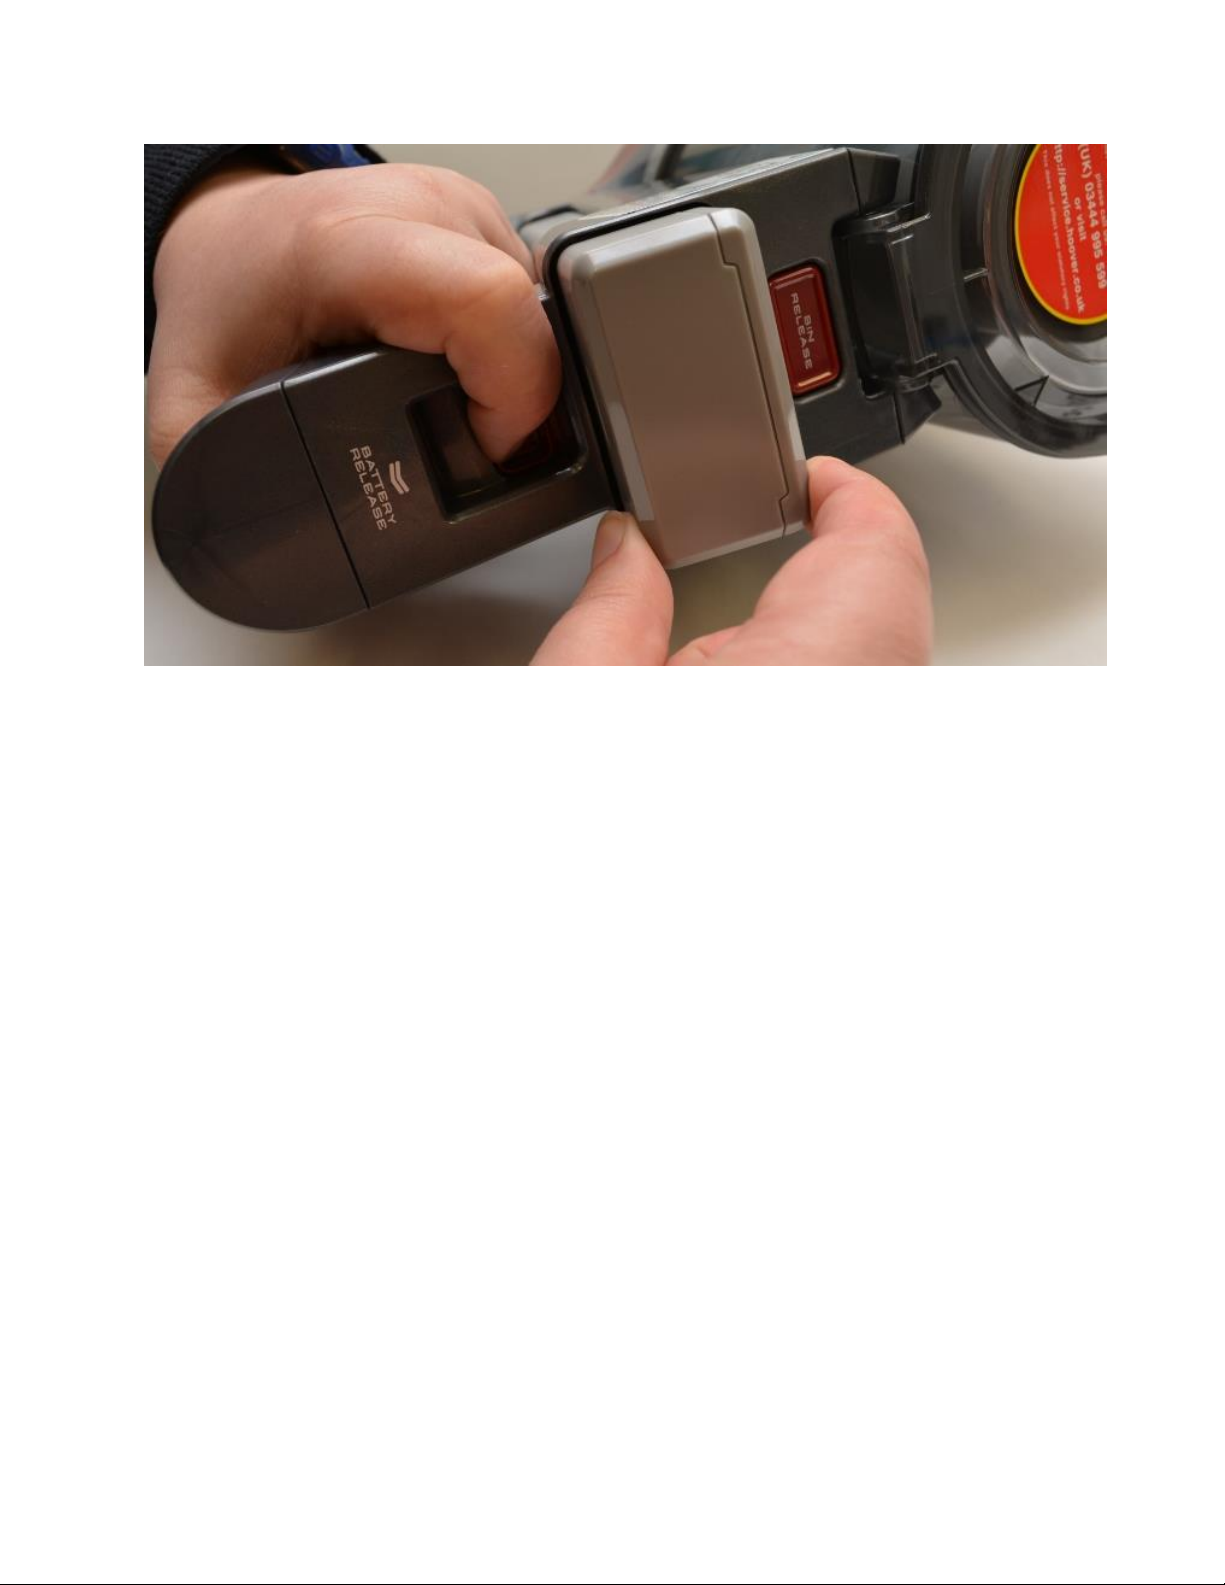
Below the picture shows how to remove the battery
Page 4
Does not switch on
Battery can't be charged
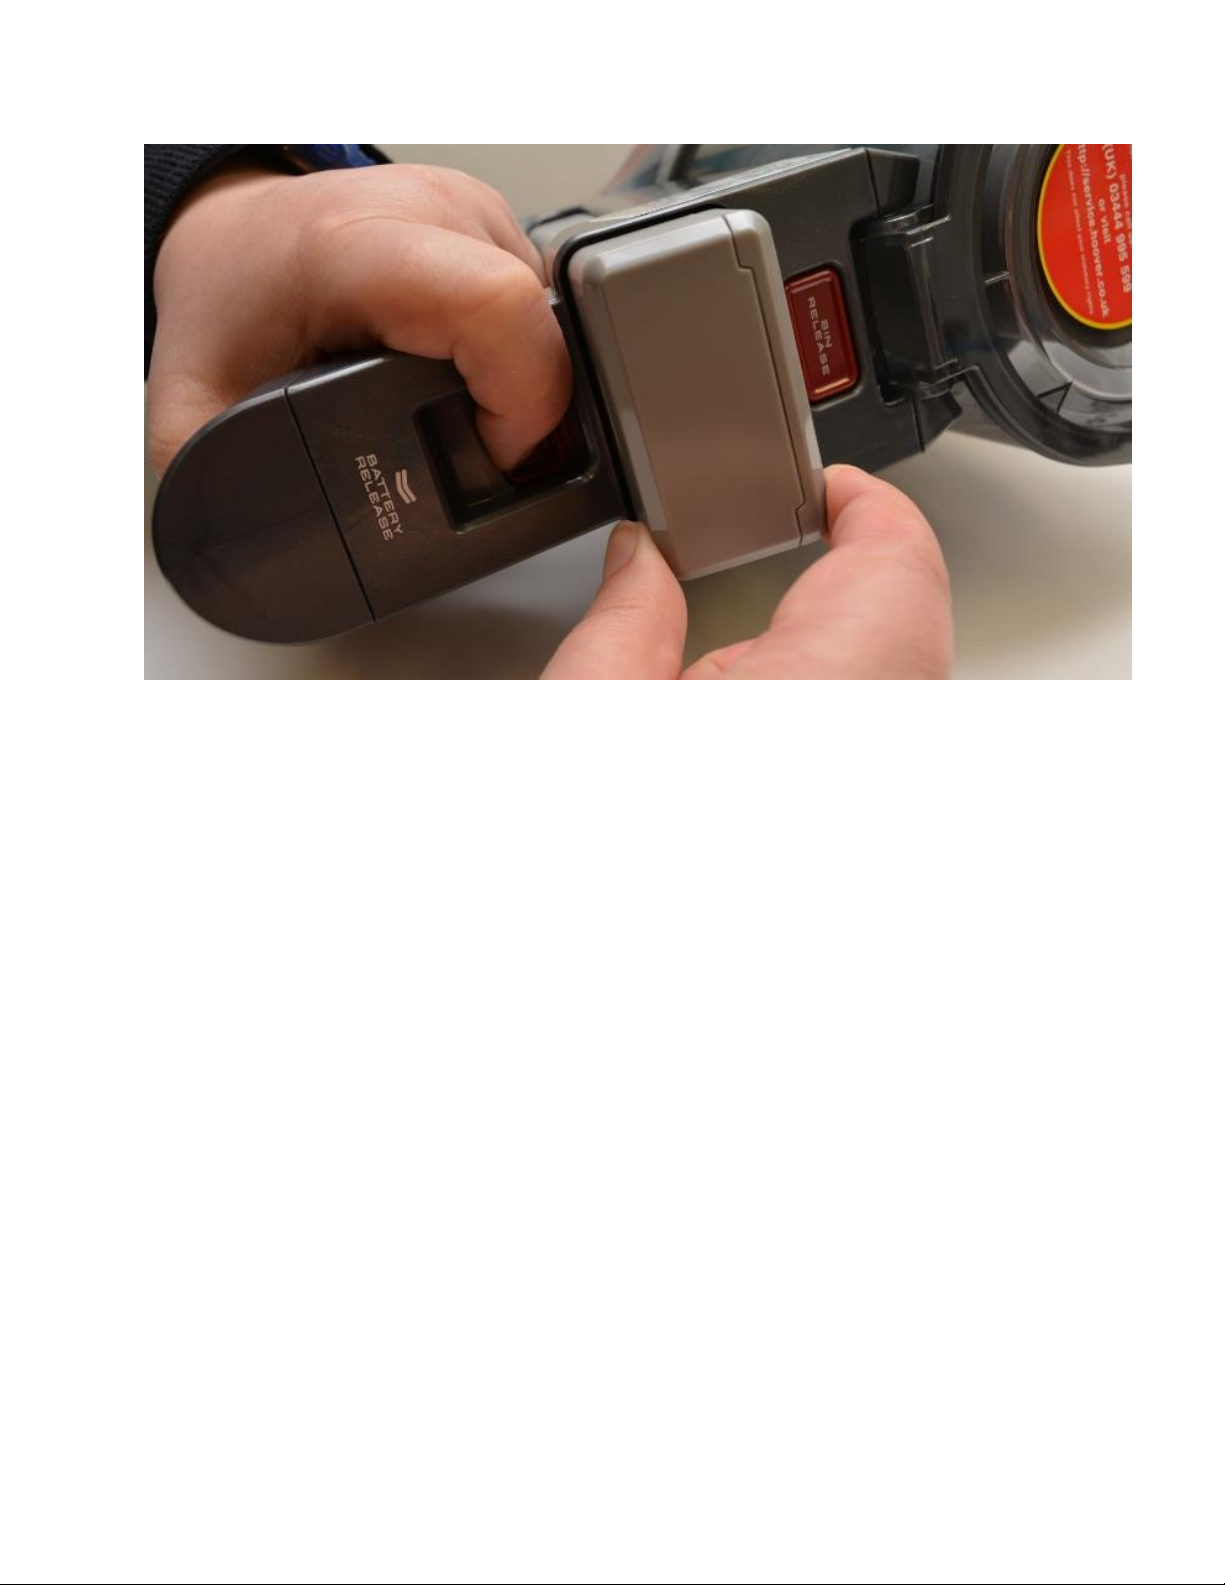
Your product has been fitted with a lithium ion battery which is replaceable, simply turn the
product over and press the battery release catch. The battery will then slide out as shown. A
replacement pack can be purchased from the spares section of our website. If the battery will not
hold charge it may be due to long storage periods or usage possibly of one year or more.
Important: If the appliance is being disposed of the batteries should be removed before
disposal. Before removing the battery it should be completely discharged by running the cleaner
until it is flat. Used batteries should be taken to a recycling station for safe disposal. Never
remove the battery with the charger plugged in.
Page 5
The safety cut out has activated
The safety cut out will operate if there is a blockage or build up of debris around the brush roll
preventing it from turning, the power will automatically stop and the charge light will flash red.
Before attempting to use your Freedom stick again the brush roll will need to be removed and
cleaned.
Before doing this make sure the continuous running switch has been switched off to make sure
the product is safe to work on.
Slide the brush lock bar away from the centre of the product as shown and then you can lift out
the brush roll. Remove any debris, hair and threads from around the brush, you may need to use
scissors to carefully cut away any thing tangled up.Take care not to damage the bristles. Remove
any other debris that is found in the area around the brush or the hose leading to the extension
tube. Put the brush roll back and try the product again.
Page 6
Check the battery is charged Connect the charger as shown and make sure the power switch is in
the 'off' setting before charging starts. It can take up to six hours to charge your product, the
charge indicator will glow red when charging and turn blue when fully charged.
Important: Only connect the supplied charger to your product. Using the charger from another
appliance may damage the cleaner or fail to charge up the battery.
Replacement batteries or charger can be purchased from the spares section of our website
Page 7

during the charging the indicator will glow red as shown in the picture. Once charging is
complete the indicator turns blue. If the battery does not charge it may require replacement.
Page 8

Floor brush not working or cuts out
Check the dust container contacts are clean
Two electrical contacts fitted to the dust container conduct power to the floor brush, should they
become dusty or dirty the contact will be lost. Check the contacts on the dust box and also on the
body of the cleaner at the top of the handle are clean and free from dust. Remove the duct
container to check and perform any cleaning.
Page 9

Indicator light changes colour or is flashing
See our guide to identify any possible fault or other indications
Key to what may be the fault if the LED on top of the product is flashing
Page 10

No suction and not picking up
Empty the dust box
The dust box may be full. Take the cleaner to your dust bin and press the release catch as shown.
The container flap will open and the collected dirt will fall into your dustbin.
For best results empty the dust box when it reaches 2/3 full.
Page 11

Page 12

Clean the exhaust filter
The exhaust filter is located in the top part of the handle. Squeeze the catch together and pull out
the filter cartridge as shown
Page 13

Page 14

Remove the foam outer filter and clean both parts by dusting with a brush or wash in warm
water. Please make sure that both parts are thoroughly dry before re fitting. For best results
Hoover recommend that you replace the filters once per year and new filters can be purchased
from the spares section of our website.
Foam filter ( on the left) removed from the cartridge for cleaning
Clean the dust box filter
Firstly empty the contents of the dust box, to do this place the cleaner over your dustbin and
press the release catch as shown to open the dust box flap. The dirt will empty out into your
dustbin.
Page 15

Page 16

Now close the flap and remove the dust container by pressing down the release catch and pulling
the container sideways. Turn the cleaner upside down to locate the catch.
Twist the grey filter assembly anti clockwise and the pull it off the cleaner body.
Page 17

Twist the mesh screen anti clockwise to unlock it and pull down from the filter body. Wash both
filter parts and the dust container in warm water and please ensure it is all thoroughly dry before
putting it back together.
mesh (on the left) removed for cleaning
Page 18

Clean the brush roll
There are rotating brushes in the cleaning head and sometimes debris , hair and threads can
become tangled around the brushes. You can take the brushes out to clean them. Brushes do wear
down in time and they become soft of loose their shape the product will not pick up as good as it
used to. You can purchase a replacement from our spares section on the website. To remove the
brushes push the locking tab out as shown. This is found on the bottom of the floor head.
Now lift the brush roll out and clean away any debris tangled around it of blocking the floor
head.
Page 19

Noisy
Check the filters are clean
If the filters or any hoses or pipes become blocked the product may become noisier
than usual. There may be a spluttering noise which is a safety valve operating to protect the
cleaner when the air flow is restricted by a blockage.
If you feel the product is making more noise than normal remove and clean the dust box and
filters, or replace the paper bag (where fitted). Check pipe work/ hoses and the tools to check
they are not blocked.
Warm air blows out during use
Page 20

This is normal
Vacuum cleaners blow air out to keep the motor cool and this may feel quite warm. There is a
safety cut out to switch the product of if there is a problem. If the product is not cutting out then
it is ok! The warm air is perfectly normal.
If it does cut out check the hose for a blockage and clean out the dust box and all the filters.
Won't charge up
Some products may take upto 12 hours to fully charge
It is normal for re chargeable products to take up to 5 hours, some may take 12 hours to fully charge the
battery, especially if the product is new. If the power pack feels warm then that is a good sign that
charging is taking place!
 Loading...