

Page 1
For Help Call
1.800.241.6264
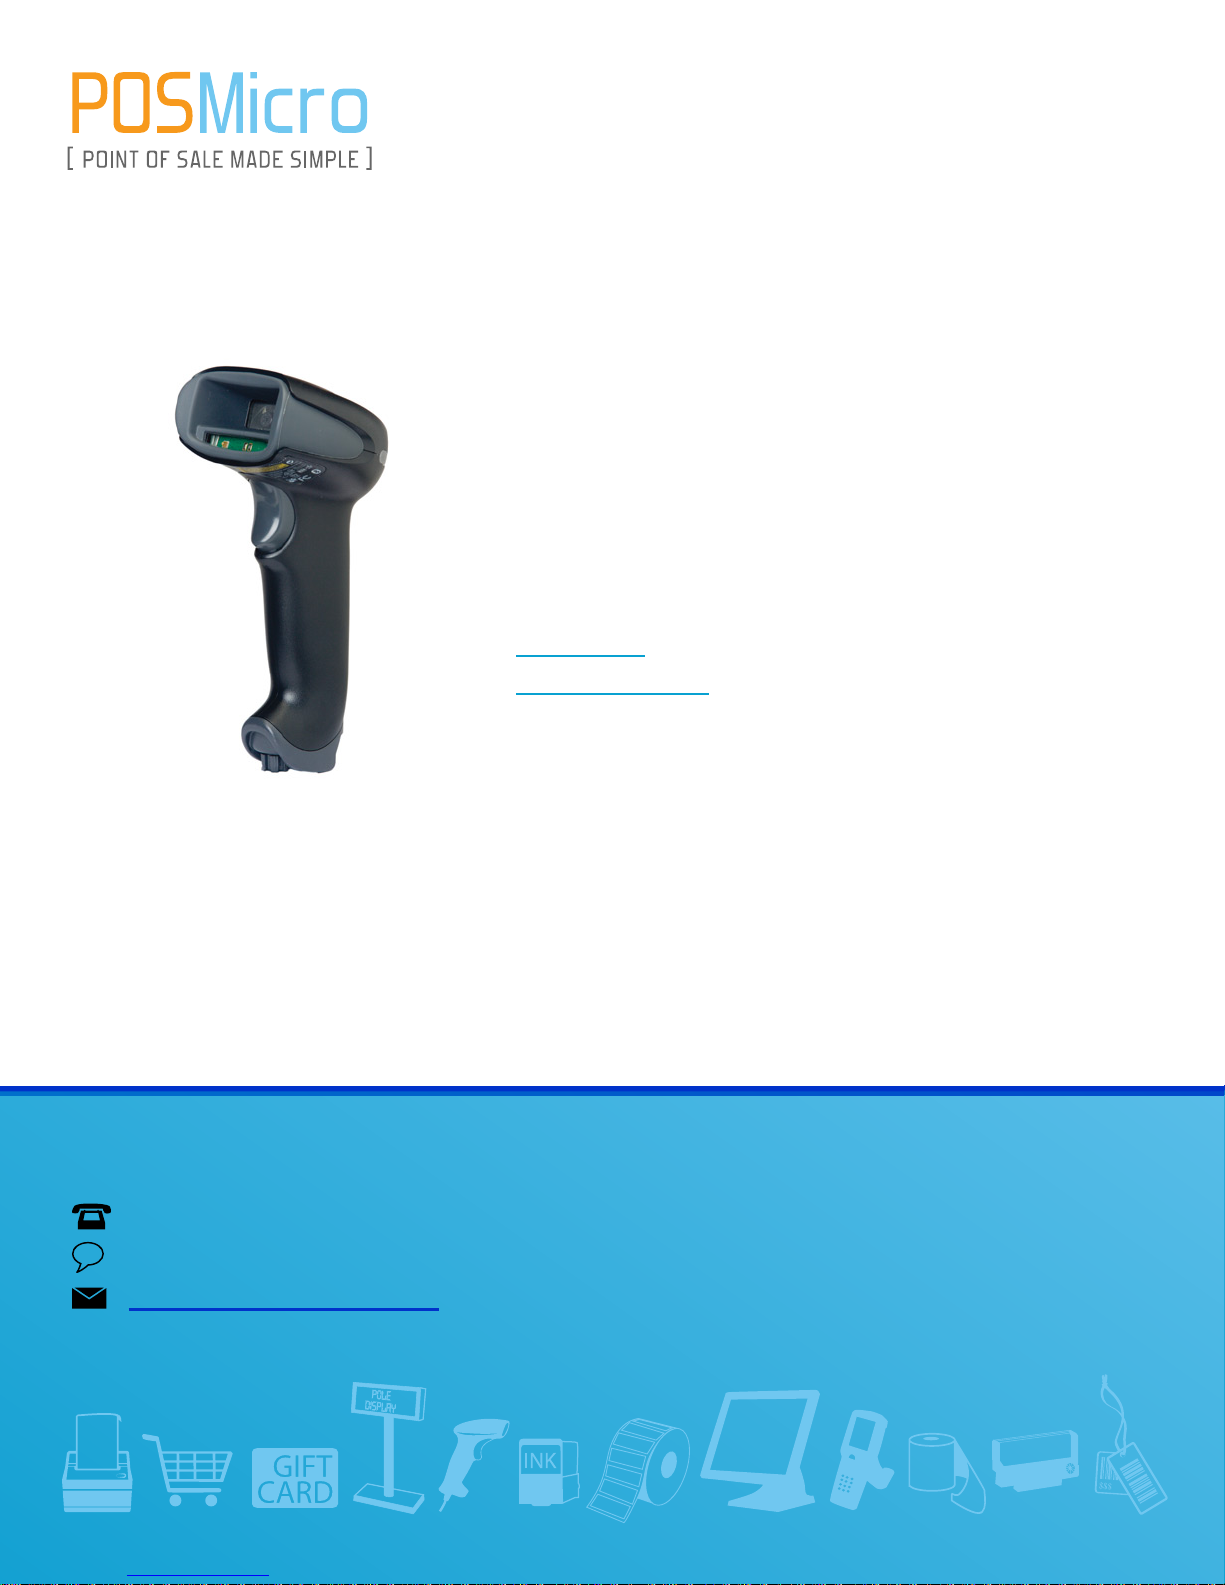
Honeywell Quick Start
Guide - Xenon 1902
THIS DOWNLOAD APPLIES TO THE FOLLOWING
Xenon 1902
Xenon 1902 Color
QUESTIONS?
Ask the experts at POSMicro.com.
1.800.241.6264
Live Chat Now
Monday - Friday 6 AM to 5 PM Pacic Time
BULK DISCOUNTS
FREE SHIPPING*
*Free ground shipping to the continental USA on orders over $100.
SE HABLA
ESPAñOL
Page 2

Xenon™ 1902
Cordless Area-Imaging Scanner
Quick Start Guide
Crdlss-NG2D-QS Rev B
5/11
Aller à www.honeywellaidc.com pour le français.
Vai a www.honeywellaidc.com per l'italiano.
Für Deutsch gehe zu www.honeywellaidc.com.
Ir a www.honeywellaidc.com para español.
Para Português, acesse www.honeywellaidc.com.br.
Перейти на русскоязычный сайт www.honeywellaidc.com.
日本語 : www.honeywellaidc.com をご覧ください。
如要到中国 www.honeywellaidc.com(简体)。
查看繁体版请登陆 www.honeywellaidc.com
한글 www.honeywellaidc.com 로 이동합니다 .
Page 3
Note: Refer to your user’s guide for information about cleaning your
device.
For localized language versions of this document, go to
www.honeywellaidc.com.
Getting Started
Turn off the computer’s power before connecting the base, then
power up the computer once the base is fully connected. When the
base is connected and powered up, put the scanner in the base to
establish a link. The green LED on the base flashes to indicate the
scanner’s battery is charging.
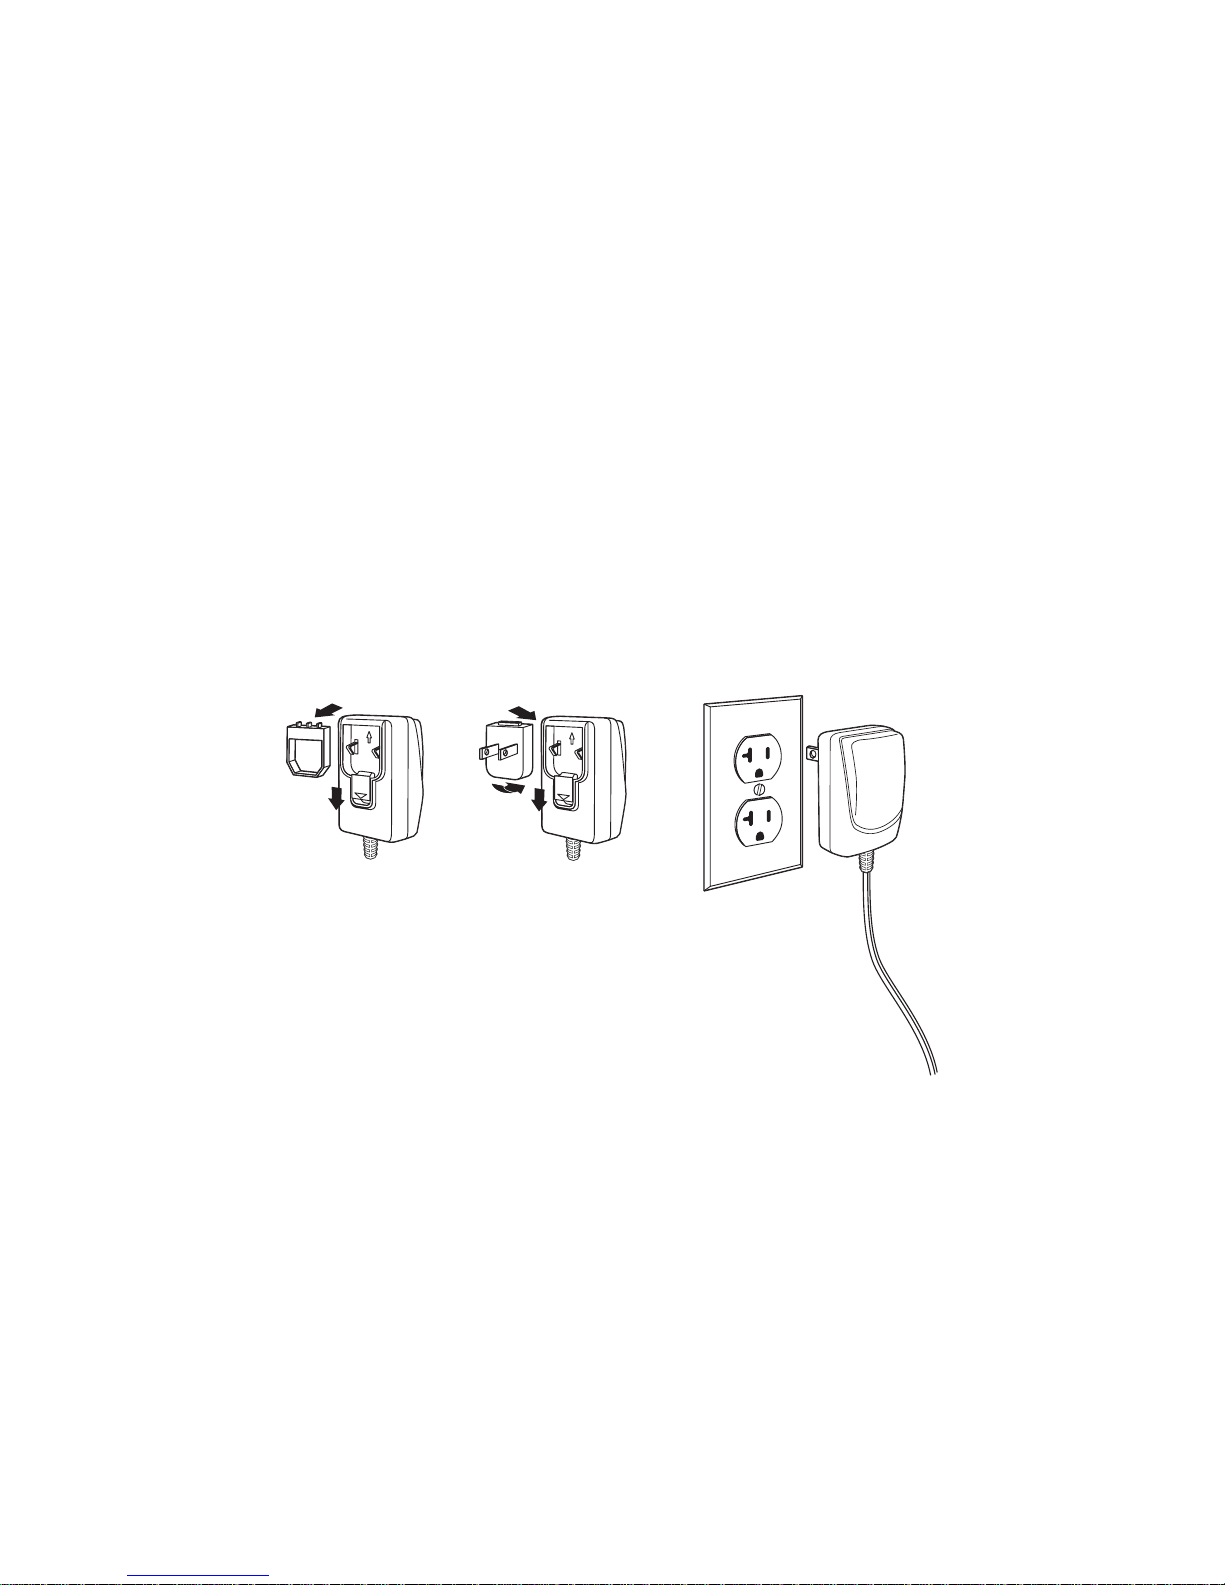
Power Supply Assembly (if included)
Page 4
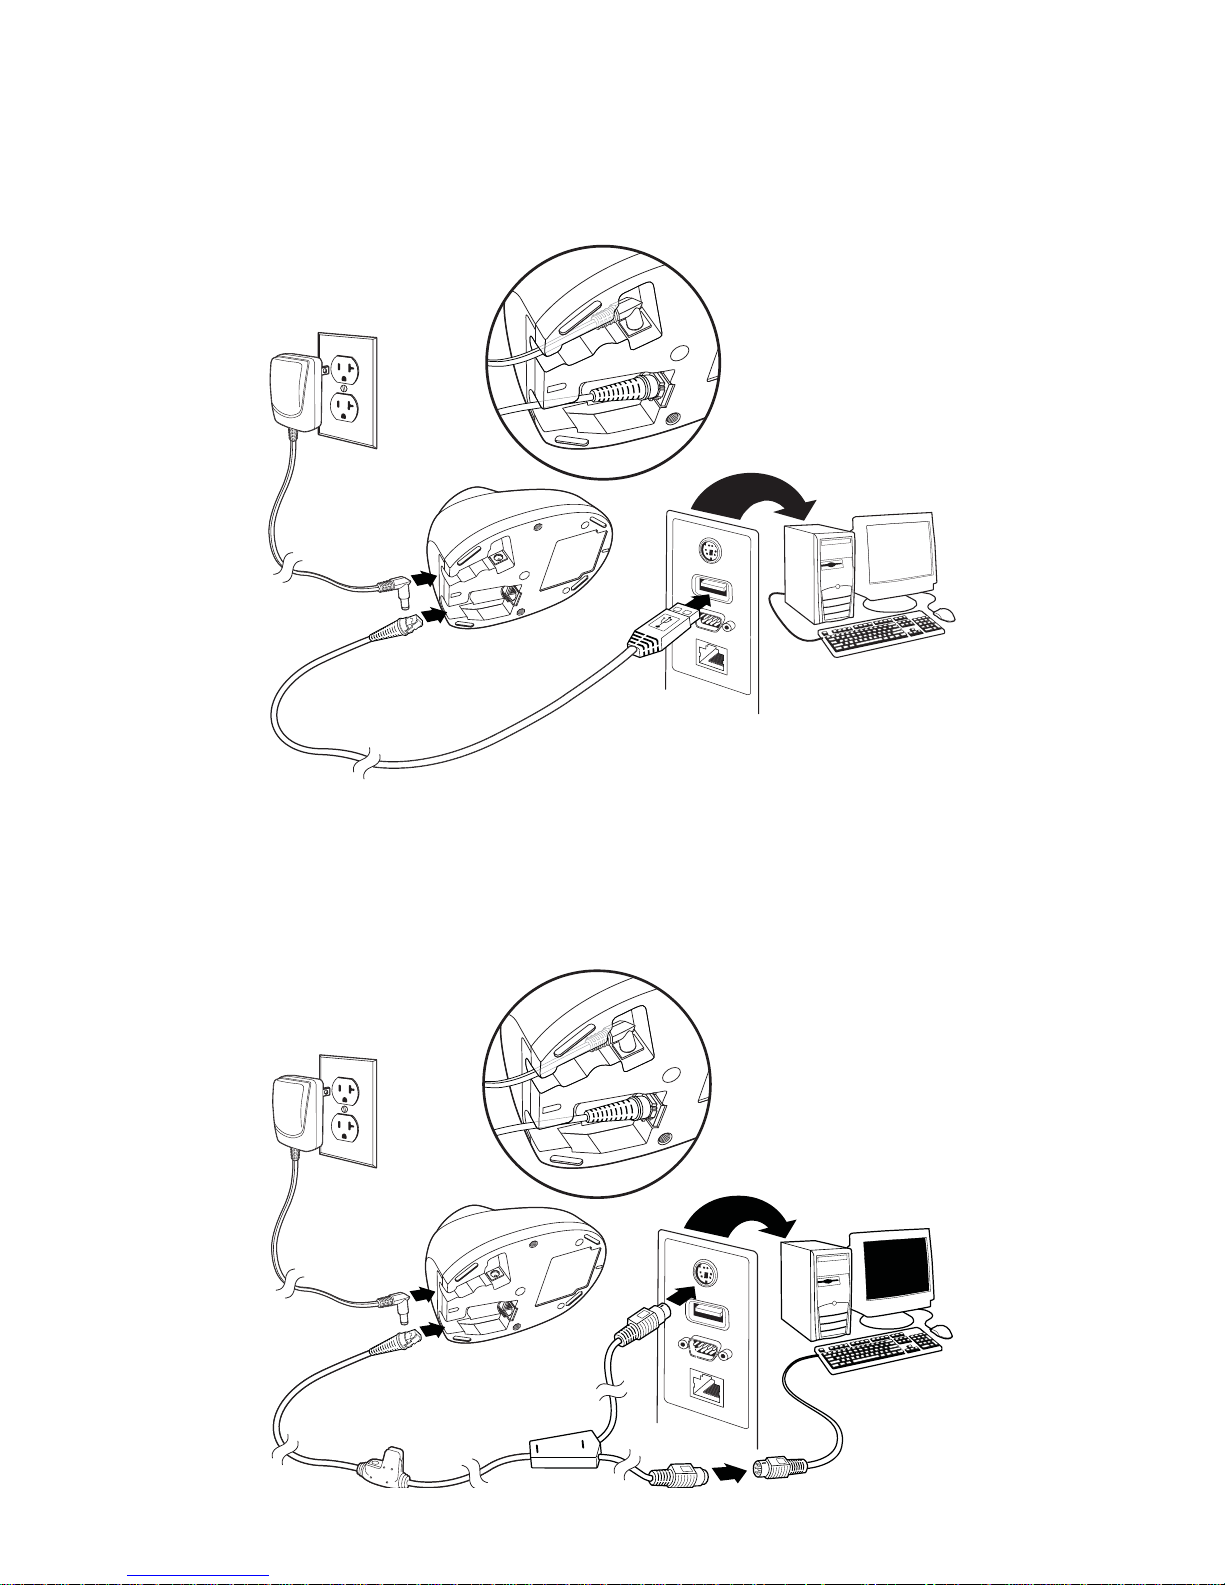
Connecting the Scanner
USB:
Keyboard Wedge:
Page 5
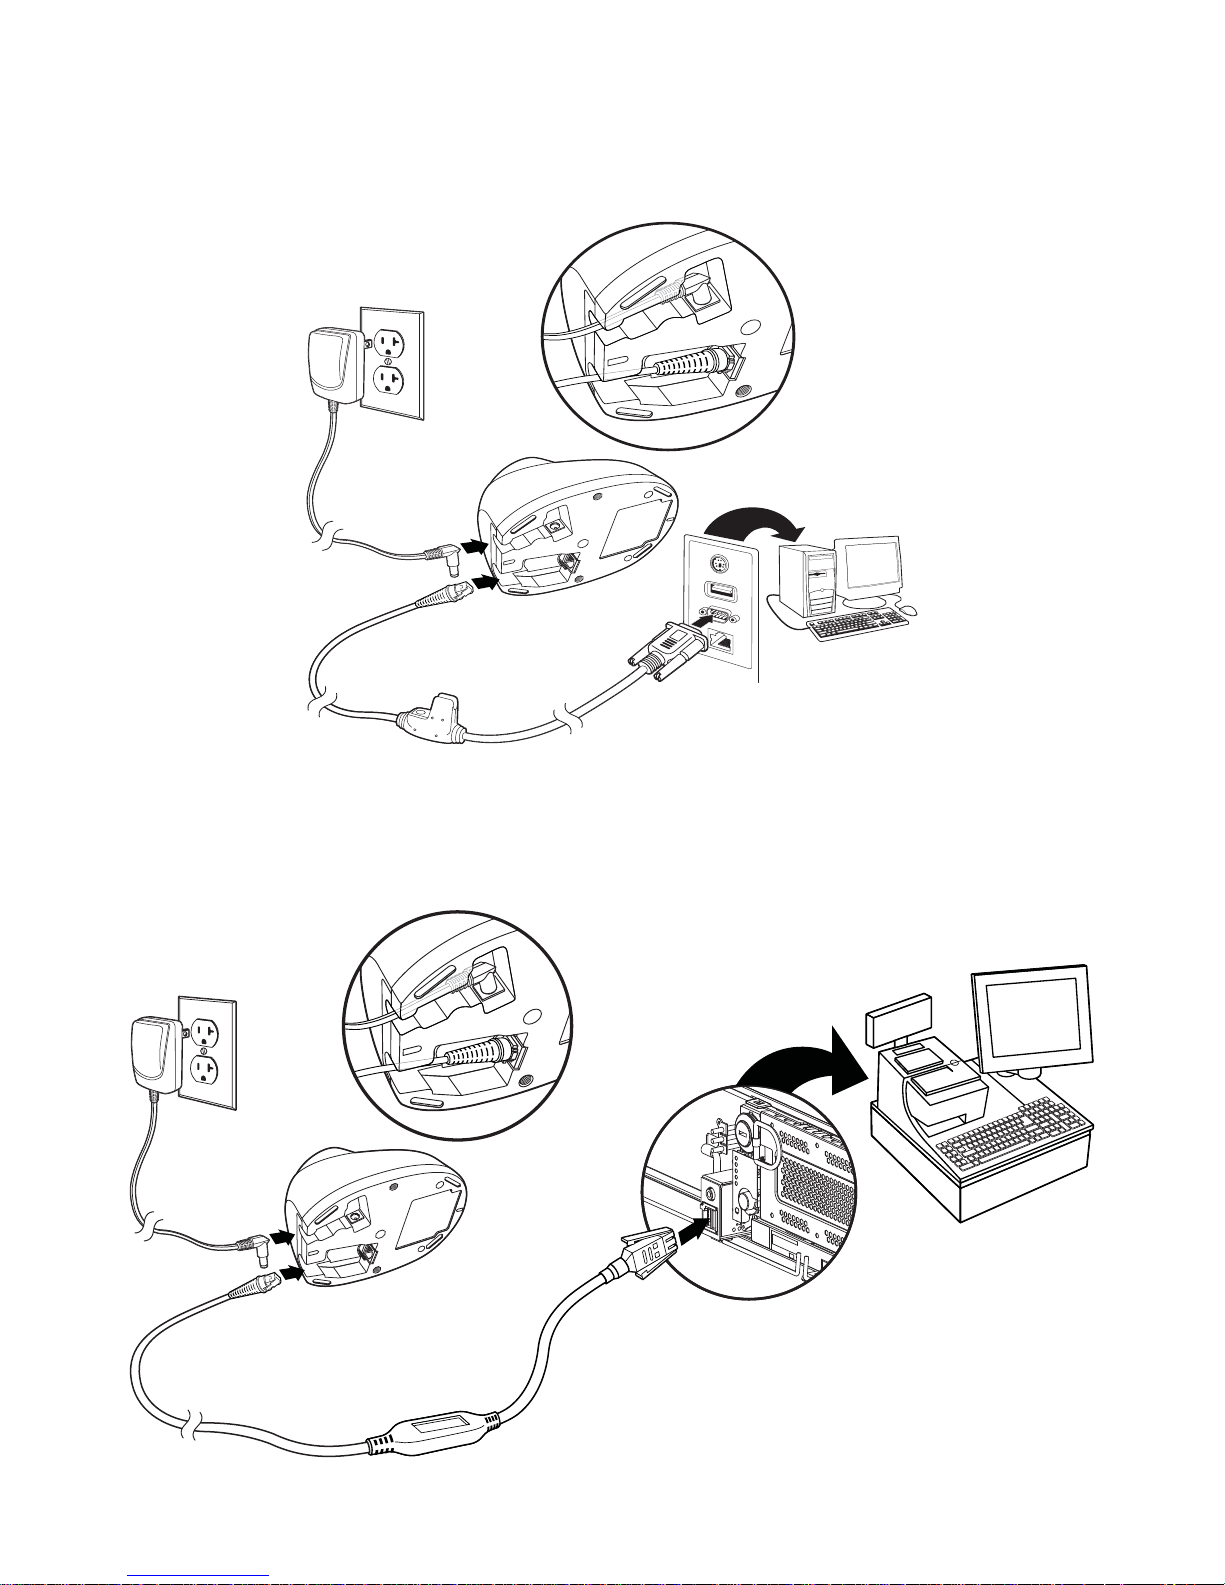
RS232 Serial Port:
RS485:
Page 6

Reading Techniques
Standard Product Defaults
The view finder projects an aiming
beam that should be centered over
the bar code, but it can be
positioned in any direction for a
good read.
Hold the scanner over the bar code,
pull the trigger, and center the
aiming beam on the bar code.
The aiming beam is smaller when
the scanner is closer to the code and larger when it is farther from the
code. Hold the scanner close to smaller bar codes, and farther away
from large bar codes to get a proper read.
If the bar code is highly reflective (e.g., laminated), you may need to
tilt the scanner at an angle so the bar code can be scanned.
Note: If the scanner beeps 3 times when scanning a bar code, the
link has not been established. If the scanner beeps once, the
link has been established.
Standard Product Defaults
The following bar code resets all standard product default settings.
Page 7
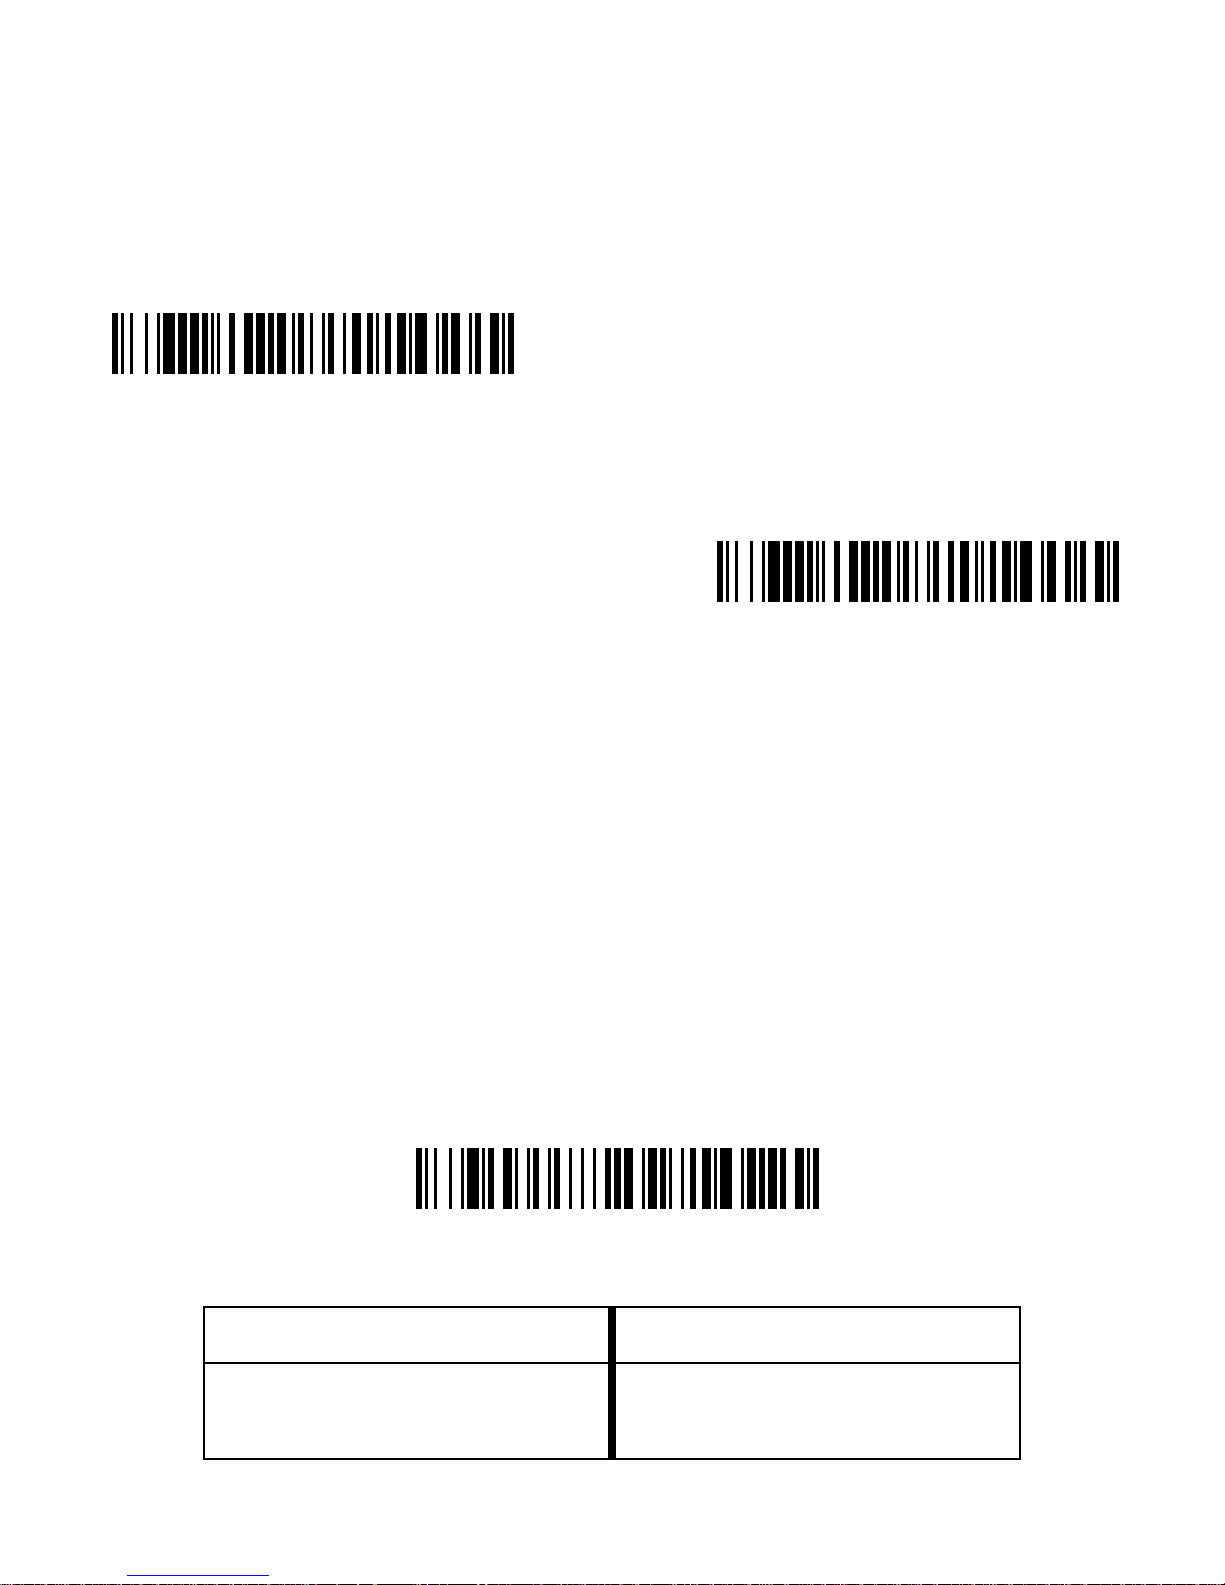
RS485 Interface
IBM Port 9B HHBCR-1
Interface
IBM Port 9B HHBCR-2
Interface
Program Keyboard Country
The RS485 interface defaults to port 5B. If you have an IBM POS
terminal using port 9B, scan the appropriate code below to program
the terminal, then power cycle the cash register.
Note: For additional RS485 interface selections, see the User’s
Guide for your product at our website,
www.honeywellaidc.com.
Keyboard Country
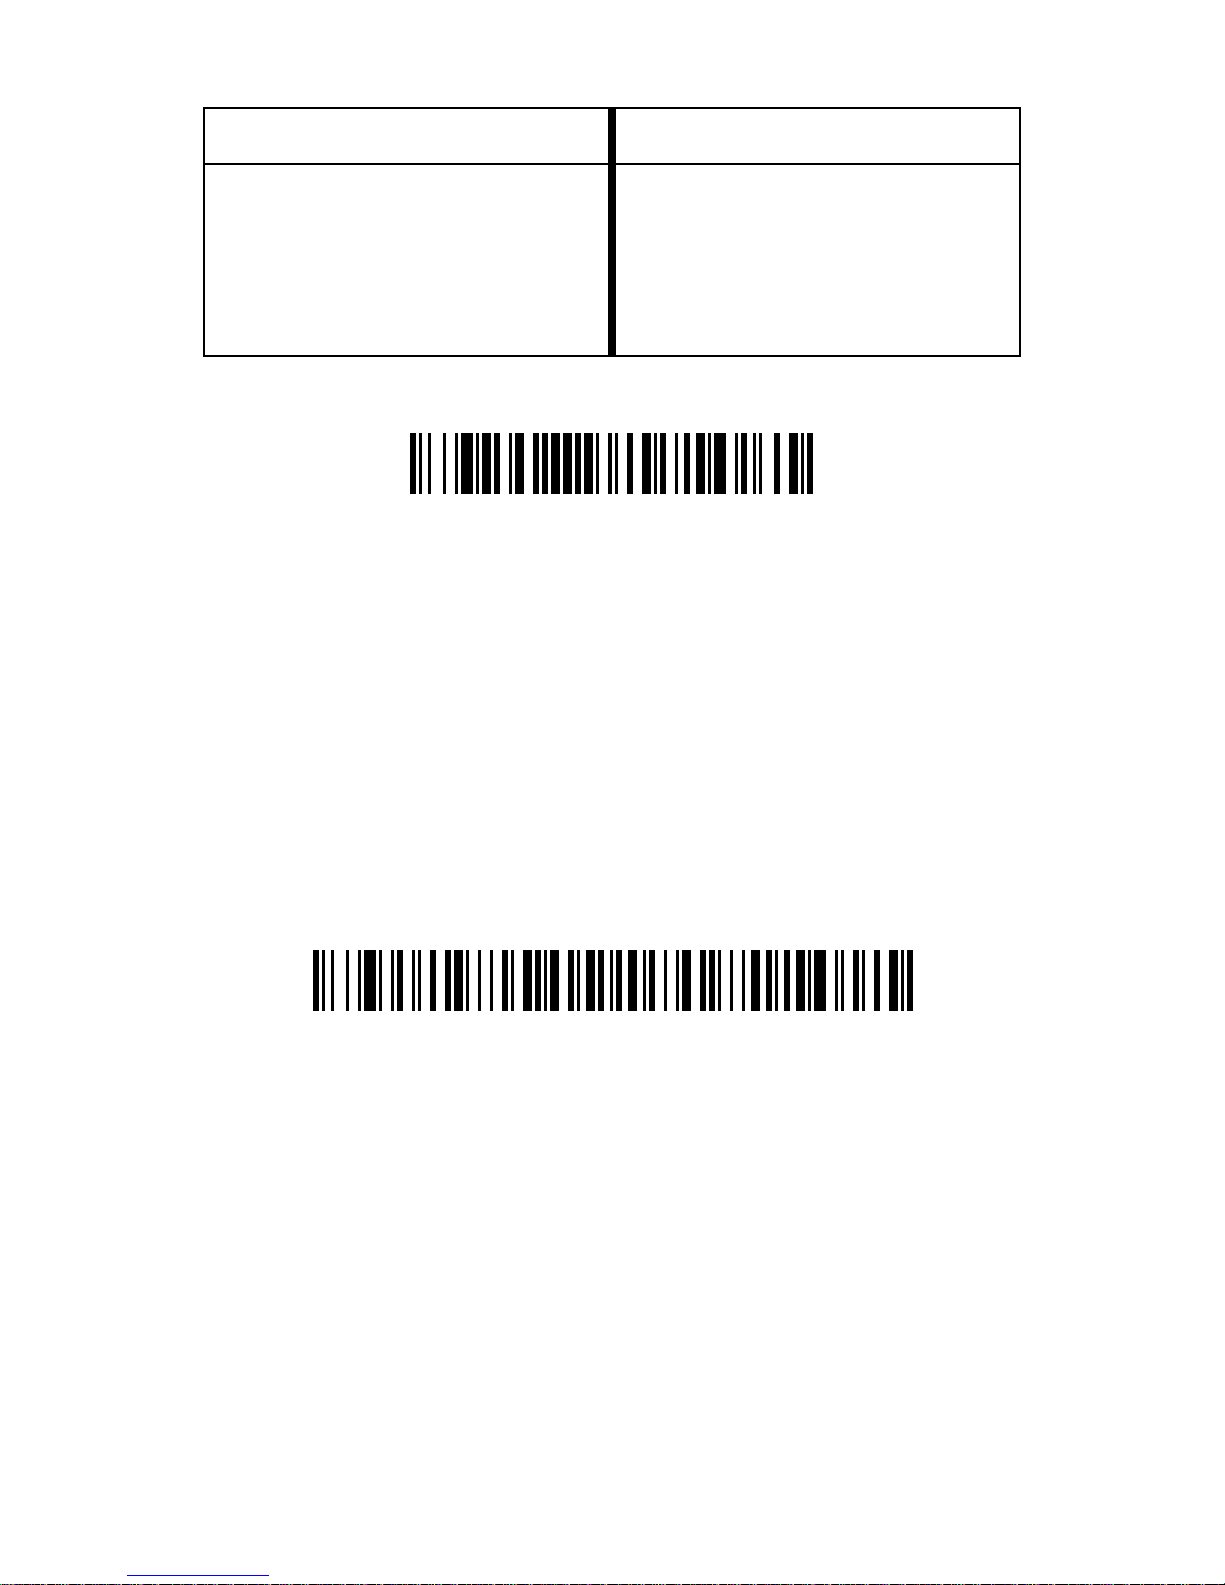
Scan the Program Keyboard Country bar code below, then scan
the numeric bar code(s) from page 2, then the Save bar code to
program the keyboard for your country. As a general rule, the
following characters are not supported by the scanner for countries
other than the United States:
@ | $ # { } [ ] = / ‘ \ < > ~.
Country Code Scan Country Code Scan
Belgium 1 Italy 5
Denmark 8 Norway 9
Page 8
Country Code Scan Country Code Scan
Save
Locked Link Mode
(Single Scanner)
Finland 2 Spain 10
France 3 Switzerland 6
Germany/Austria 4 USA (Default) 0
Great Britain 7
Note: For a complete list of country codes, see the User’s Guide for
your product at our website,
www.honeywellaidc.com.
Locked Link
If you link a scanner to a base using the Locked Link Mode, other
scanners are blocked from being linked if they are inadvertently
placed into the base. If you do place a different scanner into the
base, it will charge the scanner, but the scanner will not be linked.
To use a different scanner, you need to unlink the original scanner by
scanning the Unlink Scanner bar code.
Page 9
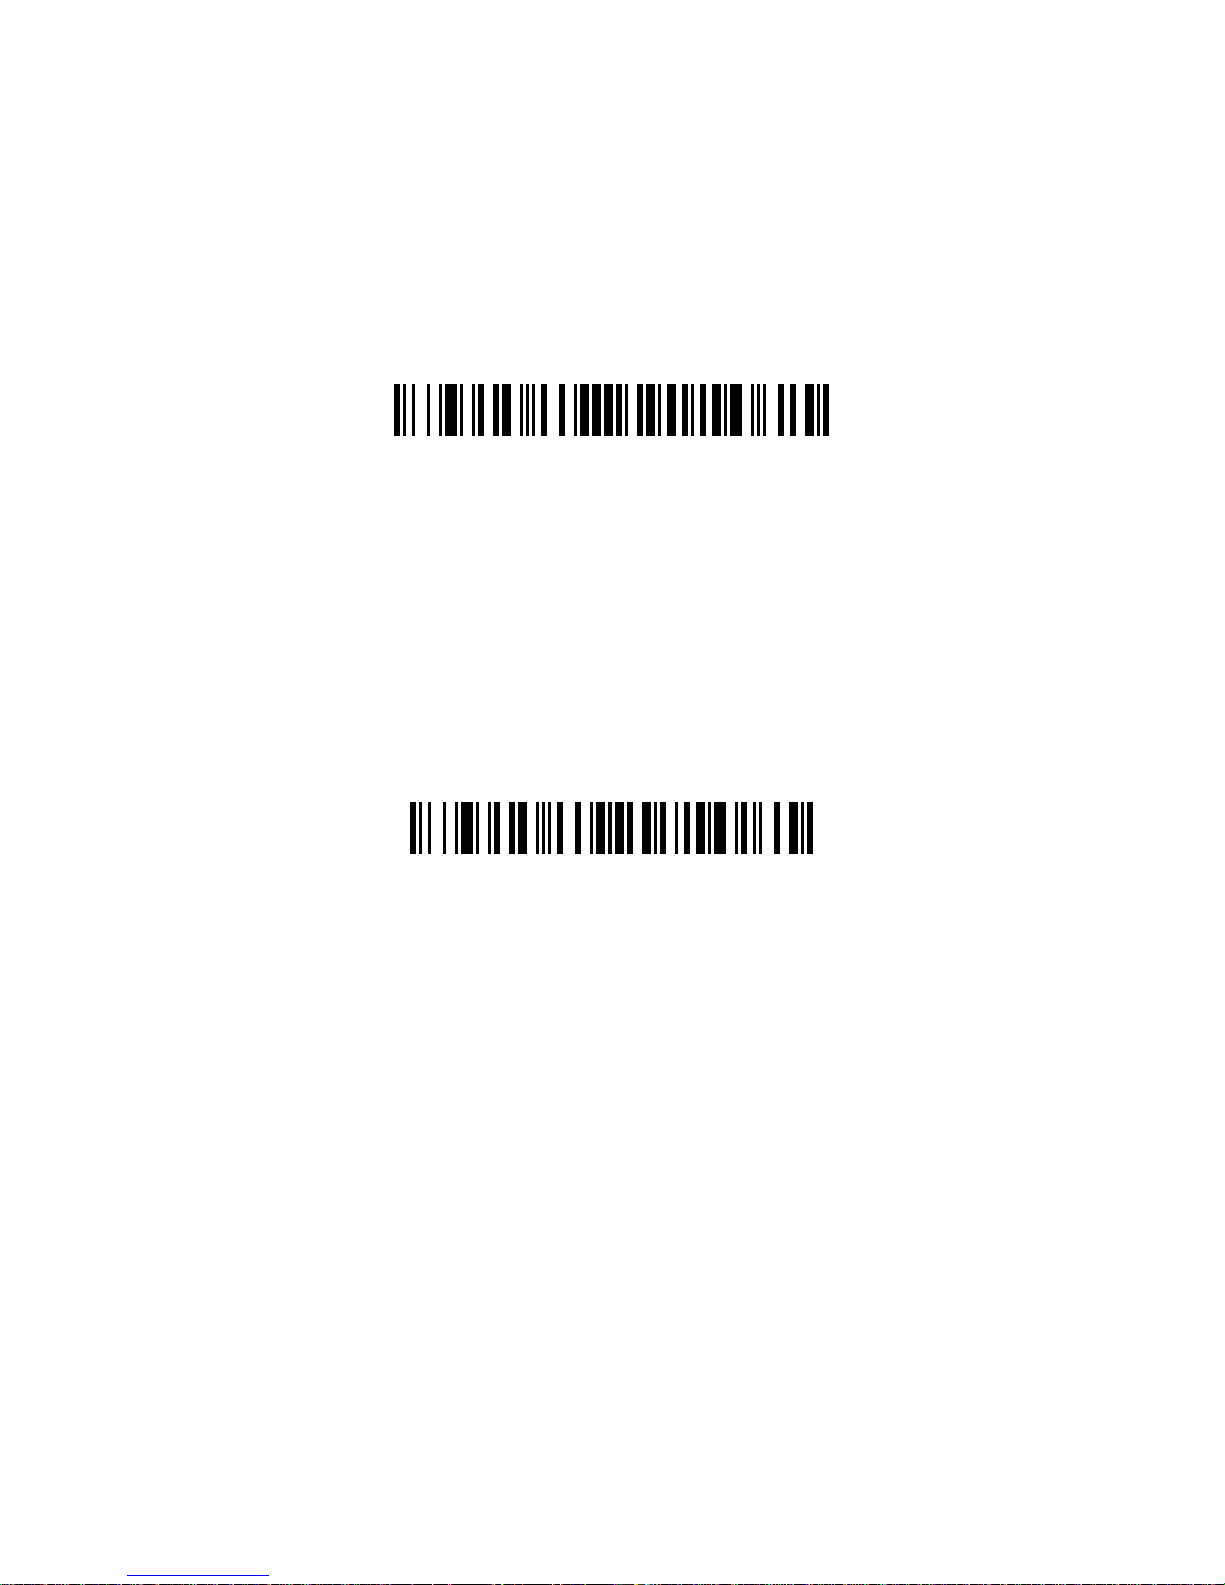
Override Locked Scanner
Override Locked Scanner
Unlink Scanner
If you need to replace a broken or lost scanner that is linked to a
base, scan the Override Locked Scanner bar code with a new
scanner, and place that scanner in the base. The locked link will be
overridden; the broken or lost scanner’s link with the base will be
removed, and the new scanner will be linked.
Unlinking the Scanner
If the base has a scanner linked to it, that scanner must be unlinked
before a new scanner can be linked. Once the previous scanner is
unlinked, it will no longer communicate with the base. Scan the
Unlink Scanner bar code to unlink a scanner.
Page 10
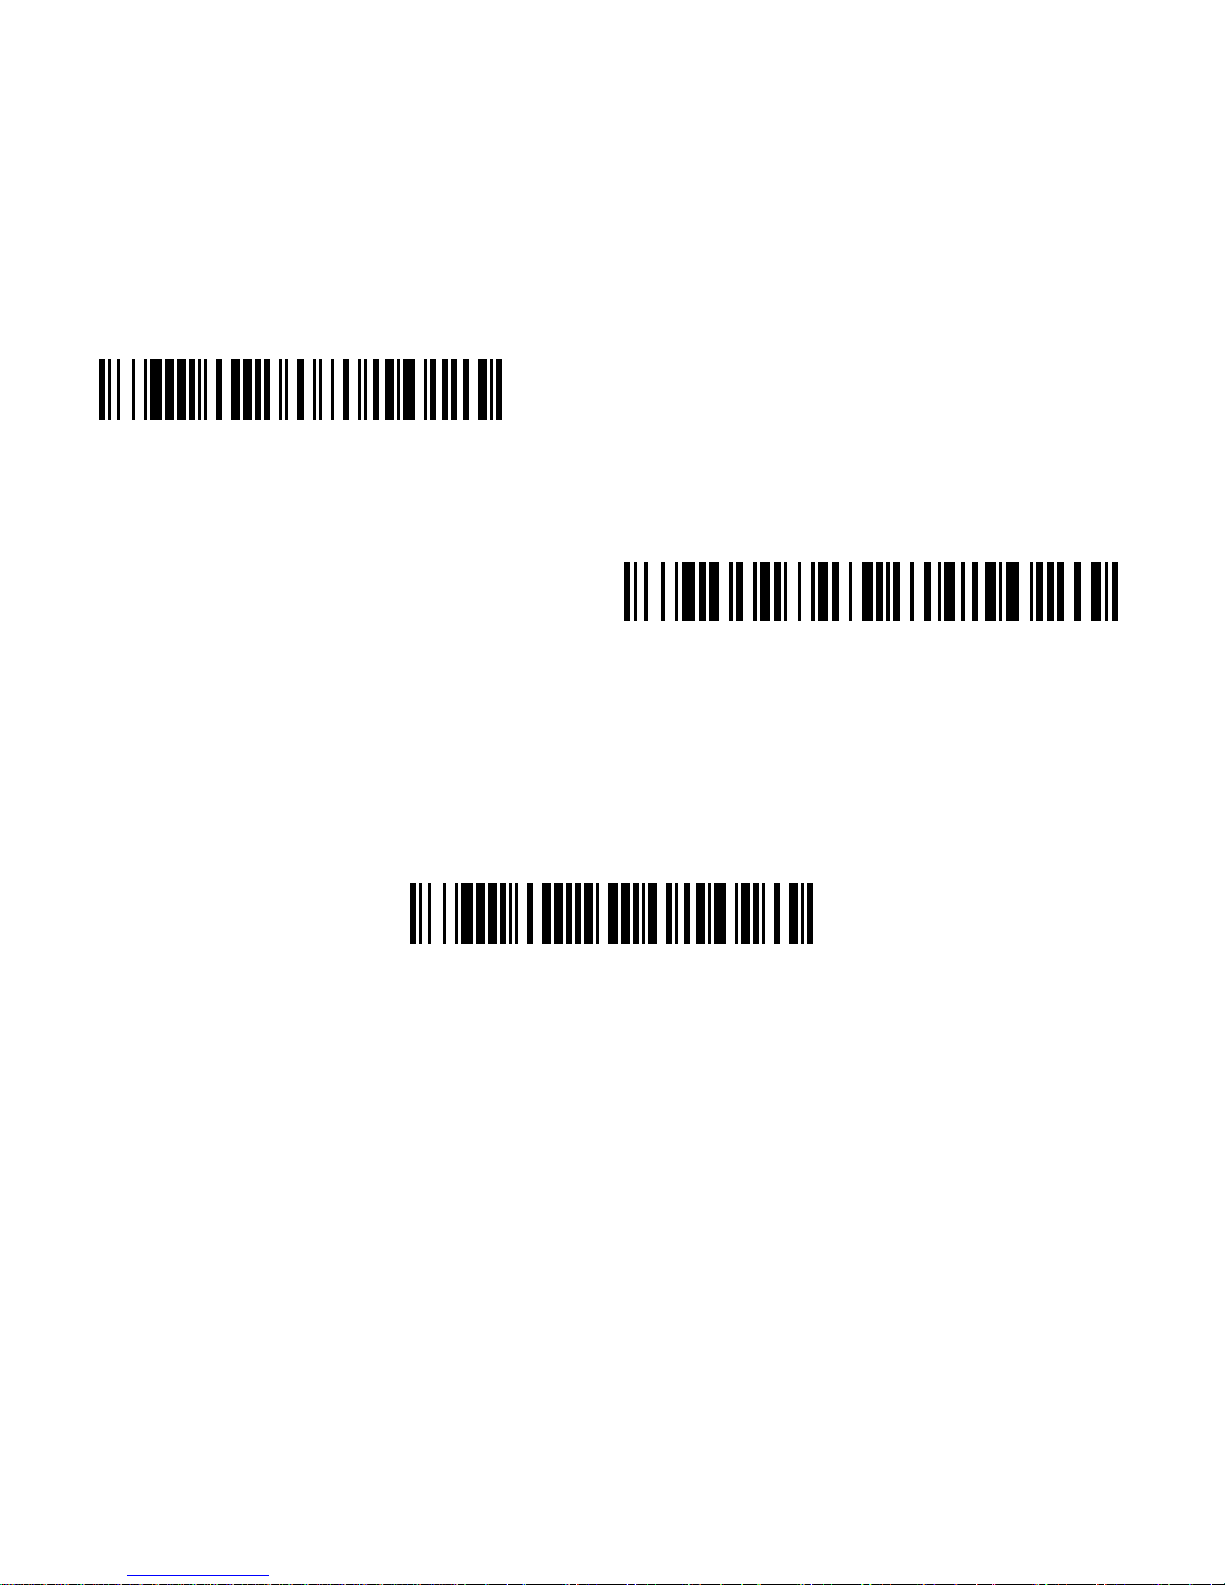
Trigger
Manual Trigger - Normal
(Default)
Presentation Mode
Streaming Presentation Mode
The following bar codes will allow you to use the scanner in Manual
Trigger - Normal Mode (need to press the trigger to read) or
Presentation mode (the scanner is activated when it “sees” a bar
code).
Streaming Presentation™
When in Streaming Presentation mode, the scanner leaves the scan
illumination on all the time and continuously searches for bar codes.
Page 11
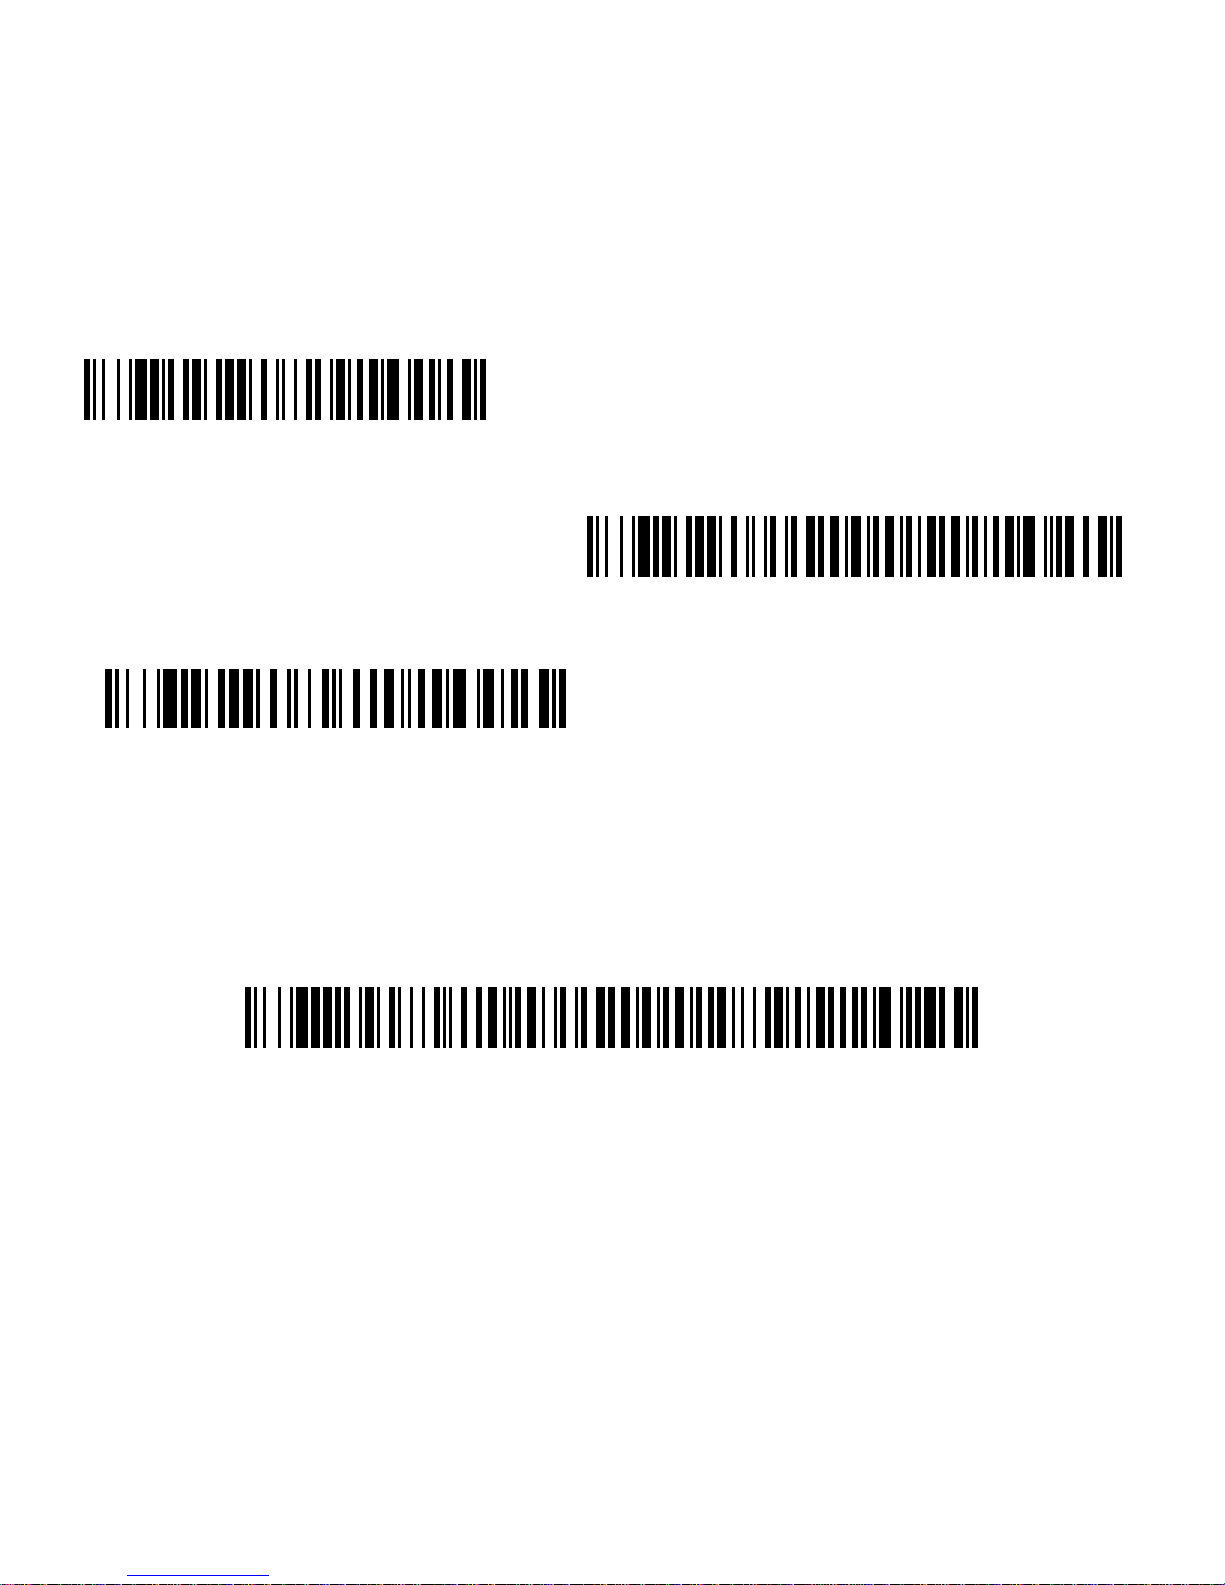
Suffix
Add CR Suffix
Remove Suffix
Add Tab Suffix
Add Code ID Prefix To All Symbologies
(Temporary)
If you want a carriage return after the bar code, scan the Add CR
Suffix bar code. To add a tab after the bar code, scan the Add Tab
Suffix bar code. Otherwise, scan the Remove Suffix bar code to
remove the suffixes.
Add Code ID Prefix to all Symbologies
Scan the following bar code if you wish to add a Code ID prefix to all
symbologies at once.
Note: For a complete list of Code IDs, see the User’s Guide for your
product at our website,
www.honeywellaidc.com.
Page 12
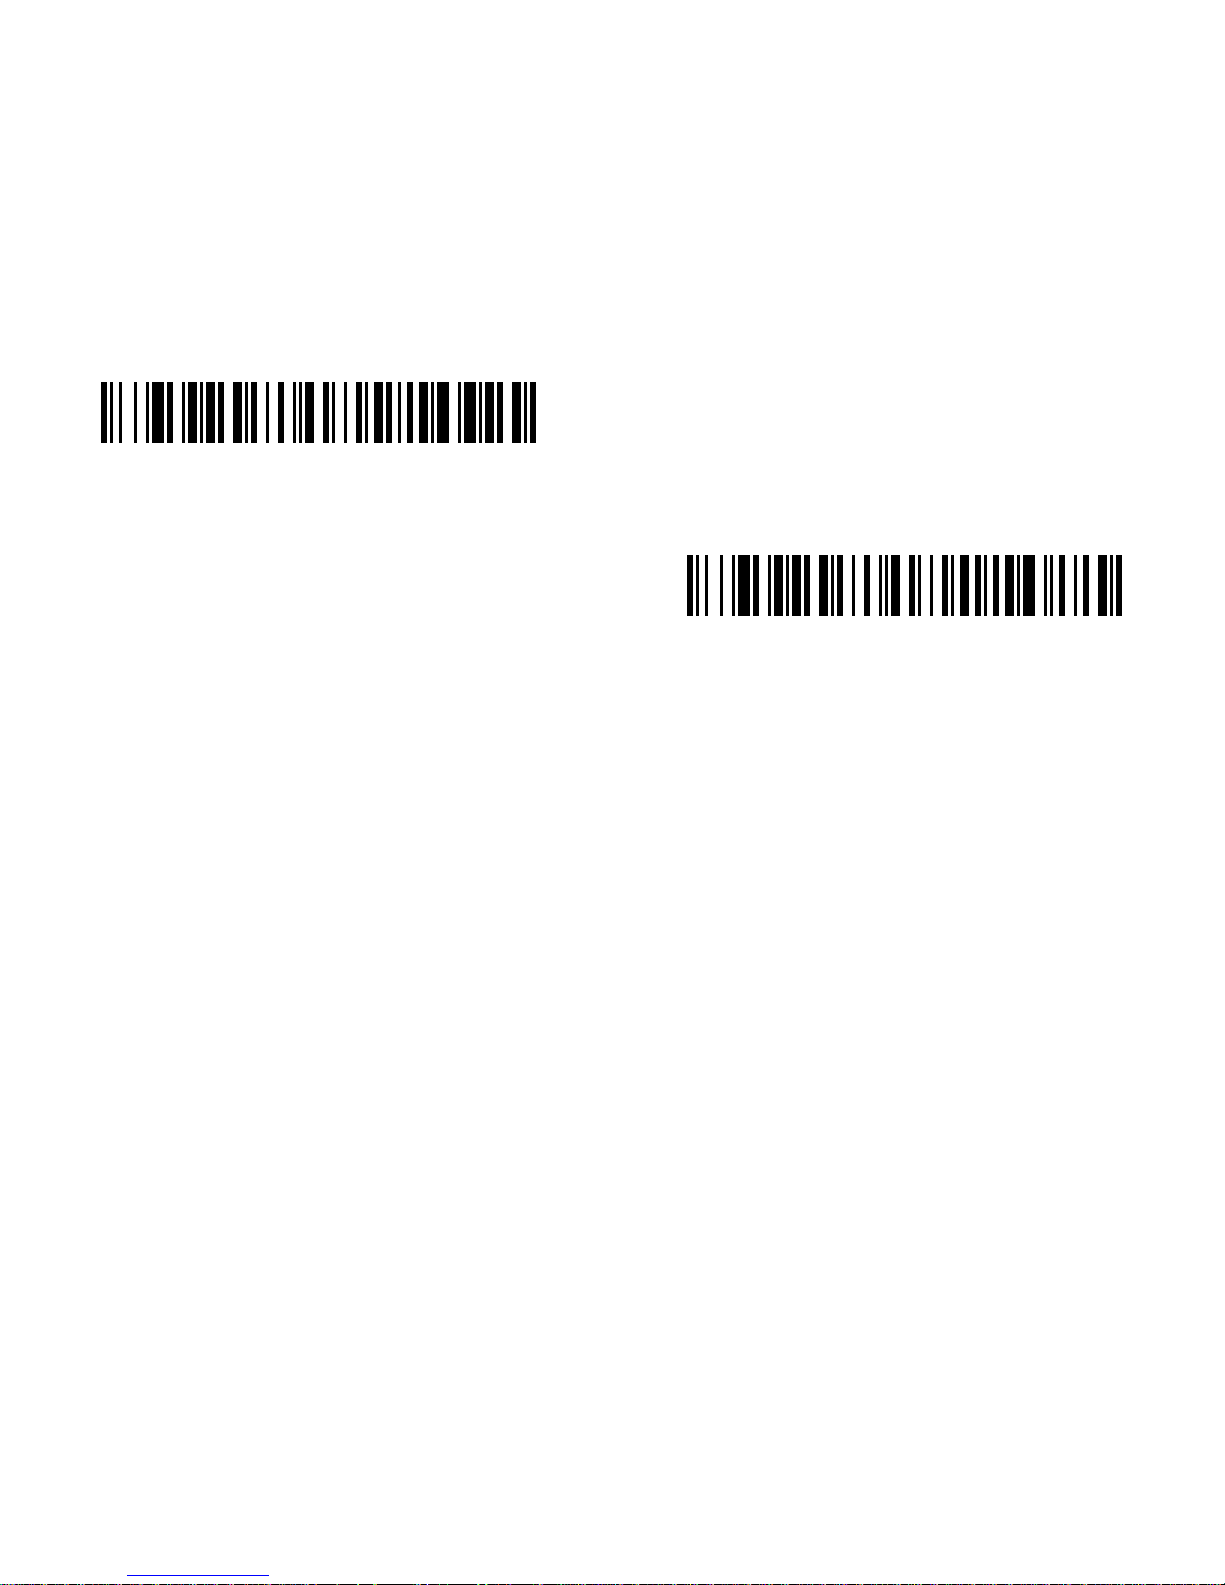
Function Code Transmit
Enable
(Default)
Disable
When this selection is enabled and function codes are contained
within the scanned data, the scanner transmits the function code to
the terminal. Charts of these function codes are provided in your
User’s Guide. When the scanner is in keyboard wedge mode, the
scan code is converted to a key code before it is transmitted.
Page 13
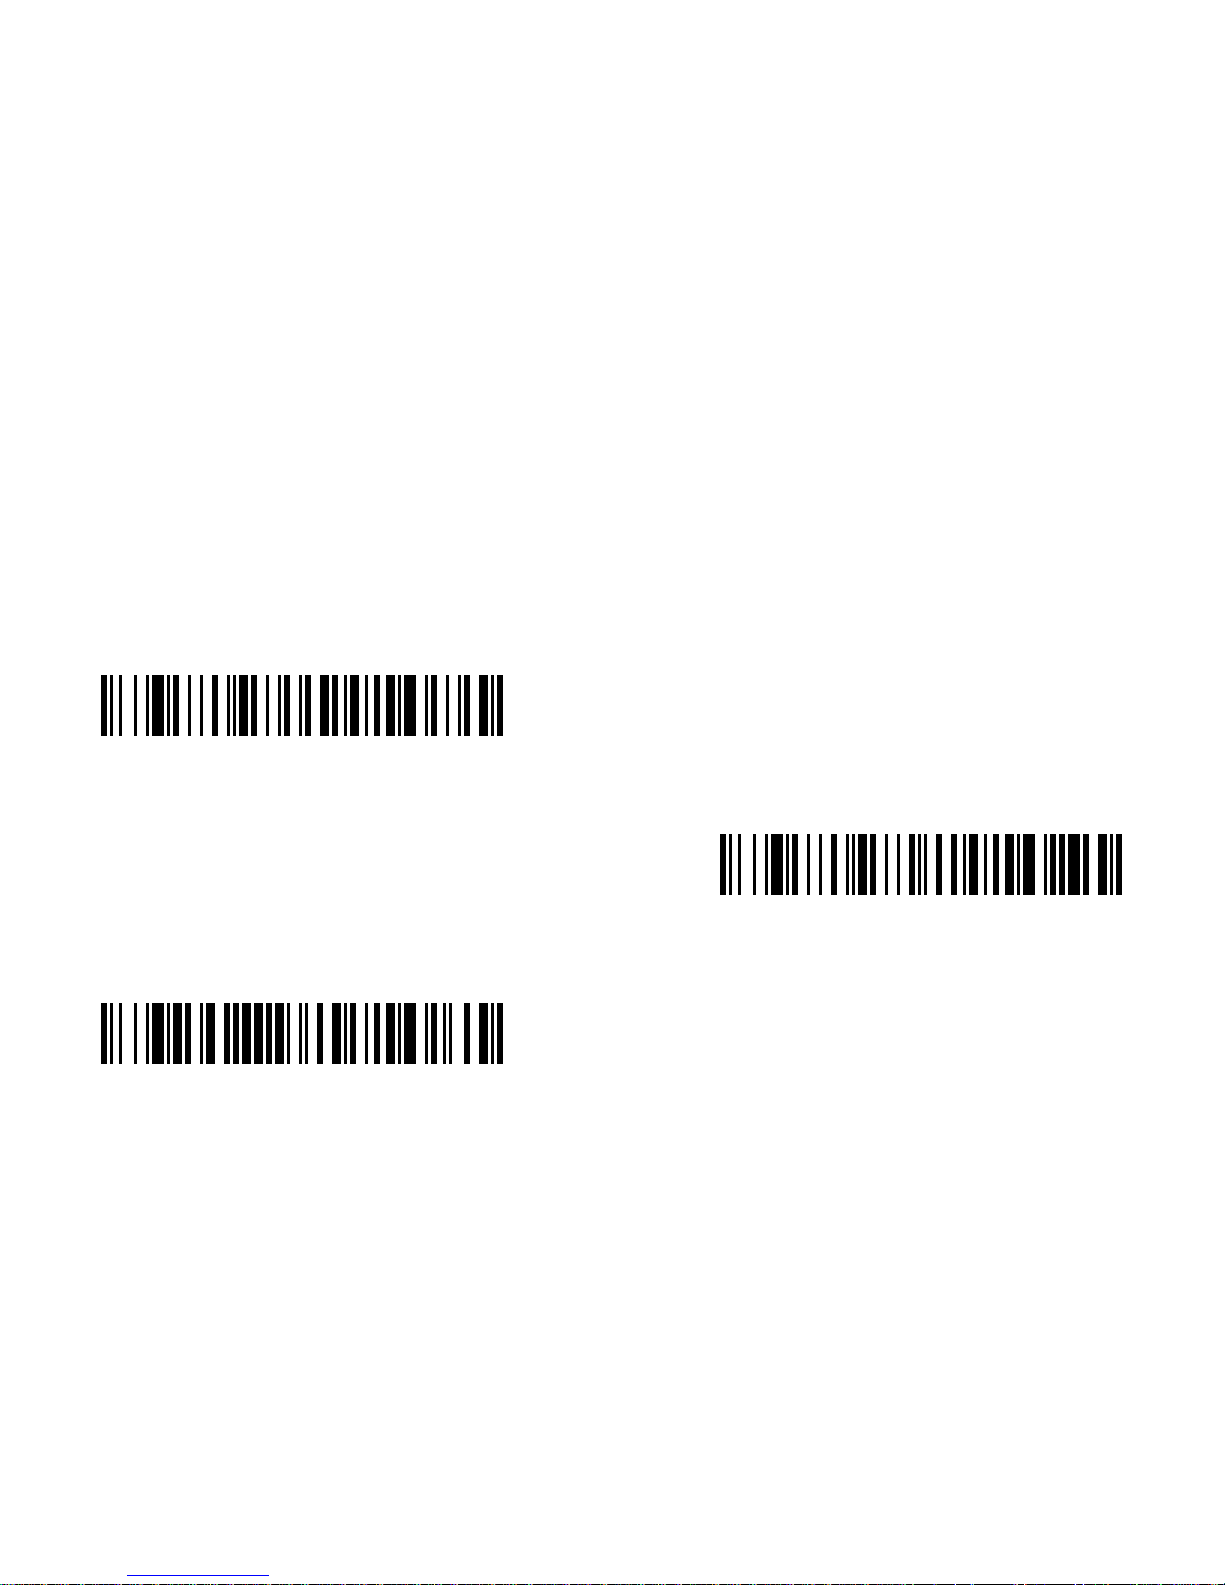
Data Format Editor Instructions
Enter Data Format
Clear All Data Formats
Save
The following are abbreviated instructions for entering a data format.
For complete instructions refer to your User’s Guide, available at our
website,
www.honeywellaidc.com.
1. Scan the Enter Data Format symbol.
2. Primary/Alternate Format: scan 0 for Primary Format
3. Terminal Type: scan 099 for any terminal type
4. Code I.D.: scan 99 for any bar code type
5. Length: scan 9999 for any length bar code.
6. Editor commands: use the Programming Chart that follows.
7. Scan Save to save your entries.
Page 14
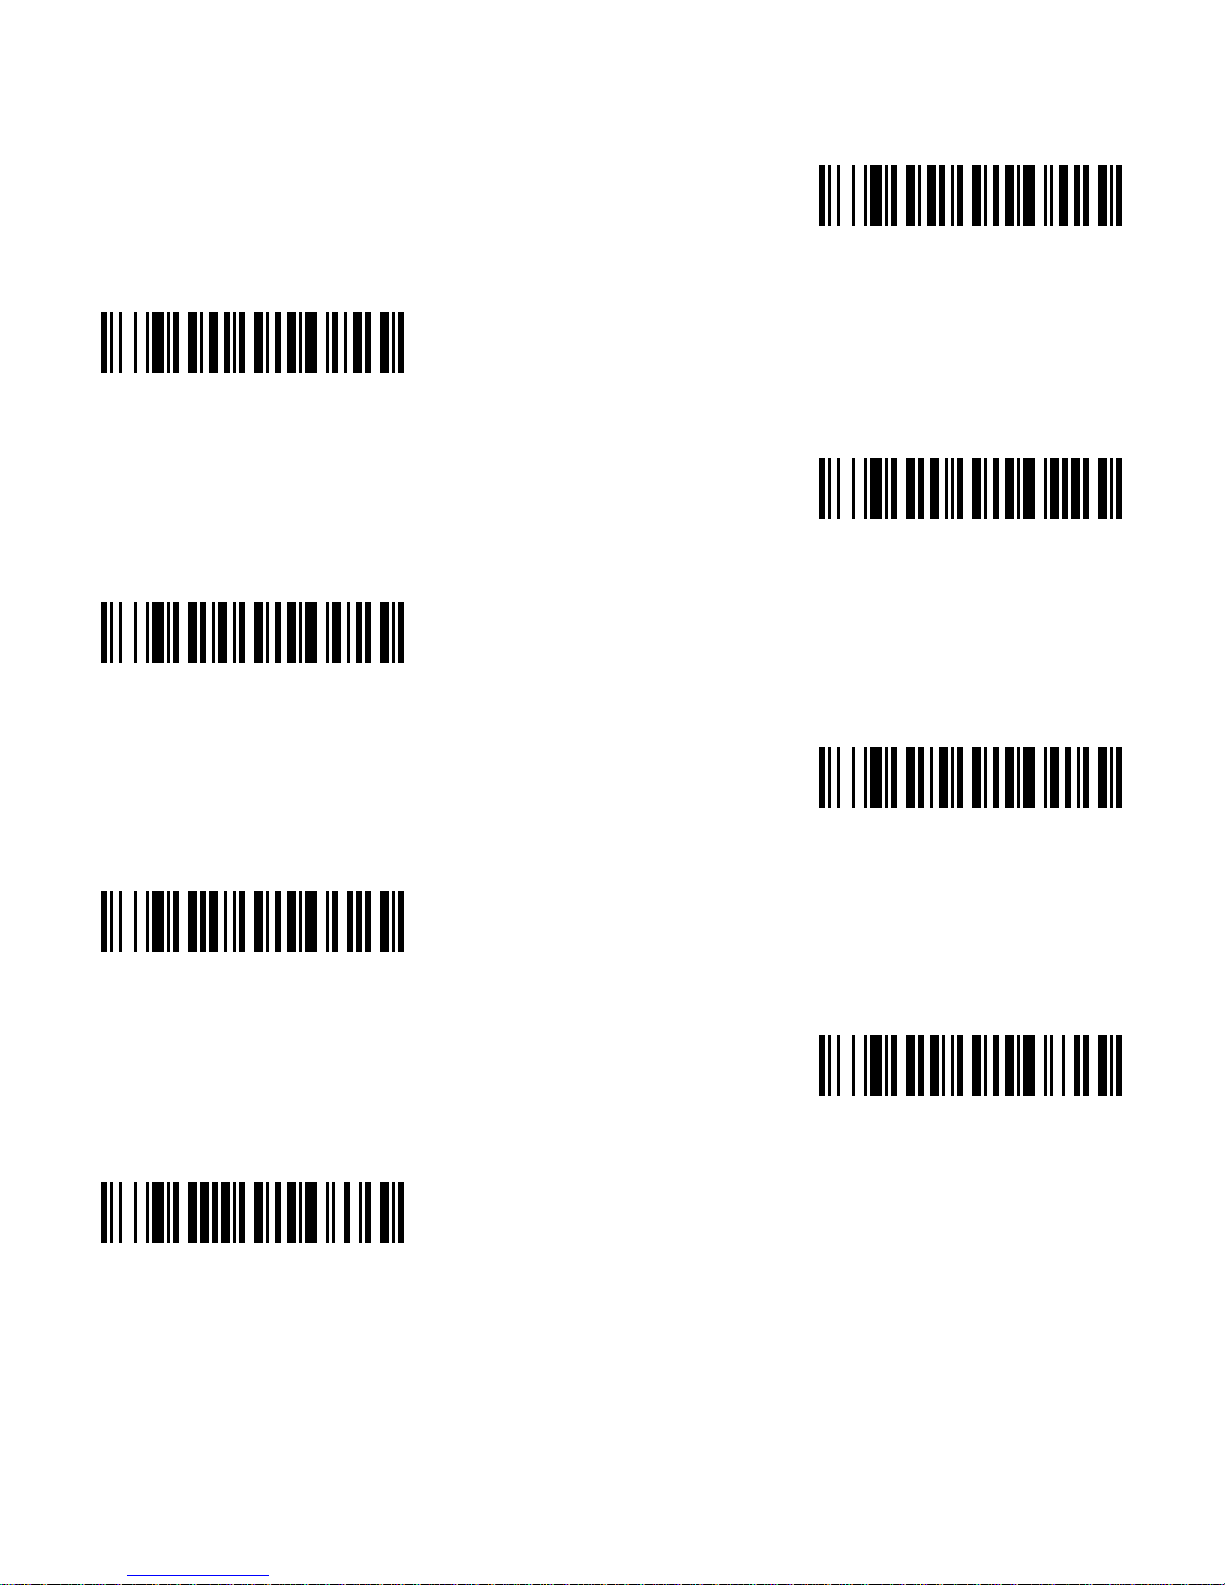
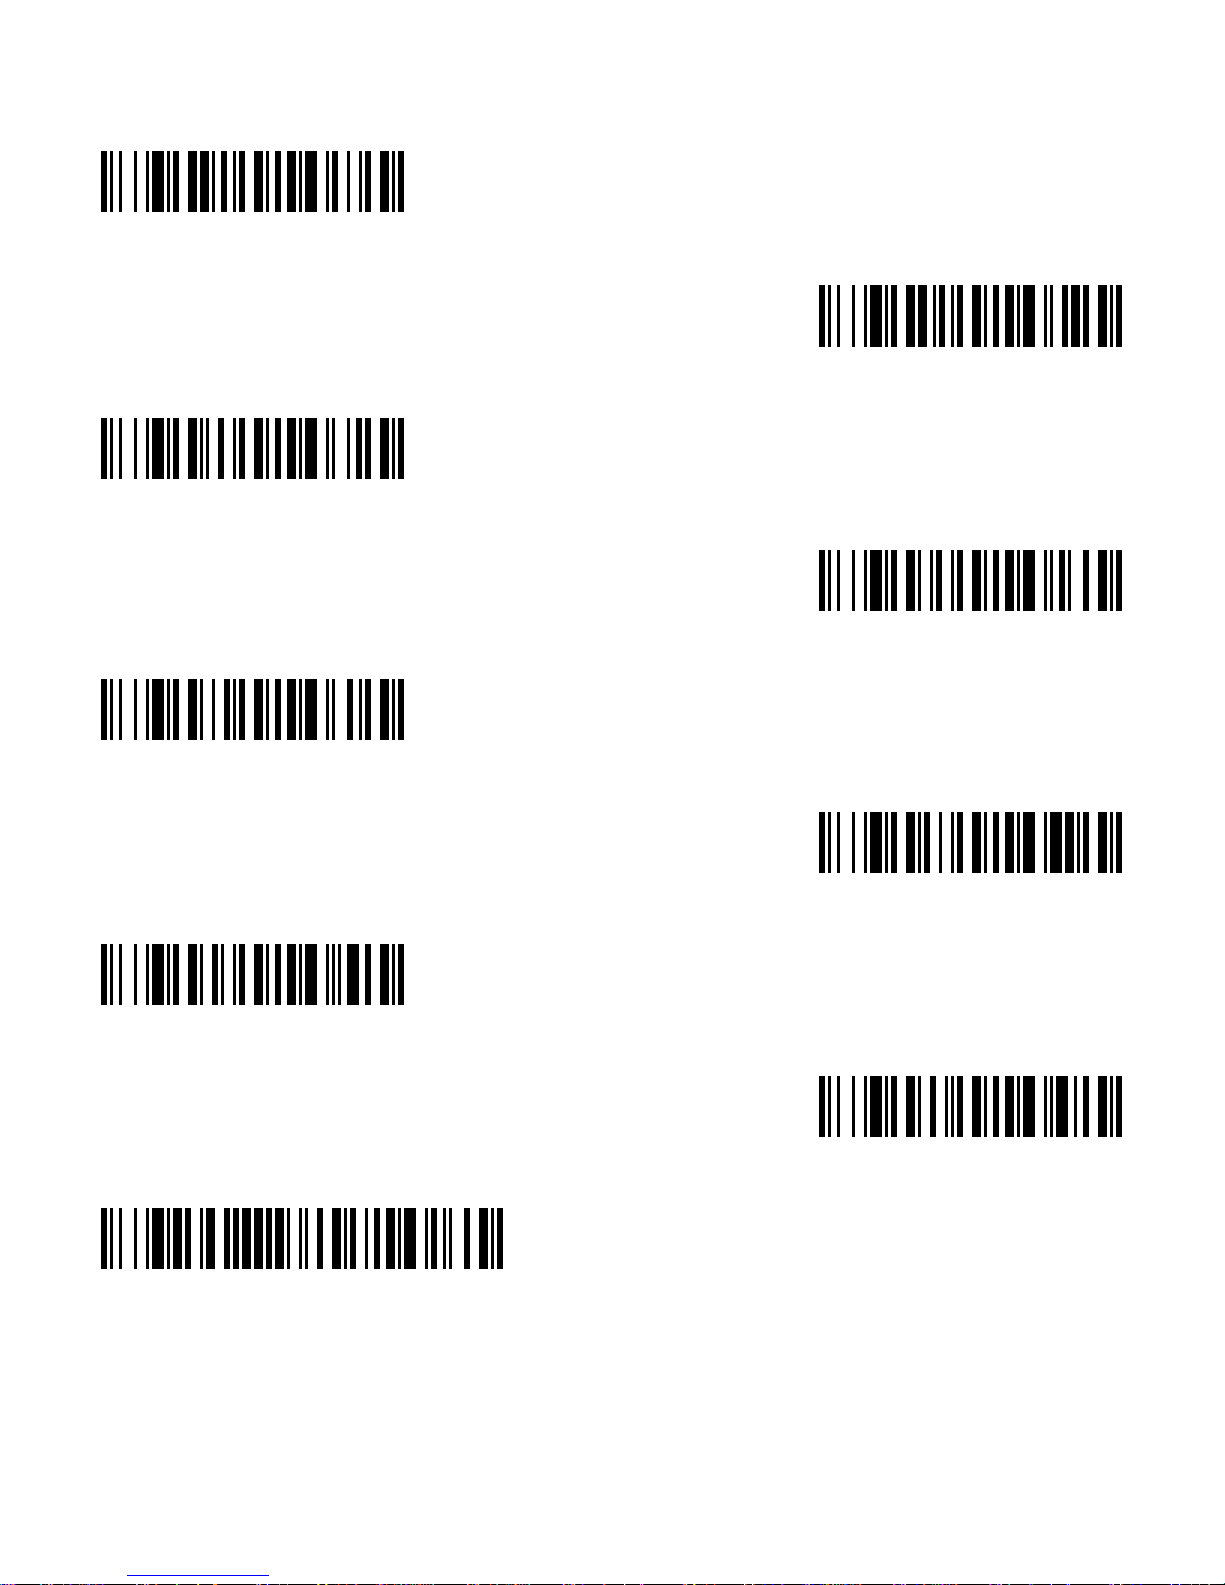
Programming Chart
0
2
1
4
3
5
6
7
Page 15
A
B
C
D
E
F
9
8
Save
Page 16

EZConfig-Scanning
To access additional features for the scanner use EZConfigScanning, an online configuration software tool, available from our
website at
www.honeywellaidc.com.
Technical Assistance
Contact information for technical support, product service, and repair
can be found at
www.honeywellaidc.com.
Limited Warranty
Refer to www.honeywellaidc.com/warranty_information for your
product’s warranty information.
Patents
For patent information, refer to www.honeywellaidc.com/patents.
User Documentation
For localized versions of this document, and to download the User’s
Guide, go to
www.honeywellaidc.com.
Disclaimer
Honeywell International Inc. (“HII”) reserves the right to make changes in
specifications and other information contained in this document without prior
notice, and the reader should in all cases consult HII to determine whether
any such changes have been made. The information in this publication does
not represent a commitment on the part of HII.
HII shall not be liable for technical or editorial errors or omissions contained
herein; nor for incidental or consequential damages resulting from the
furnishing, performance, or use of this material.
This document contains proprietary information that is protected by copyright.
All rights are reserved. No part of this document may be photocopied,
reproduced, or translated into another language without the prior written
consent of HII.
© 2011 Honeywell International Inc. All rights reserved.
Page 17

Other product names or marks mentioned in this document may be
trademarks or registered trademarks of other companies and are the property
of their respective owners.
Web Address: www.honeywellaidc.com
 Loading...