


FCC Compliance
The Dolphin mobile computer meets or exceeds all applicable standards and has been manufactured to the highest level of
quality.
Dolphin 9500/9550 Batch Terminal
The Dolphin 9500/9550 Batch complies with part 15 of the FCC rules. Operation is subject to the following two conditions:
1 Devices may not cause harmful interference.
2 Devices must accept any interference received, including interference that may cause undesired operation.
Dolphin 9500/9550 RF Terminal with 802.11b and/or Bluetooth Radio
This device complies with Part 15 of the FCC Rules. Operation is subject to the following two conditions:(1) this device may not
cause harmful interference, and (2)this device must accept any interference received, including interference that may cause
undesired operation.
In accordance with FCC 15.21, changes or modifications not expressly approved by the party responsible for compliance could
void the user’s authority to operate the equipment.
This equipment has been tested and found to comply with the limits for a Class B digital device pursuant to Part 15 of the FCC
Rules. These limits are designed to provide reasonable protection against harmful interference in a residential installation. This
equipment generates, uses, and can radiate radio frequency energy and, if not installed and used in accordance with the
instructions, may cause harmful interference to radio communications. If this equipment does cause harmful interference to radio
or television reception, which can be determined by turning the equipment off and on, the user is encouraged to try to correct the
interference by one or more of the following measures:
• Reorient or relocate the receiving antenna.
• Increase the separation between the equipment and receiver.
• Connect the equipment into an outlet on a circuit different from that to which the receiver is connected.
• Consult the dealer or an experienced radio/TV technician for help.
If necessary, the user should consult the dealer or an experienced radio/television technician for additional suggestions. The user
may find the following booklet helpful: “Something About Interference.” This is available at FCC local regional offices. Our
company is not responsible for any radio or television interference caused by unauthorized modifications of this equipment or the
substitution or attachment of connecting cables and equipment other than those specified by our company. The correction will
be the responsibility of the user. Use only shielded data cables with this system.
In accordance with FCC 15.21, changes or modifications not expressly approved by the party responsible for compliance could
void the user’s authority to operate the equipment.
CAUTION! This device and its antenna must not be co-located or operating in conjunction with any other antenna or
transmitter.
For body worn operation, to maintain compliance with FCC RF exposure guidelines, use only accessories
that contain no metallic components and provide a separation distance of 15mm (0.6 inches) to the body.
Use of other accessories may violate FCC RF exposure guidelines and should be avoided.
Canadian Compliance
This Class B digital apparatus complies with Canadian ICES-003.
Operation is subject to the following two conditions: 1. Devices may not cause harmful interference. 2. Devices must accept any
interference received, including interference that may cause undesired operation. To prevent radio interference to the licensed
service, this device is intended to be operated indoors and away from windows to provide maximum shielding. Equipment (or its
transmit antenna) that is installed outdoors is subject to licensing.
Cet appareil numérique de la Classe B est conforme à la norme NMB-003 du Canada.
1 - 4 Dolphin® 9500/9550 Mobile Computer User’s Guide
Regulatory and Safety Agency Approvals
Parameter Specification
RF Approvals
U.S.A
Canada
Europe
Mexico
The CE mark on the product indicates that the system has been tested to and conforms with the provisions noted within the 89/
336/EEC Electromagnetic Compatibility Directive and the 73/23/EEC Low Voltage Directive.
FCC Part 15.247
RSS 210 Certified
ETS 300 328 Certified
Telecom RCPHAD002-485
Dolphin 9500/9550 RF 802.11b and/or Bluetooth R&TTE Compliance Statement
The HHP Dolphin 9500RF and Dolphin 9550RF are in conformity with all essential requirements of the R&TTE Directive (1999/
5/EC). This equipment has been assessed to the following standards:
Parameter Specification
R&TTE EN 300 328-2:2000
EN 301 489-1 (August 2000)
EN 301 489-17 (Sept. 2000)
EN 60950: 1992 Incl Amdt 1-4,11
EN 50361: 2001
This product is marked with in accordance with the Class II product requirements specified in the R&TTE
Directive, 1999/5/EC.
The equipment is intended for use throughout the European Community. Its authorization for use in France is restricted as
follows:
PAN European Frequency Range: 2.402 - 2.480 GHz
Restricted Frequency Range for use in France: 2.448 - 2.480 GHz
Pacemakers, Hearing Aids and Other Electrically Powered Devices
Most manufacturers of medical devices adhere to the IEC 601-1-2 standard. This standard requires devices to operate properly
in an EM Field with a strength of 3V/m over a frequency range of 26 to 1000MHz.
The maximum allowable field strength emitted by the Dolphin is 0.3V/m according to Subpart B of Part 1 of the FCC rules.
Therefore, the Dolphin RF will have no effect on medical devices that meet the IEC specification.
Microwaves
The radio in the Dolphin RF terminal operates on the same frequency band as a microwave oven. Therefore, if you use a
microwave within range of the Dolphin RF terminal you may notice performance degradation in your wireless network. However,
both your microwave and your wireless network will continue to function.
The Dolphin Batch terminal does not contain a radio, and therefore, is not affected by microwave ovens.
Dolphin® 9500/9550 Mobile Computer User’s Guide 1 - 5

Care and Cleaning of the Dolphin 9500/9550
When needed, clean the image engine window and the LCD display with a clean, non-abrasive, lint-free cloth. The terminal can
be cleaned with a damp cloth.
1 - 6 Dolphin® 9500/9550 Mobile Computer User’s Guide

2
Getting Started
Overview
The Dolphin 9500/9550 mobile computer is designed for easy, single-handed mobile data collection. Each mobile computer is
equipped with a PXA255 400MHz RISC processor built to run the Windows® Pocket PC platform.
Dolphin 9500/9550 computers are available with different types of 2D imagers and wireless radios to meet most any enterprise
mobile data collection requirement. There are three keyboard options and a 240 x 320 pixel, backlit 1/4 VGA display available in
color or monochrome.
The Dolphin 9500/9550 platform contains an integrated imager that can take digital images such as shipping manifests and
recipient signatures in addition to decoding standard linear and two-dimensional symbologies.
Adapting the Dolphin to your environment
The Dolphin 9500/9550 comprises one element of an enterprise data collection system. The 9500 line includes various models,
peripherals, and accessories that you can combine to suit your exact needs.
Dolphin® 9500/9550 Mobile Computer User’s Guide 2 - 1

Dolphin 9500/9550 Models and Options
HHP’s family of Dolphin 9500/9550 mobile data collection terminals includes these models:
The Dolphin 9500 Batch terminal
This is a Microsoft® Windows® Pocket PC programmable mobile computer with a unique, ergonomic shape designed for singlehanded use. The standard Dolphin 9500 is available with 64 MB RAM and 32 MB non-volatile FLASH and integrated digital
imager. An optional Secure Digital (SD) memory interface offers additional memory. The industrial, mechanical connector
supports serial RS-232 up to 115 Kbps and USB communications at 12 Mbps. It also features an IrDA infrared port to
communicate data to portable printers and IrDA compliant devices.
The Dolphin 9550 Batch
This mobile computer offers the same enhanced productivity features of the Dolphin 9500 terminal with the added convenience
of an integrated pistol grip-style form factor for high volume scanning applications.
The Dolphin 9500 WLAN and Dolphin 9550 WLAN
These terminals integrate the basic functionality of the Batch terminals with the choice of an integrated 802.11b direct sequence
radio that allows the terminal to communicate with a host computer through a wireless local area network (WLAN).
The Dolphin 9500/9550 WPAN
This terminal allows Bluetooth communications to Bluetooth enabled devices such as printers, mobile phones, access points,
Bluetooth enabled PC’s, etc.
The Dolphin 9500/9550 WLAN and WPAN
This terminal features the capabilities of both 802.11b and Bluetooth configurations.
Image Engine Options
Dolphin 9500/9550 terminals may be equipped with one of the following:
• IT4000 SR: red or green aimer option scans from 2.5 to 12.5 in. (6.3 to 32 cm.)
• IT4000 SF: red or green aimer option scans from 2.1 to 8.9 in. (5 to 22.6 cm.)
2 - 2 Dolphin® 9500/9550 Mobile Computer User’s Guide

Dolphin 9500/9550 Peripherals
Each of the following items is sold separately to enhance your Dolphin 9500/9550 terminals capabilities.
Dolphin HomeBase™
The Dolphin HomeBase charging and communication cradle supports both RS-232 and USB communications, which
make it able to interface with the majority of PC-based enterprise systems. When a terminal is seated in the HomeBase,
its main battery pack charges in less that four hours. In addition, the HomeBase contains an auxiliary battery well that
charges a spare Li-ion battery.
See Dolphin 9500/9550 HomeBase™ on page 12-1.
Dolphin Mobile Base
The Dolphin Mobile Base charging and communication cradle is designed specifically for in-premise and in-transit data
collection applications. It features a flexible mounting bracket, a cigarette lighter adapter, and power cable to adapt it to
your environment.
When a terminal is seated in theMobile Base, its main battery pack charges in less that four hours. The serial connector
supports RS-232 communication and power out to peripheral devices, such as hand-held scanners.
See Dolphin Mobile Base on page 14-1.
Dolphin QuadCharger™
The Dolphin QuadCharger is a four-slot charging station for Dolphin Li-ion battery packs. It can charge each battery in
less than four hours. The fourth slot features a battery analyzer that completely resets and re-calibrates a battery and
displays its resulting capacity.
See Dolphin QuadCharger on page 13-1.
Dolphin® 9500/9550 Mobile Computer User’s Guide 2 - 3

Dolphin 9500/9550 Accessories
Each of the following items is sold separately to enhance your Dolphin 9500/9550 terminals capabilities.
Charging/Communication Cables
USB and serial versions that connect the Dolphin 9500/9550 directly to both a peripheral device and a power source.
Dolphin Mobile Charger
Plugs the terminal directly into a vehicle cigarette lighter/power port for power and battery charging. This accessory
converts the 12 Volts out of the vehicle to the 9 Volts required by the terminal.
Protective Enclosure
Wraps around the terminal to protect it from wear and tear.
Protective Holster
Secures the terminal for mobile use.
Dolphin Mobile Mount
The Dolphin Mobile Mount solution can be used to securely hold the Dolphin 9500 computers in place in the cab of any
vehicle. Used in conjunction with the Mobile Charger to power the terminal, the Dolphin 9500 can be adapted to almost
any in-transit environment.
Li-ion Battery Pack
7.4v, 14.8 watt hour Lithium Ion rechargeable battery for the Dolphin.
2 - 4 Dolphin® 9500/9550 Mobile Computer User’s Guide

Bar Code Symbologies Supported
Symbology type Symbologies supported
1D symbologies
2D symbologies
Composite codes
OCR codes
Postal codes
Code 3 of 9, Interleaved 2 of 5, EAN, Codabar, Code 11, Code 128, Code 93, TCIF Linked Code 39 (TLC39),
Universal Product Code (UPC), RSS.
PDF417, MaxiCode, Data Matrix, QR Code, Aztec Code, Code 49.
RSS-14, Codablock F, Aztec Mesa, EAN·UCC.
OCR A and OCR B.
Postnet and most international 4 state codes, Planet Code, British Post, Canadian Post, KIX (Netherlands)
Post, Australian Post, Japanese Post.
Dolphin® 9500/9550 Mobile Computer User’s Guide 2 - 5

Using the Dolphin 9500/9550 for the First Time
Terminology Note In this manual, the terms “click” and “tap” are used interchangeably. Both mean using the stylus or a
Follow these steps to begin using your Dolphin 9500/9550 terminal.
1 Unpack and check the terminal and documentation.
2 Install the main battery pack and charge it and the internal backup battery completely.
3 Start the Dolphin mobile computer.
4 Align the screen.
5 Set the time zone.
6 Wait for the Autoinstall to finish.
7 Verify that the Dolphin 9500/9550 terminal is working properly.
Step 1.
Inspect the package to see that the following items and accessories (if ordered) are included:
• Dolphin 9500/9550 mobile computer
• Battery pack (7.4v Li-Ion)
• CD-ROM–Dolphin 9500/9550 Software Development Kit and User’s Guide
• CD-ROM–Microsoft companion CD
• Dolphin 9500 Quick Start Guide
Note:
Step 2.
Unpack the Carton and Check its Contents
Be sure to keep the original packaging in the event that the Dolphin terminal should need to be returned for service.
Charge the Main and Backup Batteries
finger on the touch screen of the Dolphin 9500/9550 to perform a task. Those tasks usually direct you
to click or tap an operation button or icon.
WARNING! Use only the battery packs provided by HHP. The use of any other battery pack in the Dolphin 9500/9550 terminal
The Li-Ion battery is packaged separately and ships discharged of all power. It must be charged completely before initial use.
When installed in the terminal, the battery pack can be charged in the HomeBase, Mobile Base, or with the appropriate charging
cable. When not installed in the terminal, battery packs can be charged in the QuadCharger or the auxiliary well of the
HomeBase.
The internal backup battery maintains the application data stored in RAM and system clock when the terminal’s main battery
pack is discharged or removed from the terminal.
Time to Charge: Four hours for the main battery pack, eight hours for the internal backup battery the first time.
will void your warranty and may result in damage to the Dolphin terminal or battery.
Install the main battery pack
1 Unpack the main battery pack. Hold the terminal with the front panel (keyboard) facing down.
2 The Dolphin 9500 ships with the handstrap installed and fastened with a clip on the back of the bottom panel. Push the clip of
the handstrap down and away from the terminal to unhook it. Move the strap up and away from the battery compartment.
3 Insert the end without the locking tab into the top of the battery well and snap the battery into place with a hinging motion.
The battery case serves as the back cover of the terminal.
4 For the 9500, reattach the handstrap by positioning it down over the battery case and sliding the clip back into the place.
Note:
To remove the battery pack, loosen the handstrap as directed above, press the locking tab on the battery pack away from
the bottom panel, and pull the battery pack up with a hinging motion.
Charging with the HomeBase or Mobile Base
5 Connect the base unit to the appropriate power source.
6 Place the terminal in the terminal well of the base unit. The main battery begin charging immediately.
Charging with a serial or USB cable
2 - 6 Dolphin® 9500/9550 Mobile Computer User’s Guide
1 Plug the cable into the connector on the bottom panel.
2 Plug the adapter into the appropriate power source. The main battery begin charging immediately.
Step 3. Start the Dolphin 9500/9550 Mobile Computer
Follow these steps to start your Dolphin 9500/9550 mobile computer.
1 Install the charged battery pack in the Dolphin terminal.
2 The red LED illuminates and the green LED blinks for approximately three secon ds .
NOTE: DO NOT PRESS ANY KEYS WHILE THE TERMINAL IS BOOTING UP.
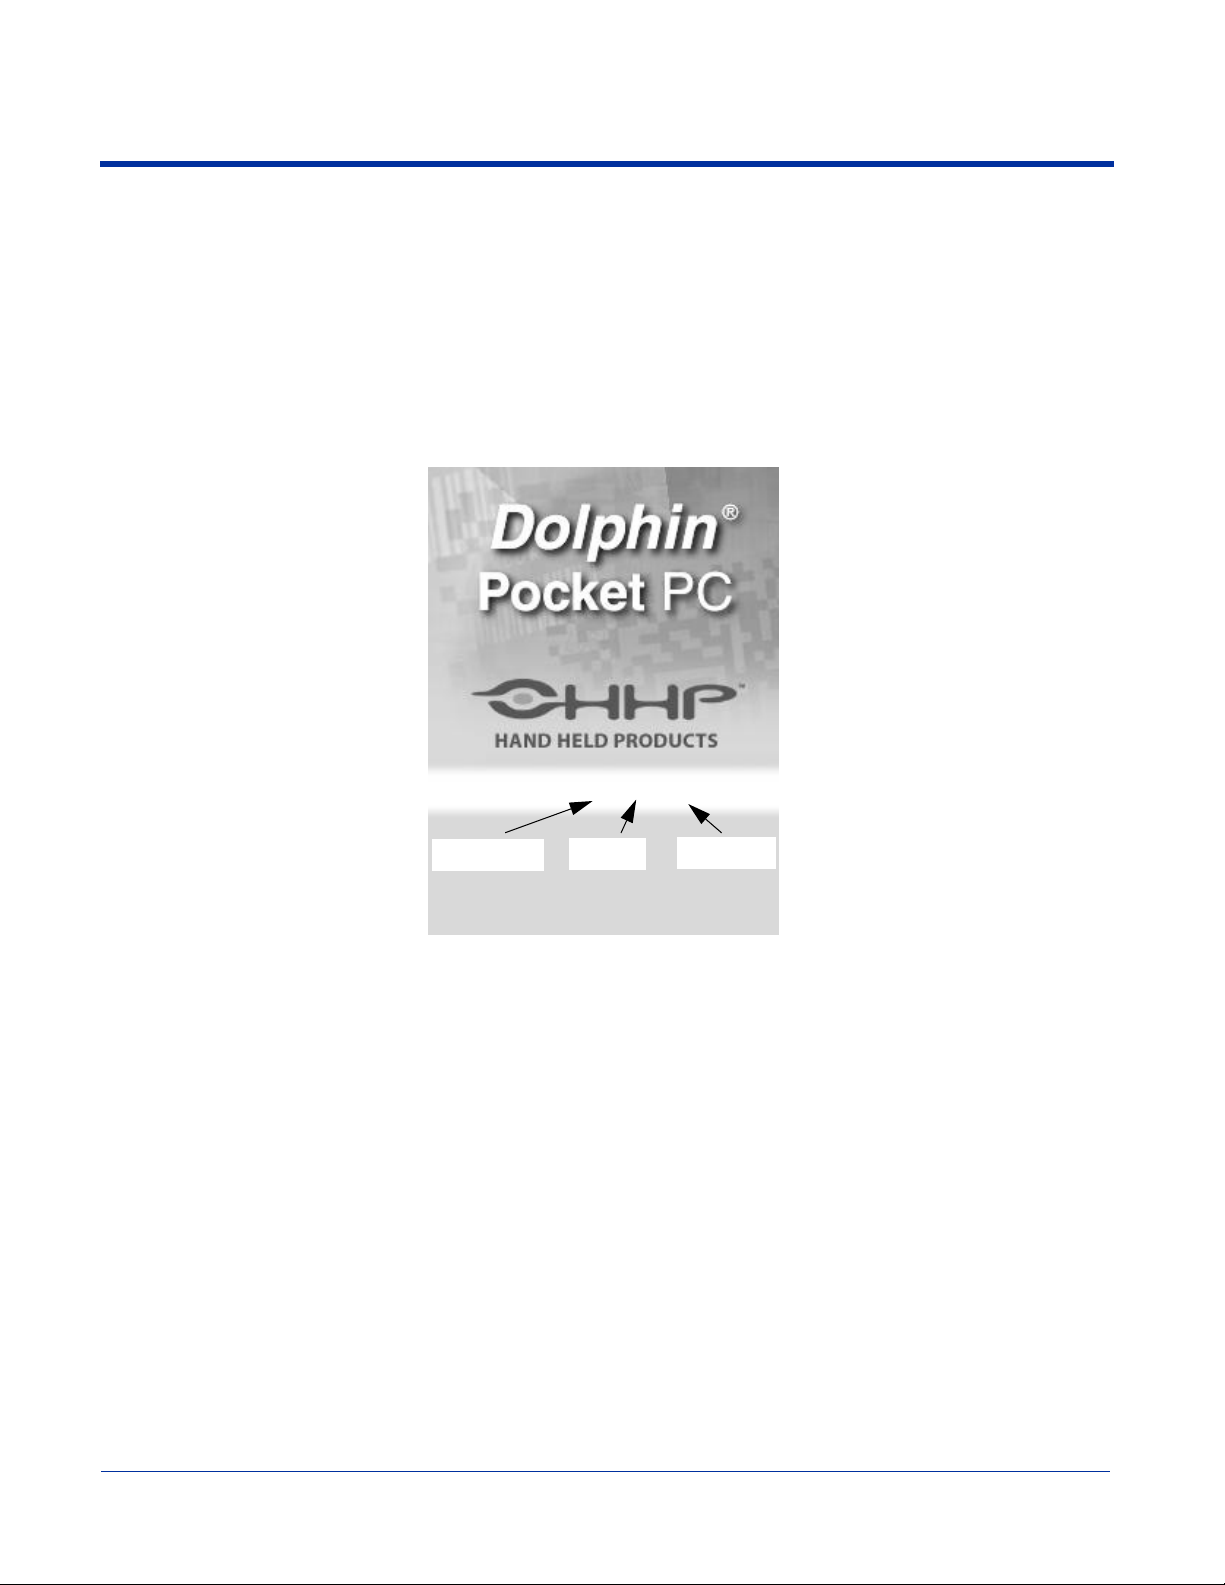
3 The terminal initializes and the HHP splash screen displays for a few seconds.
Build: 5.XX/5.XX/5.XX
Bootloader
4 The system performs a hard reset. Follow the instructions that appear when the display activates again.
Kernel
Keyboard
Dolphin® 9500/9550 Mobile Computer User’s Guide 2 - 7
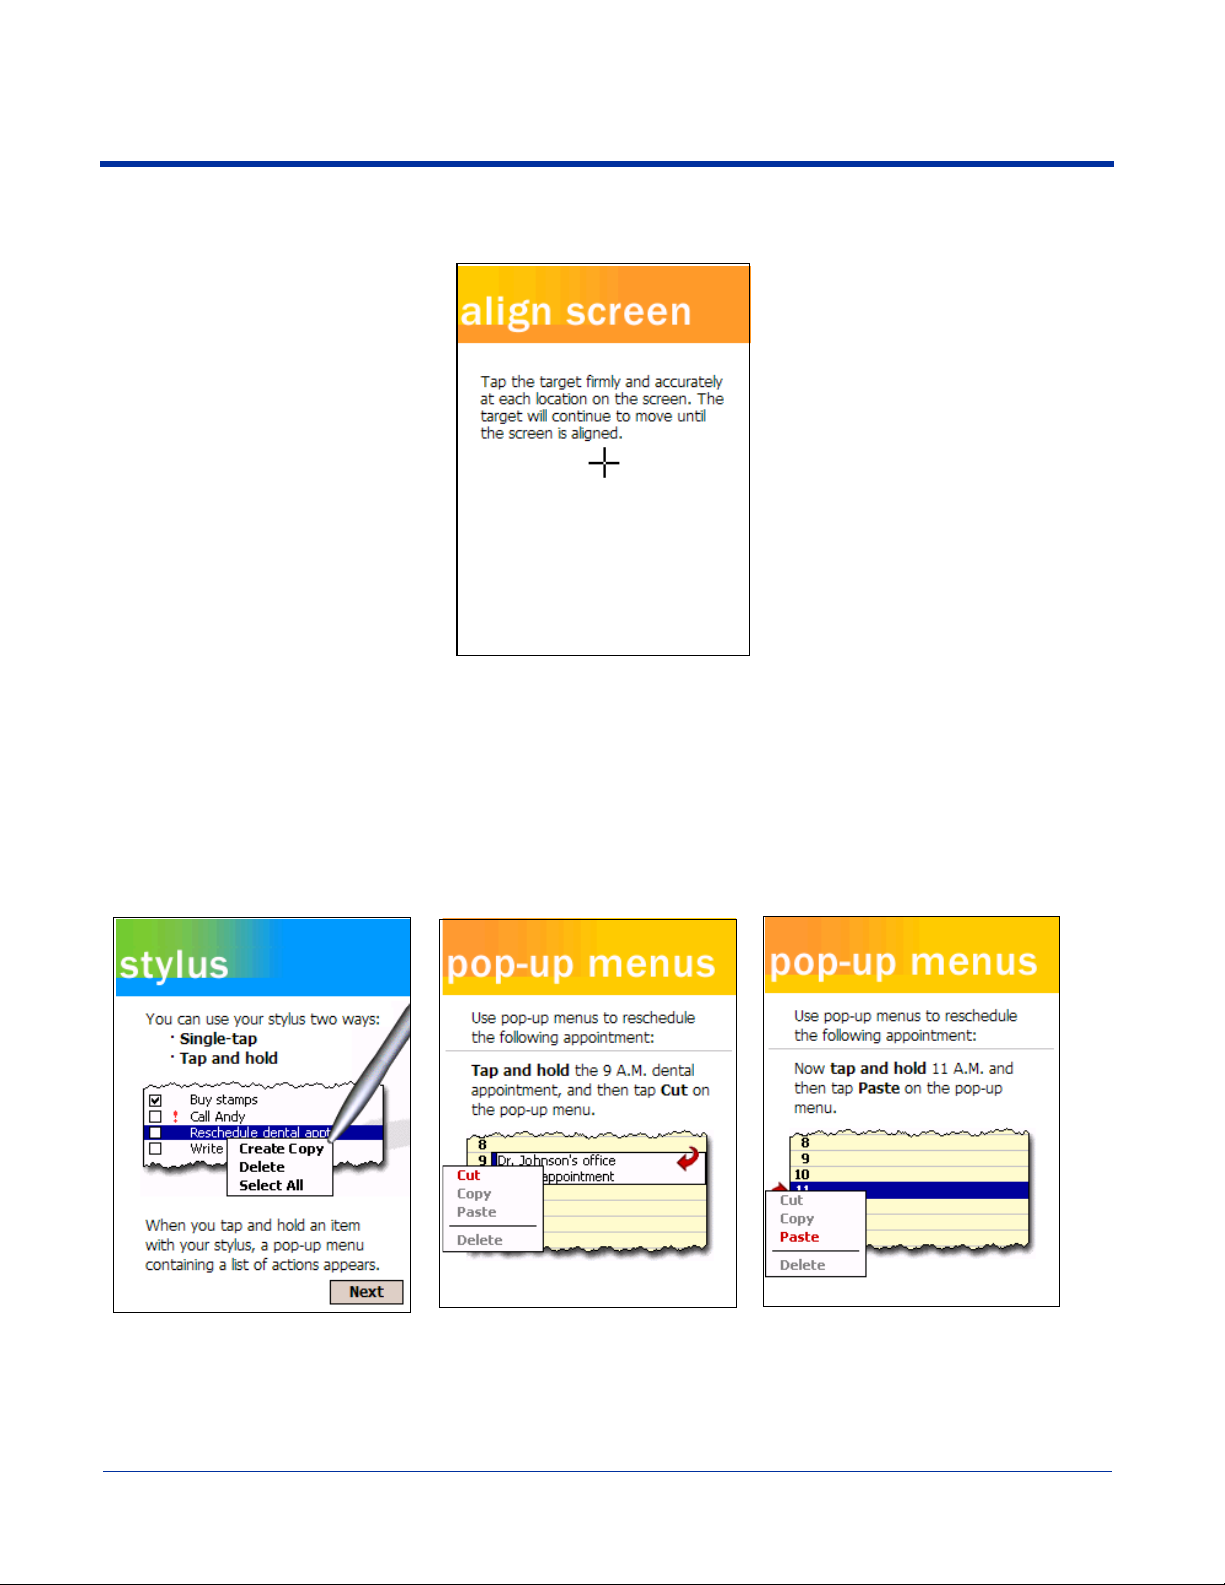
Step 4. Align the Screen
After a hard reset, you are prompted to align the screen:
Tap the Target
• Use the stylus shipped with your Dolphin terminal to tap the target wherever it appears on the screen.
Alignment should always be performed with a stylus designed for touch screen applications. The small point is required for
accurate calibration. The stylus should be oriented at a 90 degree angle to the screen surface.
• Press the stylus firmly into the center of the cross-hair target once and release. Do not “double-tap” the target. You will be
prompted to repeat this process for a total of five targets.
Note:
You can align the screen at any time in the future by going to Start > Settings > System tab > Screen > Align Screen.
After aligning the screen, follow the directions on the screen which take you through a simple exercise showing how to use the
stylus and pop-up menus.
Note:
HHP recommends using screen protectors for Dolphin 9500/9550 terminals; especially for those terminals used
within applications that require high-volume interfacing with the touch screen. Screen protectors help prevent
damage to the touch screen and are easily installed. Screen protectors can be purchased at any major computer
retail store or directly from HHP, Inc. Please contact HHP directly for part numbers and pricing.
2 - 8 Dolphin® 9500/9550 Mobile Computer User’s Guide
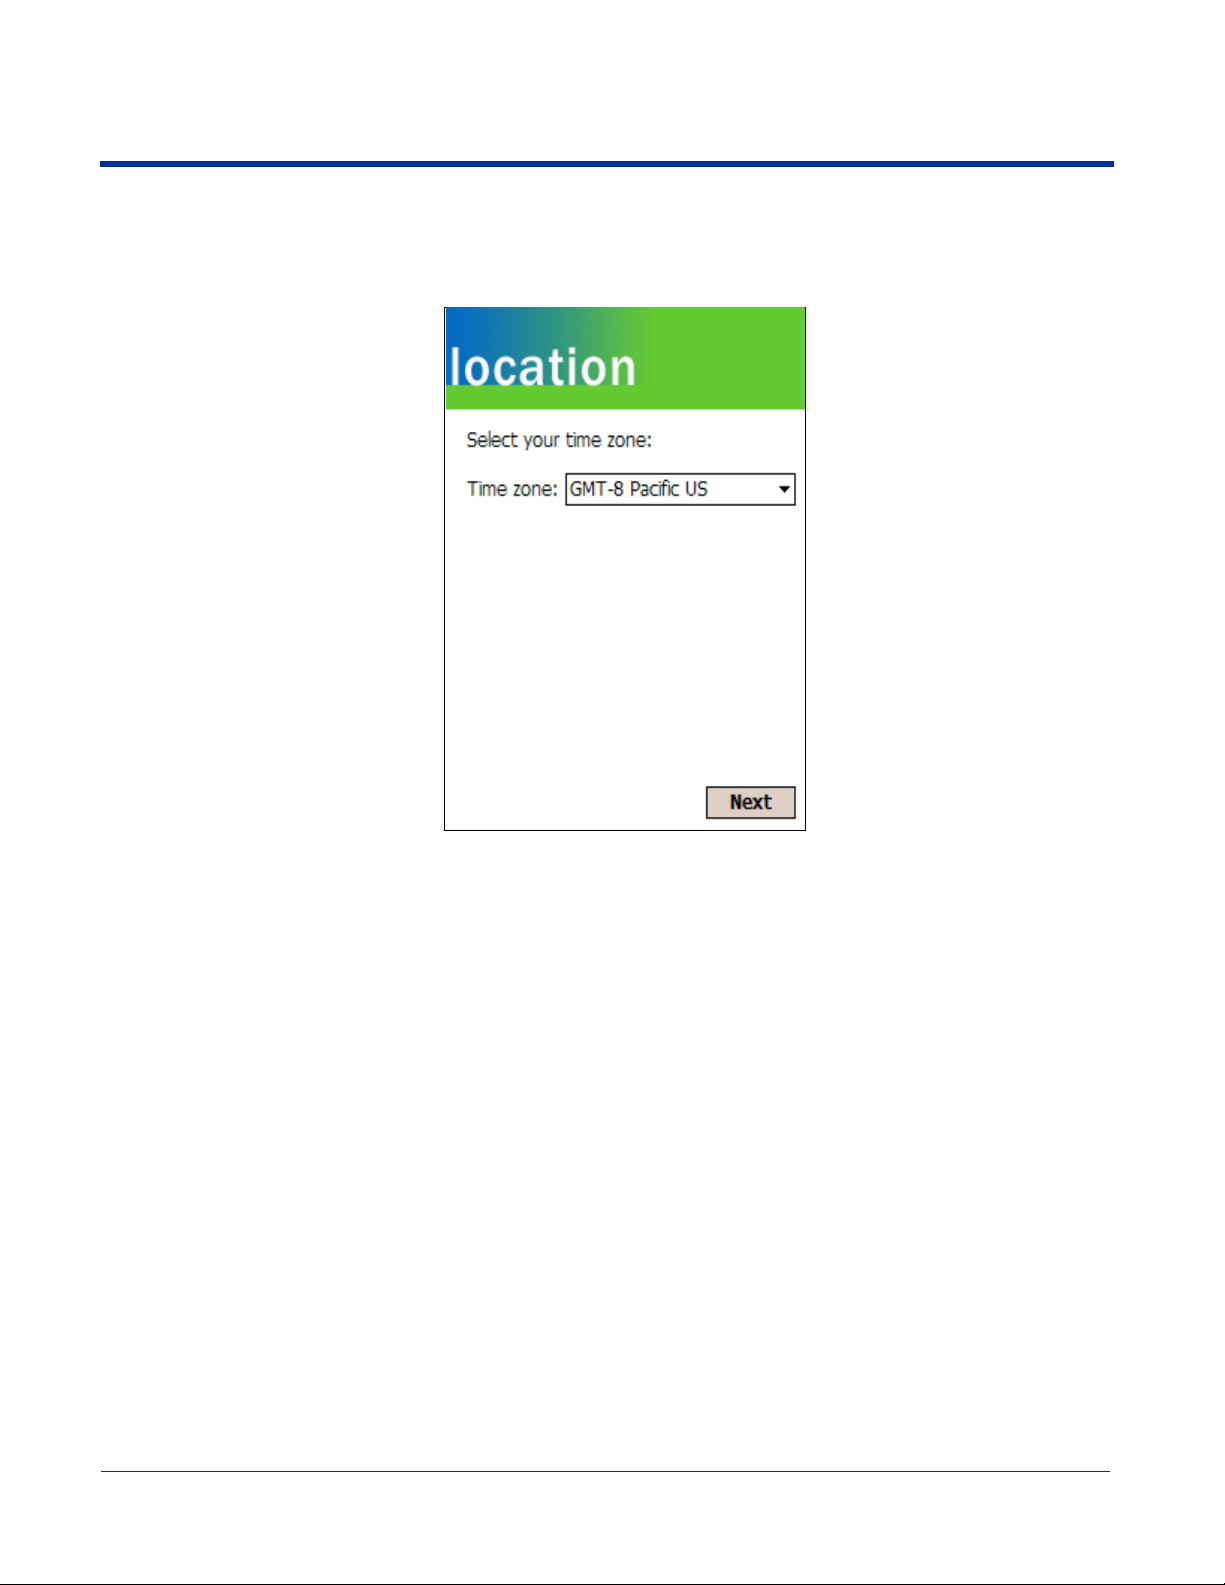
Step 5. Set the Time Zone
After screen alignment is completed, the Location screen shown below displays.
Setting Time Zone
Use the drop-down menu to select your time zone, and tap Next. This does not necessarily set the correct time; only the time
zone. You set the time and date manually. See Setting the Time and Date on page -11..
After setting the time zone, you are finished with the initial setup of your Dolphin mobile computer. The system begins
autoinstalling.
Dolphin® 9500/9550 Mobile Computer User’s Guide 2 - 9
 Loading...