

Hollywood SR1 Installation Instructions Manual

Installation Instructions
for Hollywood SR1 Spare Tire
Bicycle Carriers
When using the Hollywood SR1 Spare Tire rack, always remember the following points:
• Max Capacity: 35 lbs per Bike. Two Bikes.
• Keep bicycle tires at least 1 ft (30cm) away from exhaust pipe
• Tighten all straps before and after mounting bikes
• Check the rack, bicycles and strap tightness/condition regularly during use
• Drive slowly when used on bumpy or dirt roads
• NOT TO BE USED ON ANY TRAILER, FIFTH WHEEL OR TOWED VEHICLE
Caution: Be sure that the spare tire is properly mounted to the vehicle and that the mounting
bracket/apparatus is suitable and strong enough to support the entire weight of the spare tire, bike rack
and bicycle(s). Contact the vehicle manufacturer if there are any questions regarding the strength of the
tire mounting apparatus.
Tools Needed: 9/16” socket wrench or and adjustable wrench
The Hollywood Spare Tire Rack comes fully assembles from the factory, and set up for “center mounted”
spare tires. If your spare tire is side mounted, see assembly step 7. The rack easily attaches to the spare
tire using an adjustable rear brace in conjunction with three nylon attachment straps.
Support Arm
Bike Cradle
Rear Brace
Side Strap
Adjustment
Bolt
Support
Bar
Rear Straps
(not shown)
Fig.1
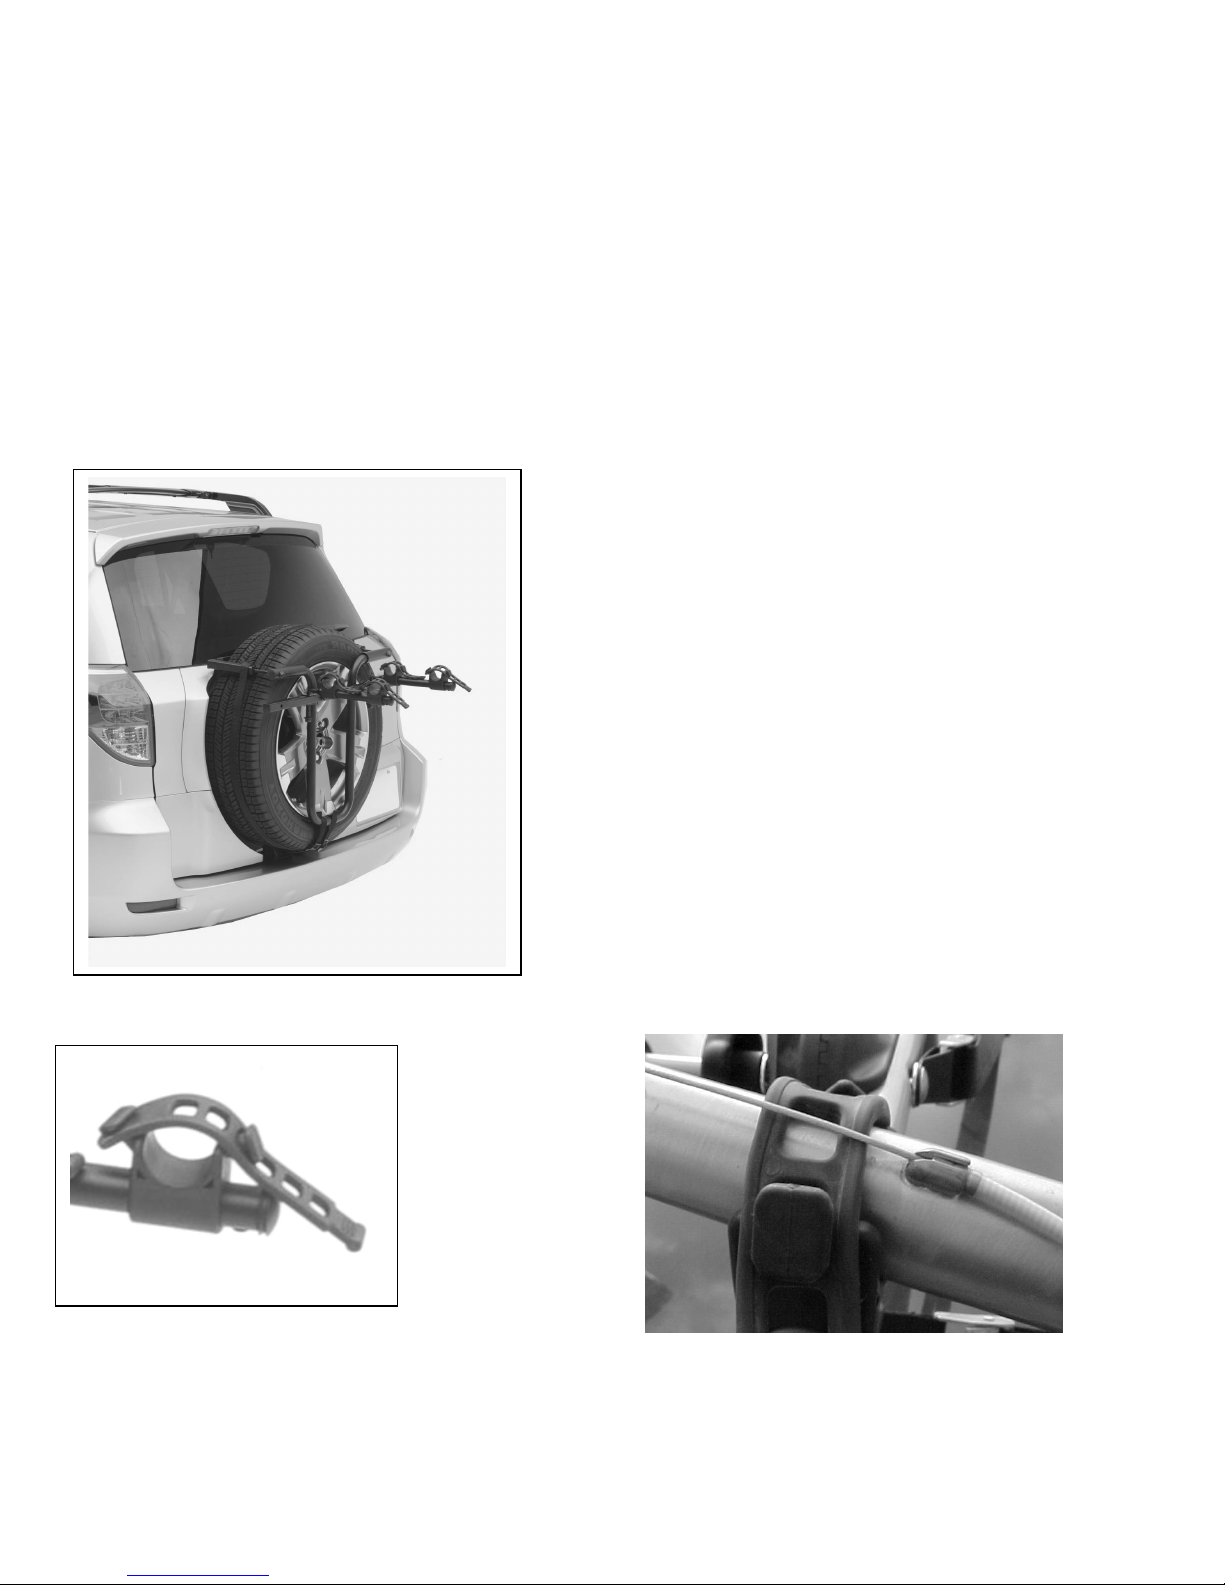
The “side” attachment strap goes around
the tire and prevents rotational movement.
The two “rear” straps pass behind the tire
and keeps the rack tight and secure
against the front of the spare tire.
Side Buckle
(not shown)
Main Frame
Rear Buckles
1. If the Spare tire on your vehicle is side mounted, go to instruction step 7
2. Place the rear brace around the spare tire (loosen adjustment bolts if necessary), then snug the
adjustment bolts up using the wrench. Do not over-tighten!
3. Wrap the side strap around the bottom of the tire as shown in fig. 1 & 2 and attach to side buckle.
4. Thread the two rear straps around the back of the tire and attach to the two rear buckles located on the
bottom of the main frame.
5. Tighten all three straps and buckles securely.
6. Push up on the spring loaded bicycle support arm. Rotate the arms outward . Arms should drop into slot
in a locked position when carrying the bikes, and remain in a folded position when not in use.
7. Side Mounted Spare Tires: Locate the two bolts connecting the support bar to the main frame. Using
the attached hex key and adjustable wrench, loosen and remove the bolts from the rack. Re-position
support bar either left or right depending on your vehicle. Re-insert the bolts through the main frame and
support bar and tighten nuts securely. Return to step 1.
Mounting Bikes to the rack:
With the support arms in the outward locked
position, mount the first bicycle into the bike
cradles and pull the strap snugly over the frame.
The handlebars should be on the passenger’s side
of the car. Rotate the bike’s pedal arm so the
pedal will not be in contact with the car’s body or
tire. Be sure the wheels are at least 12”/30cm
from the exhaust pipe, and that the wheels can
clear a steep driveway. Mount the second bike
into the cradles and secure with rubber strap.
Handlebars should be on the driver’s side of the
car. Use the included safety/tie down strap to
secure the bike(s) to the rack by wrapping the
strap through the bike’s frame and through the
rack.
Fig. 2
Fig. 3: Bike Cradle
Fig. 4: Wrap rubber straps under cables
 Loading...