

Page 1
INSTRUCTION MANUAL
DMP210N
2 GB MP3 PLAYER
Page 2
Thank you for purchasing the Hitachi DMP210N that delivers a
combination of style, features, and user friendliness. The best
combination that you can find anywhere - a new experience of
powerful, yet intuitive control over your multimedia collection.
Highlights of the player include:
File Support:
Supported Audio File Formats
MP3 (MPEG1/2/2.5 Layer1/2/3, 32kbps -320kbps, including
VBR)
WMA (support WMA DRM9)
WAV
Support 50 folders (max)
USB Mass Storage:
USB Interface
Type A USB Connector
USB 2.0 High Speed
USB Mass Storage is implemented for PC downloading
Supported OS: Windows 2000/me/xp/Vista, MAC 9.2x or above
1
Page 3

Attention:
If the player is used for illegally copying or distributing the
software and music that are protected by intellectual property
rights, the user must take all legal responsibility for such actions.
The manufacturer importer or dealer cannot be held
responsible for accidental damage due to inappropriate use of
the player.
Safety Warning
Do read the operating instructions before you attempt to use
the equipment.
Do ensure that all electrical connections (including the mains
plug, extension leads and interconnections between the
pieces of equipment) are properly made and in accordance
with the manufacturers instructions.
Do consult your dealer if you are ever in doubt about the
installation, operation or safety of your equipment.
Do not remove any fixed covers as this may expose
dangerous voltages.
Do not obstruct the ventilation openings of the equipment
with items such as newspapers, tablecloths, curtains, etc.
Overheating will cause damage and shorten the life of the
equipment.
Do not allow electrical equipment to be exposed to dripping
or splashing, or objects filled with liquids, such as vases, to
be placed on the equipment.
Do not place hot objects or naked flame sources such as
lighted candles or night lights on, or close to equipment.
High temperatures can melt plastic and lead to fires.
Do not continue to operate the equipment if you are in any
doubt about it working normally, or if it is damaged in any
way-switch off, withdraw the mains plug and consult our dealer.
Do not use equipment so that you are distracted from the re
quirements of traffic safety.
2
Page 4
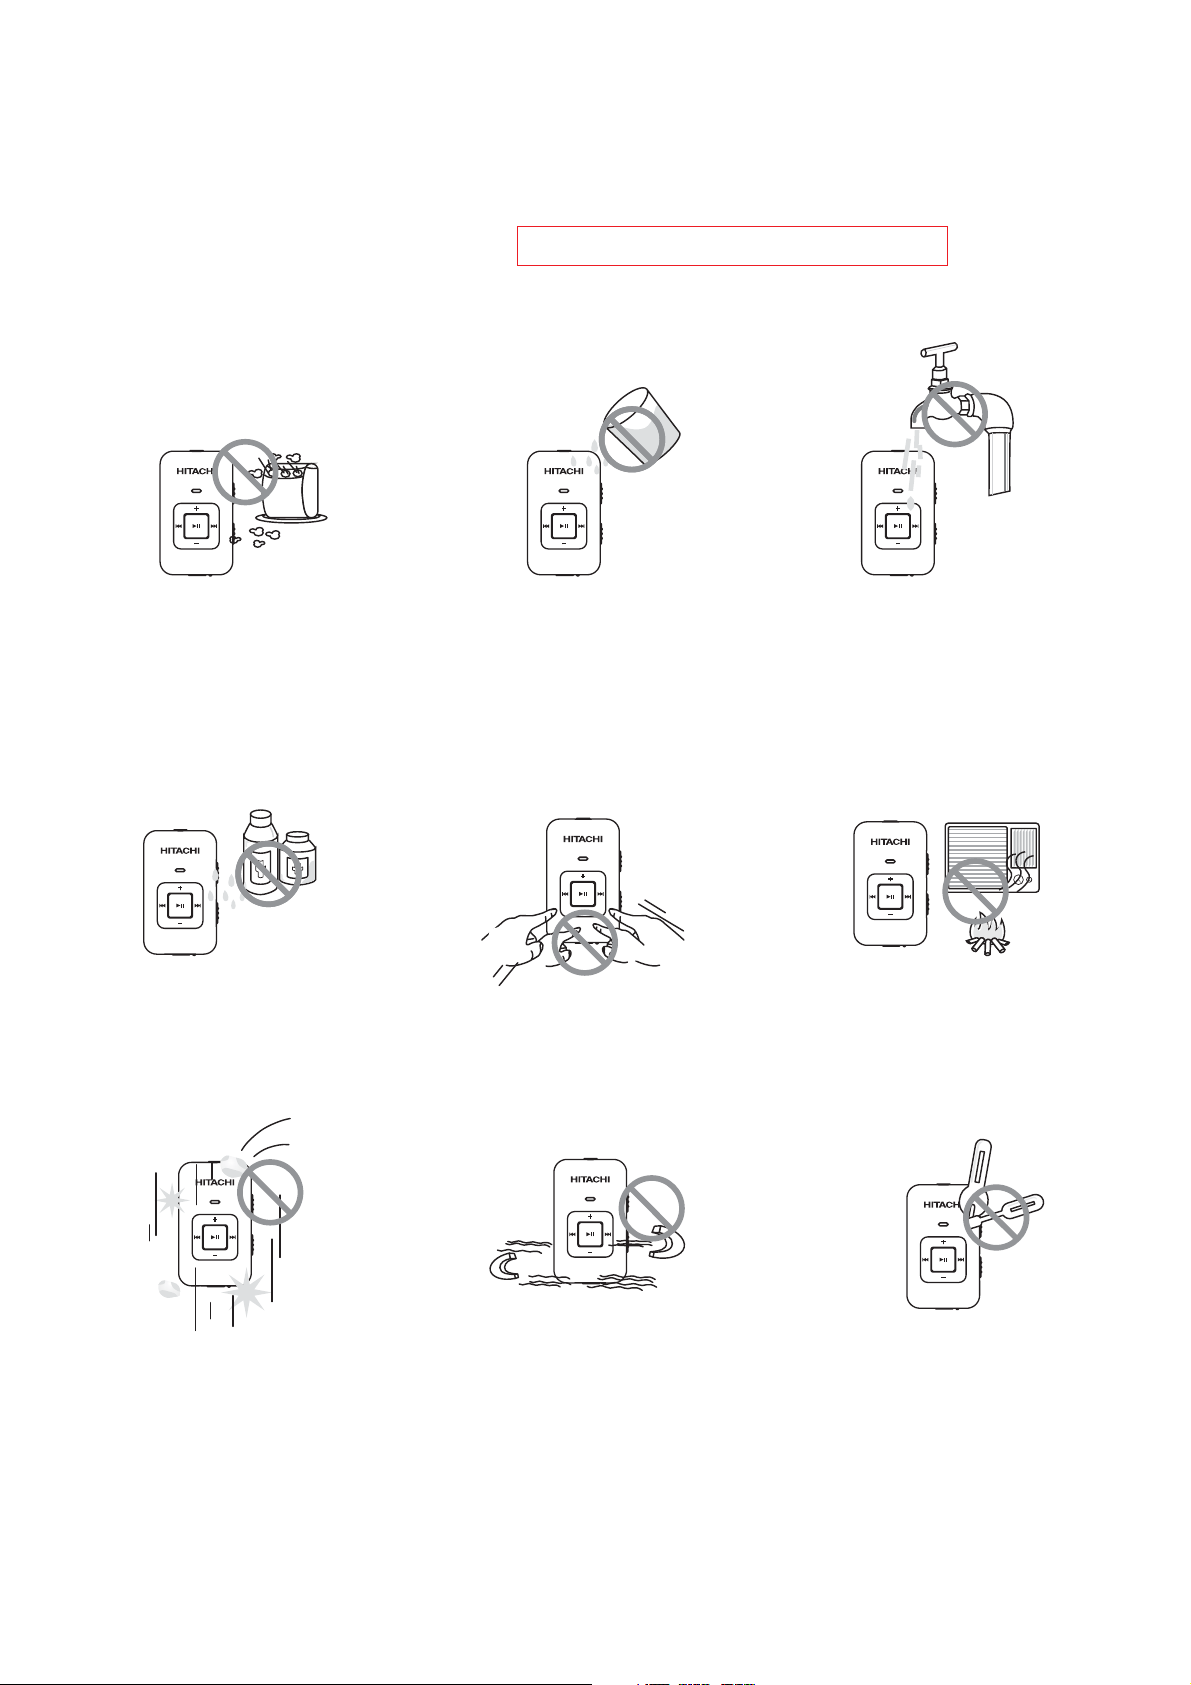
SAFETY PRECAUTION
Warning:
Hitachi DMP210N is a precise device which makes use of
sensitive components like Hard Disc, TFT display and
flash memory.
rechargeable battery. There are some safety precautions and
guidelines must be followed.
Do not place heavy objects
on the device. Keep away
from harsh environments
including humid, dusty
and smoky areas
Avoid contact with water
and other liquids.
Do not use water or chemicals
to clean the player. Clean the
surface with a soft cloth.
Do not clean with chemical
or detergent.
Do not drop or subject the
device to impact.
Do not use excessive force
on the buttons or attempt to
disassemble the device.
Keep the player away from
strong magnets.
Keep out of direct sunlight,
extreme heat or cold.
Do not disassemble or modify
the player.
3
Page 5
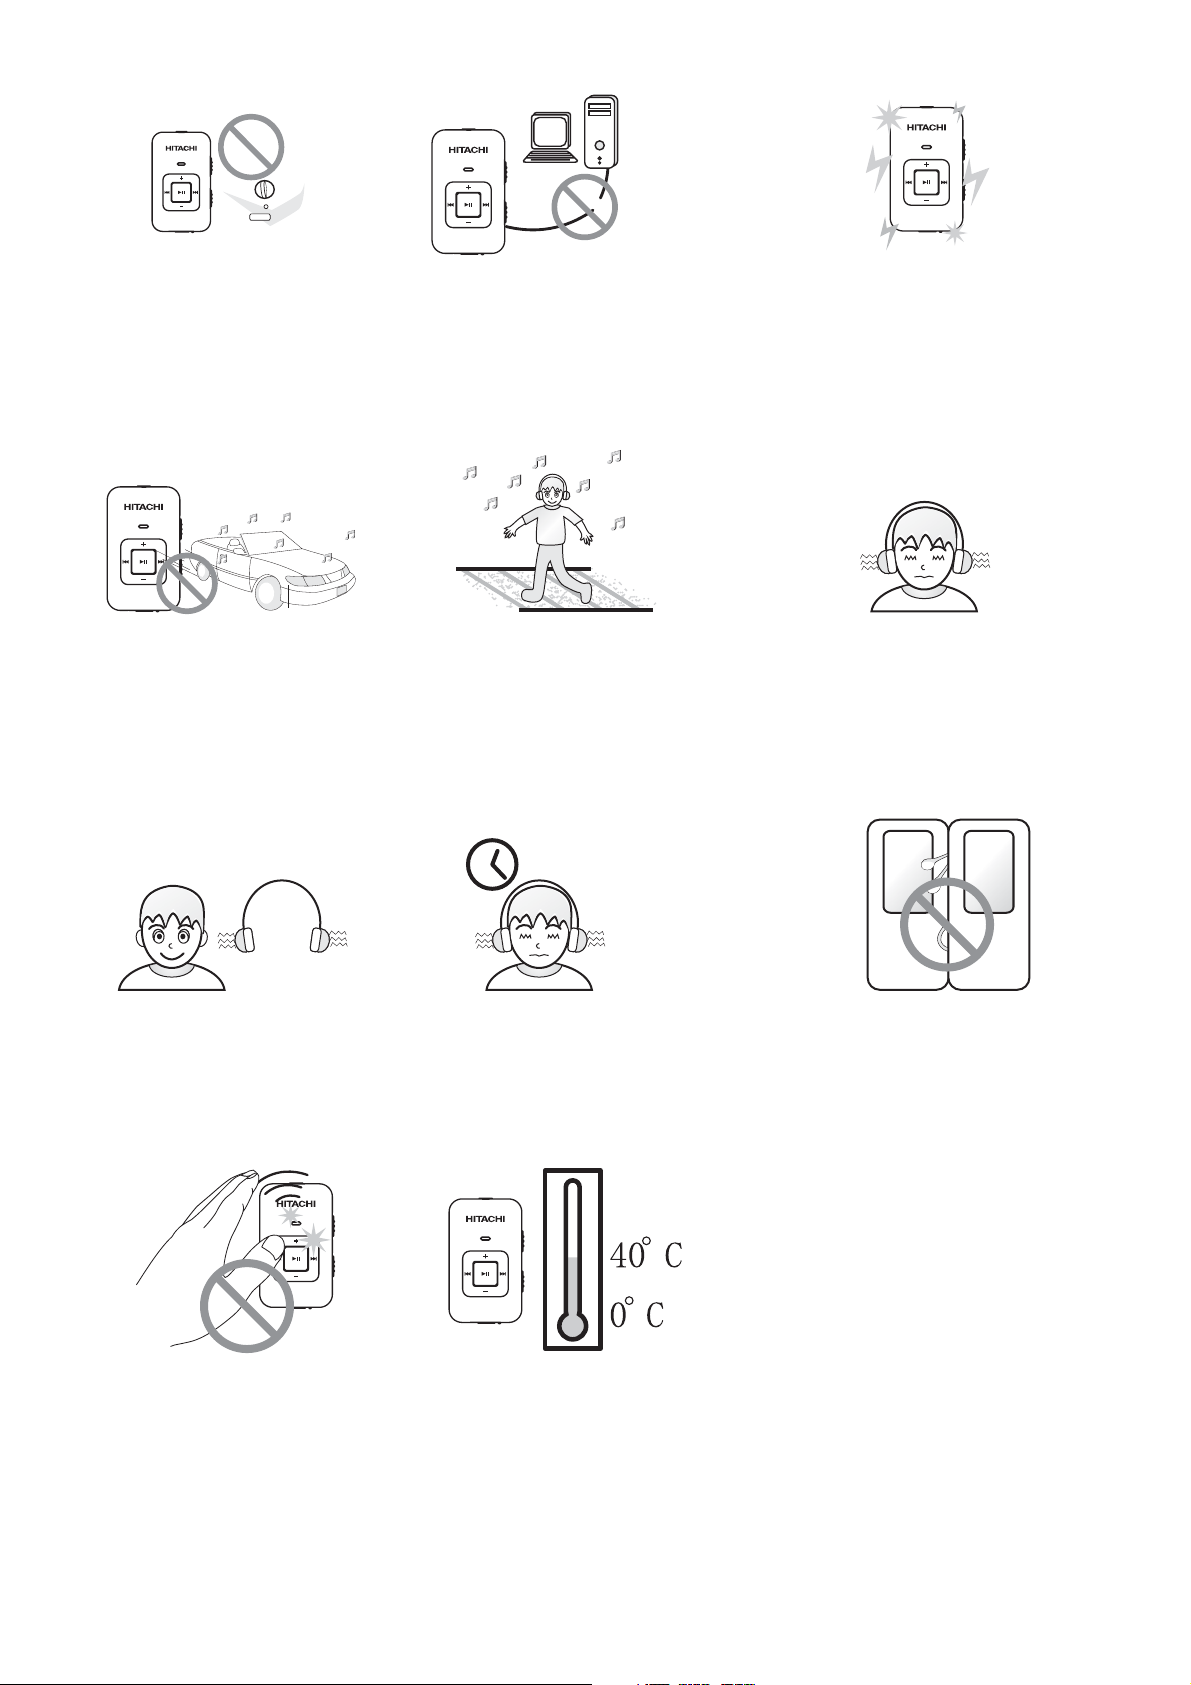
Do not dry the product
with heater or microwave.
When you upload or
download files using USB
cable, do not disconnect
USB cable during data
transfer or turn the device
off.
Data can be damaged
because of physical impact,
lightning and power failure.
Do not use headphone/
earphone while cycling,
driving, or operating any
motorized vehicle.
Reduce volume or stop
using the player if you
experience a ringing in
your ears.
Reduce volume while walking
especially at pedestrian
crossing
Do not use at high volume
for continuous listening.
Do not use headphone/
earphone at high volume.
Hearing experts advise that
do not listen to continuous,
loud and extended player.
Keep headphone/ earphone
cords under control to avoid
getting caught on various
objects.
To avoid damage, make
sure you do not drop,
smash, bend or crash
the player.
Operate the device in
acceptable temperature.
Make sure you only use
the device where temperature
between 0-40 C.
4
Page 6

Contents
Package content.................................................................6
Locating the controls..........................................................7
Battery charging.................................................................8
Reset................................................................................9
Minimun PC system requirement........................................9
Connected to the computer...............................................10
- Connection............................................
- File transfer............................................
- Disconnection.................................................................
Basic operation................................................
- Power on........................................................
- Key lock.........................................................
- Play songs......................................................................12
- Shuffle............................................................................12
- Volume control................................................................13
- Pausing Playbacke..........................................................13
- Skipping to a different track.............................................1
- Power off.........................................................................13
Trouble shooting..............................................................14
Specification..................................................... ....
.........................10
.........................10
11
.................12
.................12
.................12
3
........... 15
5
Page 7

PACKAGE CONTENT
Main Unit
INSTRUCTION MANUAL
DMP210N
2 GB MP3 PLAYER
User Manual
USB cable
(for PC connection
and battery charging)
Earphone
6
Page 8

LOCATING THE CONTROLS
Front view Side view
LED
indicator
Volume +
Hold
Previous
Play/Pause
Power ON / Power OFF
Next
Play
Mode
Volume -
Reset
Top view Bottom view
Headphone Jack
USB Jack
7
Page 9

BATTERY CHARGING BY CONNECTING PC/ADAPTOR
The battery can be charged by using the provided USB2.0 cable
or AC adaptor (not supplied).
Connect the player with PC using the USB cable and charging
will be started automatically. Thereafter it takes about 2 hours to
fully charge the battery.
NOTE:
AC adaptor Charging specification:
Input DC5V-0.2A for external power
from AC adaptor.
Notes:
1. Please charge at least 4 hours prior first time use.
2. If the device connect to PC through USB hub, then the USB
hub must be self-powered in order to charge battery properly.
3. File transfer may extend the charging time.
LED INDICATOR
Charging Light on red
Charging Completed Light on green
Transmitting Files Red and green light flashing
(PC connected only) alternatively
PLAYING WITH BAT TERY
LED INDICATOR
During Playback Light on green
Pause Flashing green
Low Battery Flashing red
Pressing any button Flashing green once
No files in the player
Red and green light Flashing alternatively
8
Page 10

RESET
If the unit acts erratically, reset the unit by inserting a fine object
(such as a paper clip)into the recessed Reset button.
Reset button
MINIMUM PC SYSTEM REQUIREMENT
You can connect the device to computer via the provided USB2.0
cable for both battery charging and file transfer purpose.
- Windows 98 SE/ ME (Driver is required for Windows 98 SE)
- Or Windows 2000 (Service pack 3 or above) with Window
Media Player 9 Series
-OrWindowsXP(Servicepack1orabove)withWindowMedia
Player 10 Series
- Pentium Class MMX 166 MHz processor or better
- 96MB RAM
- 50MB hard drive space
- Internet connection
- Microsoft Internet Explorer 5.5 or later
- Video display card
- Sound card
- USB port 1.0 (use USB2.0 for faster data transfer)
Notes:
MSC stands for Mass Storage Class. It doesn't require separate
ME
drive installation when it's first connected to PC and it can be
used as an external mass storage device using 'drag and drop
method with 'Windows Explorer'.
9
Page 11

CONNECTING TO THE COMPUTER
Connecting the Multimedia Player to PC
Connect the included USB cable to the port on the player to an
open USB port on your computer as figure below:
Connection
Windows will show "Found New Hardware" when the player is
first attached. The player will then recognized as a new device
under My computer.
Please note that depending on the hardware configuration,
it may take several minutes for Window to recognize the
device for the first time.
File transfer
After the device is connected to computer for
uploading/downloading, no special operation but only simple
"drag-drop" is needed.
10
Page 12

1. Double click "My Computer" in Windows, you will find a new
icon "Removable Disk", which represents your player, and
Double click "Removable Disk" .
2. Drag your files to "Removable Disk".
Disconnection
1. Double click the icon on the system tray.
2. Click the [Stop] button of the pop-up message as shown
below.
3. When the "Safe To Remove Hardware" pop-up window
appears, click on the [OK] button, and you may now safely
disconnect the Multimedia Player from the PC.
11
Page 13

BASIC OPERATION
POWER ON
Press and hold the " " button
KEY LOCK
When the slide button is in "Hold" position, all the keys are
disabled. With this key lock function, unintended operations
shall be prevented.
Play Mode Select
Repeat All
Shuffle
You may select the play mode 'Repeat ALL' or 'Shuffle' by sliding
the Play Mode switch to 'Repeat ALL ' or 'Shuffle ' position.
:Repeat playing all tracks.
:Playing every tracks in a random order.
Repeat ALL
Shuffle
12
Page 14

Volume control
Press the and button to increase and decrease the volume.
Press the button to increase volume and the button.
Pausing Playback
Press the button to pause the playback. To resume normal
playback, press the button.
Skipping to a different track
Press the button to skip to the previous track and
the button to skip to next track.
Power off
Press and hold button for 2 seconds and the player will
then shut down.
If the battery voltage is lower than off voltage (Low Battery),
LED indicator will then be 'flashing red' and then shut down the
player.
13
Page 15

TROUBLE SHOOTING
Symptom
The player cannot power on
The player does not charge
when I connect to PC
No sound during playback
WMPorPCdoesnot
recognize the player
Possible solution
- The battery level is too low. Connect to PC for
charging.
- Disconnect the player from PC. Then reset the
unit bymoving the power button downward for
by recessing the Reset button downward for
at least 15 seconds .
Then reconnect the unit to PC for charging.
- Check whether volume is muted or too low.
- Make sure to plug the earphone firmly.
- Please make sure you have Windows XP
with Service Pack 1 installed on your
computer before proceeding.
- Windows Media Player 10 is recommended.
You can download Windows Media Player 10
at : www.windowsmedia.com
- Check whether the USB cable is attached
firmly.
- Check if your PC meets the minimum
requirement.
- Try to use different USB port
There is noise during
playback
The music file cannot be
played
Cannot transfer song to
player
- Check whether the earphone plug is connected
firmly.
- Check whether the earphone plug is dirty.
- The songs maybe corrupted, please download
other songs and try again.
- The file may not be compatible with our player.
Please check the supported format in the
specifications section.
- Check if it is copyright protected file, if so, the
transfer should be downloaded by Windows
Media Player check if the usage of the copyright
protected file is expired.
- Capacity full
14
Page 16

SPECIFICATIONS
Size
Weight
Capacity
Frequency response
DRM
Audio Format
supported
Power and battery
PC interface
Music playback time
Operating temperature
28x47.6x11.5mm
14.5g
1G/2G/4G, depending on version
20-20kHz
DRM 9
MP3/WMA/WAV
3.7V/140mAh, charging time via USB
about 2 hours
Built-in rechargeable lithium polymer
battery
USB2.0 high speed
10 hours when fully charged
0-40 degree
15
Page 17

This symbol on the product or in the instructions means that your electrical and electronic
equipment should be disposed at the end of its life separately from your household waste.
There are separate collection systems for recycling in the EU.
For more information, please contact the local authority or your retailer where you
purchased the product.
Visit Partmaster.co.uk today for the easiest way to buy electrical spares and accessories.
With over 1 million spares and accessories available we can deliver direct to
your door the very next day.
www.partmaster.co.uk
Visit
or call
0870 6001 338
(UK customers only)
Calls charged at National Rate.
 Loading...