

Hisense 65B4E30T, 32B4E30T, 43B4E30T, 50B4E30T, 55B4E30T User Manual

Read the manual carefully and ensure you have fully understood its
contents before operating this device for the first time.
English

Safety Instructions
This symbol indicates high voltage
is present inside. It is dangerous
to make any kind of contact with
any inside part of this product.
CAUTION: To reduce the risk of
This symbol alerts you that
important literature concerning
operation and maintenance has
been included with this product.
electric shock, do not remove cover
(or back). No user serviceable parts
service personnel.
Waste Electrical and Electronic Equipment-WEEE
Attention: users in European Union private households
This marking on the product or on its packaging illustrates that,
under European Directive 2012/19/EU governing used electrical
and electronic appliances, this product may not be disposed of with
normal household waste. You are responsible for disposal of this
equipment through a designated waste electrical and electronic
equipment collection. To determine the locations for dropping off
such waste electrical and electronic equipment, contact your local
government ofce, the waste disposal organization that serves your
household or the store at which you purchased the product.
End of Life Directives-Recycling
CAUTION
RISK OF SHOCK
ELECTRIC
Your new Public Information Display contains several materials that
can be recycled for new users.
Please dispose of according to all Local, State, and Federal laws.
End-of-Life Disposal
Your new Public Information Display contains materials that can be recycled and
reused. Specialized companies can recycle your product to increase the amount of
reusable materials and to minimize the amount to be disposed of.
Please nd out about the local regulations on how to dispose of your old display from
your local dealer.
For customers in Canada and U.S.A.
This product may contain lead and/or mercury. Dispose of in accordance to localstate and federal regulations. For additional information on recycling contact www.eia.
org (Consumer Education Initiative)
i

Safety Instructions
Important Safety Instructions
Read and follow these instructions when connecting and using your Public
Information Display.
• Unplug the display if you are not going to use it for an extensive period of time.
• Unplug the display if you need to clean it with a slightly damp cloth. The screen
may be wiped with a dry cloth when the power is off. However, never use alcohol,
solvents or ammonia-based liquids.
• Consult a service technician if the display does not operate normally when you
have followed the instructions in this manual.
• The casing cover should be opened only by qualied service personnel.
• Keep the display out of direct sunlight and away from stoves or any other heat
sources.
• Remove any object that could fall into the vents or prevent proper cooling of the
display’s electronics.
• Do not block the ventilation holes on the cabinet.
• Keep the display dry. To avoid electric shock, do not expose it to rain or excessive
moisture.
• If turning off the display by detaching the power cable, wait for 6 seconds before
re-attaching the power cable for normal operation.
• To avoid the risk of shock or permanent damage to the set, do not expose the
display to rain or excessive moisture.
• When positioning the display, make sure the power plug and outlet are easily
accessible.
• IMPORTANT
If a still image in high contrast remains on the screen for an extended period of
time, it may leave an ‘after-image’ or ‘ghost image’ on the front of the screen. This
is a well-known phenomenon that is caused by the shortcomings inherent in LCD
technology. In most cases the afterimage will disappear gradually over a period
of time after the power has been switched off. Be aware that the after-image
symptom cannot be repaired and is not covered under warranty.
: Always activate a screen saver program during your application.
Safeguards
1. Read these instructions.
2. Keep these instructions.
3. Heed all warnings.
4. Follow all instructions.
5. Do not use this apparatus near water.
6. Clean only with dry cloth.
7. Do not block any ventilation openings. Install in accordance with the
manufacturer’s instructions.
ii

Safety Instructions
8. Do not install near any heat sources such as radiators, heat registers, stoves, or
other apparatus (including ampliers) that produce heat.
9. Do not defeat the safety purpose of the polarized or grounding-type plug. A
polarized plug has two blades with one wider than the other. A grounding type
plug has two blades and a third grounding prong. The wide blade or the third
prong is provided for your safety. If the provided plug does not t into your outlet,
consult an electrician for replacement of the obsolete outlet.
10. Protect the power cord from being walked on or pinched particularly at plugs,
convenience receptacles, and the point where they exit from the apparatus.
11. Only use attachments/accessories specied by the manufacturer.
12. Use only with the cart, stand, tripod, bracket, or table specied by
the manufacturer, or sold with the apparatus. When a cart is used,
use cautiously when moving the cart/apparatus combination to avoid
injury from tip-over.
13. Unplug this apparatus during lightning storms or when unused for long periods of
time.
14. Refer all servicing to qualied service personnel. Servicing is required when the
apparatus has been damaged in any way, such as power-supply cord or plug is
damaged, liquid has been spilled or objects have fallen into the apparatus, the
apparatus has been exposed to rain or moisture, does not operate normally, or
has been dropped.
15. The batteries (batteries installed) shall not be exposed to excessive heat such as
sunshine, re or the like.
16. An all-pole MAINS SWITCH is used as the disconnect device, the location on the
apparatus and the function of the switch shall be described, and the switch shall
remain readily operable.
WARNING:
• To reduce the risk of re or electric shock, do not expose this apparatus to rain or
moisture.
• Apparatus shall not be exposed to dripping or splashing and no objects lled with
liquids, such as vases, shall be placed on the apparatus.
• The batteries (batteries installed) shall not be exposed to excessive heat such as
sunshine, re or the like.
• The mains plug or appliance coupler is used as the disconnect device,the
disconnect device shall remain readily operable.
• To prevent the spread of re, keep candles or other open ames away from this
product at all times.
• To prevent injury, this apparatus must be securely attached to the oor/wall in
accordance with the installation instructions.
iii

Safety Instructions
• The Class I apparatus shall be connected to a mains socket outlet with a
protective earthing connection.
Never place a television set in an unstable location. A television set may fall, causing
serious personal injury or death. Many injuries, particularly to children, can be
avoided by taking simple precautions such as:
• Using cabinets or stands recommended by the manufacturer of the television set.
• Only using furniture that can safely support the television set.
• Ensuring the television set is not overhanging the edge of the supporting furniture.
• Not placing the television set on tall furniture (for example, cupboards or
bookcases) without anchoring both the furniture and the television set to a
suitable support.
• Not placing the television set on cloth or other materials that may be located
between the television set and supporting furniture.
• Educating children about the dangers of climbing on furniture to reach the
television set or its controls.
If your existing television set is being retained or relocated, the same considerations
as above should be applied.
• This equipment is compliant with Class A of EN55032/CISPR 32. In a residential
environment this equipment may cause radio interference.
CAUTION:
• These servicing instructions are for use by qualied service personnel only. To
reduce the risk of electric shock,do not perform any servicing other than that
contained in the operating instructions unless you are qualied to do so.
• Excessive sound pressure from earphones and headphones can cause hearing
loss. Adjustment of the equalizer to maximum increases the earphone and
headphone output voltage and the sound pressure level. Therefore, to protect
your hearing, adjust the equalizer to an appropriate level.
• FCC/CSA regulations state that any unauthorized changes or modications to this
equipment may void the user’s authority to operate it.
• To prevent electric shock, match the wide blade of plug to the wide slot, and fully
insert the plug.
• To prevent damage which may result in re or electric shock hazard, do not
expose this appliance to rain or moisture.
• The Socket-outlet should be installed near the apparatus and be easily
accessible.
iv

Safety Instructions
NOTE:
This equipment has been tested and found to comply with the limits
for a Class A digital device, pursuant to part 15 of the FCC Rules.
These limits are designed to provide reasonable protection against
harmful interference when the equipment is operated in a commercial
environment. This equipment generates, uses, and can radiate radio
frequency energy and, if not installed and used in accordance with
the instruction manual, may cause harmful interference to radio
communications. Operation of this equipment in a residential area
is likely to cause harmful interference in which case the user will be
required to correct the interference at his own expense.
v

Contents
1. Unpacking and Installation ..................................................................................1
1.1. Unpacking ................................................................................................1
1.2. Package Contents ....................................................................................1
1.3. Installation Notes......................................................................................2
1.4. Mounting on a Wall ..................................................................................2
2. Parts and Functions ............................................................................................4
2.1. Control Panel ...........................................................................................4
2.2. Input/Output Terminals .............................................................................5
2.3. Remote Control ........................................................................................6
3. Connecting External Equipment ..........................................................................8
3.1. Connecting External Equipment (DVD/VCR/VCD) ..................................8
3.2. Connecting a PC ......................................................................................8
3.3. Connect USB ...........................................................................................9
4. Operation ...........................................................................................................10
4.1. Media Player Introduction ......................................................................10
4.2. PDF Reader Play ...................................................................................12
4.3. U player Autoplay Instructions................................................................14
4.4. U Disk Files Playback and Copy Instructions.........................................15
4.5. App Customization .................................................................................15
5. OSD Menu .........................................................................................................16
5.1. Navigating the OSD Menu .....................................................................16
5.2. Operation on the OSD Menu..................................................................17
6. Compatibility of the USB Device .......................................................................22
7. Input Mode ........................................................................................................25
8. Cleaning and Troubleshooting ...........................................................................27
8.1. Cleaning .................................................................................................27
8.2. Troubleshooting .....................................................................................28
9. Technical Specications ....................................................................................30
vi
Unpacking and Installation
and AAA Batteries
This manual is for reference only, please refer to the actual machine.
1. Unpacking and Installation
1.1. Unpacking
• This product is packed in a carton, together with the standard accessories.
• Any other optional accessories will be packed separately.
• Move the display by at least two (2) adults.
• After opening the carton, ensure that the contents are complete and in good
condition.
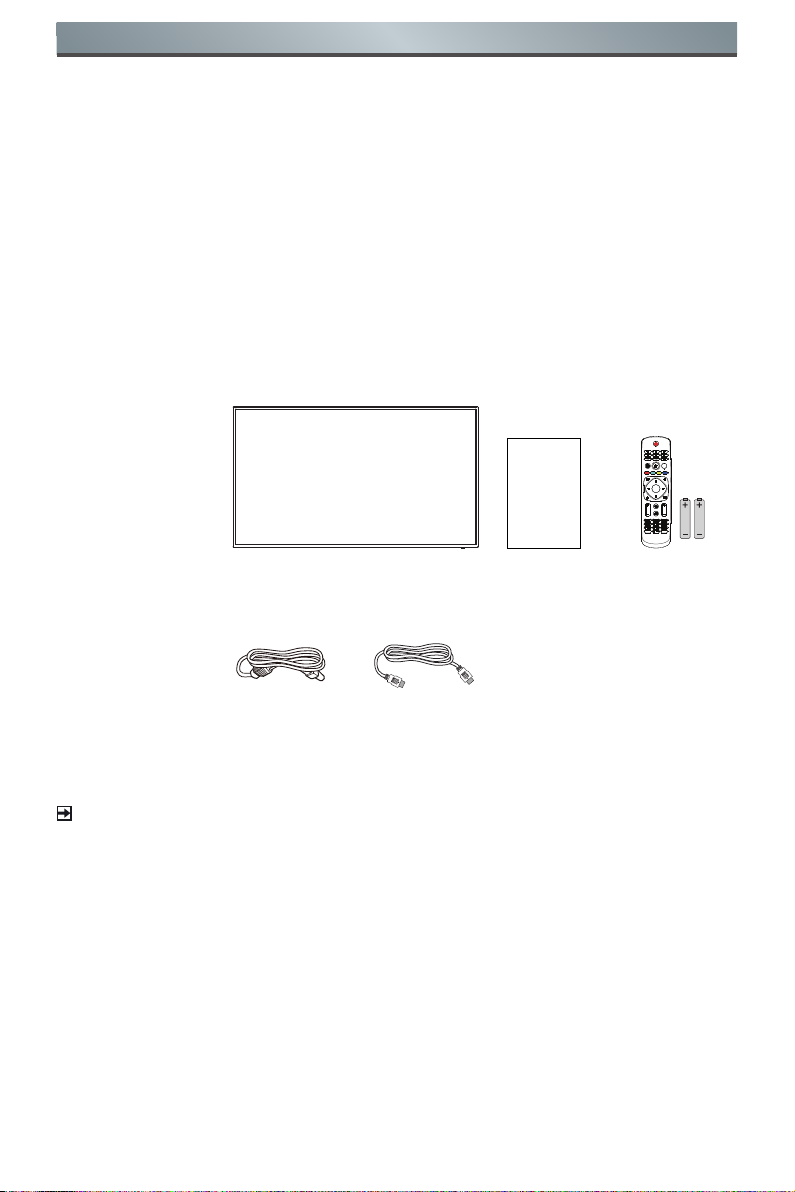
1.2. Package Contents
Please verify that you received the following items with your package content:
• LCD Display
• User Manual
FUNCTION
• Remote Control
with AAA
Batteries
• Power Cord
• HDMI Cable
* The supplied power cord varies
depending on destination.
User Manual
FORMAT
SET
SOURCE
OK
INFO
OPTION
CH
VOL
RETURN
HELP
Remote Control
Power Cord
HDMI Cable
* Items may differ in different locations
* Display design and accessories may differ from the images
shown.
NOTES:
• For all other regions, apply a power cord that conforms to the AC voltage of the
power socket and has been approved by and complies with the safety regulations
of the particular country.
• Keep the packaging materials appropriately after unpacking the product.
1
Unpacking and Installation
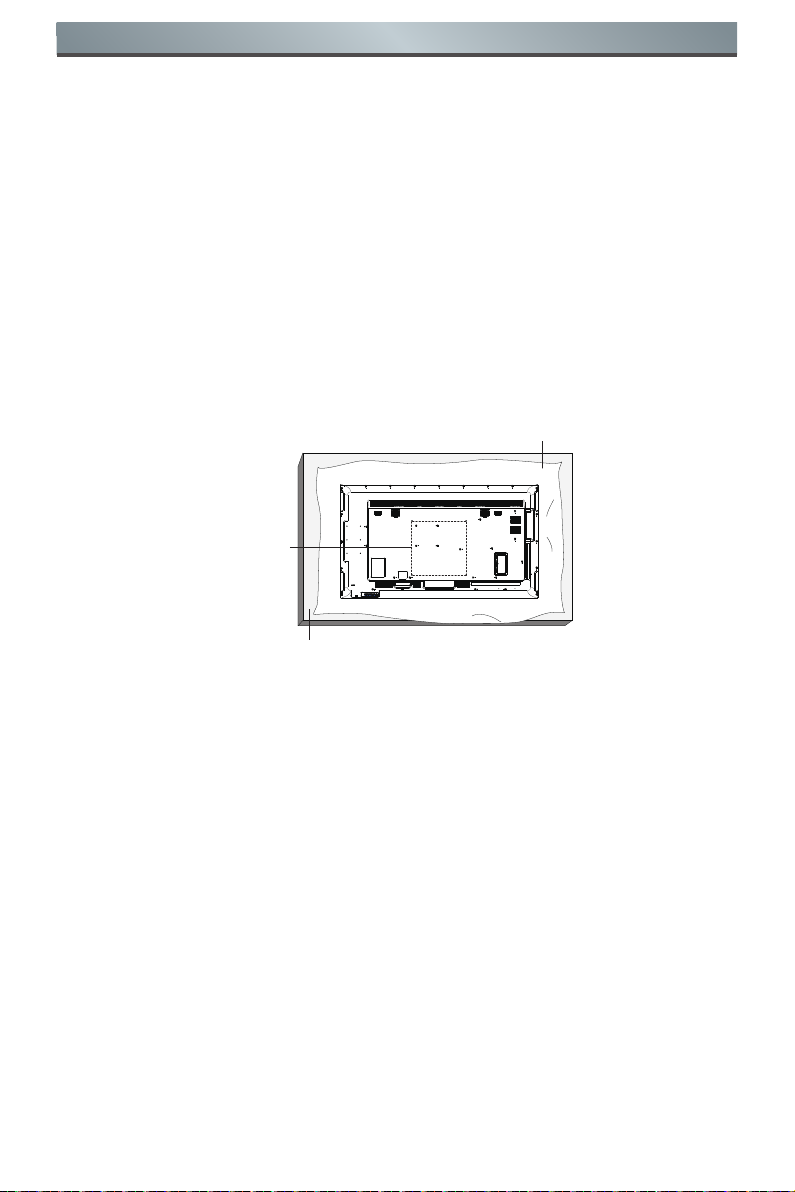
Protective Sheet
VESA Grid
Table
1.3. Installation Notes
• Only use the power cable provided with this product. If an extension cord is
required, please consult your service agent.
• The product should be installed on a at surface, or the product may tip over.
Leave a space between the rear of the product and the wall for proper ventilation.
Do not install the product in a kitchen, bathroom or a place exposed to moisture,
failure to do so may shorten the life of the internal parts.
• Do not install the product where it is 3000m or higher in altitude. Failure to do so
may result in malfunctions.
1.4. Mounting on a Wall
To mount this monitor onto a wall, you will have to obtain a standard wall-mounting kit
(commercially available). We recommend using a mounting interface that complies
with TUV-GS and/or UL1678 standard in North America.
1. Lay a protective sheet on a table, which was wrapped around the monitor when it
was packaged, beneath the screen surface so as not to scratch the screen face.
2. Ensure you have all accessories for mounting this monitor (wall mount, ceiling
mount, table stand, etc).
3. Follow the instructions that come with the base mounting kit. Failure to follow
correct mounting procedures could result in damage to the equipment or injury to
the user or installer. Product warranty does not cover damage caused by improper
installation.
4. For the wall-mounting kit, use M6 mounting screws (having a length 10 mm longer
than the thickness of the mounting bracket) and tighten them securely.
2
Unpacking and Installation
To prevent the monitor from falling:
• For wall or ceiling installation, we recommend installing the monitor with metal
brackets which are commercially available. For detailed installation instructions,
refer to the guide received with the respective bracket.
• To lessen the probability of injury and damage resulting from fall of the monitor
in case of earthquake or other natural disasters, be sure to consult the bracket
manufacturer for installation location.
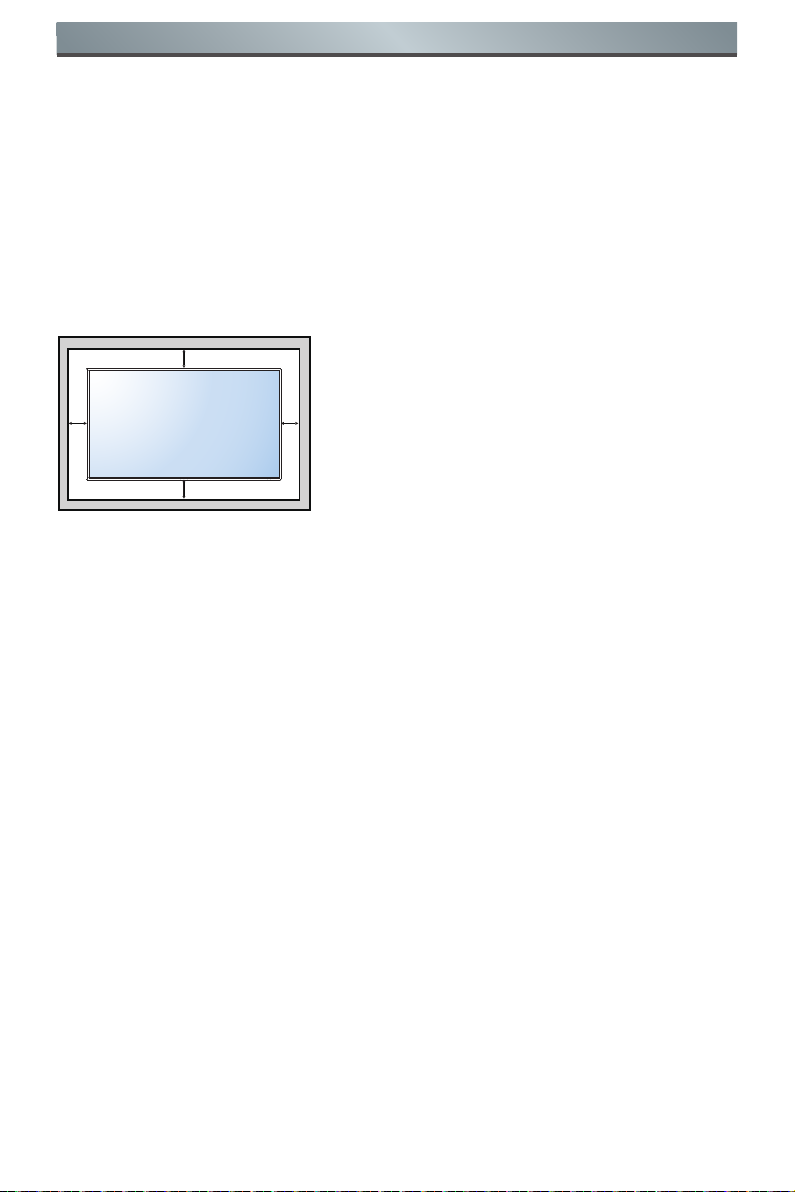
Ventilation Requirements for enclosure locating
To allow heat to disperse, leave space between surrounding objects as shown in the
diagram below.
100 mm
100 mm 100 mm
100 mm
3

Parts and Functions
MUTE INPUT
MENU
2. Parts and Functions
2.1. Control Panel
9
1
2 3
4 5 6 7 8
NOTE:
The appearance and color of the product are subject to the material object. The
picture is for reference only.
1
[ ] button
Turn the display on or put the display
to standby.
2
[MUTE] button
Mute or reactivate the audio.
3
[INPUT] button
• Select an input source when
OSD menu is off.
4
[ ] button
• Increase the volume of the audio
when OSD menu is off.
• Move to the right item or Increase
the adjustment while OSD menu
is on.
5
[ ] button
• Decrease the volume of the
audio when OSD menu is off.
6
[ ] button
Move the highlight bar up to adjust
the selected item while OSD menu is
on.
7
[ ] button
Move the highlight bar down to
adjust the selected item while OSD
menu is on.
8
[MENU] button
Enter next submenu when OSD
menu is on, or to activate the OSD
menu when OSD menu is off.
9
Remote control sensor and power
status indicator
• Receive command signals from
the remote control.
• Indicate the operating status of
the display.
• Move to the left item or decrease
the adjustment while OSD menu
is on.
4
 Loading...