

Hettich HettInfo II Operating Manual
A
e
G
E
I
a
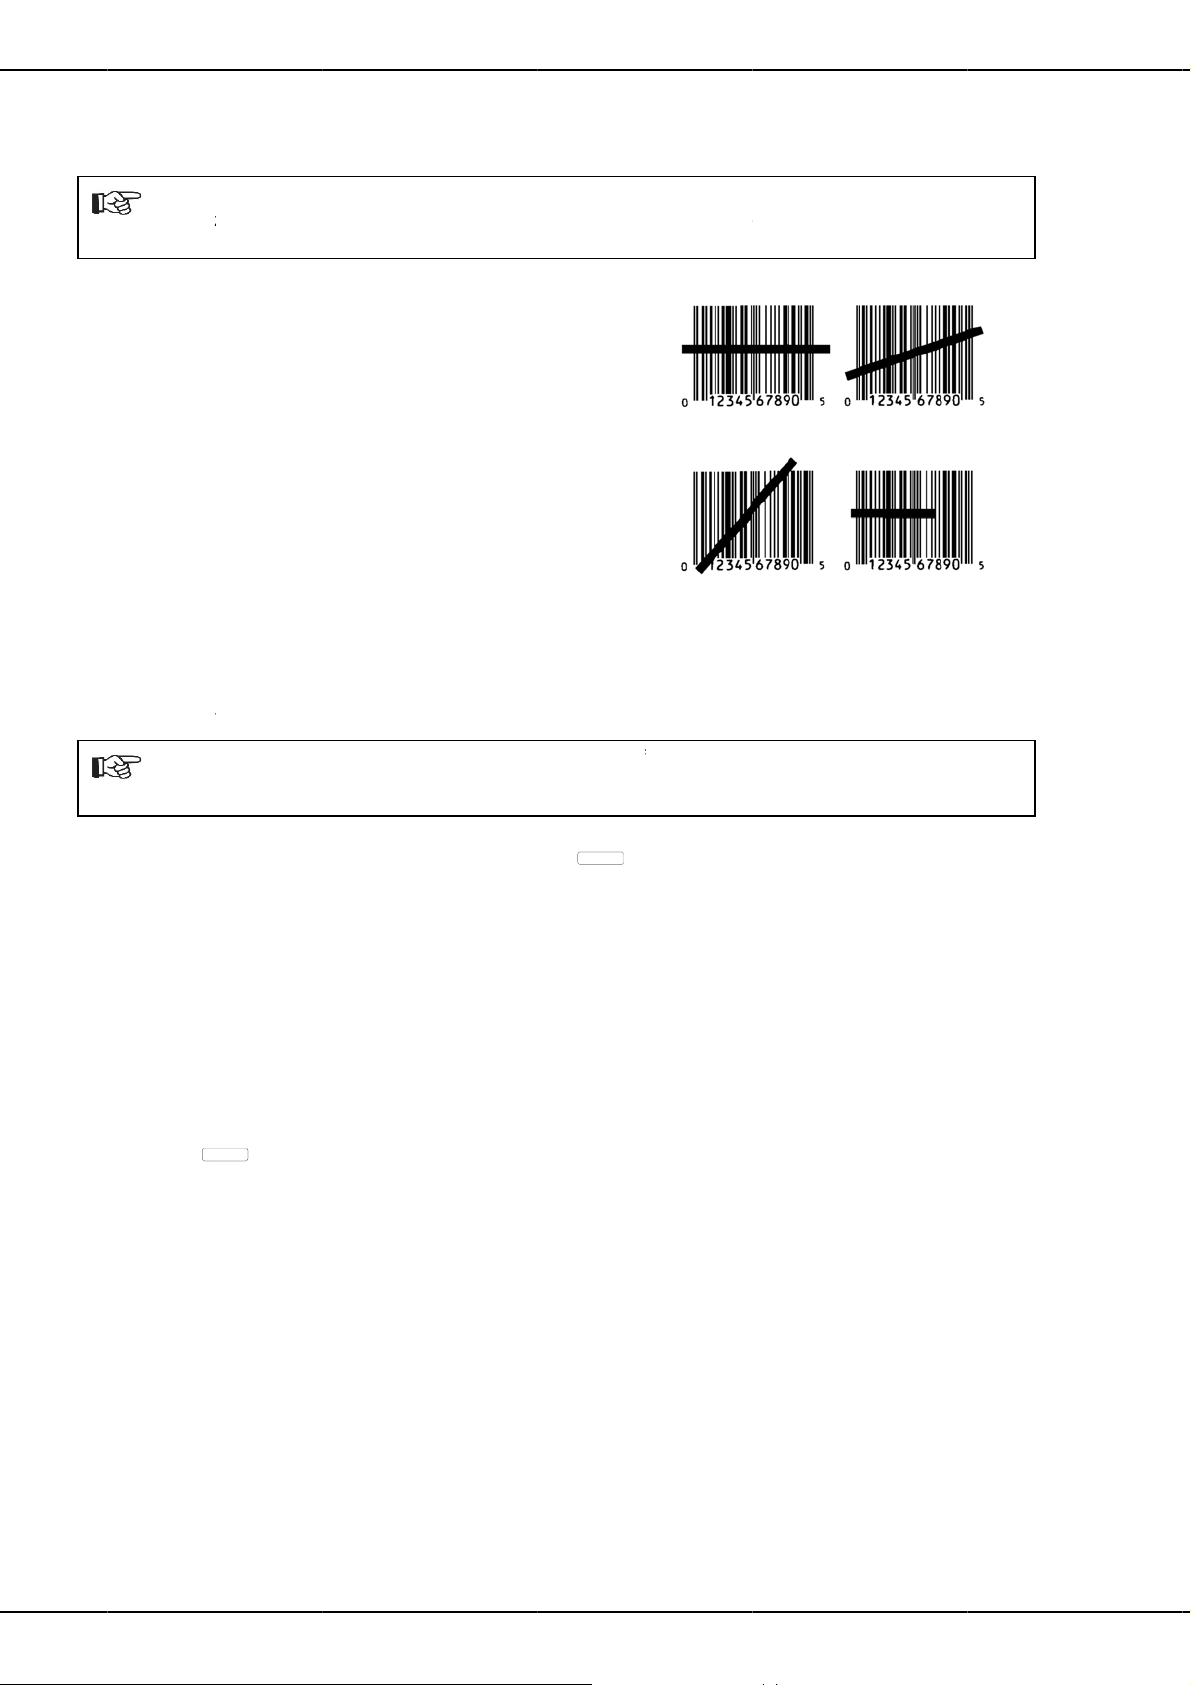
A
5
Hett
nfo II
Rev.
01 / 10.19
ndr
as Hettich
N
Oper
mbH & Co.
ting Manual
KG
B095
EN

3
n
xinfww
2
wMo
B
h
7
7
b
b
e
e
s
v
o
u
c
m
e
b
G
o
o
dreas Hettic
A
Fö
hrenstraße 1
Ph
one +49 (0)
Fa
+49 (0)
o@hettichla
w.hettichla
019 by Andr
©
All
rights reserv
o
ner.
GmbH & C
2, D-78532 T
461 / 705-0
461 / 705-11
.com, servi
.com
as Hettich G
d. No part of
. KG
ttlingen / G
25
e@hettichla
bH & Co. K
this publicati
rmany
.com
n may be rep
roduced with
ut the prior written permiss
ion of the copyright
difications re
A
0955EN / Re
erved!
. 01 / 10.19
2/
0

Contents
1
How to use these operating instructions ................................................................................................................. 4
2 Symbol meanings ................................................................................................................................................... 4
3 Intended use ........................................................................................................................................................... 5
4 Notes on safety ....................................................................................................................................................... 6
5 Scope of delivery .................................................................................................................................................... 6
6 Commissioning the barcode unit ............................................................................................................................. 7
7 Operation of the barcode scanner .......................................................................................................................... 7
7.1 Installing the barcode scanner ......................................................................................................................... 7
7.2 Testing the barcode scanner ........................................................................................................................... 7
7.3 Scanning the barcode ...................................................................................................................................... 8
7.4 Scanning at the centrifuge ............................................................................................................................... 8
7.5 Workflow .......................................................................................................................................................... 8
7.6 Barcode scanner does not work ...................................................................................................................... 8
8 Barcodes ................................................................................................................................................................. 9
8.1 Usable Barcodes ............................................................................................................................................. 9
8.2 Explanation of the barcodes used for control purposes ................................................................................... 9
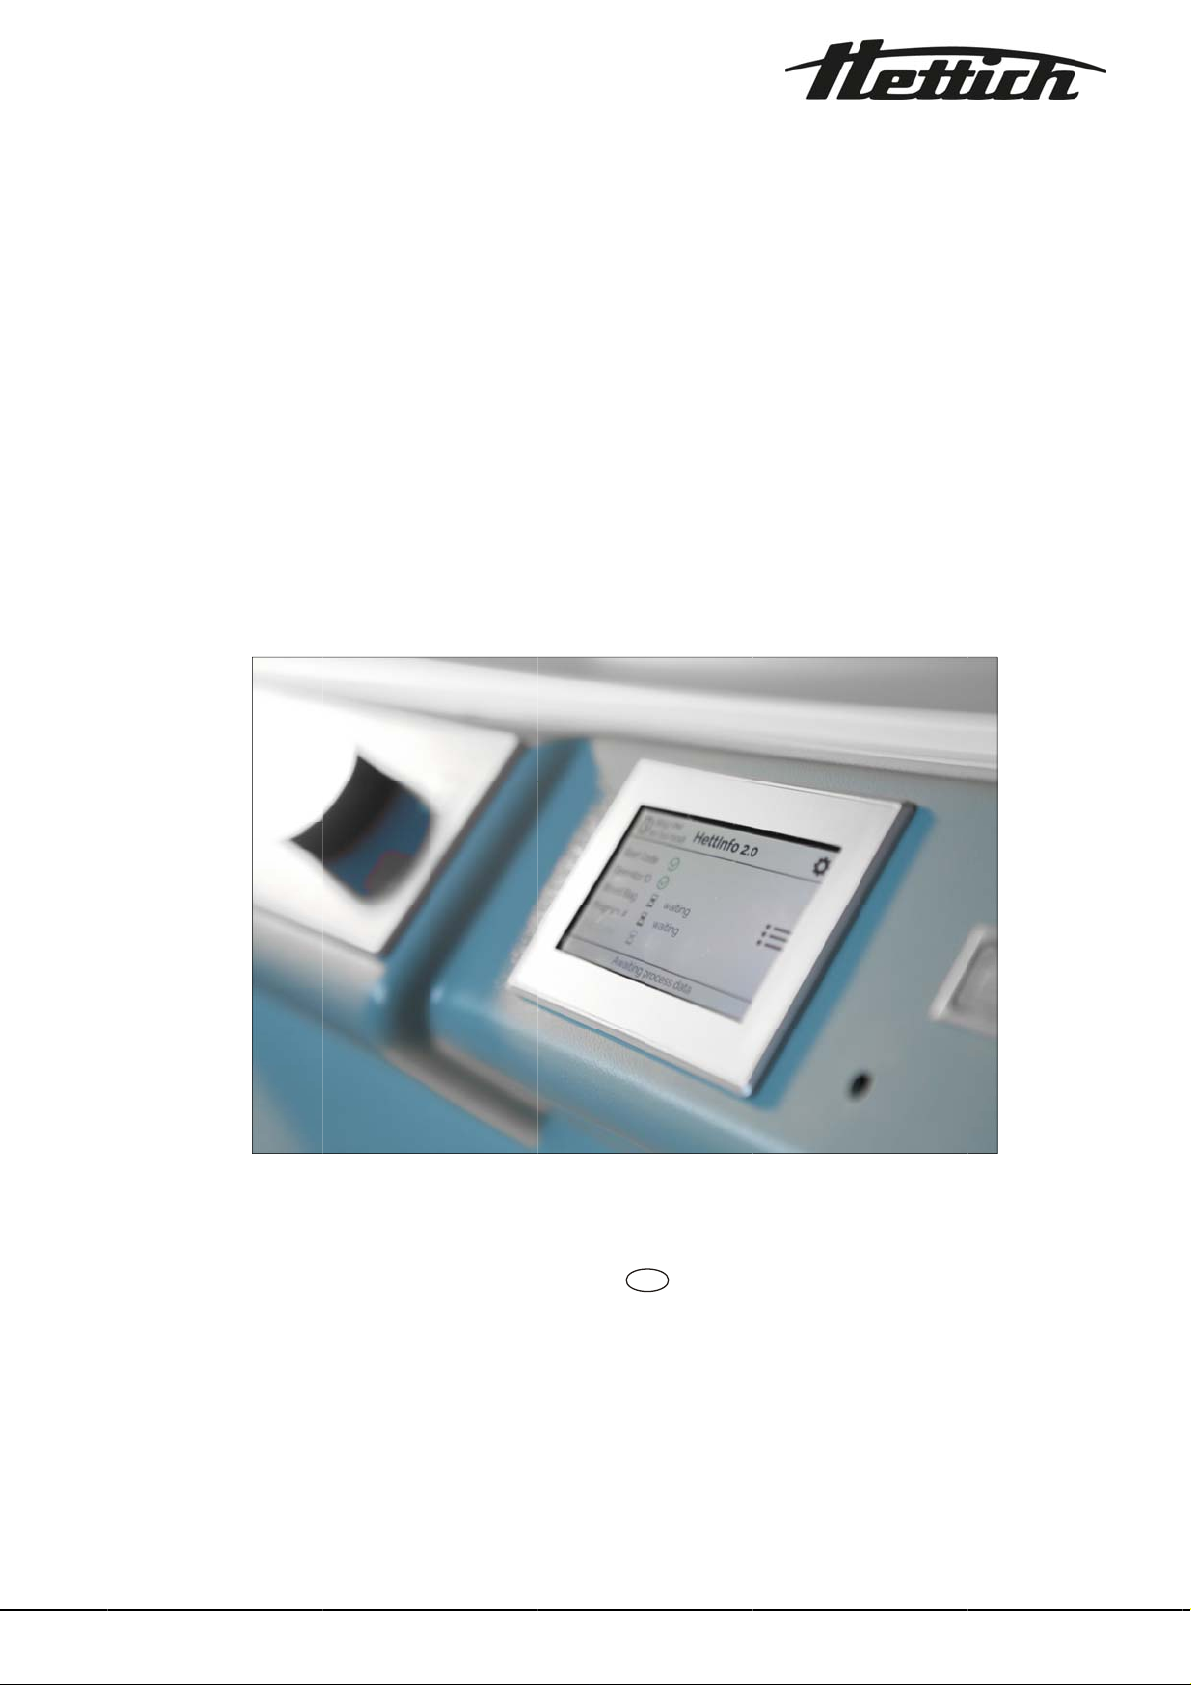
9 Use of HettInfo II ................................................................................................................................................... 10
9.1 Switch on ....................................................................................................................................................... 10
9.2 Functions and display elements in the main screen ...................................................................................... 10
9.3 Scanning procedure ...................................................................................................................................... 11
9.3.1 Prerequisite for starting the procedure ................................................................................................... 11
9.3.2 Scanning the barcode sets ..................................................................................................................... 11
9.3.3 Detailed view .......................................................................................................................................... 13
9.4 Start and sequence of centrifugation ............................................................................................................. 13
9.5 Setup menu ................................................................................................................................................... 14
9.5.1 Settings .................................................................................................................................................. 15
9.5.1.1 HettInfo Application ......................................................................................................................... 15
9.5.1.2 HettInfo Settings .............................................................................................................................. 16
9.5.1.3 Process Data Setup ........................................................................................................................ 18
9.5.1.4 CSV-File Setup ................................................................................................................................ 18
9.5.1.5 Automatic Database Backup ........................................................................................................... 19
9.5.1.6 Automatic Process Data Export ....................................................................................................... 19
9.5.1.7 Centrifuge Name ............................................................................................................................. 20
9.5.2 Data Management .................................................................................................................................. 20
9.5.2.1 Export .............................................................................................................................................. 21
9.5.2.2 Import .............................................................................................................................................. 22
9.5.3 Blood Bag History ................................................................................................................................... 24
9.5.4 Error Logbook ......................................................................................................................................... 26
9.5.5 System Information ................................................................................................................................. 27
9.5.6 Open Source Licences ........................................................................................................................... 28
10 Creation of the list of operator IDs ..................................................................................................................... 29
11 Free and Open Source Software ....................................................................................................................... 30
3/30
3
e
g
n
e
e
m
e
s
u
m
mCon
m
s
mSym
2Use
m
m
mCan
m
u
m
u
m
e
m
t
m
o
m
g
m
a
r
s
a
c
e
e
d
e
e
c
e
a
E
i
m
t
a
f
a
e
c
h
a
n
o
o
r
a
s
n
a
r
a
o
c
e
e
d
N
e
p
e
a
c
w
e
i
i
n
e
1
•
Before usin
•
The operati
•
If the devic
2
How to us
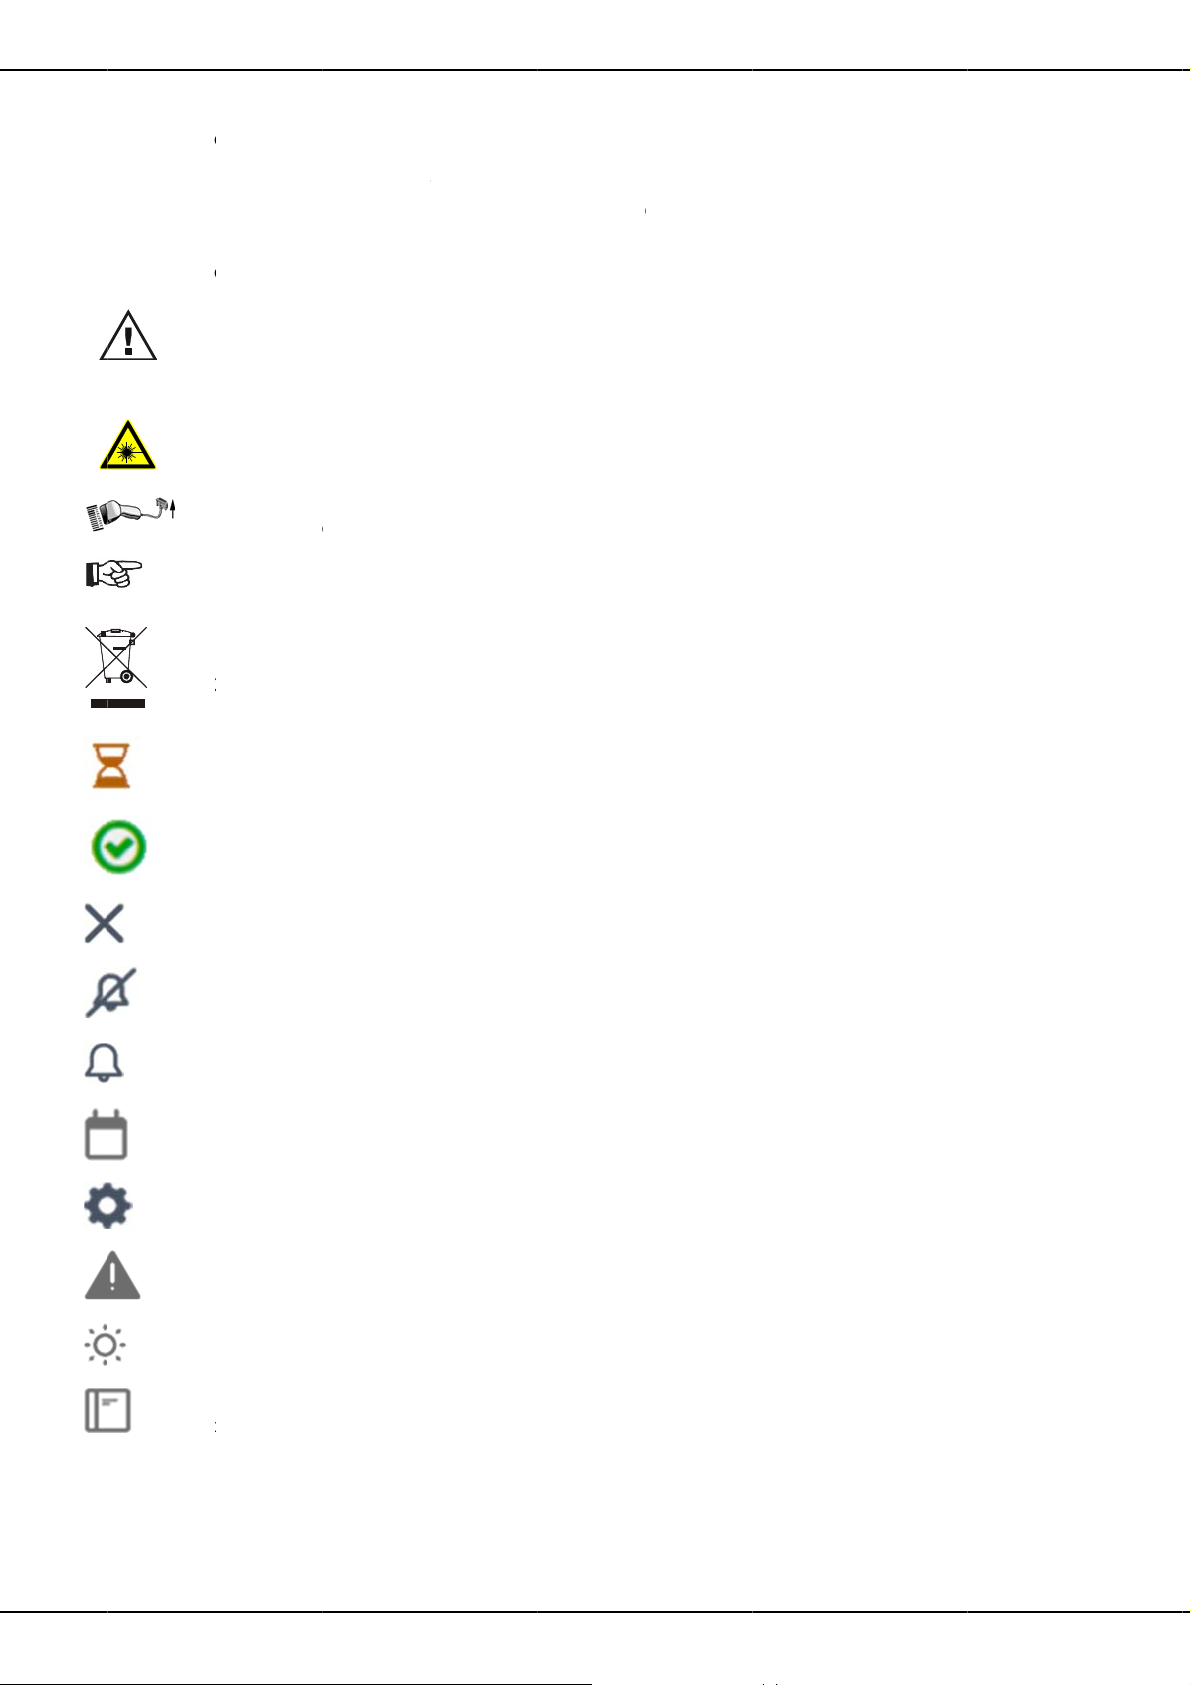
Symbol m
Sy
Att
Thi
Fail
Sy
Wa
Sy
Sy
Thi
Sy
200
Sy
Wai
Sy
Suc
Sy
Sy
Vol
Sy
Vol
Sy
Dat
Sy
Set
Sy
Err
Sy
Bri
Sy
Hist
these oper
the device,
g instruction
is set up at
anings
bol in this do
ntion, genera
symbol indic
re to observ
bol on the d
rning laser ra
bol on the d
nection for th
bol in this do
symbol indic
bol on the d
bol for separ
/96/EG (WE
in the countr
bol HettInfo I
ting for action
bol HettInfo I
cessful Scan
bol HettInfo I
cel
bol HettInfo I
me muted
bol HettInfo I
me
bol HettInfo I
bol HettInfo I
ings (Setup
bol HettInfo I
r
bol HettInfo I
htness
bol HettInfo I
ory
ting instruc
ead the oper
are a part o
different loc
ument:
l danger zone
ates safety-r
these instru
vice and in t
iation.
vice:
barcode sc
ument:
ates importa
vice:
te collection
E). The devi
es of the Eur
I:
I:
Process
I:
I:
I:
I:
I:
enu)
I:
I:
I:
ions
ting instructi
the device. T
tion, the ope
.
levant inform
tions may re
is document:
nner.
t facts.
of electrical a
e belongs to
pean Union
ns and obse
hey must alw
ating instructi
tion and indi
ult in damag
nd electronic
group 8 (me
s well as in
ve them.
ys be kept r
ns must be
ates possibl
to property
quipment, a
ical devices).
orway and S
adily availabl
rovided with
dangerous s
nd personal i
cording to th
itzerland.
e.
t.
ituations.
njury.
Directive
4/
0
I
p
h
r
o
o
V
o
o
r
o
c
o
p
o
o
o
o
o
o
o
o
e
e
e
b
m
d
f
b
e
n
i
s
m
t
s
t
n
e
t
r
o
5
m
s
3
The
for thi
Anot
& Co.
Obse
part
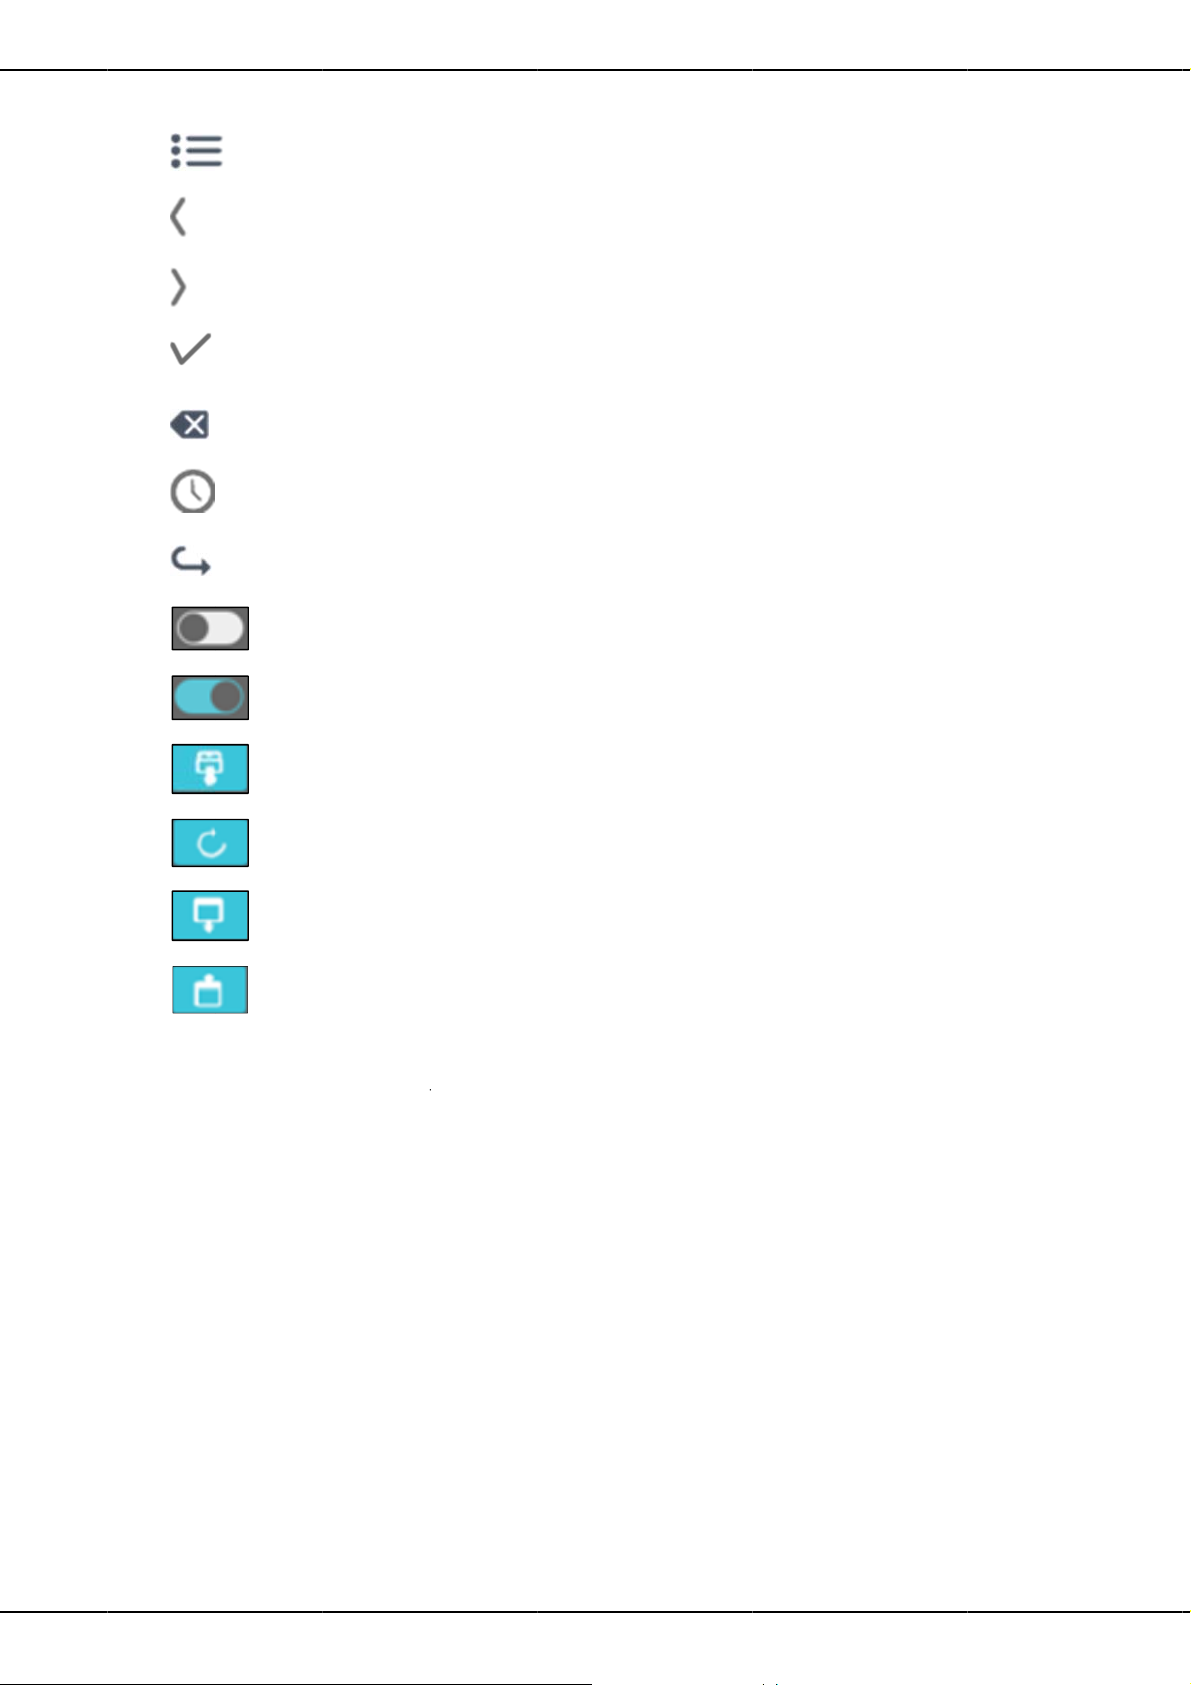
Symb
Detail
Symb
Move l
Symb
Move
Symb
OK/Ac
Symb
Backs
Symb
Time
Symb
Back
Symb
Switch
Symb
Switch
Symb
Safely
Symb
Detect
Symb
Export
Symb
Import
ntended us
rogram pres
s purpose.
er use or on
KG is not lia
ving all infor
f the intende
l HettInfo II:
iew
l HettInfo II:
eft …
l HettInfo II:
ight…
l HettInfo II:
ept
l HettInfo II:
ace
l HettInfo II:
l HettInfo II:
l HettInfo II:
is switched o
l HettInfo II:
is switched o
l HettInfo II:
remove USB
l HettInfo II:
USB stick (M
l HettInfo II:
data
l HettInfo II:
data
nted here is
which goes
le for damag
ation in the
use.
f
n
stick (Unmou
ount)
or document
eyond this, i
resulting fro
operating ins
nt)
ing the proce
considered
m this.
ructions and
s data of ce
o be non-int
complying wi
trifuge runs,
nded. The co
h the measu
and is theref
mpany Andre
res described
re only inten
as Hettich G
therein is al
ded
bH
o a
/30

4 Notes on safet y
No claim of warranty will be considered by the manufacturer unless ALL instructions in this manual
have been followed.
• Before commissioning the data documentation system HettInfo II, the operating instructions are to be
read and observed. Only persons who have read and understood the operating instructions may use the
data documentation system HettInfo II.
• Alon g with the oper ating instructions and the lega l regulati ons on accident prevention, you should also follo w the
recognised professional regulations for working in a safe and professional manner. These operating instructions
should be read in conjunction with any other instructions concerning accident prevention and environmental
protection based on the national regulations of the country where the device is to be used.
• The barcode unit is built according to the state of the art and is safe to operate. However, it may pose a risk to
the user or third parties if it is not used by tr ained personnel or improperly or for purposes other tha n those for
which it is intended.
• The barcode u nit must not be operated with highly corrosive substances t hat can im pair the mecha nical strength
of accessories.
• Repairs must only be carried out by personnel authorised to do so by the manufacturer.
• Only original spare parts and approved original accessories from Andreas Hettich GmbH & Co. KG may be used.
• The following safety regulations apply:
EN / IEC 61010-1 and EN / IEC 61010-2-020 and their national deviations.
• The security and reliability of the barcode unit is only guaranteed if:
− the barcode unit is operated according to the operating instructions.
− the electrical installation, at the installation site of the barcode unit, meets the requirements of EN / IEC
specifications.
• Meeting the country-specific requirements concerning occupational safety with regard t o the use of laboratory
centrifuges at the workplaces provided for this purpose by the user is the responsibility of the user.
• HettInfo II only supports SMB protocol version 1.0 for network communication.
• The HettInfo II system can buffer up to 3000 runs. The data must be transferred to a server at least once a week.
5 Scope of delivery
The following accessories are supplied with the barcode unit.
1 Hand Barcode Scanner
1 Holding device for the Hand Barcode Scanner
1 Operating Instructions HettInfo II
6/30
C
t
O
P• A
c
o
o
h
e
o
a
o
e
s
b
c
a
a
v
r
e
o
u
s
s
e
n
.
k
p
c
g
u
o
d
s
g
7
S
g
6
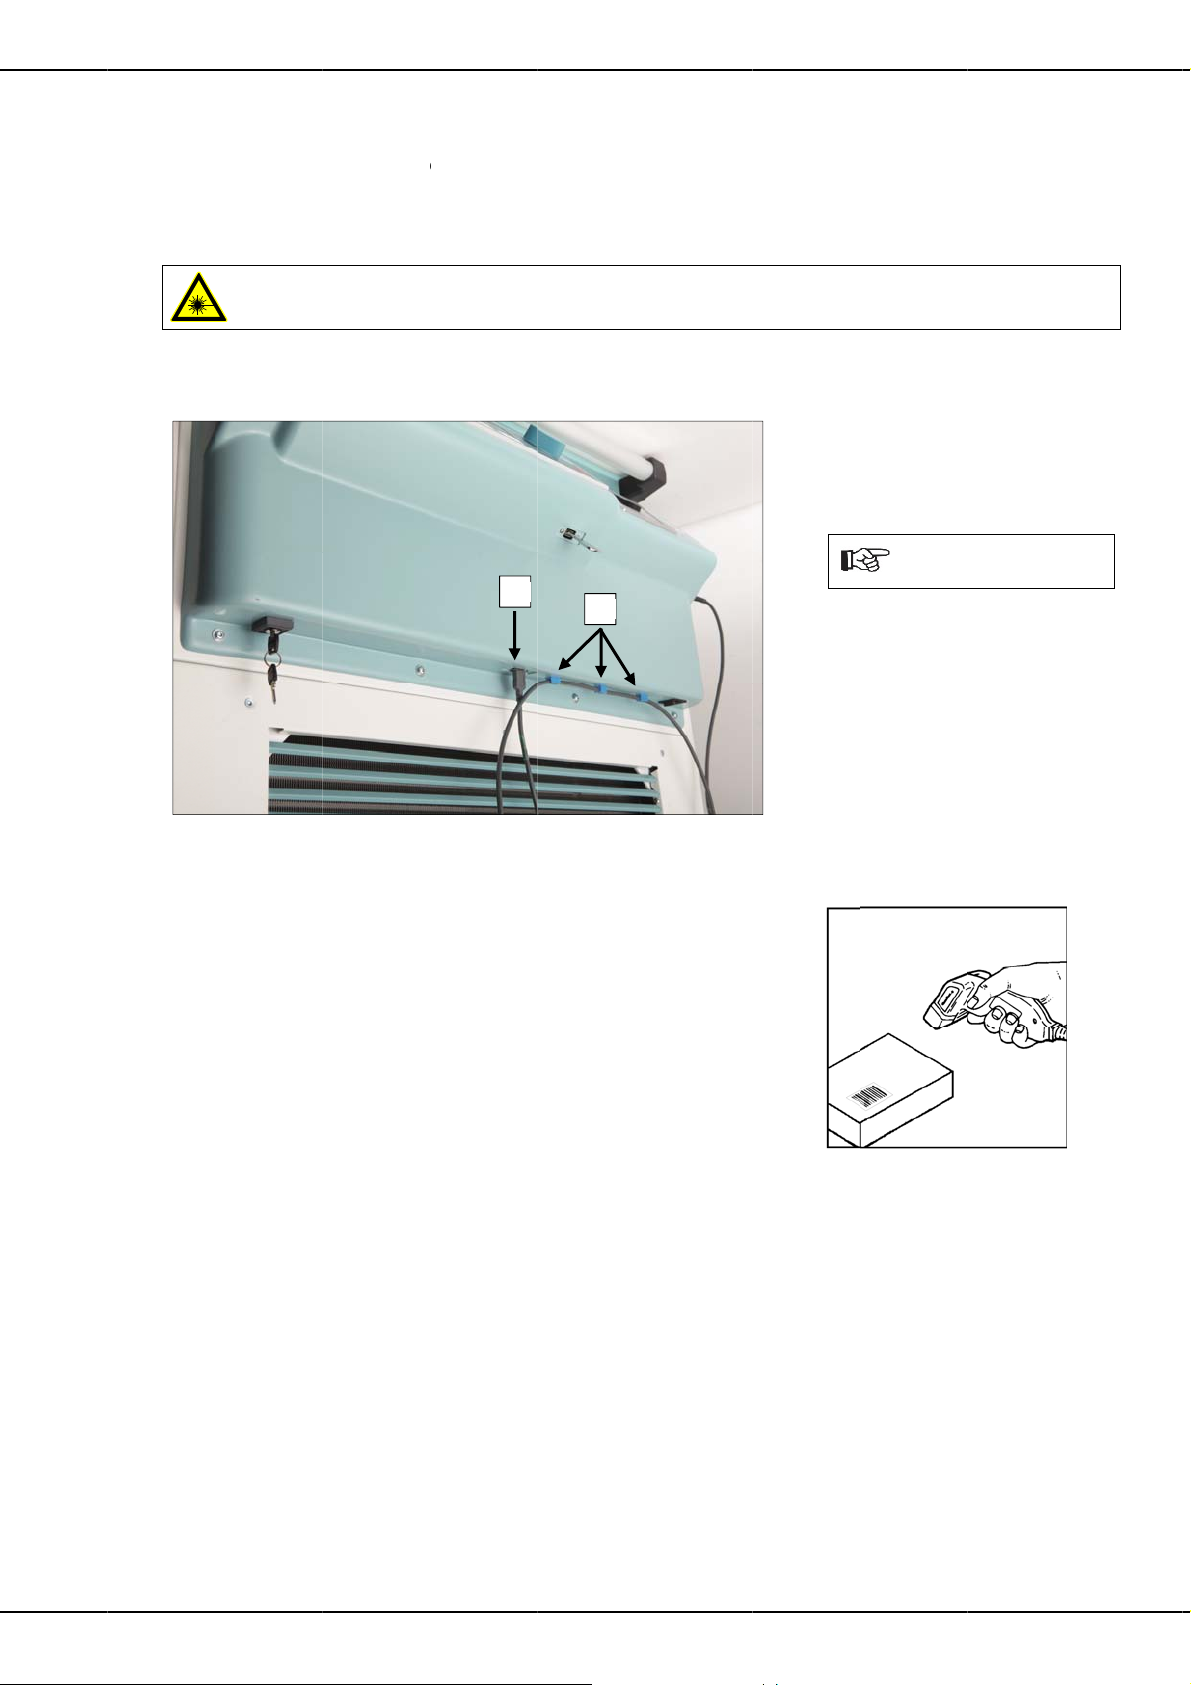
Plug
7
7.1
ommission
he barcode s
peration of
Do not lo
Do not p
Installing t
ing the barc
anner into th
the barcode
k into the la
int the laser
e barcode s
de unit
USB port p
scanner
er beam. Las
eam at pers
anner
1
ovided for thi
r class 2.
ns.
2
purpose usi
g USB.
1. Inse
2. Atta
rt the USB pl
et [1] provide
soc
pur
ose.
h the cable t
usin
g the supplie
Make
trippin
g into the U
d for this
the centrifu
clamps [2].
ure that no
hazard occu
B
e
rs.
7.2
•
Testing th
oint the barc
red laser be
barcode sc
de scanner
m becomes
nner
t a straight s
isible on the
rface and pr
urface.
ss the trigger
/30
3
3
4
aopeposbag
n"Re
5
6
h
g
z
h
a
a
e
d
g
o
e
o
r
s
d
h
h
s
s
w
i
h
n
r
i
c
p
c
T
e
a
e
c
e
s
r
t
g
r
t
g
e
t
e
a
r
e
h
e
t
c
d
n
n
g
c
h
e
b
s
i
e
s
A
e
e
r
n
e
c
c
c
u
n
h
h
c
h
e
o
s
o
n
e
w
g
c
a
l
w
a
p
e
e
b
p
h
c
f
m
u
d
d
r
s
b
p
d
s
d
e
c
u
h
c
p
n
G
H
d
t
g
n
e
D
a
2
b
p
d
e
d
d
s
u
r
h
7.
Scannin
the barcod
•
Point the b
press the tri
Direct the l
•
The laser b
•
If the barco
signal soun
Scannin
7.
Sc
n the start c
rator and th
ition. The pr
barcodes a
Do no
The si
Hold t
Finally
the in
slight
t hold the b
e of the las
e barcode s
rcode scann
gger.
ser beam ho
am must ext
de scanner h
s and the la
at the cent
de. It is loca
desired pro
gram is prog
e located on
, after loadin
ide of the c
elay, confirm
rcode scan
r beam cha
anner at a sli
er at the bar
rizontally to t
nd over the
as read the
er beam goe
ifuge
ed on the ins
ram number
ammed at th
he blood bag
the blood ba
ntrifuge lid.
ing the data
er directly o
ges due to t
ht angle to t
ode to be s
e centre of t
ntire barcod
arcode, a sh
out automati
de of the cen
can also be
centrifuge c
. The scanni
gs into the c
fter scanning
xchange.
the barcod
e distance
e barcode..
anned and
e barcode.
.
ort acoustic
cally.
trifuge lid. O
canned. The
ntrol. Next, t
g sequence
ntrifuge, the
the end cod
(keep a di
etween the
tionally, an o
se two barco
e blood bag
an be varied
inal code mu
, the secon
tance of ap
arcode scan
RICHTI
FALSC
erator barco
es can be a
arcodes are
after scannin
t be scanned
acoustic sig
prox. 10 to
er and the
e for the res
tached at a
scanned. Th
the start co
. It is also loc
nal is emitte
0 cm).
arcode.
ective
esired
blood
e.
ated on
with a
Aft
er scanning t
be
closed and t
ru
, the proces
port" appear
7.
Workflo
1.
At the centr
Switch on t
not yet bee
2.
With the ba
Scan all req
3.
At the centr
Load the ce
Press the
7.
Barcode
If t
e barcode s
•
Check the
•
Check the
•
Make sure t
•
Make sure t
e end code,
e centrifugat
data is qu
on the displ
fuge
e centrifuge.
assigned.
code scanne
uired barcod
fuge
ntrifuge with t
S
ART
key on t
scanner do
anner does n
ower supply.
onnection of
hat the corre
hat the barco
he display of
ion run starte
ried from th
y of the cent
Enter the ce
s.
he plastic ins
e centrifuge
s not work
ot work corre
he interface
t barcode is
es are not di
the HMI sho
by pressin
centrifuge
ifuge control.
trifugation p
rts and the b
ontrol.
tly, the follo
able on the b
sed (see cha
ty or damag
s (“Data co
START
the b
ontrol and t
rameters an
ood bags an
ing error sou
rcode scann
pter 8).
d.
plete -> Clos
tton on the
ransferred to
save them
then close t
ces must be
er and on the
lid). The ce
entrifuge. Aft
HettInfo II.
nder a progr
e lid.
hecked:
barcode unit.
trifuge lid mu
r the centrif
uring this p
m number t
t then
gation
ocess,
at has
8/
0

8 Barcodes
8.1 Usable Barcodes
The barcode scanner recognizes the following barcodes with the factory setting:
• Code 128 (with check digit)
Barcodes must not contain diacritics. The scanning of diacritics leads to data manipulation of the scanned data. If a
diacritic is scanned, the device beeps 4x and the red lamp lights up. The operator must then delete all scan data. ->
Scan StartCode and start scanning again.
It is forbidden to create operator ID barcodes that begin with the character strings (HET#; HET!; HET%; HB$).
Each barcode that is used for an operator ID can be used only once.
If this barcode is deleted, it may no longer be used.
HettInfo II only uses the assignment barcode -> name of the operator for the operator ID.
If an operator name is changed, a new barcode must be used.
Should it happen that two or more employees have identical first and last names, the customer must consider an
identification possibility when entering the operator name.
Example: BC1 -> J.Mayer_No1
BC2 -> J.Mayer_No2
8.2 Explanation of the barcodes used for control pu rposes
Startcode: This code must be affixed to the centrifuge lid.
It informs the barcode unit that a barcode set is about to begin.
Endcode: This code must be affixed to the centrifuge lid.
It informs the barcode unit that the barcode set has now been completed.
Operator ID It informs the barcode unit which operator is currently working.
Program number
barcode:
Blood bag code: This code is attached to the blood bag.
Tells the barcode unit which centrifuge program is to be used. If no centrifuge program is
stored on the program position in the centrifuge control or if no program is scanned, an error
message appears.
9/30
 Loading...