

HeathCo 64WDB40TX Users Manual

Lighted Wireless
Push Button Accessory
(Style may vary from illustration)
The Heath®/Zenith Wireless Push Button Accessory works with existing
Heath®/Zenith jumper or dip switch systems.
• Battery powered push button - No wires to run.
• 128 selectable codes allow more than one chime system in the same
house.
• LED lighted push bar in dark conditions.
Lighted Push Bar Feature
Your Heath®/Zenith wireless (battery operated) push button contains a
LED (Light Emitting Diode) that will turn on in dark conditions so the
push button will be more visible for your guests. This patent (pending)
technology and built-in photocontrol will allow the light intensity of the
push button LED to increase as the outdoor light conditions around the
push button decreases. The actual time and intensity that the LED is
visible will depend on the specific mounting environment of the push
button. In darker environments, such as garages, carports, or covered
porches, the LED will be visible a longer period of time each day or
always. In very well lighted environments, the LED will be visible for a
shorter period of time each day or never. In nominal conditions the bat-
DRAFT COPY
teries will typically last 2 years.
© 2002 DESA International 598-1137-00
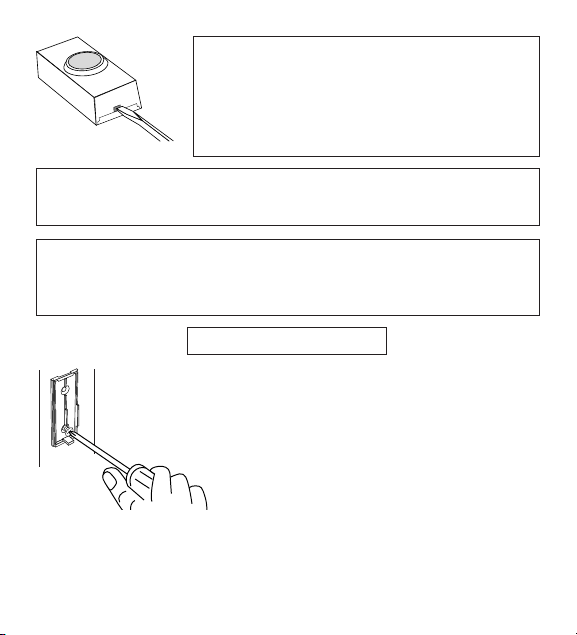
1. Install lithium type CR2032 3 volt
batteries (included). Remove back of
case by pushing in tab on bottom with
a small screwdriver. Make sure battery
is oriented properly (see page 5).
2. Set the push button jumpers to match the chime receiver
code. See “Code and Tune Setting” section.
3. Test range. Temporarily position push button where you want
it mounted. Press push button to verify chime and push button
work properly. If chime does not sound, see Troubleshooting.
4. Mount push button.
Use either screws or double sided tape
to mount push button.
To mount with screws, remove back of
case by pushing in tab on bottom with a
small screwdriver.
Attach back of case to door jamb or wall.
Snap front of push button on.
When attaching push button using double sided tape, make sure
the surface of the door jamb or wall is clean.
DRAFT COPY
-2-
598-1137-00

Code and Tune Settings
Code Settings
Note: Most installations will not require you to change any
jumpers on your chime and push button.
WARNING: Disconnect chime unit from power source before opening code access door. Close door and replace
screw before reconnecting to power.
The push button and chime communicate by using a code that
can be changed by removing and/or adding jumpers on both
the push button and chime. The code is factory set; however,
there are 128 selectable codes that allow you to expand your
system and prevent outside interference. Other wireless products may cause interference and the system may not function
properly. Follow the instructions below for setting a new code.
1. Unplug wireless chime (if applicable).
2. Open the cases and locate the jumpers on both the push button and chime (See illustration on page 5).
3. The push button and chime both have eight different jumper
locations. The jumper positions 1 through 7 are used for setting the code.
4. To change the code, add and/or remove jumpers as needed.
It is recommended to only change one jumper at a time and
then check to see if system is functioning properly. Note: Jumpers in positions 1 through 7 must be exactly the same for both
DRAFT COPY
the push button and chime for this system to function.
598-1137-00
-3-
 Loading...