

Page 1
PTS-1000KL
Patient Transfer Scale
User Instructions
PELSTAR, LLC 9500 West 55th St. McCook, IL 60525-7110 USA www.homscales.com
© Pelstar, LLC 2019
P/N UMPTS_1000KL REV20190813
1
Page 2

Thank you for purchasing this Health o meter® Professional product. Please read this manual
carefully, and keep it for easy reference or training.
TABLE OF CONTENTS
Cautions and Warnings ............................................................................................. 3
Specifications ............................................................................................................ 4
Wall Mounting ........................................................................................................... 5
Recharging the Scale ................................................................................................ 7
LCD Display .............................................................................................................. 8
Setting Up the Scale.................................................................................................. 9
Preparing to Use the Scale ....................................................................................... 10
Operating the Scale................................................................................................... 11
EMC Guidance .......................................................................................................... 13
Maintenance .............................................................................................................. 17
Calibration ................................................................................................................. 18
Troubleshooting ........................................................................................................ 22
Warranty .................................................................................................................... 23
Note: This scale has been factory calibrated, and does not
require calibration prior to use.
Please register your scale for warranty coverage at:
www.homscales.com/product-support/technical-support/product-warranty-registration
For User Instructions updates and revisions please go to:
www.homscales.com
P/N UMPTS_1000KL REV20190813
2
Page 3

CAUTIONS AND WARNINGS
INTENDED USE
This Health o meter® Professional patient transfer scale is intended to be used in a professional
medical environment by trained medical staff. This product was designed to weigh immobile
patients who are safely positioned on the scale. Do not modify the product or use it for anything
other than its intended purpose.
To prevent patient/caregiver injury or damage to your scale, please follow the
instructions in this user manual very carefully.
When using electrical components under increased safety requirements, always comply with
appropriate regulations.
Inappropriate installation/use will render the warranty null and void.
Ensure the voltage marked on the power supply unit matches your mains supply.
This device is designed for use indoors.
Observe the permissible ambient temperatures for use.
The device meets the requirements for electromagnetic capability. Do not exceed the
maximum values specified in the applicable standards.
Batteries should be kept away from small children. If swallowed, promptly seek medical
assistance.
Transfer patient only between surfaces of similar height.
The wheels of the stretcher/bed must be locked before use.
The distance from bed to bed, or stretcher to bed, must not exceed 8 in/20 cm.
The scale must be supported by a minimum of 8 in/20 cm on each bed/stretcher.
Do not exceed the weight capacity specified for this scale.
For accurate weighing, verify before each use the proper operation according to the
procedure described in this manual.
Do not use in the presence of flammable or explosive materials.
If the scale becomes damaged, it should not be operated until properly serviced.
Ensure that the battery charger and scale do not come in contact with liquids, excessive
temperature, or excessive humidity.
Patient should be lying flat for better accuracy.
The Patient Transfer Scale should be used with a slide sheet.
Warning: The Patient Transfer Scale should not be used to carry patients.
In no event whatsoever shall Pelstar, LLC be liable for damages or injuries arising from
or connected with the assembly, use, or misuse of its products.
P/N UMPTS_1000KL REV20190813
3
Page 4
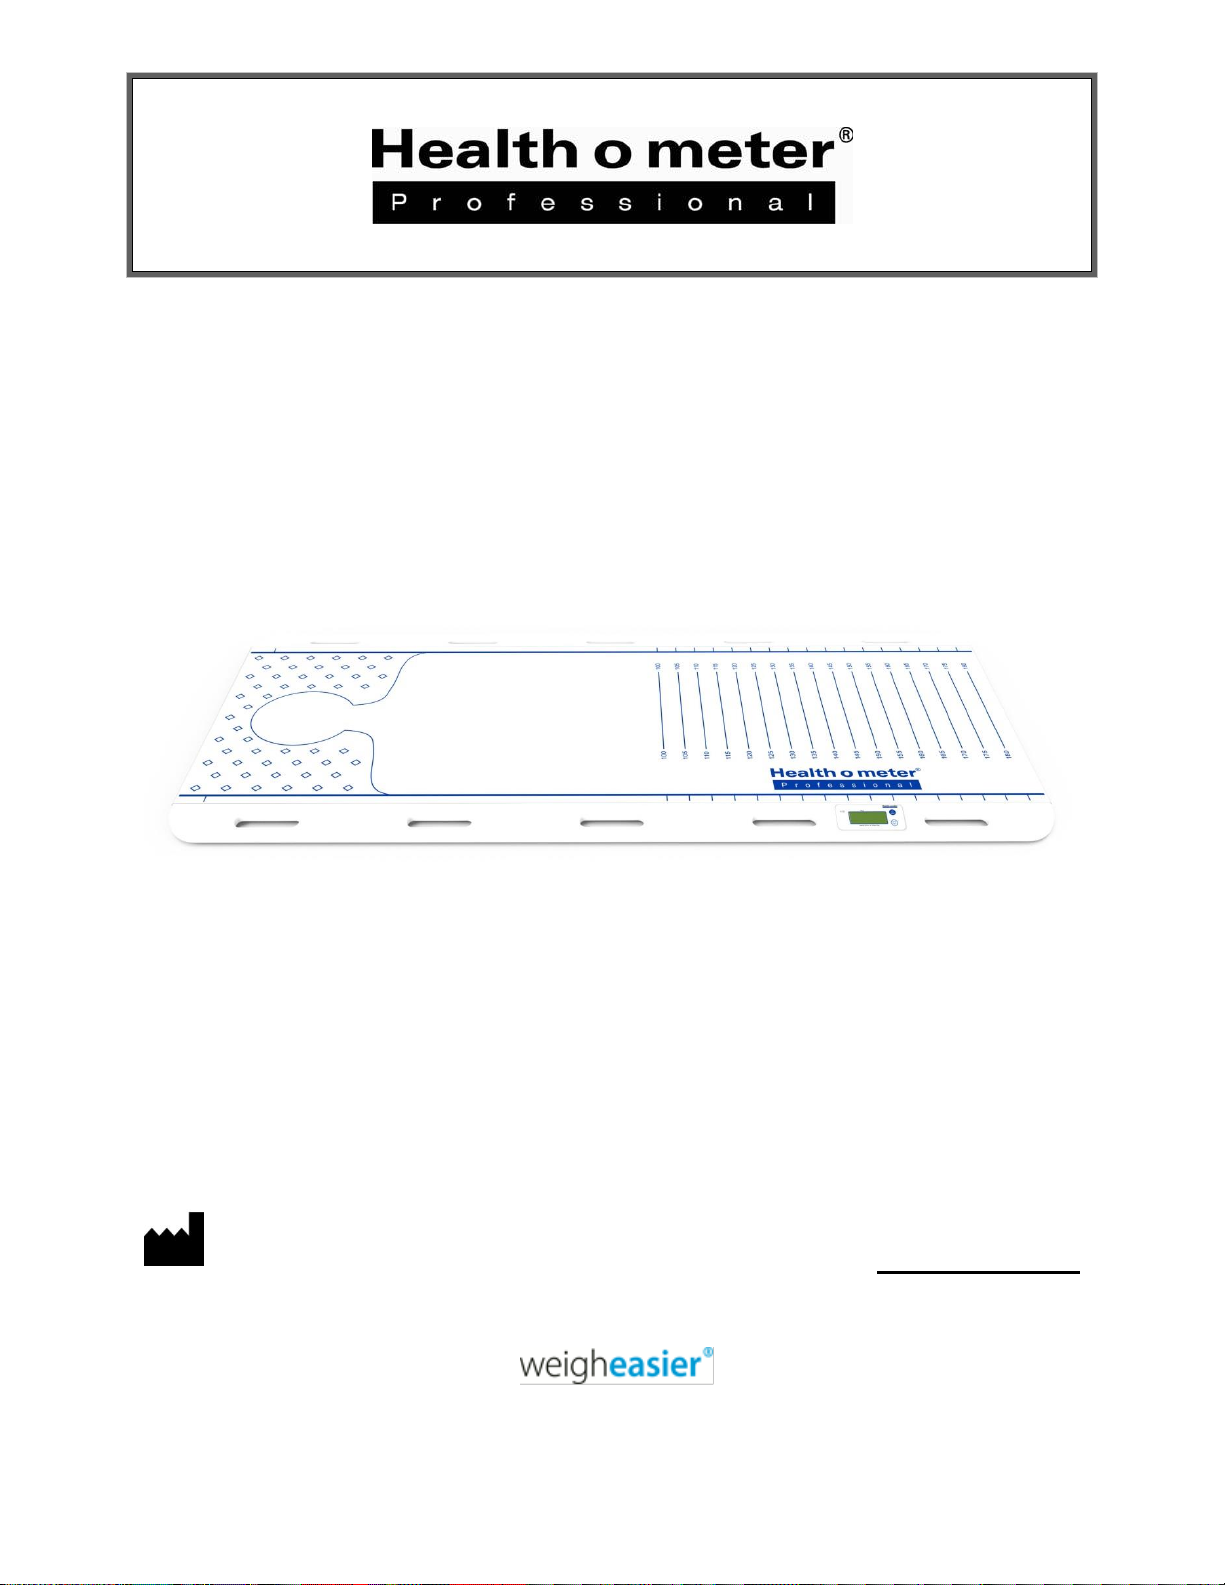
SPECIFICATIONS
Capacity and Resolution
550 lb x 1 lb (250 kg x 0.5 kg)
Power Supply
Rechargeable Battery Pack
Environmental
Operating temperatures: 41°F to 95°F (5°C to 35°C)
Storage temperatures: 41°F to 95°F (5°C to 35°C)
Maximum Humidity: 85% RH
Physical Dimensions
Length: 71” (1805 mm)
Width: 27.5” (700 mm)
Height: 1” (30 mm)
Weight: 25 lb (11.4 kg)
Display
1” x 3” (27.7 mm x 75 mm) LCD
Temperature range
(0°C to 50°C / 32°F to 122°F)
Use only adapter supplied with this product.
Type: EM1005AVRU
5V DC @ 1.2A
Scale Specifications
Definition of Symbols
P/N UMPTS_1000KL REV20190813
4
Page 5
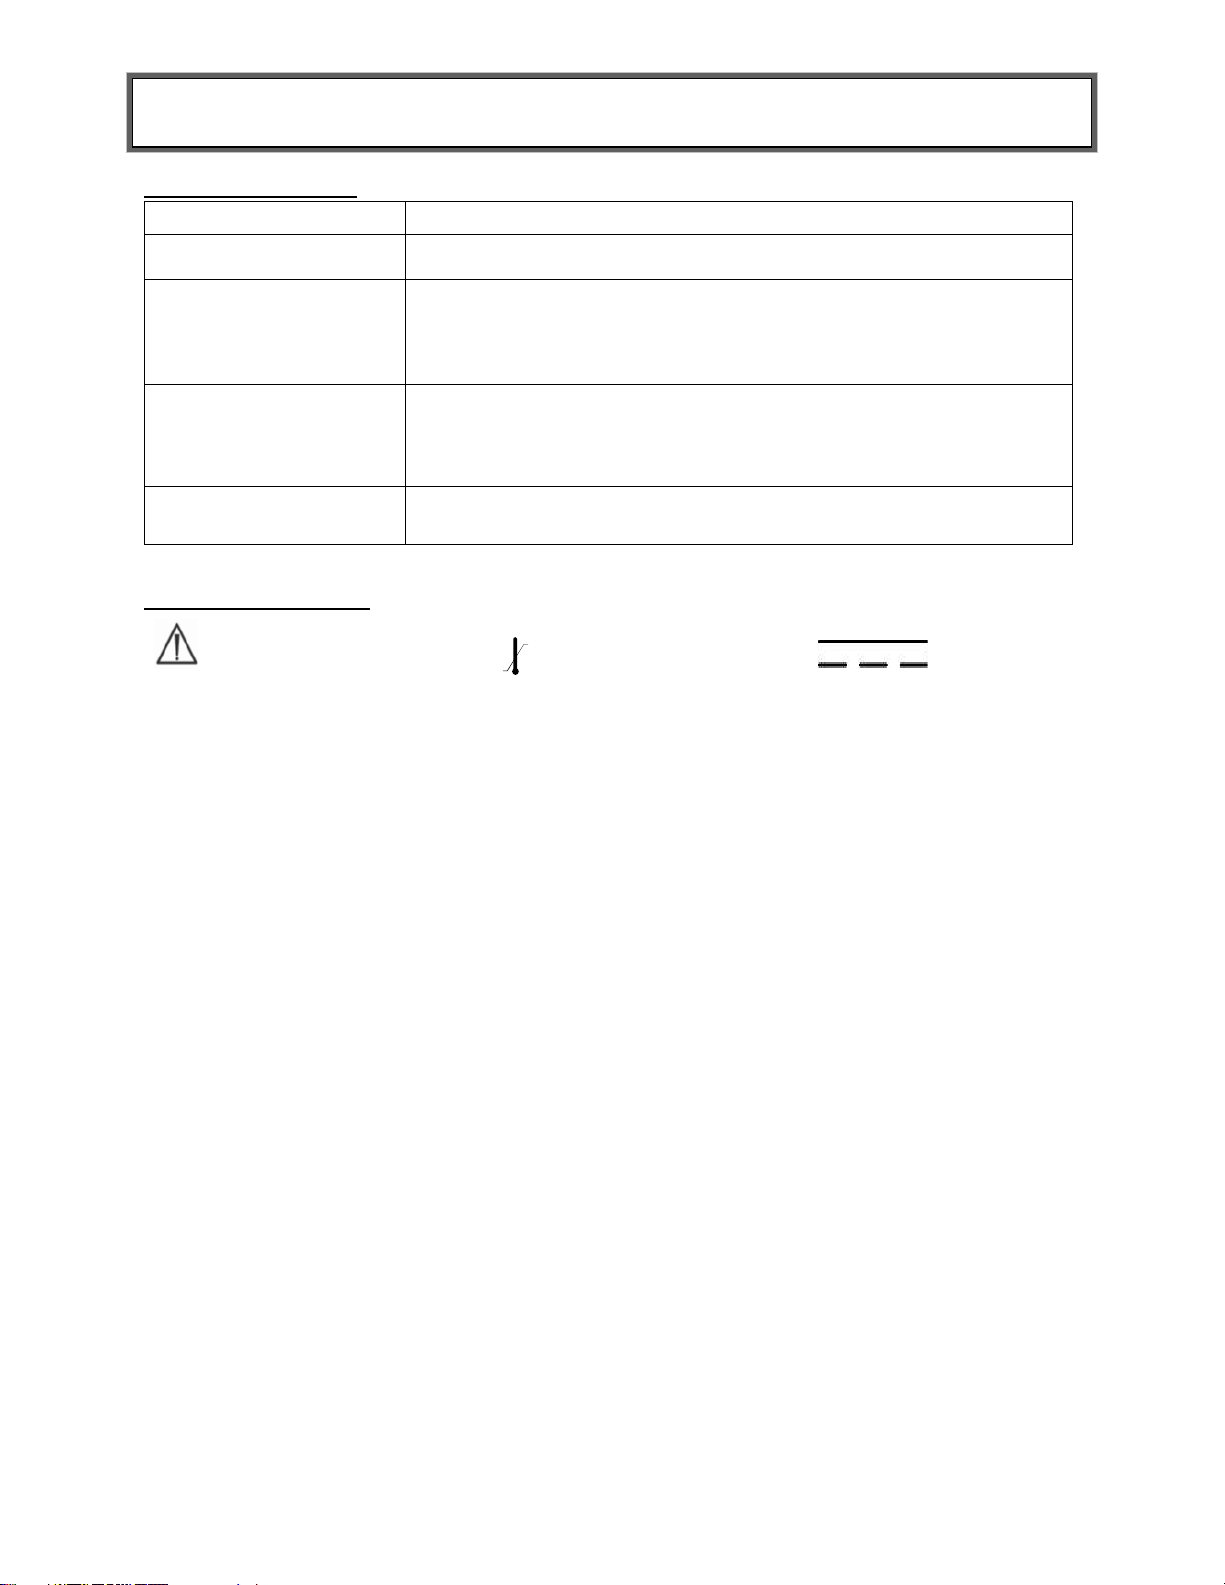
WALL MOUNTING THE SCALE
55” (1400 mm)
24” (610 mm)
You can hang the Patient Transfer Scale on the wall either horizontally or vertically, using the
hooks provided. To hang horizontally, your hooks will need to be positioned exactly 55”
(1400mm) apart, center to center. To hang vertically, your hooks will need to be positioned 24”
(610mm) apart, center to center. It is suggested to hang the scale near a power outlet to be able
to easily attach the battery charger.
Use the Patient Transfer Scale and the hooks to determine the positioning of the hooks on the
wall, and mark drill holes. Drill holes should be exactly 55” (1400mm) or 24” (610mm) apart, as
per above.
P/N UMPTS_1000KL REV20190813
5
Page 6
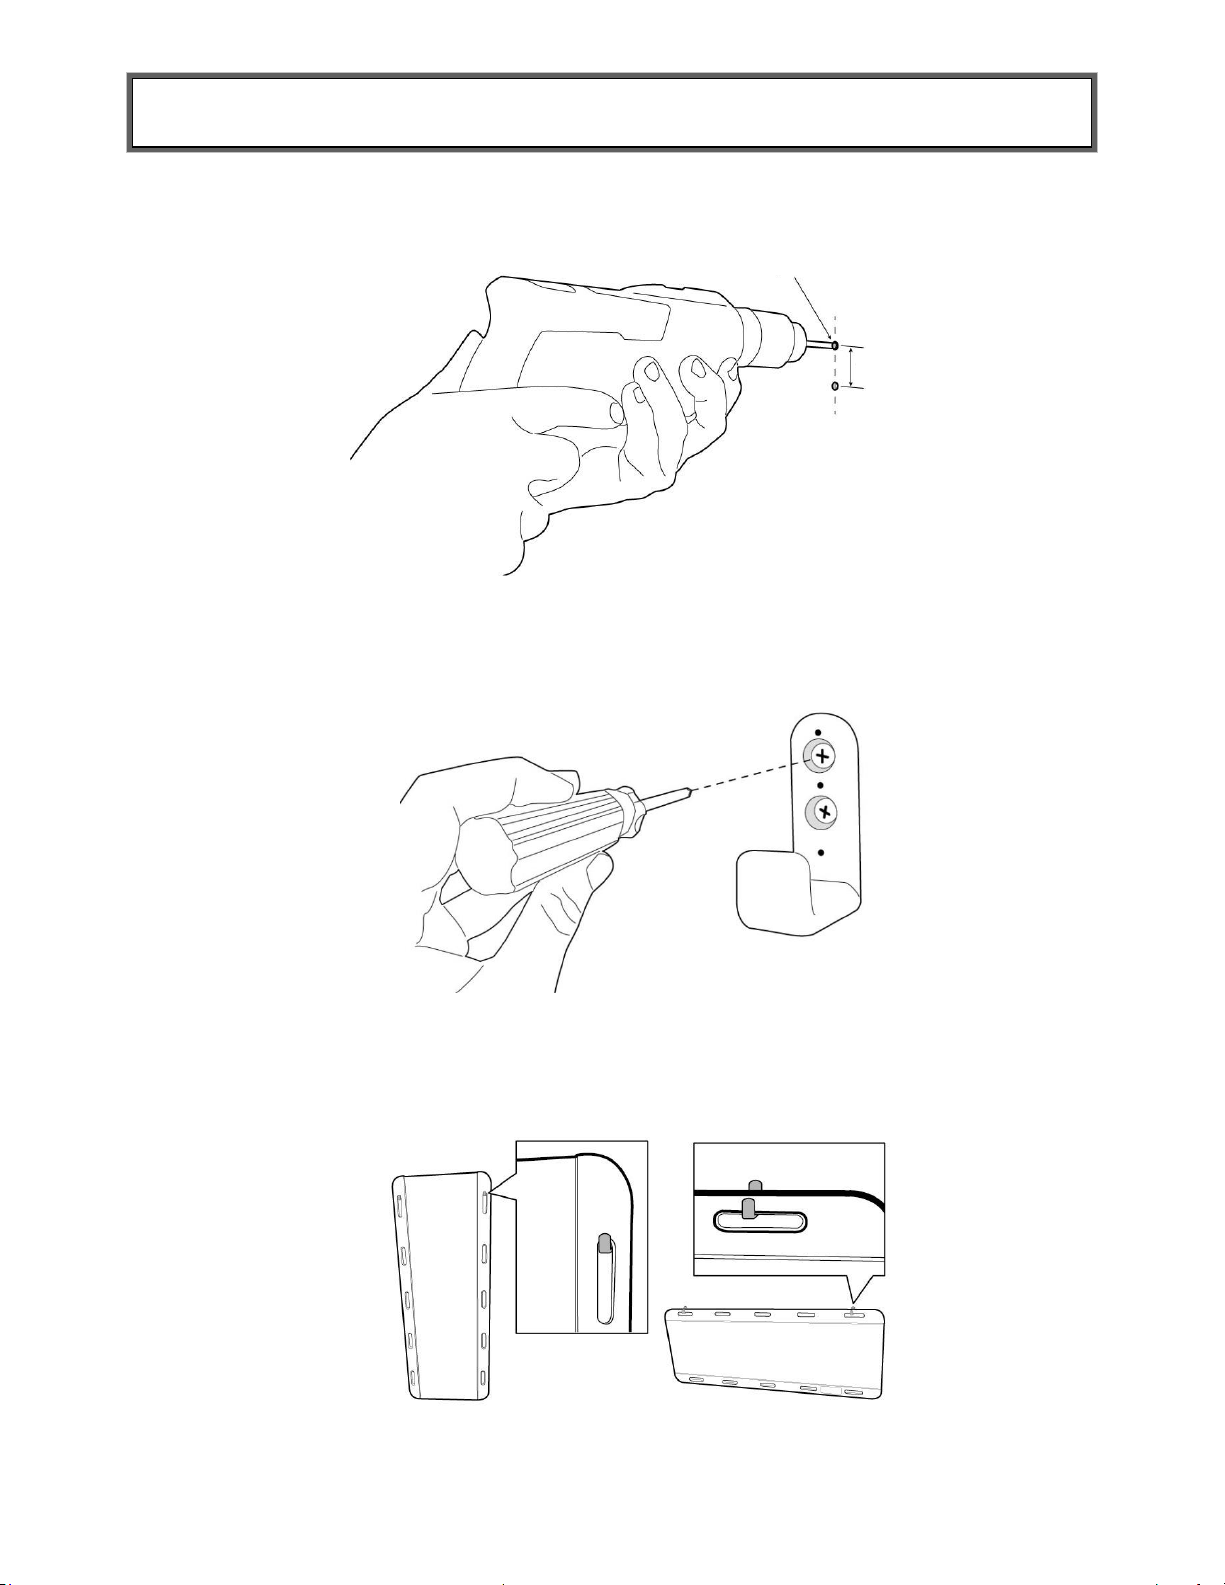
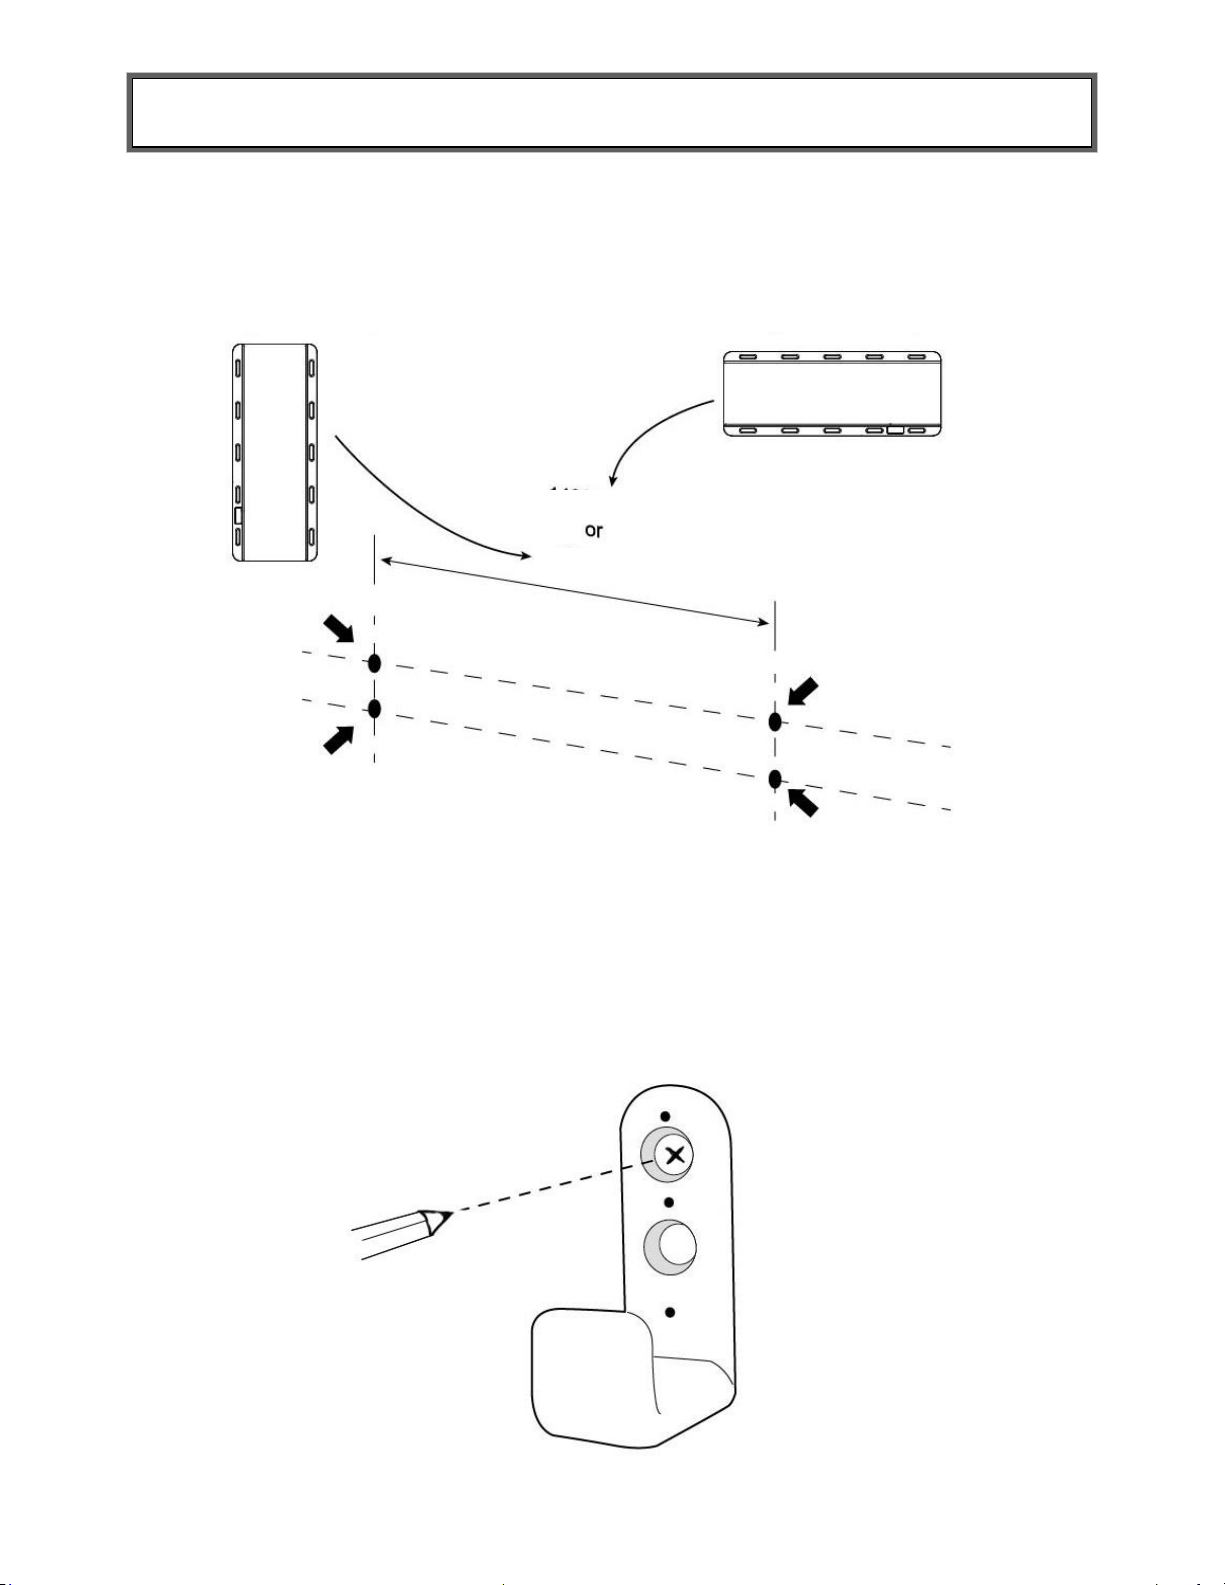
WALL MOUNTING THE SCALE (CONT.)
1/4” (6.5mm)
5/8” (15.8mm)
Drill two ¼” (6.5mm) holes for each hook.
Affix the hooks to the wall using the screws and wall plugs provided, and use the plastic covers
to hide the screwheads.
Your Patient Transfer Scale can now be hung on the wall.
P/N UMPTS_1000KL REV20190813
6
Page 7
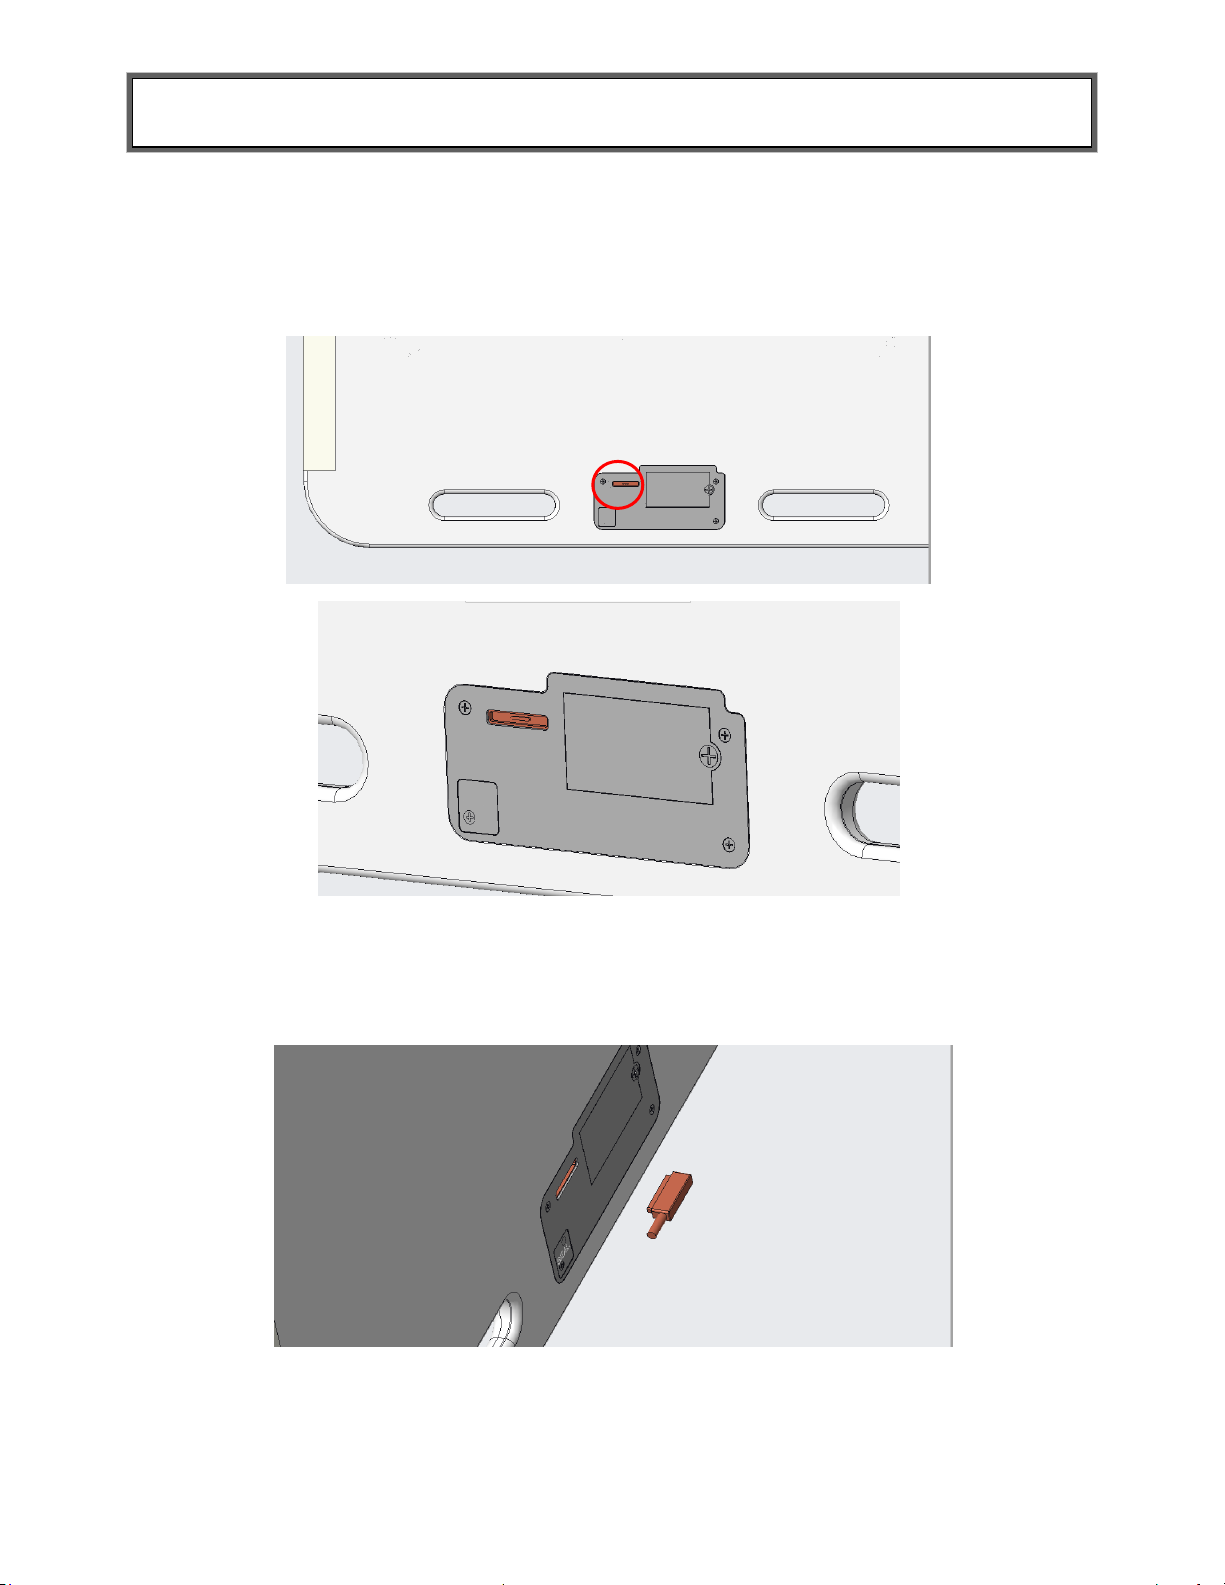
RECHARGING THE SCALE
We recommend fully charging the scale before first use. To fully charge the scale, please allow
8 hours.
When the low battery indicator on the LCD display indicates that the scale needs recharging,
move the scale to a location where it can be charged. You will find the charging port on the
underside of the scale.
The port for the charging cable is magnetic. Clip the end of the cable in place and plug the other
end of the cable into a power outlet. Please do not use any form of charging cable other than
the one supplied with the scale. The scale cannot be used whille recharging.
P/N UMPTS_1000KL REV20190813
7
Page 8

LCD DISPLAY
Stable symbol
Minus weight
Zero symbol
Low battery
ON/OFF/ZERO
HOLD/UNIT
Stable symbol: To indicate the weight reading is stable.
Minor weight: The weight is under zero.
Zero symbol: The weight is at zero point.
Low battery: Please recharge the scale.
P/N UMPTS_1000KL REV20190813
8
Page 9

SETTING UP THE SCALE
Setting Auto Off Time/Disabling Auto Off
The Auto Off time can be set for 30 minutes, 60 minutes or off. Follow this procedure to set the
Auto Off time.
1. With the scale powered off, press and hold until the display shows “P-X.XX” (X = version
number), while still pressing , press three times then release both buttons.
2. “SETUP” will appear on the display followed by “AOFF”.
3. Press . Press to scroll through the time options. 30m, 60m, or Off.
4. When the desired setting is selected, press .
5. Press three times and “End” will appear on the display.
6. Press to return to weighing mode.
Enabling/Disabling Sound
The display can be set to stay silent or beep while operating the scale. Follow this procedure to
enable or disable sound.
1. With the scale powered off, press and hold until the display shows “P-X.XX” (X = version
number), while still pressing , press three times then release both buttons.
2. “SETUP” will appear on the display followed by “AOFF”.
3. Press and “burr” will appear on the display.
4. Press and “OFF” or “On” will appear on the display.
5. Press to change between off or on.
6. When the desired setting is selected, press . “burr” will appear on the display.
7. Press two times and “End” will appear on the display.
8. Press to return to weighing mode.
Enabling/Disabling Backlight
The backlight on the display can be enabled, disabled or set to Auto. Follow this procedure to
enable or disable the backlight.
1. With the scale powered off, press and hold until the display shows “P-X.XX” (X = version
number), while still pressing , press three times then release both buttons.
2. “SETUP” will appear on the display followed by “AOFF”.
3. Press twice and “bAhL” will appear on the display.
4. Press and “OFF”, “On” or “Auto” will appear on the display.
5. Press to change between off, on, or automatic.
6. When the desired setting is selected, press .. “bAhL” will appear on the display.
7. Press one time and “End” will appear on the display.
8. Press to return to weighing mode.
P/N UMPTS_1000KL REV20190813
9
Page 10

PREPARING TO USE THE SCALE
1” /
The Patient Transfer Scale should be used in line with your facility’s current moving and
handling policies. Essentially, it should be used in the same way you would use a transfer board,
taking into account of course that you will need to pause for a few seconds during the transfer
process, to allow the scale to capture the patient’s weight.
The Patient Transfer Scale should only be used by trained professionals.
Ensure brakes on castors are applied before you begin the transfer process.
Ensure that stretcher/bed frames are touching before you start the transfer process.
There should be no more than 8”/200mm between mattresses. There should also be
8”/200mm or more of the Patient Transfer Scale on each bed or stretcher before use.
When transferring, the two surfaces must be of similar height. A tilt of less than 3% (one
side raised by around 1”/25mm) is ok; a tilt greater than this will affect the scale’s
accuracy. To avoid showing an inaccurate reading, the scale will display an error
message if tilt exceeds 3% (see Error Messages).
Patient should be lying flat for better accuracy.
The Patient Transfer Scale should be used with a slide sheet.
Warning: The Patient Transfer Scale should not be used to carry patients.
Guidance for safe use can also be found on the scale itself.
P/N UMPTS_1000KL REV20190813
10
Page 11

To switch the scale on, press the
button. When the display shows 0.0
the scale is ready to use.
Switching the Scale off
Press and hold button for
three seconds to power off the
scale.
If for any reason the scale shows a
reading other than 0.0 it can be reset
to zero. Press the button once and
the scale will return to 0.0.
OPERATING INSTRUCTIONS
Switching the Scale on
Setting the Scale to Zero
P/N UMPTS_1000KL REV20190813
11
Page 12

OPERATING INSTRUCTIONS (CONTINUED)
The scale’s Hold function
stabilizes the weight reading on
the display, allowing you to take
an accurate reading without
fluctuations.
With a patient on the scale,
press . The display will show
‘HOLD’.
NB: Alternatively, you can
activate the Hold function before
the patient is on the scale.
When the scale has determined
the weight of the patient, a
stable weight reading will show.
This will remain on the display
after the patient has left the
scale.
Press to disable the Hold
function.
Using the Hold Function
P/N UMPTS_1000KL REV20190813
12
Page 13

EMC Guidance & Manufacturer’s Declaration
Guidance and manufacturer’s declaration-electromagnetic immunity
The MEDICAL SCALE PTS-1000KL is intended for use in the electromagnetic environment
specified below.
The customer or the user of the MEDICAL SCALE PTS-1000KL should ensure that it is used in
such an environment.
Immunity test
IEC 60601 test
level
Compliance
level
Electromagnetic
environment-
guidance
Electrostatic discharge(ESD)
IEC 61000-4-2
± 6 kV contact
± 8 kV air
± 6 kV contact
± 8 kV air
Floors should be
wood, concrete or
ceramic tile. If floors
are covered with
synthetic material,
the relative humidity
should be at least
30%
Electrical fast transient/burst IEC
61000-4-4
± 2kV for
power supply
lines + 1kV for
input/output
lines
± 2kV for
power supply
lines Not
applicable
Mains power quality
should be that of a
typical commercial or
hospital environment.
Guidance and manufacturer’s declaration-electromagnetic emissions
The MEDICAL SCALE PTS-1000KL is intended for use in the electromagnetic environment
specified below.
The customer or the user of the MEDICAL SCALE should ensure that it is used in such an
environment.
Emission test
Compliance
Electromagnetic environment-guidance
RF emissions
CISPR 11
Group 1
The MEDICAL SCALE PTS-1000KL uses RF energy only for
its internal function. Therefore, its RF emissions are very low
and are not likely to cause any interference in nearby
electronic equipment.
RF emissions
CISPR 11
Class B
The MEDICAL SCALE PTS-1000KL is suitable for use in all
establishments, including domestic establishments and those
directly connected to the public low-voltage power supply
network that supplies buildings used for domestic purposes.
Harmonic
emissions IEC
61000-3-2
Class A
Voltage
fluctuations
/flicker
emissions IEC
61000-3-3
Compliance
P/N UMPTS_1000KL REV20190813
13
Page 14

Surge IEC 61000-4-5
± 1kV line(s) to
line(s) ± 2kV
line(s) to earth
± 1kV
differential
mode Not
applicable
Mains power quality
should be that of a
typical commercial or
hospital environment.
Voltage Dips, short interruptions and
voltage variations on power supply
input lines IEC 61000-4-11
<5% UT(>95%
dip in UT) for
0,5 cycle 40%
UT(60% dip in
UT) for 5
cycles 70%
UT(30% dip in
UT) for 25
cycles <5%
UT(>95% dip
in UT) for 5 s
<5% UT(>95%
dip in UT) for
0,5 cycle 40%
UT(60% dip in
UT) for 5
cycles 70%
UT(30% dip in
UT) for 25
cycles <5%
UT(>95% dip in
UT) for 5 s
Mains power quality
should be that of a
typical commercial or
hospital environment.
If the user of the
MEDICAL SCALE
PTS-1000KL
requires continued
operation during
power mains
interruptions, it is
recommended that
the MEDICAL
SCALE PTS-1000KL
be powered from an
uninterruptible power
supply or a battery.
Power frequency(50/60 Hz) magnetic
field IEC 61000-4-8
3 A/m
3 A/m
The MEDICAL
SCALE PTS-1000KL
power frequency
magnetic fields
should be at levels
characteristic of a
typical location in a
typical commercial or
hospital environment.
NOTE UT is the a.c. mains voltage prior to application of the test level.
Guidance and manufacturer’s declaration-electromagnetic immunity
The MEDICAL SCALE PTS-1000KL is intended for use in the electromagnetic environment
specified below.
The customer or the user of the MEDICAL SCALE PTS-1000KL should assure that is used in such
and environment.
Immunity test
IEC 60601 test
level
Compliance
level
Electromagnetic
environment-guidance
Conducted RF
IEC 61000-4-6
3 Vrms
150 KHz to 80
MHz
3 Vrms
Portable and mobile RF
communications
equipment should be
used no closer to any
part of the MEDICAL
SCALE PTS-1000KL
including cables, than
the recommended
separation distance
calculated from the
equation applicable to
the frequency of the
transmitter.
Recommended
P/N UMPTS_1000KL REV20190813
14
Page 15

Radiated RF IEC 61000-4-3
3 V/m 80MHz to
2,5 GHz
3 V/m
separation distance:
d = 1,2 √P
d = 1,2 √P 80MHz to
800 MHz
d = 2,3 √P 800MHz to
2,5 GHz
Where P is the
maximum output power
rating of the transmitter
in watts (W) according
to the transmitter
manufacturer and d is
the recommended
separation distance in
metres (m).
Field strengths from
fixed RF transmitters, as
determined by an
electromagnetic site
surveya, should be less
than the compliance
level in each frequency
rangeb.
Interference may occur
in the vicinity of
equipment marked with
the following symbol:
NOTE1 At 80 MHz and 800 MHz, the higher frequency range applies.
NOTE2 These guidelines may not apply in all situations. Electromagnetic propagation is affected
by absorption and reflection from structures, objects and people.
a Field strengths from fixed transmitters, such as base stations for radio (cellular/cordless)
telephones and land mobile radios, amateur radio, AM and FM radio broadcast and TV
broadcast cannot be predicted theoretically with accuracy. To assess the electromagnetic
environment due to fixed RF transmitters, an electromagnetic site survey should be considered.
If the measured field strength in the location in which the MEDICAL SCALE PTS-1000KL is
used exceeds the applicable RF compliance level above, the MEDICAL SCALE PTS-1000KL
should be observed to verify normal operation. If abnormal performance is observed, additional
measures my be necessary, such as re-orienting or relocating the MEDICAL SCALE PTS1000KL.
b Over the frequency range 150 kHz to 80 MHz, field strengths should be les than 3 V/m.
P/N UMPTS_1000KL REV20190813
15
Page 16

Recommended separation distance between portable and mobile RF communications
equipment and the MEDICAL SCALE
The MEDICAL SCALE PTS-1000KL is intended for use in an electromagnetic environment in which
radiated RF disturbances are controlled. The customer or the user of the MEDICAL SCALE PTS1000KL can help prevent electromagnetic interference by maintaining a minimum distance between
portable and mobile RF communications equipment (transmitters) and the MEDICAL SCALE as
recommended below, according to the maximum output power of the communications equipment.
Rated maximum
output power of
transmitter
W
Separation distance according to frequency of transmitter m
150 kHz to 80
MHz
d =1,2√P
80 MHz to 800
MHz
d =1,2√P
800 MHz to 2,5 GHz
d =2,3√P
0,01
0,12
0,12
0,23
0,1
0,38
0,38
0,73
1
1,2
1,2
2,3
10
3,8
3,8
7,3
100
12
12
23
For transmitters rated at a maximum output power not listed above, the recommended separation
distance d in metres (m) can be estimated using the equation applicable to the frequency of the
transmitter, where p is the maximum output power rating of the transmitter in watts (W) according to
the transmitter manufacturer.
NOTE1 At 80 MHz and 800 MHz, the separation distance for the higher frequency range applies.
NOTE2 These guidelines may not apply in all situations. Electromagnetic propagation is affected by
absorption and reflection from structures, objects and people.
P/N UMPTS_1000KL REV20190813
16
Page 17

MAINTENANCE
Maintenance
The following pages provide instructions for maintenance, cleaning, calibrating, and
troubleshooting of the scale. Maintenance operations other than those described in this manual
should be performed by qualified service personnel.
Caution: Before first use, or after long periods of non-use, check the scale for proper
operation and function. If the scale does not operate correctly, refer to qualified service
personnel.
1. Check overall appearance of the total scale for any obvious damage, wear, and tear.
2. Inspect the battery charger cord for cracking or fraying, or for broken/bent prongs.
Cleaning and Disinfecting
When cleaning or disinfecting the Patient Transfer Scale, please follow the guidance below.
Caution: Always disconnect the scale from the main power supply before cleaning.
The Patient Transfer Scale must be cleaned after each patient use with a neutral based
detergent and water or a detergent wipe. If contaminated with blood or bodily fluids then
disinfect as per local guidelines.
Use a non-abrasive cloth.
Please do not use corrosive liquids, large amounts of water or high pressure washers.
Do not submerge the scale in water. If you think the scale may have suffered water damage,
stop using it immediately and contact Health o meter® Professional Scales Customer
Service at 1-800-815-6615.
Disposal
This Health o meter® Professional scale must be disposed of properly as electronic waste.
Follow the national, regional or local regulations that apply to you for disposal of electronic
waste or batteries. Do not dispose of this device in the domestic waste stream.
P/N UMPTS_1000KL REV20190813
17
Page 18

CALIBRATION
TEST PIN
This scale has been factory calibrated, and does not require calibration prior to use. If
necessary the scale can be recalibrated following the steps below.
Step 1: Deactivate gravity compensation
Step 2: Proceed with calibration procedure
Step 3: Reassemble the top board (aluminum panel) and mat
Step 4: Calibrate zero
Before starting step 1, the mat and top board must be removed.
1. Peel back the mat.
2. Unfasten all 8 screws and lift off the top plate as shown in the image below. Set the screws
aside for use in step 3 to reassemble the board.
Note: Do not use brute force to disassemble the top board (aluminum panel) under the mat, it
might cause serious damage to the product. Always remove all of the screws before lifting the
top board up.
Step 1: Deactivate Gravity Compensation
1. Power on the scale, then access the underside of the scale. Remove the SEAL, then
press [TEST PIN] one time to enter Engineering Setting mode.
2. While LCD shows “UNIT”, press [Hold] to select , press [Zero] to enter gravity
setting and show .
3. Press [Hold] to select , then press [Zero] to confirm and show .
P/N UMPTS_1000KL REV20190813
18
Page 19

CALIBRATION (CONT.)
4. Press [Hold] to select , then press [Zero] to finish deactivating Gravity
Compensation and go back to normal mode.
Step 2: Proceed calibration procedure (60kg)
1. Power on the scale, press [TEST PIN] two times to enter Calibration mode.
2. While LCD shows “Zero count”, press [Zero] to show “Span count.”
3. Using a calibration plate, load 60 kg on the first set of load cells (LCD shows Span
count), and wait for a stable reading.
CAUTION
Remember to place a hard platform (such as the calibration plate) on the load cell sets
before calibrating.
Please refer to the following instruction to load weight on the load cell sets:
P/N UMPTS_1000KL REV20190813
19
Page 20

CALIBRATION (CONT.)
4. Press [Zero] to finish calibrating the first set while the LCD shows “CAL-1”.
5. Repeat the same procedure to calibrate the second to fourth set of load cells.
6. After all four sets of calibration are done, LCD shows current weight. Power off the scale.
Step 3: Reassemble the top board (aluminum panel) and mat
1. Place the aluminum top plate back onto the scale and replace and fasten all 8 screws.
Caution: Do not overtighten the screws.
2. Reapply the mat following the procedure below.
A. Apply the double-sided strips in the recess either side of the aluminum plate as
shown in the image below.
B. Peel back the top film of the double-sided strips and lightly place the mat on top,
ensuring that it is perfectly in place before pressing it into place.
P/N UMPTS_1000KL REV20190813
20
Page 21

CALIBRATION (CONT.)
C. Turn the scale over and place the double-sided strips as shown on the image below.
D. Peel back the film on the double-sided strips and then secure both ends of the mat
into place.
Step 4: Calibrate Zero
1. Power on, press [TEST PIN] one time to enter Engineering Setting mode.
2. While LCD shows “UNIT”, press [HOLD] to select ,, press [Zero] to enter CAL-0
setting and shows “no”.
3. Press [Hold] to select “yes”, then press [Zero] to confirm and shows “---”.
4. While LCD shows , press [Hold] to finish this procedure and shows .
5. Press [Zero] to return to normal mode.
P/N UMPTS_1000KL REV20190813
21
Page 22

TROUBLESHOOTING
Error Message
Reason
Action
Tilt error: The scale has been
tilted by 3% or more
Please ensure the scale is as
level as possible before use.
Low battery: This warning
shows that the voltage of
battery is too low to use
Please recharge the scale.
Overload: The total load
exceeds the maximum
capacity of scale
Please reduce the load on the
scale.
Counting error (too high):
Indicates that the signal from
the load cells is too high
This error is normally caused
by a serious fault. Please
contact your service provider.
Counting error (too low):
Indicates that the signal from
the load cell is too low
This error is normally caused
by a serious fault. Please
contact Technical Support.
Zero count over calibration
zero range (+10% with power
on)
Please re-calibrate the scale.
Zero count under calibration
zero range (-10% with power
on)
Please re-calibrate the scale.
EEPROM Error: Indicates that
there is a fault with the
software
This error is normally caused
by a serious fault. Please
contact Technical Support.
Troubleshooting
Before contacting service personnel, refer to the following instructions to check and to correct
any failures. If failures cannot be corrected, contact Health o meter® Professional Technical
Support at 1-800-638-3722.
P/N UMPTS_1000KL REV20190813
22
Page 23

WARRANTY
Limited Warranty
What does the Warranty Cover?
This Health o meter® Professional scale is warranted from date of purchase against defects of materials or in
workmanship for a period of two (2) years. If product fails to function properly, return the product, freight prepaid and
properly packed to Pelstar, LLC (see “To Get Warranty Service”, below, for instructions). If the manufacturer determines
that a defect of material or in workmanship exists, the customer’s sole remedy will be replacement of the scale at no
charge. Replacement will be made with a new or remanufactured product or component. If the product is no longer
available, replacement may be made with a similar product of equal or greater value. All replaced parts are covered only
for the original warranty period.
Who is Covered?
The original purchaser of the product must have proof of purchase to receive warranty service. Please save your invoice
or receipt. Pelstar dealers or retail stores selling Pelstar products do not have the right to alter, or modify or in any way
change the terms and conditions of this warranty.
What is Excluded?
Your warranty does not cover normal wear of parts or damage resulting from any of the following: negligent use or
misuse of the product, use on improper voltage or current, use contrary to the operating instructions, abuse including
tampering, damage in transit, or unauthorized repair or alternations. Further, the warranty does not cover natural
disasters, such as fire, flood, hurricanes and tornadoes. This warranty gives you specific legal rights, and you may also
have other rights that vary from country to country, state to state, province to province or jurisdiction to jurisdiction.
To get Warranty Service make sure you keep your sales receipt or document showing proof of purchase. Call (+1)
800-638-3722 or (+1) 708-377-0600 to receive a return authorization (RA) number, which must be included on the return
label. Attach your proof of purchase to your defective product along with your name, address, daytime telephone number
and description of the problem. Carefully package the product and send with shipping and insurance prepaid to:
Pelstar, LLC
Attention R/A#_____________
Return Department
9500 West 55th Street
McCook, IL 60525
Extended Warranty Available*
This scale is eligible for Health o meter® Professional ScaleSurance® Extended Warranty Program. ScaleSurance®
extends the warranty period for an additional two years. This extension to the standard Limited Warranty can be
purchased with new scales or for a facility’s existing scale before its current warranty has expired. To learn more, visit
www.homscales.com/scalesurance/ or contact your medical supply distributor.
*Not available in all countries
PELSTAR, LLC
9500 West 55th St. McCook, IL 60525-7110 USA
1-800-638-3722 or 1-708-377-0600
PLEASE REGISTER YOUR SCALE FOR WARRANTY COVERAGE AT:
www.homscales.com
Health o meter® is a registered trademark of Sunbeam Products, Inc. used under license.
Health o meter® Professional products are manufactured, designed, and owned by Pelstar, LLC.
We reserve the right to improve, enhance, or modify Health o meter® Professional product features or specifications
without notice.
© Pelstar, LLC 2019
P/N UMPTS_1000KL REV20190813
23
 Loading...