

Page 1
y
INSTALLATION, OPERATION
&
MAINTENANCE INSTRUCTIONS
1455 Kleppe Lane Sparks, NV 89431-6467 (775) 359-4712 Fax (775) 359-7424
E-mail: haws@hawsco.com website: www.hawsco.com
NOTE TO INSTALLER: Please leave this information with the Maintenance Department.
HAWS warrants that this specific product is guaranteed against defective material or poor
workmanship for a period of one year from date of shipment. HAWS liability under this
warranty shall be discharged by furnishing without charge F.O.B. HAWS Factory any
goods, or part thereof, which shall appear to the Company upon inspection to be of
defective material or not of first class workmanship, provided that claim is made in writing
to Haws within a reasonable period after receipt of the product. Where claims for defects
are made, the defective part or parts shall be delivered to the Company, prepaid, for
inspection. HAWS will not be liable for the cost of repairs, alterations or replacements, or
for any expense connected therewith made by the owner or his agents, except upon
written authority from HAWS, Sparks, Nevada. HAWS will not be liable for any damages
caused by defective materials or poor workmanship, except for replacements, as provided
above. Buyer agrees that Haws has made no other warranties either expressed or implied
in addition to those above stated, except that of title with respect to any of the products or
equipment sold hereunder and that HAWS shall not be liable for general, special, or
consequential damages claimed to arise under the contract of sale.
The emergency equipment manufactured by HAWS is warranted to function if installation
and maintenance instructions provided are adhered to. The units also must be used for the
purpose for which they were intended. This product is intended to supplement first-aid
treatment. Due to widely varying conditions, Haws cannot guarantee that the use of this
emergency equipment will prevent serious injury or the aggravation of existing or prior
injuries.
NO OTHER WARRANTIES EXPRESSED OR IMPLIED ARE AUTHORIZED, PROVIDED
OR GIVEN BY HAWS.
SHOULD YOU EXPERIENCE DIFFICULTY WITH THE INSTALLATION OF THIS
MODEL PLEASE CALL:
TECHNICAL SUPPORT: 1-800-766-5612
FOR CUSTOMER SERVICE: 1-888-640-4297
Model 7611
e/Face Wash
E
LIMITED WARRANTY
No. 2080063(7)
02/14 Model 7611 Page 1 of 5
Page 2
LOCATION OF UNIT: The Model 7611 Eye/Face Wash should be installed in close
proximity to potential accident areas. It should be clearly identified free from
obstructions and easy to access.
SUPPLY LINE: The minimum recommended line size is 1/2" IPS with 30-90 psi (2-6
ATM) flowing line pressure. Where sediment or mineral content is a problem, an inlet
filter is recommended.
PLUMBING CONNECTIONS: Inlet supply is 1/2" O.D. slip joint.
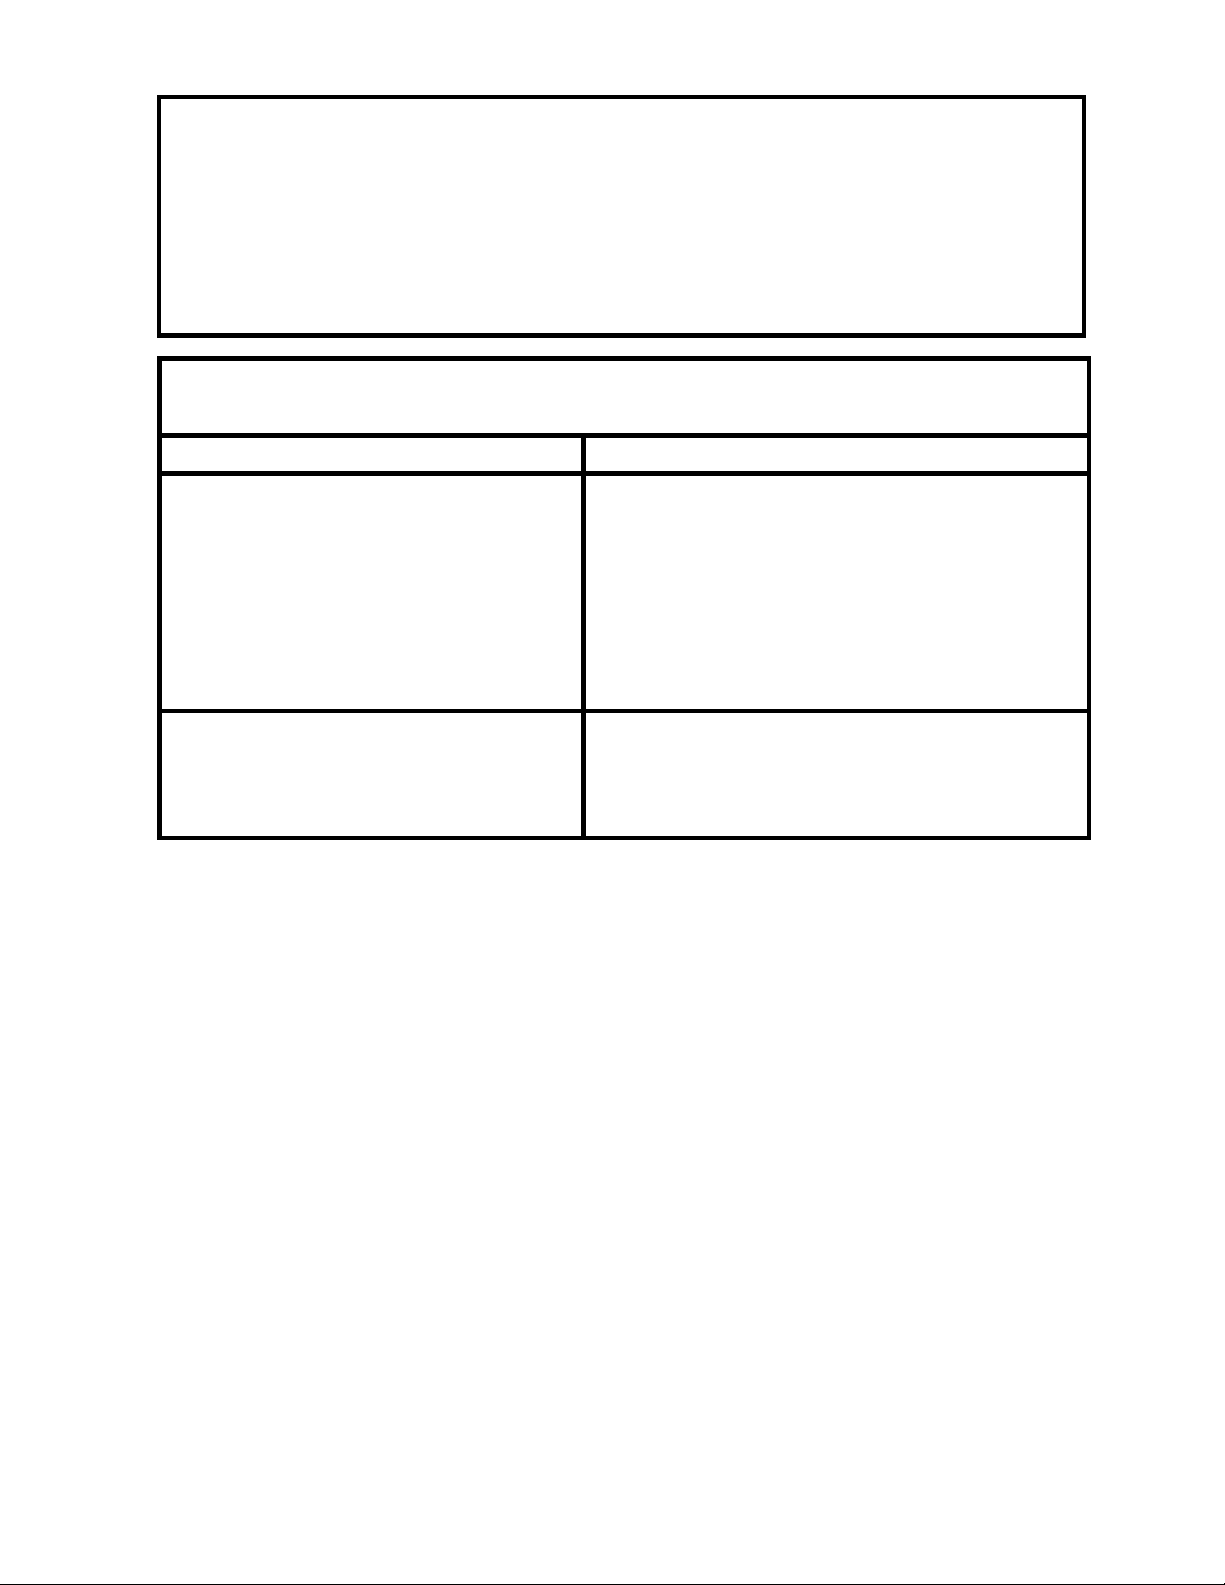
TROUBLESHOOTING
PROBLEM
REPAIR CHECKLIST
1. No flow. 1. Check the main shut-off valve.
2. Insufficient water flow. 2. a. Verify minimum 30 psi flowing supply
line pressure.
b.Probable clogging of flow control due
to inadequate line flushing. Unscrew
eye/face wash head and remove the
four screws to disassemble head.
Clean flow control and reassemble
head.
3. Eye/face wash stream does not
meet desired eye level.
3. a. Possible blocked flow control, see
above solution.
b. Possible non-leveled eye/face wash
assembly.
INSTALLATION INSTRUCTIONS
Refer to installation drawing to clarify installation procedure.
Note: Model 7611 Eye/Face Wash can be mounted on either right or left side of the
sink. For left hand use, reconfigure as shown on installation drawing.
STEP 1: Remove the 3" O.D. flange from valve body.
STEP 2: Remove the protective backing from rubber washer.
STEP 3: After making sure that bottom surface of the counter top or deck, around
the drilled hole is clean and free of grease, slide valve through drilled hole
from the bottom.
STEP 4: Place sign over valve.
STEP 5: Reinstall the 3" O.D. flange, ensure that the top surface of flange is flush
with valve. Wrench tighten locknut against base of counter or deck.
STEP 6: Install eye/face wash assembly to valve and after checking for proper
alignment, tighten the setscrew on the cap.
© 2014 Haws® Corporation – All Rights Reserved
HAWS
®
and other trademarks used in these materials are the exclusive property of Haws Corporation.
02/14 Model 7611 Page 2 of 5
Page 3

THIS DOCUMENT IS TRUE AND CORRECT AT TIME OF PUBLICATION. CONTINUED PRODUCT IMPROVEMENTS
MAKE SPECIFICATIONS AND MEASUREMENTS SUBJECT TO CHANGE WITHOUT NOTICE.
PARTS BREAKDOWN
ITEM DESCRIPTION
E/F WASH AXION
1
-
2
3
VALVE ASSEMBLY
4
SWING AWAY SIGN
PART NO.
SP65PD
-
-
-
EYEWASH SIGN
5
TEST TAG
6
REPAIR KIT
1
SP175
SP170
VRK7650
5
4
3
6
BYECN NO.
REVIS ED PER
ECN:
4888
DATE
DRAWN
STH
WHEN ORDE RING PARTS PLEASE SPECIFY MODEL NUMB ER.
C
2014
Haws Corporation - All Rights Reserved
HAWS and other trademarks us ed in these mater ials are th e ex c lusive property of Haws Cor poration.
R
APPROVED
10/21/1996
DATE
HM
CHKD
MODEL(S)
1:4
SCALE:
7611
DRAWING TYP E: SIZE: A
PARTS BREAKDOWN
1455 KLEPPE LANE
SPARKS, NEVADA 89431
(775) 359-4712 FAX (775) 359-7424
E-MAIL: HAWS @ HAW SC O .CO M
WEBSITE: WWW.HAWSCO.COM
PAGE
PART NUMBER
0002080063
DRAWING NO.
12620C00
SHEET OF
11
3 of 5
REV
7
Page 4

C
Haws Corporation - All Rights Reserved.
2014
MAKE SPECIFICATIONS AND MEASUREMENTS SUBJECT TO CHANGE WITHOUT NOTICE.
THIS DOCUMENT IS TRUE AND CORRECT AT TIME OF PUBLICATION. CONTINUED PRODUCT IMPROVEMENTS
3-5/8"
92mm
1-5/8"
41mm
MAX. DECK
THICKNESS
HAWS and other trademarks used in these materials are the exclusive property of Haws Corporation.
R
(REFERENCE)
6"(152mm) MIN.
CLEARANCE
APPROVED:
DRAWN:
2065
STH
ECN:
DATE:
10/96
4888
DATE:
CHK'D.:
HM
SCALE:
SINK
LEFT HAND
MOUNTING LOCATION
M
N
I
REVISED PER
BY:ECN NO.
MODEL(S)
R
F
A
E
C
CAP
SET SCREW
FLANGE
SIGN
RUBBER WASHER
&
D-NOTC H WA SH ER
4-7/8"
124mm
1/2" O.D. SUPPLY
(BY OTHE RS)
LOCKNUT
SUPPLY SHAN K CA N BE
POSITIO NED IN ONE OF
VALVE
SUPPLY
SHANK
FOUR DIRECTIONS 90°
APART B Y LOOSENING
THE CAP SET SCREW
AND ROTATING VALVE
NOTES:
1.
THE ANSI Z358 .1-200 9 STAND ARD
OFF
3-1/4"
83mm
RIGHT HAND
MOUNTING LOCATION
"
2
/
-
1
4
m
m
4
1
1
E
L
C
.
A
S
U
I
D
W
A
S
H
E
A
A
C
R
N
F
R
O
E
S
S
T
R
A
M
10"
254mm
CLEARANCE RADIUS
1-3/4"
45mm
MIN. CLEARANCE T O SINK EDGE
SPECIFIES EYEWASH NOZZLE HEIGHTS
TO BE 83.8cm (33 IN.) TO
114.3cm (45 IN.) ABOVE THE FLOOR
O
F
R
M
M
I
N
U
I
M
)
.
N
I
(
6
c
m
2
.
5
1
A
D
N
E
N
A
E
O
R
W
L
A
L
INSTALL SO THAT EYEWA SH HEAD
2.
S
R
O
B
T
S
T
O
T
I
C
U
R
IS OVER SINK WHEN ACTIVA TED.
DRILL ONE Ø1-3/8" [35mm] HOLE
3.
WHERE UNI T IS TO BE INSTALLE D.
4.
THESE DIMENSIONS MAY VARY
±1/2" [6.4mm].
M
.
N
1:12
DECK MTD SWING AWAY E/ W
DRAWING TYPE:
7611
INSTALLATION
SIZE: A
0002080063.D
DRAWING NO.
PART NUMBER
SHEET OF
12621A00 7
12
REV
WEBSITE: WWW.HAWSCO.COM
LEFT HAND APPLICATION
MOVE
SET SCREW
INDENT ATION IN
SPOOL FOR CAP
SET SCREW
(775) 359-4712 FAX (775) 359-7424
E-MA IL: HAWS@HA WSCO .COM
SPARKS, NEVADA 89431
1455 KLEPPE LANE
O
P
P
S
O
E
S
D
I
T
E
I
Left Hand Right Hand
SET SCREW
FLIP OVER
SIGN
PAGE
4 of 5
Page 5

C
Haws Corporation - All Rights Reserved.
2014
HAWS and other trademarks used in these materials are the exclusive property of Haws Corporation.
R
WASHER
D-NOTCH
MAKE SPECIFICATIONS AND MEASUREMENTS SUBJECT TO CHANGE WITHOUT NOTICE.
THIS DOCUMENT IS TRUE AND CORRECT AT TIME OF PUBLICATION. CONTINUED PRODUCT IMPROVEMENTS
BE SURE TOP SURFACE OF FLANGE
IS FLUSH WITH VALVE AS SHOWN
IS REMOVED FROM RUB BER WASHER
APPROVED:
DRAWN:
2065
STH
REVISED PER
ECN:
DATE:
10/96
4888
DATE:
CHK'D.:
BY:ECN NO.
HM
SCALE:
MODEL(S)
1:2
DECK MTD SWING AWAY E/W
DRAWING TYPE: SIZE: A
LOCKNUT
BE SURE PROTECTIVE BACKING
BE SURE SIGN IS ON PROPER SIDE
7611
INSTALLATION
(775) 359- 4712 FAX (775) 359- 7424
E-MAIL: HAWS@HAWSCO.COM
WEBSITE: WWW.HAWSCO.COM
SPARKS, NEVADA 89431
1455 KLEPPE LANE
0002080063.D
DRAWING NO.
PART NUMBER
SHEET OF
12621A00 7
22
REV
PAGE
5 of 5
 Loading...