

Page 1
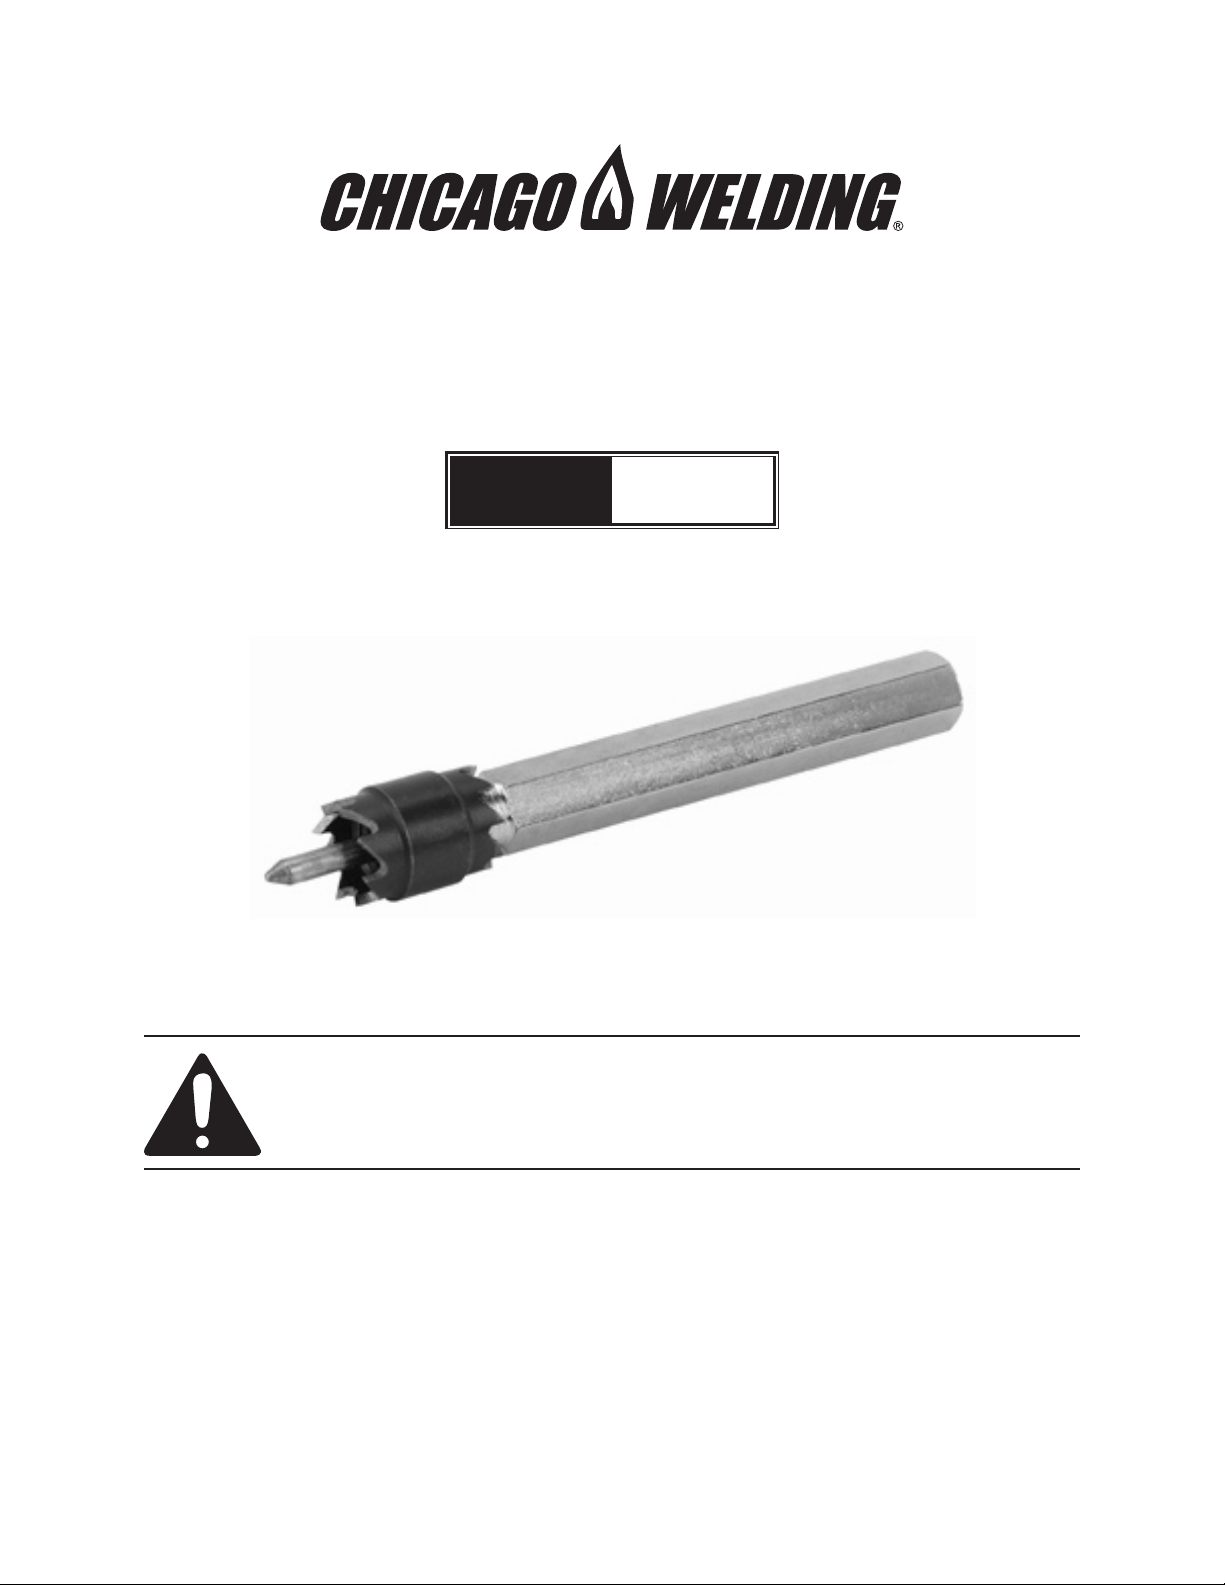
3
/8” ROTARY SPOT WELD
CUTTER
Model
95343
SET UP AnD OPERATing inSTRUCTiOnS
Visit our website at: http://www.harborfreight.com
Read this material before using this product.
Failure to do so can result in serious injury.
SAVE ThiS MAnUAL.
Copyright© 2006 by Harbor Freight Tools®. All rights reserved. No portion of this manual or any artwork
contained herein may be reproduced in any shape or form without the express written consent of
Harbor Freight Tools. Diagrams within this manual may not be drawn proportionally. Due to continuing
improvements, actual product may differ slightly from the product described herein. Tools required for
assembly and service may not be included.
For technical questions or replacement parts, please call 1-800-444-3353.
Manual Revised 10d
Page 2

SPECiFiCATiOnS
Overall Dimensions 2-29/32” L X 1/4” hex shank
Material
Blade
Quickly removes spot welds on sheet metal. Provides
better panel separation than a panel cutter.
Low carbon steel with chrome
plated nish, spring loaded pin
Replacement type: 770-3842;
19/32” L X 3/8” OD, Double
ended with 8 teeth per end
Save This Manual
You will need this manual for the safety warnings
and precautions, assembly, operating, inspection,
maintenance and cleaning procedures, parts list and
assembly diagram. Keep your invoice with this manual.
Write the invoice number on the inside of the front
cover. Keep this manual and invoice in a safe and dry
place for future reference.
gEnERAL SAFETY RULES
Keep your work area clean and well lit. 1.
Cluttered benches and dark areas invite
accidents.
Keep bystanders, children, and visitors away 2.
while operating a power tool. Distractions can
cause you to lose control. Protect others in the
work area from debris such as chips and sparks.
Provide barriers or shields as needed. Keep
children out of the work area.
Stay alert. 3. Watch what you are doing, and use
common sense when operating a power tool.
Do not use a power tool while tired or under the
inuence of drugs, alcohol, or medication. A
moment of inattention while operating power
tools may result in serious personal injury.
Dress properly. 4. Do not wear loose clothing
or jewelry. Contain long hair. Keep your hair,
clothing, and gloves away from moving parts.
Loose clothes, jewelry, or long hair can be caught
in moving parts.
Do not overreach. 5. Keep proper footing and
balance at all times. Proper footing and balance
enables better control of the power tool in
unexpected situations.
Use safety equipment. 6. Always wear eye
protection. Dust mask, nonskid safety shoes,
hard hat, or hearing protection must be used
for appropriate conditions. Always wear ANSIapproved safety goggles, a dust mask/respirator,
and work gloves when using or performing
maintenance on this tool.
7.
Use clamps (not included) or other practical
ways to secure and support the work piece
to a stable platform. Holding the work by hand
or against your body is unstable and may lead to
loss of control.
Do not force the tool. Use the correct tool 8.
for your application. The correct tool will do
the job better and safer at the rate for which it is
designed. Do not force the tool and do not use
the tool for a purpose for which it is not intended.
Store idle tools out of reach of children and 9.
other untrained persons. Tools are dangerous
in the hands of untrained users.
Maintain tools with care. Keep cutting tools 10.
sharp and clean. Properly maintained tools
with a sharp cutting edge are less likely to bind
and are easier to control. Do not use a damaged
tool. Tag damaged tools “Do not use” until
repaired.
Use only accessories that are recommended 11.
by the manufacturer for your model.
Accessories that may be suitable for one tool
may become hazardous when used on another
tool.
When using a handheld power tool, always 12.
maintain a rm grip on the tool with both
hands to resist starting torque.
WARning: Some dust created by power 13.
sanding, sawing, grinding, drilling, and other
construction activities, contains chemicals
known [to the State of California] to cause
cancer, birth defects or other reproductive
harm. Some examples of these chemicals are:
Lead from lead-based paint, Crystalline silica
from bricks and cement or other masonry
products Arsenic and chromium from chemically
treated lumber. Your risk from these exposures
varies, depending on how often you do this
type of work. To reduce your exposure to these
chemicals: work in a well ventilated area, and
work with approved safety equipment, such as
those dust masks that are specially designed to
lter out microscopic particles. (California Health
& Safety Code § 25249.5, et seq.)
Page 2For technical questions, please call 1-800-444-3353.SKU 95343
Page 3

UnPACKing
inSPECTiOn, MAinTEnAnCE,
When unpacking, check to make sure that the
item is intact and undamaged. If any parts are missing
or broken, please call Harbor Freight Tools at the
number shown on the cover of this manual as soon as
possible.
ATTAChing AnD REMOVing
ThE BiT
Insert the Shaft into a vise. Grasp the Bit with a 1.
wrench and unscrew the Bit.
Thread on the new Bit or ip to unused cutter 2.
side.
Remove Shaft and Bit from vise.3.
OPERATiOn inSTRUCTiOnS
The Spot Weld Cutter is now ready to be 1.
mounted to the drill. Read the drill owner’s
manual for instructions on properly mounting drill
bits.
AnD CLEAning
1. WARning! Make sure the Power Switch
of the drill is in its “OFF” position and that the
tool is unplugged from its electrical outlet before
performing any inspection, maintenance, or
cleaning procedures.
BEFORE EACh USE,2. inspect the general
condition of the tool. Check for loose or broken
parts and any other condition that may affect its
safe operation. If abnormal noise or vibration
occurs, have the problem corrected before
further use. Do not use damaged equipment.
Clean the Spot Weld Cutter after each use. 3.
Remove any debris, grease, oil and dirt. Store in
the Blow Mold Case in a secure place out of the
reach of children.
Before using the Spot Weld Cutter, make certain 2.
that the work piece is rmly clamped and secured
in place. Place the Spot Weld Cutter Bit over
the spot weld and slowly begin drilling into the
work piece. Always hold the drill rmly with both
hands to ensure safe operation of the Spot Weld
Cutter. Note: If Bit does not stay in spot weld
depression, dimple the center of the weld with a
punch (not included).
Drill until the spot weld is removed. Do not over 3.
drill.
note: When working on a vehicle, be certain to protect
all electrical components from damage.
Follow the vehicle owner’s manual for securing
electrical systems. Make certain that the drilling
path is clear of all cables, wires and electrical
components.
Disconnect and isolate the negative battery a.
cable and disarm the passive restraint
system.
Protect computer modules, connectors, and b.
wiring from dirt, heat, moisture and metal chips.
Page 3For technical questions, please call 1-800-444-3353.SKU 95343
Page 4

PARTS LiST
Part Description Quantity
1 Shaft 1
2 Bit 1
ASSEMBLY DiAgRAM
1
2
note: Some parts are listed and shown for illustration purposes only, and are not available individually as
replacement parts.
PLEASE READ ThE FOLLOWing CAREFULLY
THe MANUFACTUReR AND/OR DISTRIBUTOR HAS PROvIDeD THe PARTS LIST AND ASSeMBLY DIAGRAM
IN THIS MANUAL AS A ReFeReNCe TOOL ONLY. NeITHeR THe MANUFACTUReR OR DISTRIBUTOR MAKeS
ANY RePReSeNTATION OR WARRANTY OF ANY KIND TO THe BUYeR THAT He OR SHe IS QUALIFIeD TO
MAKe ANY RePAIRS TO THe PRODUCT, OR THAT He OR SHe IS QUALIFIeD TO RePLACe ANY PARTS
OF THe PRODUCT. IN FACT, THe MANUFACTUReR AND/OR DISTRIBUTOR eXPReSSLY STATeS THAT
ALL RePAIRS AND PARTS RePLACeMeNTS SHOULD Be UNDeRTAKeN BY CeRTIFIeD AND LICeNSeD
TeCHNICIANS, AND NOT BY THe BUYeR. THe BUYeR ASSUMeS ALL RISK AND LIABILITY ARISING OUT
OF HIS OR HeR RePAIRS TO THe ORIGINAL PRODUCT OR RePLACeMeNT PARTS THeReTO, OR ARISING
OUT OF HIS OR HeR INSTALLATION OF RePLACeMeNT PARTS THeReTO.
Page 4For technical questions, please call 1-800-444-3353.SKU 95343
 Loading...