

Page 1
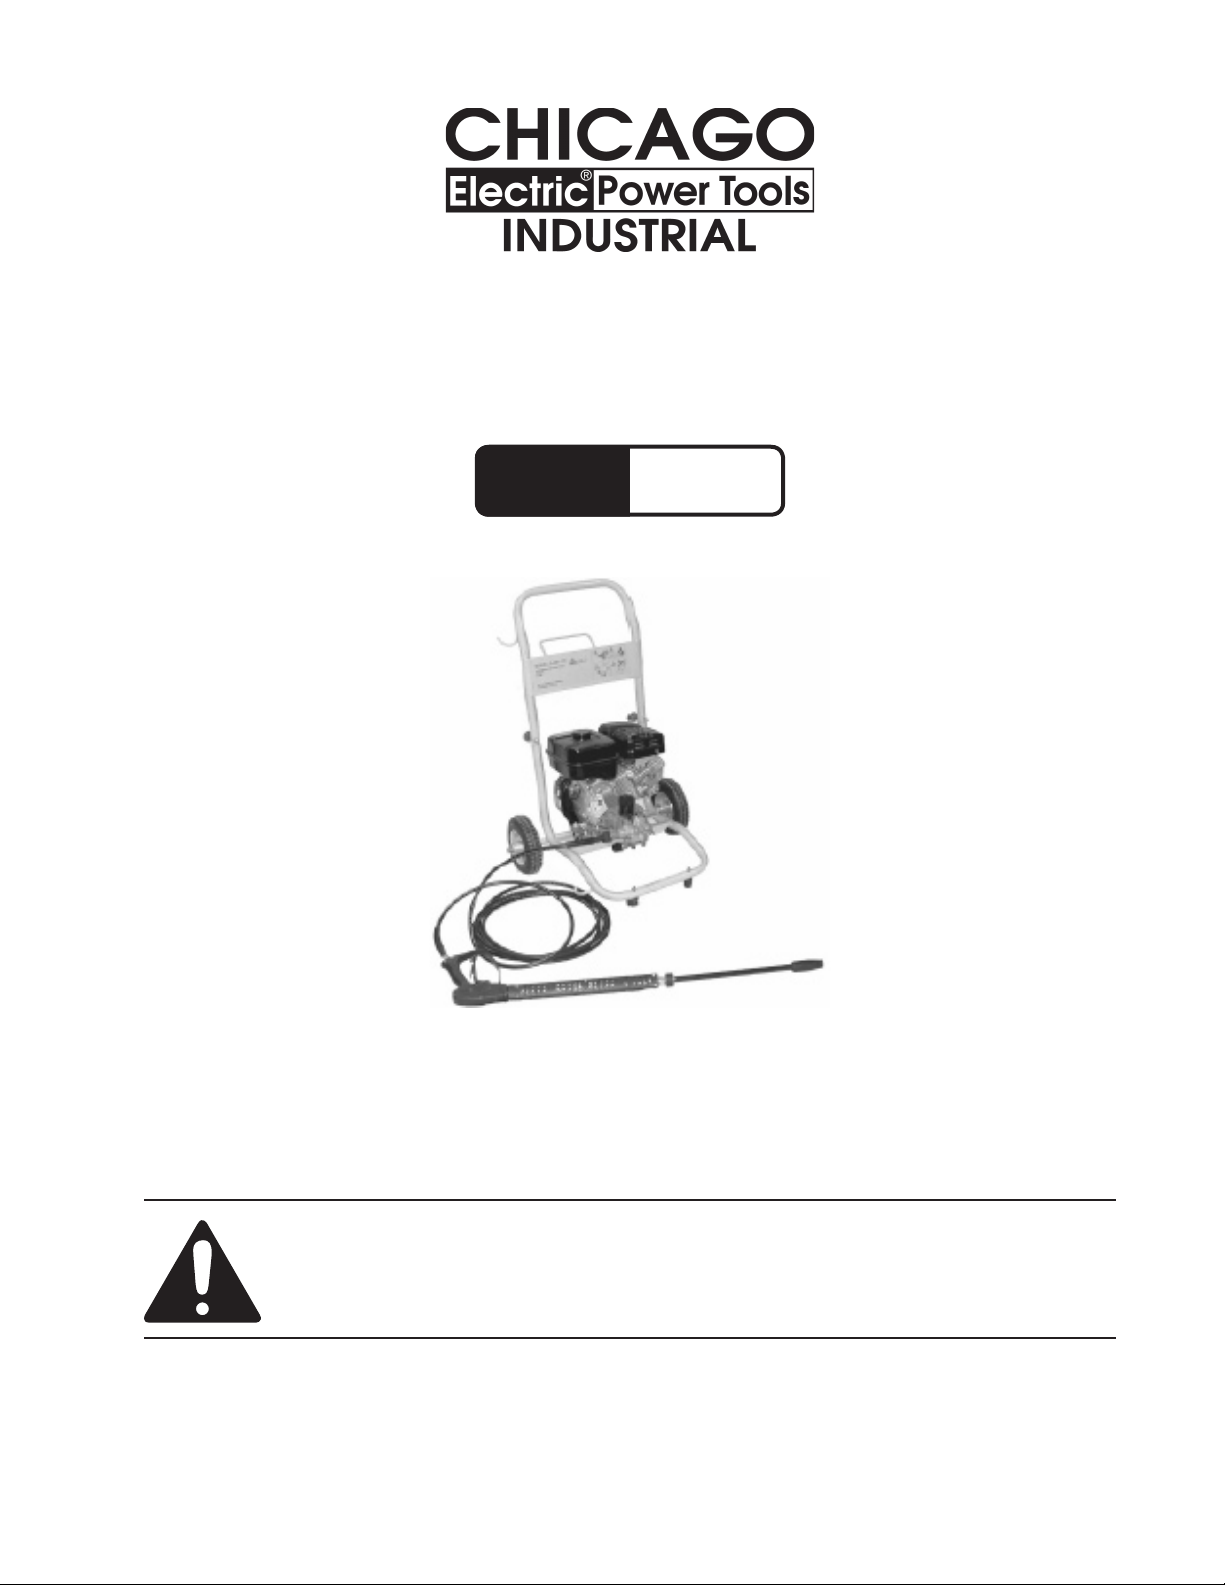
PRESSURE WASHER WITH
Model
91142
ROBIN 6 HP ENGINE
SET UP AND OPERATING INSTRUCTIONS
Diagrams within this manual may not be drawn proportionally.
Due to continuing improvements, actual product may differ slightly from the product described herein.
Distributed exclusively by Harbor Freight Tools®.
3491 Mission Oaks Blvd., Camarillo, CA 93011
Visit our website at: http://www.harborfreight.com
Read this material before using this product.
Failure to do so can result in serious injury.
SAVE THIS MANUAL.
Copyright© 2003 by Harbor Freight Tools®. All rights reserved. No portion of this manual
or any artwork contained herein may be reproduced in any shape or form without the
express written consent of Harbor Freight Tools.
For technical questions or replacement parts, please call 1-800-444-3353.
Cover Revised 07i
Page 2
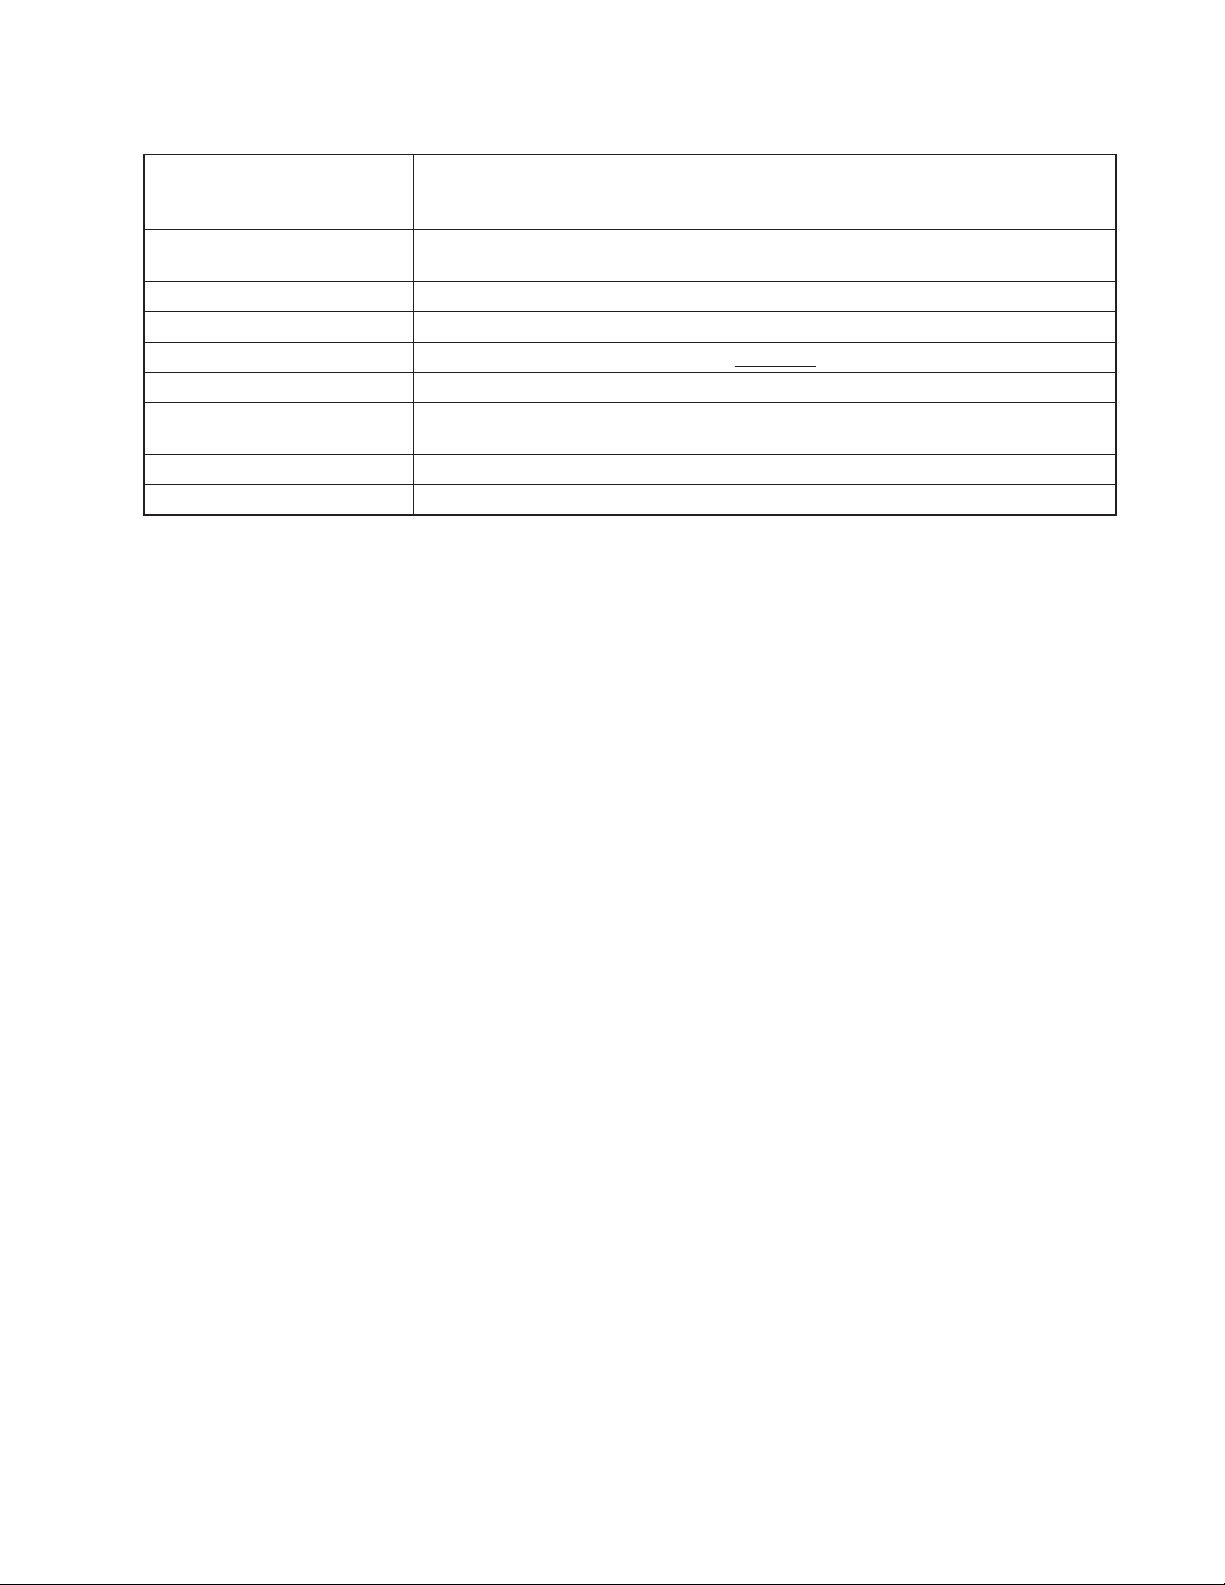
Specications
Robin , OHV Engine 6 HP, unleaded gas, recoil, 3400 RPM, low oil shut-
Gas Engine
Pressure Washer Gun
Water Pressure 2,200 PSI rated, 2.500 PSI maximum
Water Output 2.2 GPM maximum; unloader valve
Water Supply Requirements 3+ GPM recommended; 1.62 GPM minimum
High Pressure Hose 27 feet
Water Nozzle
Wheels 2 - Pneumatic wheels
Garden Hose Fitting Quick connect, tting coupler, ¾ inch I.D.
down; Oil capacity: 20 oz. (0.6 L); Gas capacity: 4 quarts (3.8 Liter) Refer to
the Robin maintenance manual for further details
2900 PSI Maximum, Safety trigger activated gun, 60 -140 Deg .F . Temp.
Maximum ( use cold water only).
Safety Trigger Handle with lock-off, spray output adjustment; 150-Bar/2,175
PSI
Save This Manual
You will need the manual for the safety warnings and precautions, assembly instructions,
operating and maintenance procedures, parts list and diagram. Keep your invoice with this
manual. Write the invoice number on the inside of the front cover. Keep the manual and
invoice in a safe and dry place for future reference.
Safety Warnings and Precautions
WARNING: When using tool, basic safety precautions should always be followed to
reduce the risk of personal injury and damage to equipment.
Read all instructions before using this tool!
1.
2.
3.
4.
5.
6.
Keep work area clean. Cluttered areas invite injuries.
Observe work area conditions. Keep work area well lighted. Do not use powered tools in
the presence of ammable gases or liquids.
Keep children away. Children must never be allowed in the work area. Do not let them
handle machines, tools, or extension cords.
Store idle equipment. When not in use, tools must be stored in a dry location to inhibit
rust. Always lock up tools and keep out of reach of children.
Use the right tool for the job. Do not attempt to force a small tool or attachment to do the
work of a larger industrial tool. There are certain applications for which this tool was designed. It will do the job better and more safely at the rate for which it was intended. Do not
modify this tool and do not use this tool for a purpose for which it was not intended.
Dress properly. Do not wear loose clothing or jewelry as they can be caught in moving
parts. Protective, electrically non-conductive clothes and non-skid footwear are recommended when working. Wear restrictive hair covering to contain long hair. Wear protective
boots able to withstand high pressure water contact.
REV 05j
SKU 91142 For technical questions, please call 1-800-444-3353. Page 2
Page 3

7.
Use eye and ear protection. Always wear ANSI approved impact safety goggles
and heavy rubber boots. During pressure washing, debris can y back into your
face. Wear an ANSI approved dust mask or respirator when working around chemical dusts and mists.
8.
9.
10.
11.
12.
13.
14.
15.
Do not overreach. Keep proper footing and balance at all times. Do not reach over or
across running machines.
Maintain tools with care. Keep tools sharp and clean for better and safer performance.
Follow instructions for lubricating and changing accessories. Inspect tool hoses periodically
and, if damaged, have them repaired by an authorized technician. The handles must be kept
clean, dry, and free from oil and grease at all times.
Turn power off. Turn off engine when not in use.
Remove adjusting keys and wrenches. Check that keys and adjusting wrenches are
removed from the tool or machine work surface before turning engine on.
Avoid unintentional starting. Be sure that the water handle switch is in the Off position
when not in use and before turning engine on. Do not carry spray handle with your nger on
the trigger, whether engine is turn on or not.
Stay alert. Watch what you are doing, use common sense. Do not operate any tool when
you are tired.
Take caution as some woods contain preservatives such as copper chromium arsenate (CCA) which can be toxic. When high pressure spraying these materials extra care
should be taken to avoid inhalation and minimize skin contact.
Check for damaged parts. Before using any tool, any part that appears damaged should
be carefully checked to determine that it will operate properly and perform its intended
function. Check for alignment and binding of moving parts; any broken parts or mounting
xtures; and any other condition that may affect proper operation. Any part that is damaged
should be properly repaired or replaced by a qualied technician. Do not use the tool if any
switch does not turn On and Off properly.
16.
17.
18.
19.
20.
Replacement parts and accessories. When servicing, use only identical replacement
parts. Use of any other parts will void the warranty. Only use accessories intended for use
with this tool. Approved accessories are available from Harbor Freight Tools.
Do not operate tool if under the inuence of alcohol or drugs. Read warning labels if
taking prescription medicine to determine if your judgment or reexes are impaired while taking drugs. If there is any doubt, do not operate the tool.
Maintenance. For your safety, service and maintenance should be performed regularly by a
qualied technician.
Use tools with both hands when required. This tool requires the use of both hands when
operating. This helps maintain tool stability and keeps hands away from the working area of
the tool.
People with pacemakers should consult their physician(s) before use. Electromagnetic
elds in close proximity to heart pacemaker could cause pacemaker interference or pacemaker failure. Caution is necessary when near engine’s magneto or recoil starter.
SKU 91142 For technical questions, please call 1-800-444-3353. Page 3
Page 4

21.
Warning: The warnings, cautions, and instructions discussed in this instruction
manual cannot cover all possible conditions and situations that may occur. It must be
understood by the operator that common sense and caution are factors which cannot
be built into this product, but must be supplied by the operator.
High Pressure Washer Safety Precautions
1. Fire Hazard! Do not ll gas tank when the engine is running. Do not operate if
gasoline has been spilled. Clean spilled gasoline before starting the engine. Do
not operate near a pilot light or open ame.
2. Operate the Pressure Washer in well ventilated outdoor areas only. Carbon
monoxide is produced during operation and is DEADLY in a closed
environment. Early signs of carbon Monoxide poisoning resemble the u, with
headaches, dizziness, or nausea. If you have these signs, the engine may not be
working properly, or is being used indoors. Get fresh air immediately.
3. Injection hazard! The high pressure water jet can be dangerous and cut skin if
misused. Do not spray toward other people, animals, electrical boxes or outlets,
or the machine itself.
4. Use only cold water as the active propellant in the Pressure washer. Do not
use acids, alkalines, solvents, or any other ammable materials in this machine.
Chemicals can harm you and permanently damage the Pressure Washer.
5. Avoid burns from the engine. Certain parts of the engine become very hot during
use. Do not touch the engine until it cools down after use.
6. During use, do not allow the high pressure hose to come in contact with any part
of the (hot) engine. Damage to the hose could occur causing it to burst under high
pressure.
7. In case of emergency during use, release the trigger on spray handle to stop the
spray, then shut off the gas supply valve on the engine. Refer to the Operation
section.
8. Avoid tipping the Pressure Washer during use. Place only on a at, stable surface.
SKU 91142 For technical questions, please call 1-800-444-3353. Page 4
Page 5

Unpacking
When unpacking, check and make sure that the following parts are included. If any parts
are missing or broken, please call Harbor Freight Tools at the number on the cover of this
manual as soon as possible.
Upper Bracket (3A)
Bracket Screw (12A)
Bottom Bracket (7A)
Water Outlet Connector (9A)
High Pressure Hose (1A)
Bracket Screw (12A)
Engine (4A)
Pump (5A)
Spray Gun Nozzle (13A)
Spray Gun (2A)
Assembly
1. Insert the Upper Bracket (3A) onto the Bottom Bracket (7A) and secure with Bracket
Screws (12A) as shown above. Tighten securely.
2. Screw on the High Pressure Hose (1A) to the Water Outlet Connector (9A). Tighten
securely.
3. Screw on the other end of the High Pressure Hose to the Spray Gun (2A) handle.
Tighten securely.
4. Attach the Spray Gun Nozzle (13A) to the Spray Gun (2A). Tighten securely.
SKU 91142 For technical questions, please call 1-800-444-3353. Page 5
Page 6

Operation
Important Guidelines
• Do leave the engine running without spraying water. If it is left on for more than
three minutes without discharging the high pressure water, damage could occur to the
internal pump and high pressure hose.
• The water hose should provide at least 3 gallons per minute for the Pressure
Washer to operate at maximum performance. Use only 3/4 (dia.) inch water hose
supply. A smaller diameter hose limits the amount of water to the pump. Test by
lling a ve gallon bucket with the water supply hose. It should ll the bucket in three
minutes or less.
• Always use clean water through the Pressure Washer. Debris in dirty water could
damage the internal pump.
Setup
1. Fill with engine oil. Never run this Pressure Washer with
low or no oil.
With Pressure Washer on a at surface, carefully
unscrew the Oil Cap Dip Stick (A). Add oil. Carefully
screw in the Oil Cap Dip Stick (A). If the (plastic) threads
on the Oil Cap do not seat correctly with the (metal)
threads on the oil ll neck, the plastic threads can be
stripped. Refer to the Robin® Engine Maintenance
Manual for the recommended oil weight.
(A)
2. Fill the gasoline tank (B) with unleaded gasoline. See
engine photo on the next page.
Do not use leaded gasoline. Be careful not to spill any
gasoline on the engine or pavement. Wash down any
spilled gasoline.
3. Connect the 3/4 inch garden hose from a cold water
garden faucet to the Water Inlet Connector (8A). Tighten
securely. See photo to right. Turn on the water faucet
valve all the way (counterclockwise).
(1A)
(9A)
(8A)
REV 05j
SKU 91142 For technical questions, please call 1-800-444-3353. Page 6
Page 7

Use
4. Pick up the Spray Gun (2A) and point it away from you. Squeeze the Trigger Handle
until all internal air is released, and a steady ow of water comes out. Release the
Trigger Handle.
5. Move the Choke Lever (C) to the closed (left) position. See engine photo below.
6. Turn the Fuel Valve (D) to the open (down) position.
7. Move the Throttle Control Lever (E) 1/3 to the left.
8. Turn the red Power Switch (F) to the ON position.
Gasoline Tank (B)
Throttle Control Lever (E)
Choke Lever (C)
Fuel Valve (D)
Starting Handle (G)
9.
Pull the Starting Handle (G) lightly until you feel resistance. Then, pull it completely
Power Switch (F)
out. The engine should start up. Slowly release the Starting Handle. Make sure the
Pressure Washer is on a level surface so it does not roll.
10. Adjust the Throttle Control Lever (E) for the desired speed and subsequent output
water pressure. Open the Choke Lever (C) to the right.
If the engine does not start after a few tries, refer to
Troubleshooting Tips on the next page.
11. Hold the Spray Gun (2A) with both hands and begin
spraying.
Do not allow the engine to run for more the three minutes
without spraying. Adjust the Spray Gun Nozzle (13A) to
the desired spray pattern.
SKU 91142 For technical questions, please call 1-800-444-3353. Page 7
Page 8

Using Detergent
High pressure Low pressure
Figure B
CAUTION! To avoid injury, ONLY run pressure washer detergent through the Detergent Suction
Hose.
1.
2.
Place the end of the transparent Detergent Suction Hose into the detergent container or
bottle.
Do not dilute the detergent. The detergent sprays out at low pressure only. Slide the Spray
Nozzle out for low pressure. The pressure washer will draw the detergent up through the
Detergent Suction Hose and mix the water and detergent automatically, at about a 6% detergent 94% water ratio. See Figure B.
Shutting Down the Pressure Washer
1. Move the Throttle Control Lever (E) all the way to the right.
2. Turn the Power Switch (F) to the OFF position. The engine will stop.
3. Turn the Fuel Valve (D) up to the closed position.
4. Turn off the water supply faucet.
5. Press the Spray Gun Trigger Handle to release water and pressure.
6. Disconnect the water supply hose from the Water Inlet Connector (8A).
7. Disconnect the High Pressure Hose (1A) from the Water Outlet Connector (9A).
8. Engage the Spray Gun Trigger safety lock.
9. Coil the High Pressure Hose and secure to the Upper Bracket (3A).
10. With the Fuel Valve (D) off, and the Power Switch (F) on, restart the engine for only
a few seconds. This will clear water from the pump, and gas and oil residue from the
engine.
REV 07i
SKU 91142 For technical questions, please call 1-800-444-3353. Page 8
Page 9

Maintenance
1. Wipe down the entire unit with a clean cloth. Do not use any solvents.
2. Store the unit in a clean and dry location, away from anything ammable.
3. Read and follow maintenance instructions for the engine in the Robin Subaru 6 HP
Engine Maintenance Manual.
4. If water in leaking from connections during operation, shut down the Pressure Washer
and retighten all connections.
Troubleshooting Tips
Symptom Possible Cause Solution
Engine will not start Gas tank empty
Does not produce
high pressure
Output pressure
varies
1.
Low oil level
2.
Choke is not in correct position
3.
Engine throttle set too low
4.
Pressure build up in pump
5.
Diameter of water supply hose too small
1.
Water supply is restricted
2.
Not enough water supply
3.
Not enough water supply
1.
Water inlet screen is clogged
2.
Nozzle is clogged
3.
Nozzle has mineral build up
4.
Fill gas tank
1.
Add oil
2.
Close choke
3.
Increase throttle setting
4.
Squeeze trigger to release pressure
5.
Replace garden hose with a ¾ inch
1.
hose
Check water supply hose for kinks,
2.
leaks, or blockage
Open water faucet all the way
3.
Check water supply hose for kinks,
1.
leaks, or blockage. Open faucet all
the way
Remove inlet screen and rinse out
2.
Remove nozzle and clean
3.
Remove nozzle and clean with
4.
vinegar
SKU 91142 For technical questions, please call 1-800-444-3353. Page 9
Page 10

Pump Assembly Parts List
Item
1 Adjusting Cap, PA66 1
2 High Pressure Screw Cap, 59-1 1
3 Adjusting Spring, 65 Mn 1
4 Valve Core, 59-1 1
5 O-ring, ¢11x1.9 1
6 Junction Screw Cap, 59-1 1
7 O-ring, ¢22x1.9 1
8 O-ring, ¢9x1.9 1
9 O-ring, ¢16x1.9 1
10 Air-proof Ring, 59-1 1
11 Pressing Group Cap, 59-1 1
12 Pump Head, Y104 1
13 Bolt, M8x30 2
14 O-ring, GB1235-76, ¢14x1.9 6
15 Valve, Water Inlet-Outlet, POM 6
16 O-ring, GB1235-76, ¢16x1.9 4
17 Cap, Water Inlet Valve, 59-1 4
18 Bolt, M8x36 1
19 O-ring, GB1235-76, ¢10x1.9 1
20 Housing, Water Inlet, Y104 1
21 Bolt, M6x25 4
22 Bolt, M8x25 4
23 Joint, Water Inlet, PA66 1
Description Qty.
Item
24 Filter Screen, 1Cr18Ni9 1
25 Valve, Unilateral, 1013B 1
26 Spring, Unilateral Valve, 4Cr13 1
27 O-ring, ¢22x2.4 1
28 Joint, Water Outlet, 59-1 1
29 Pump Body, Y104 1
30 O-ring, ¢86x2.4 1
31 Bolt, M8x25 1
32 Gasket, M8 4
33 Bearing 1
34 Bearing, 303 1
35 Seal, Oil Frame, NBR 1
36 Drive Shaft, 45# 1
37 Base, Y104 1
38 V-ring, NBR 3
39 O-ring, GB1235-76, ¢18x1.9 3
40 Ring, Interspace, 59-1 3
41 O-ring, GB1235-76, ¢28x2 3
42 Ring, Interspace Separating, 59-1 3
43 Seal, Frame Oil, NBR 3
44 Spring, Plunger, 65Mn 3
45 Plunger, 2Cr13 3
46 Plunger Clip, 65Mn 3
Description Qty.
Note: Some parts are listed and shown for illustration purposes only and are not available individu-
ally as replacement parts.
SKU 91142 For technical questions, please call 1-800-444-3353. Page 10
Page 11

Pump Assembly Drawing
PLEASE READ THE FOLLOWING CAREFULLY
THE MANUFACTURER AND/OR DISTRIBUTOR HAS PROVIDED THE PARTS DIAGRAM IN THIS
MANUAL AS A REFERENCE TOOL ONLY. NEITHER THE MANUFACTURER NOR DISTRIBUTOR MAKES
ANY REPRESENTATION OR WARRANTY OF ANY KIND TO THE BUYER THAT HE OR SHE IS QUALIFIED TO MAKE ANY REPAIRS TO THE PRODUCT OR THAT HE OR SHE IS QUALIFIED TO REPLACE
ANY PARTS OF THE PRODUCT. IN FACT, THE MANUFACTURER AND/OR DISTRIBUTOR EXPRESSLY
STATES THAT ALL REPAIRS AND PARTS REPLACEMENTS SHOULD BE UNDERTAKEN BY CERTIFIED
AND LICENSED TECHNICIANS AND NOT BY THE BUYER. THE BUYER ASSUMES ALL RISK AND LIABILITY ARISING OUT OF HIS OR HER REPAIRS TO THE ORIGINAL PRODUCT OR REPLACEMENT PARTS
THERETO, OR ARISING OUT OF HIS OR HER INSTALLATION OF REPLACEMENT PARTS THERETO.
SKU 91142 For technical questions, please call 1-800-444-3353. Page 11
Page 12

Major Assembly Parts List
Item
1A Hose, High Pressure 1
2A Spray Gun 1
3A Bracket, Upper 1
4A Engine, Gas 1
5A Pump 1
6A Wheel, Left 1
7A Bracket, Bottom 1
8A Connector, Water Inlet 1
9A Connector, Water Outlet 1
10A Wheel, Right 1
11A Screw 2
12A Screw, Bracket 2
13A Nozzle, Spray Gun 1
Description Qty.
Major Assembly Drawing
SKU 91142 For technical questions, please call 1-800-444-3353. Page 12
 Loading...