

Page 1
®
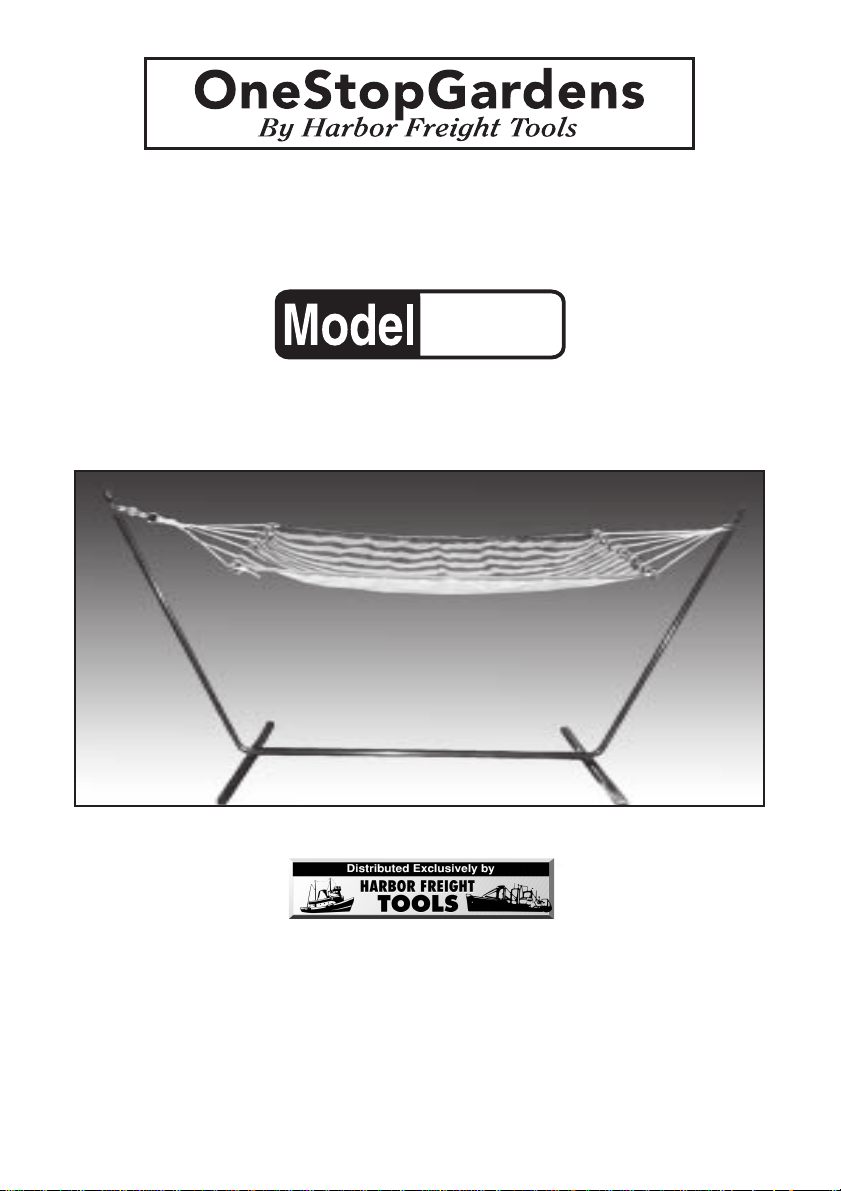
COTTON HAMMOCK
WITH FRAME
90975
ASSEMBLY INSTRUCTIONS
3491 Mission Oaks Blvd., Camarillo, CA 93011
Visit our W eb site at http://www.harborfreight.com
Copyright© 2004 by Harbor Freight Tools®. All rights reserved.
No portion of this manual or any artwork contained herein may be
reproduced in any shape or form without the express written consent
of Harbor Freight Tools.
For technical questions and replacement parts, please call 1-800-444-3353
Page 2

Specifications
ITEM
Frame
Overall Dimension
Hammock
End Supports
Weight Capacity
Net Weight
Powder Coated Steel
133”L x 48-1/2” W x 56-1/4” H
100% Cotton -74” L x 46-1/2” W
Wooden Brace with Steel Rings and Woven Rope
350 Lbs.
46 Lbs.
DESCRIPTION
Save This Manual
You will need the manual for the safety warnings and
precautions, assembly instructions, operating and maintenance
procedures, parts list and diagram. Keep your invoice with this
manual. Write the invoice number on the inside of the front cover.
Keep the manual and invoice in a safe and dry place for future
reference.
Safety Warnings and Precautions
W ARNING: When using this product, basic safety precautions should always
be followed to reduce the risk of personal injury and damage to equipment.
Read all instructions before using this product!
1. Keep children away . Children must nev er be allowed to climb into this product
without adult assistance . Flipping o v er can occur and can result in injury.
2. Position this pr oduct on a flat grassy area.
3. Stay alert. Watch what you are doing. Use common sense. Do not try to exit
this product without assistance when you are tired or you could lose your balance .
4. Check for damaged parts. Before using this product, any part that appears
damaged should be carefully checked to determine that it will operate properly
and perform its intended function. Check for cracked or rusted rings, tor n or
worn canvas, loose bolts, worn ropes, or any other condition that shows wear
and tear of this product. Replace or repair an y broken or worn parts before use.
If any part of the Hammock (9) is worn we suggest you replace the entire
Hammock (9).
5. Do not leave out in harsh weather conditions. Sunlight or r ain can rot rope
and canvas. Always check the condition of this product before sitting or lying
upon this product.
SKU 90975 Page 2
Page 3

6. Replacement parts and accessories. When servicing, use only identical
replacement parts. Use of any other parts will void the warranty. Only use
accessories intended for use with this tool. Approved accessories are av ailable
from Harbor Freight Tools.
7. Do not use or assemble under the influence of alcohol or drugs.
Unpacking
When unpacking, check to make sure the following parts (shown on page 5)
are included. If any parts are missing or broken, please call Harbor Freight Tools at
the number on the cover of this man ual.
Assembly
1. Locate both Bases (2). Place each Elbow (3) over each Base (2), line up the
bolt holes, and fix in place using the 4 sets of Elbow Nuts and Bolts (5).
See Figure A.
Center Joining
Tube (4)
Center Joining
Tube Bolt (6)
Base (2)
Figure A
Riser (1)
Elbow (3)
Elbow Nut
and Bolt (5)
2. Select a surface that will not scratch the finish of the frame . Place both Elbows
(3) on each side of the Center Joining Tube (4) so that the horizontal ends are
on the inside. See
Figure A.
3. Insert the Center Joining Tube (4) over the lower part of one Elbow (3) as far as
it will go. Line up the Center Joining Tube Bolt (6) with the notch on the Elbow
and tighten partially. Repeat on the other side. Tighten both Center Joining
Tube Bolts securely. (Check for tightness periodically).
4. Attach Square End Caps (7) onto both ends of each Base (2).
See Figure A.
See Figure D.
5. Insert the Risers (1) over the upper part of the Elbows. Be sure the notches f or
hanging the Hammock (9) are facing inwards.
should rest on the Ring Stopper on the Elbow ( 3).
See Figure B.
See Figure C.
The Risers (1)
SKU 90975 Page 3
Page 4

Metal Rings
Round End Cap (8)
Riser (1)
Figure B
Ring Stopper
on Elbow (3)
Notches
Facing
Inside
Figure C
Riser (1)
Elbow (3)
6. Hook the Metal Rings on the Cotton Hammock (9) (left and right) over the
Notches. Test to see that Hammock is securely attached before getting into
the Hammock. See
7. Attach Round End Caps (8) onto the ends of the Risers (1). See
Metal Rings Metal Rings
Figure D.
Figure B.
Cotton Hammock (9)
Square End Caps (7)
Figure D
Maintenance
1. When cleaning, wipe Cotton Hammock with a soft damp cloth. Dry thoroughly.
2. Dismantling and storing during harsh weather will prolong the life of the
Hammock.
SKU 90975 Page 4
Page 5

PARTS LIST
PART DESCRIPTION QTY.
1
2
3
4
5
6
7
8
9
Riser
Base
Elbow
Center Joining Tube
Elbow Nut and Bolt
Center Joining Tube Bolt
Square End Caps
Round End Caps
Cotton Hammock with Wooden Spreaders
NOTE: Some parts are listed and shown for illustration purposes only
and are not availab le individually as replacement parts.
9
1
2
2
2
2
1
4 sets
2
4
2
1
8
5
6
PLEASE READ THE FOLLOWING CAREFULLY
THE MANUFACTURER AND/OR DISTRIBUTOR HAS PROVIDED THE PARTS
DIAGRAM IN THIS MANUAL AS A REFERENCE TOOL ONLY. NEITHER THE
MANUFACTURER NOR DISTRIBUTOR MAKES ANY REPRESENTATION OR WARRANTY
OF ANY KIND TO THE BUYER THAT HE OR SHE IS QUALIFIED TO MAKE ANY REPAIRS
TO THE PRODUCT OR THAT HE OR SHE IS QUALIFIED TO REPLACE ANY PARTS OF
THE PRODUCT. IN FACT, THE MANUFACTURER AND/OR DISTRIBUTOR EXPRESSLY
STATES That ALL REPAIRS AND PARTS REPLACEMENTS SHOULD BE UNDERTAKEN
BY CERTIFIED AND LICENSED TECHNICIANS AND NOT BY THE BUYER. THE BUYER
ASSUMES ALL RISK AND LIABILITY ARISING OUT OF HIS OR HER REPAIRS TO THE
ORIGINAL PRODUCT OR REPLACEMENT PARTS THERETO, OR ARISING OUT OF HIS
OR HER INSTALLATION OF REPLACEMENT PA RTS THERETO.
4637
SKU 90975 Page 5
 Loading...