

Page 1
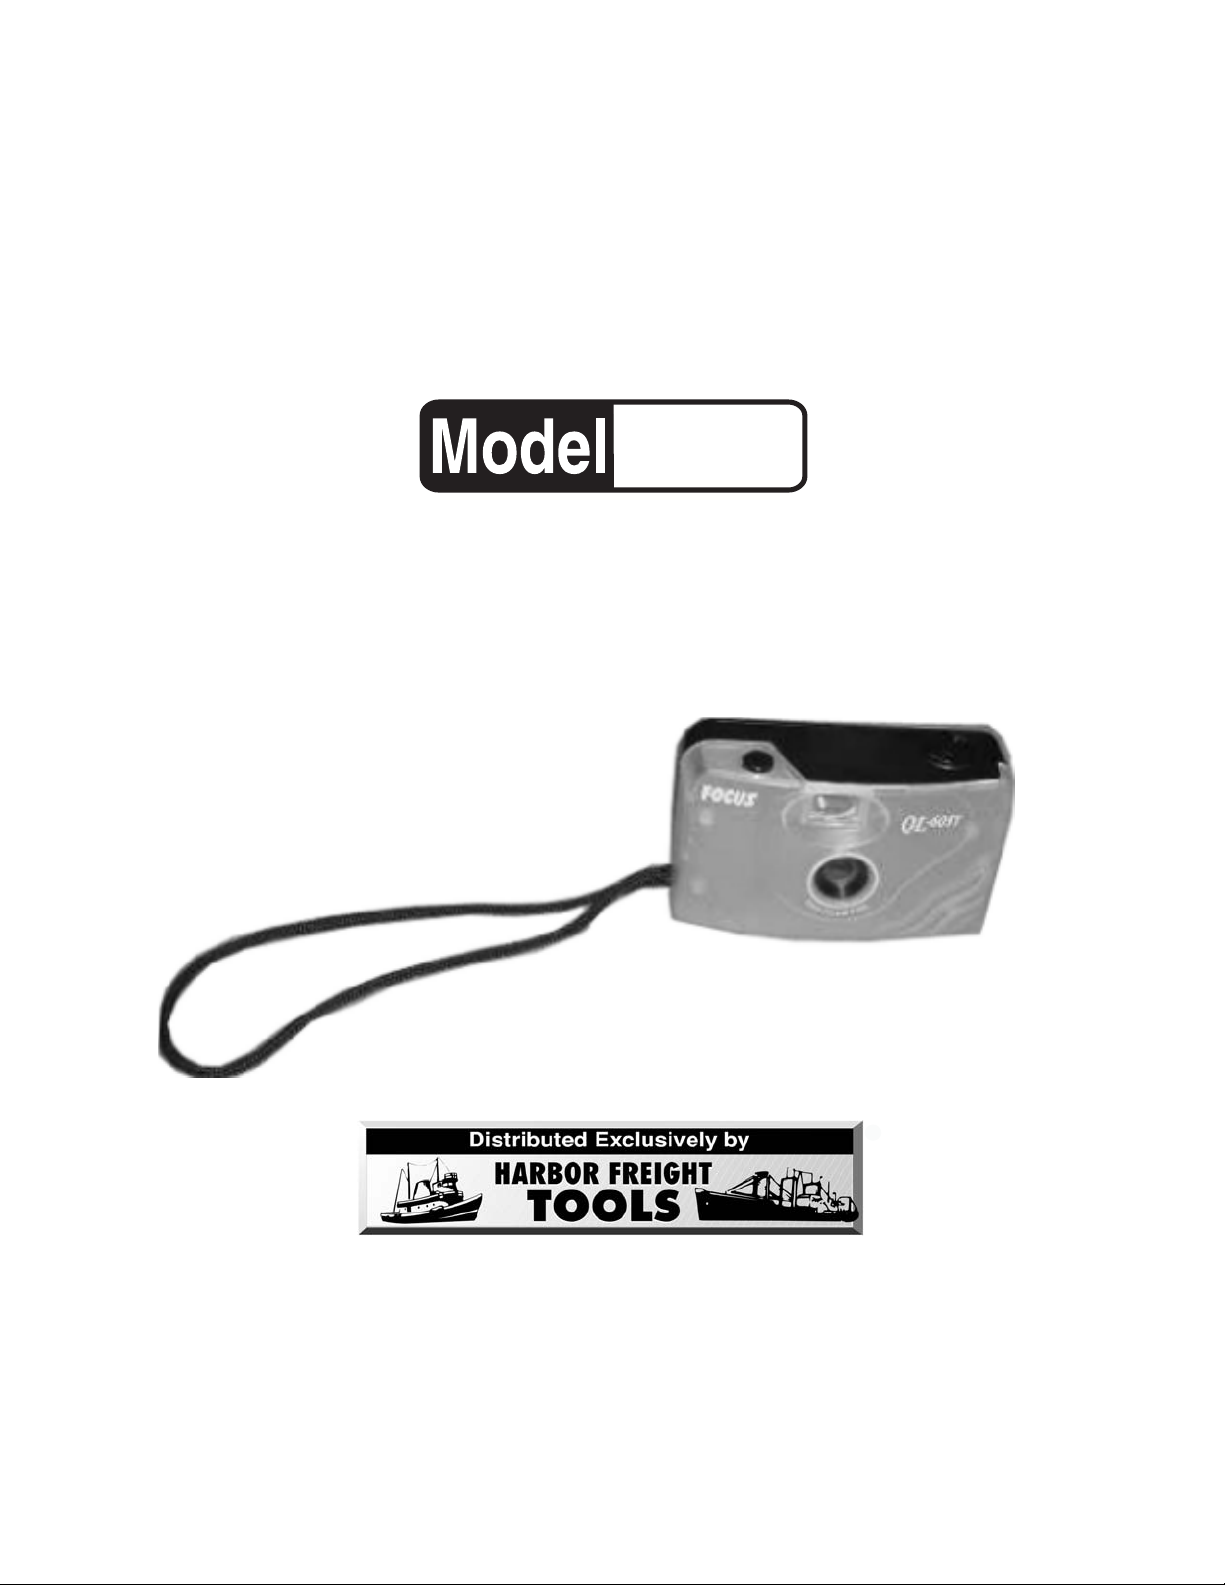
35 MM OUTDOOR CAMERA
®
90850
OPERATING INSTRUCTIONS
3491 Mission Oaks Blvd., Camarillo, CA 93011
Visit our Web site at http://www.harborfreight.com
Copyright © 2003 by Harbor F reight Tools®. All rights reserved. No portion of this
manual or any artwork contained herein may be reproduced in any shape or
form without the express written consent of Harbor Freight Tools.
For technical questions and replacement parts, please call 1-800-444-3353
Page 2

Specifications
Model Size 35 MM
Optical Lens F9.0 Focus Free
Film Type ISO 100, 200 or 400
Film Size 24 MM x 36 MM
Includes Wrist Strap
Save This Manual
You will need the manual for the safety warnings, precautions, and operating procedures.
Keep your invoice with this manual. Write the invoice number on the inside of the front
cover. Keep the manual and invoice in a safe and dry place for future reference.
Safety Warnings and Precautions
WARNING: When using product, basic safety precautions should al ways be f ollo wed
to reduce the risk of personal injury and damage to equipment.
Read all instructions before using this product!
1. Observe proper conditions. This Camera isn’t waterproof. Do not use the Camera
in damp or wet locations. Don’t expose to rain.
2. Keep children away. Do not let them handle the Camera without adult supervision.
The Camera contains small parts that can be swallowed and/or choked upon.
3. Store idle equipment. When not in use, the Camera must be stored in a dry location
out of reach of children.
4. Stay alert. Watch what you are doing, use common sense. Do not operate any
product when you are tired.
5. Check for damaged parts. Before using any product, any part that appears
damaged should be carefully checked to determine that it will operate properly and
perform its intended function. Check for alignment and binding of moving parts; any
broken parts or mounting fixtures; and any other condition that may affect proper
operation. Any part that is damaged should be properly repaired or replaced by a
qualified technician.
Warning: The warnings, cautions, and instructions discussed in this instruction
manual cannot cover all possible conditions and situations that may occur.
It must be understood b y the operator that common sense and caution are factors
which cannot be built into this product, but must be supplied by the operator.
Unpacking
When unpacking, check to make sure the camera is complete and undamaged. If any parts
are missing or broken, please call Harbor Freight Tools at the number on the cover of this
manual as soon as possible.
SKU 90850
Page 2
Page 3

Operation
Loading the Camera
Note: Load and unload the film only in low light or shade. Bright light can damage the film
whether it is exposed or unexposed.
1. Open the back of the Camera by pushing do wn on the latch on the left side of the back
cover. Put the roll of film (not included) in the slot on the left side of the Camera.
2. Stretch the film over to the take-up spool making sure that the sprocket holes on the
film fit onto the teeth across the bottom/middle of the Camera. Inser t the end of the
film through the slot on the take-up spool.
See FIGURE 1.
3. Wind the film by turning the center Knob from left to right slightly, to make sure that it
catches, then close the back of the Camera. Wind, using the center Knob until it stops ,
and click the Trigger Button. Repeat 2-3 times until the film is past the exposed portion.
Shooting the Camera
1. Tur n the center Knob from left to right until it stops. Hold the Camera steady (using
both hands) making sure your finger is not in front of the lens.
2. Look through the Viewfinder and center your object. Gently push the Trigger Button.
See FIGURE 1.
Unloading the film (not included)
Note: When the counter on the bottom of the Camera indicates you have shot your last
picture, you must rewind the film before opening the Camera or you will expose and
ruin the film.
1. Unlock the film release by pushing and holding in the button on the bottom of the
Camera, under the Knob. Flip the Handle up on the Rewind Dial and turn it clockwise
(as indicated on the dial) until you hear and feel that the entire roll is back in side the
film cartr idge (Approximately 60 tur ns). See FIGURE 1.
2. Open the back of the Camera by pushing do wn on the latch on the left side of the back
cover. Unload the Camera.
Rewind Handle
FIGURE 1
Viewfinder
Lens
(Inside)
Trigger
Button
SKU 90850
Loading Slot
Knob
Film Release Button
Page 3
Teeth
Take-up
Spool
 Loading...