

Page 1
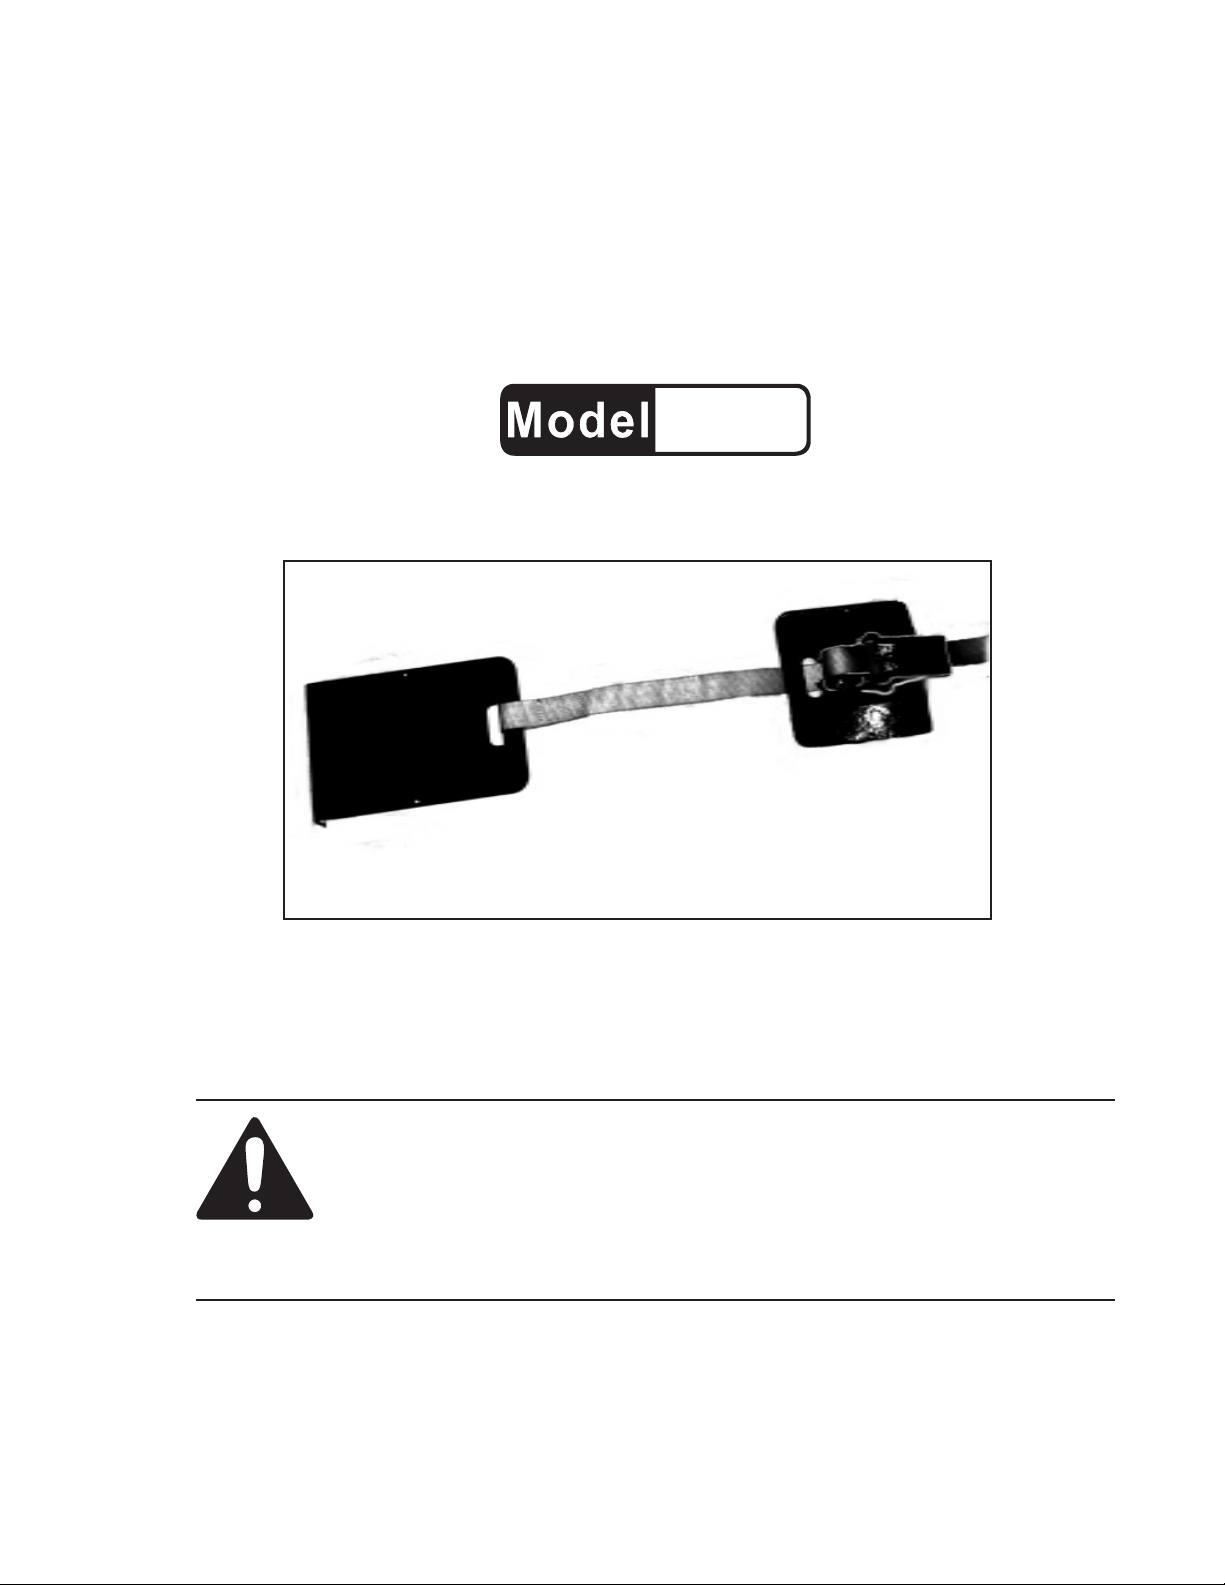
RATCHETING STRAP CLAMP
FOR LAMINATE FLOORING
90416
ASSEMBLY & OPERATION INSTRUCTIONS
Visit our website at: http://www.harborfreight.com
Read this material before using this
product.
Failure to do so can result in serious injury.
SAVE THIS MANUAL.
Copyright© 2003 by Harbor Freight Tools®. All rights reserved. No portion of this manual or any artwork
contained herein may be reproduced in any shape or form without the express written consent of
Harbor Freight Tools. Diagrams within this manual may not be drawn proportionally. Due to continuing
improvements, actual product may differ slightly from the product described herein. Tools required for
assembly and service may not be included.
For technical questions or replacement parts, please call 1-800-444-3353.
REV 09i
Page 2

SPECIFICATIONS
ITEM
Ratcheting Capacity
Body Construction
Plate Holding Edge
Fixed Plate Dimensions
Rachet Plate Dimensions
Net Weight
15’L X 1”W Reinforced Nylon Strap
Steel Plates
5/16” X 5-1/8”
5-1/8” X 7-1/2”
4-3/4” X 5-1/8”
2.25 Lbs.
DESCRIPTION
SAVE THIS MANUAL
You will need the manual for the safety warnings and precautions, assembly
instructions, operating and maintenance procedures, parts list and diagram. Keep
your invoice with this manual. Write the invoice number on the inside of the front
cover. Keep the manual and invoice in a safe and dry place for future reference.
SAFETY WARNINGS AND PRECAUTIONS
1. KEEP PRODUCT USAGE AREA CLEAN. Cluttered areas invite injuries.
2. KEEP CHILDREN AWAY FROM PRODUCT USAGE AREA. Do not allow
children to handle this product.
3. DO NOT ASSEMBLE THIS PRODUCT IF UNDER THE INFLUENCE OF
ALCOHOL OR DRUGS. Read warning labels on prescriptions to determine if
your judgement or reflexes are impaired while taking drugs. If there is any
doubt, do not use this product.
4. USE EYE PROTECTION. Wear ANSI approved safety impact goggles.
Goggles are available from Harbor Freight Tools.
5. DRESS SAFELY. Do not wear loose clothing or jewelry as they can become
caught in moving parts. Wear a protective hair covering to prevent long hair
from becoming caught in the moving parts.
6. DO NOT OVERREACH. Keep proper footing and balance at all times.
7. STAY ALERT. Watch what you are doing at all times. Use common sense. Do
not operate this product when you are tired or distracted from the job at hand.
SKU 90416 PAGE 2
Page 3

8. CHECK FOR DAMAGED PARTS. Before using this product, carefully check
that it will operate properly and perform its intended function. Check for
damaged parts and any other conditions that may affect its operation. Replace
or repair damaged or worn parts immediately.
9. REPLACEMENT PARTS AND ACCESSORIES. When servicing, use only
identical replacement parts. Only use accessories intended for use with this
product. Approved accessories are available from Harbor Freight Tools.
10. MAINTAIN PRODUCT WITH CARE. Keep this product clean and dry, and
moving parts lightly lubricated for better performance. Keep product dry, clean
and free from oil, grease, and solvents.
11. USE THE RIGHT PRODUCT FOR THE RIGHT JOB. Do not attempt to force
a small tool or attachment to do the work of a larger industrial tool. There are
certain applications for which this tool was designed. It will do the job better and
more safely at the rate for which it was intended. Do not modify this tool and do
not use this tool for any purpose other than which it was intended.
12. WORKING WITH GLUE. Always be careful of fumes and always have proper
ventilation. Keep glue away from children.
UNPACKING
When unpacking, check to make sure all parts shown on the Parts List (page #5) are
included. If any parts are missing or broken, please call Harbor Freight Tools at the
number shown on the cover of this manual as soon as possible.
Using the Ratcheting Strap Clamp for Laminate Flooring:
This Ratcheting devise will work as a floor clamp to aid you in laying your laminate
floor panels. This clamp can only be used to tighten a total length of 14 ft. of floor
panels.
1. Place the laminate flooring panels in accordance with the manufacturer’s
instructions.
2. Lay 3 panels as instructed, leaving a space for expansion around the edges of
the floor.
3. With the Metal Plate (#1) pre-assembled with the yellow Strap (#2), insert over
the edge of the first panel of laminate flooring.
4. Lay the yellow Strap (#2) across the flooring area. With the Ratchet (#3), hook
under the third floor board. See Figure 1.
#1 Metal Plate
#3 Ratchet
Flooring
Boards
First
Second
Third
Figure 1
#2 Strap
SKU 90416 PAGE 3
Page 4

5. Feed the Strap (#2) through the slot in the Rachet (#3), and then through the
center of the Rachet Barrel. See Figure 2.
Caution: Be careful not to pinch fingers in moving parts.
Center of Ratchet Barrel
#2 Strap
Slot in
Ratchet
Figure 2
6. Pull the end of the Strap (#2) to take up the slack. Tighten the flooring panels
together by lowering the Handle (A) gently. Caution: Be sure you do not
overtighten. The flooring panels must remain flat at all times. See Figure 3.
(A) Handle
(A) Han-
dle
#2 Strap
(B)
Spring
Plates
Figure 3
7. To release the Ratchet tension, raise the Handle (A), pull each of the Spring
Plates (B) back from the Ratchet center so the Handle locks fully open. Pull the
Strap (#2) out of the Ratchet in the opposite direction that it was fed into the slot
of the Ratchet. See Figure 4.
8. Repeat ratcheting until all flooring is laid, every three boards or as manufacturer
has instructed.
9. Roll up Strap (#2) for storage.
SKU 90416 PAGE 4
Figure 4
#2 Strap
Page 5

PARTS LIST
PART # DESCRIPTION QTY
#1
1
2
A
B
Metal Plate
Strap (yellow)
Ratchet Handle
Spring Plates
1
1
1
1
PARTS ASSEMBLY
#3
#2
A
B
A
B
MAINTENANCE
1. For better and safer performance, keep all parts of this product clean and dry.
2. Periodically check to see that all hardware is in place.
PLEASE READ THE FOLLOWING CAREFULLY
THE MANUFACTURER AND/OR DISTRIBUTOR HAS PROVIDED THE PARTS DIAGRAM IN THIS
MANUAL AS A REFERENCE TOOL ONLY. NEITHER THE MANUFACTURER NOR DISTRIBUTOR
MAKES ANY REPRESENTATION OR WARRANTY OF ANY KIND TO THE BUYER THAT HE OR SHE
IS QUALIFIED TO MAKE ANY REPAIRS TO THE PRODUCT OR THAT HE OR SHE IS QUALIFIED TO
REPLACE ANY PARTS OF THE PRODUCT. IN FACT, THE MANUFACTURER AND/OR DISTRIBUTOR
EXPRESSLY STATES THAT ALL REPAIRS AND PARTS REPLACEMENTS SHOULD BE UNDERTAKEN
BY CERTIFIED AND LICENSED TECHNICIANS AND NOT BY THE BUYER. THE BUYER ASSUMES
ALL RISK AND LIABILITY ARISING OUT OF HIS OR HER REPAIRS TO THE ORIGINAL PRODUCT OR
REPLACEMENT PARTS THERETO, OR ARISING OUT OF HIS OR HER INSTALLATION OF REPLACEMENT PARTS THERETO.
SKU 90416 PAGE 5
 Loading...