

Harbor Freight Tools 60623 Product manual
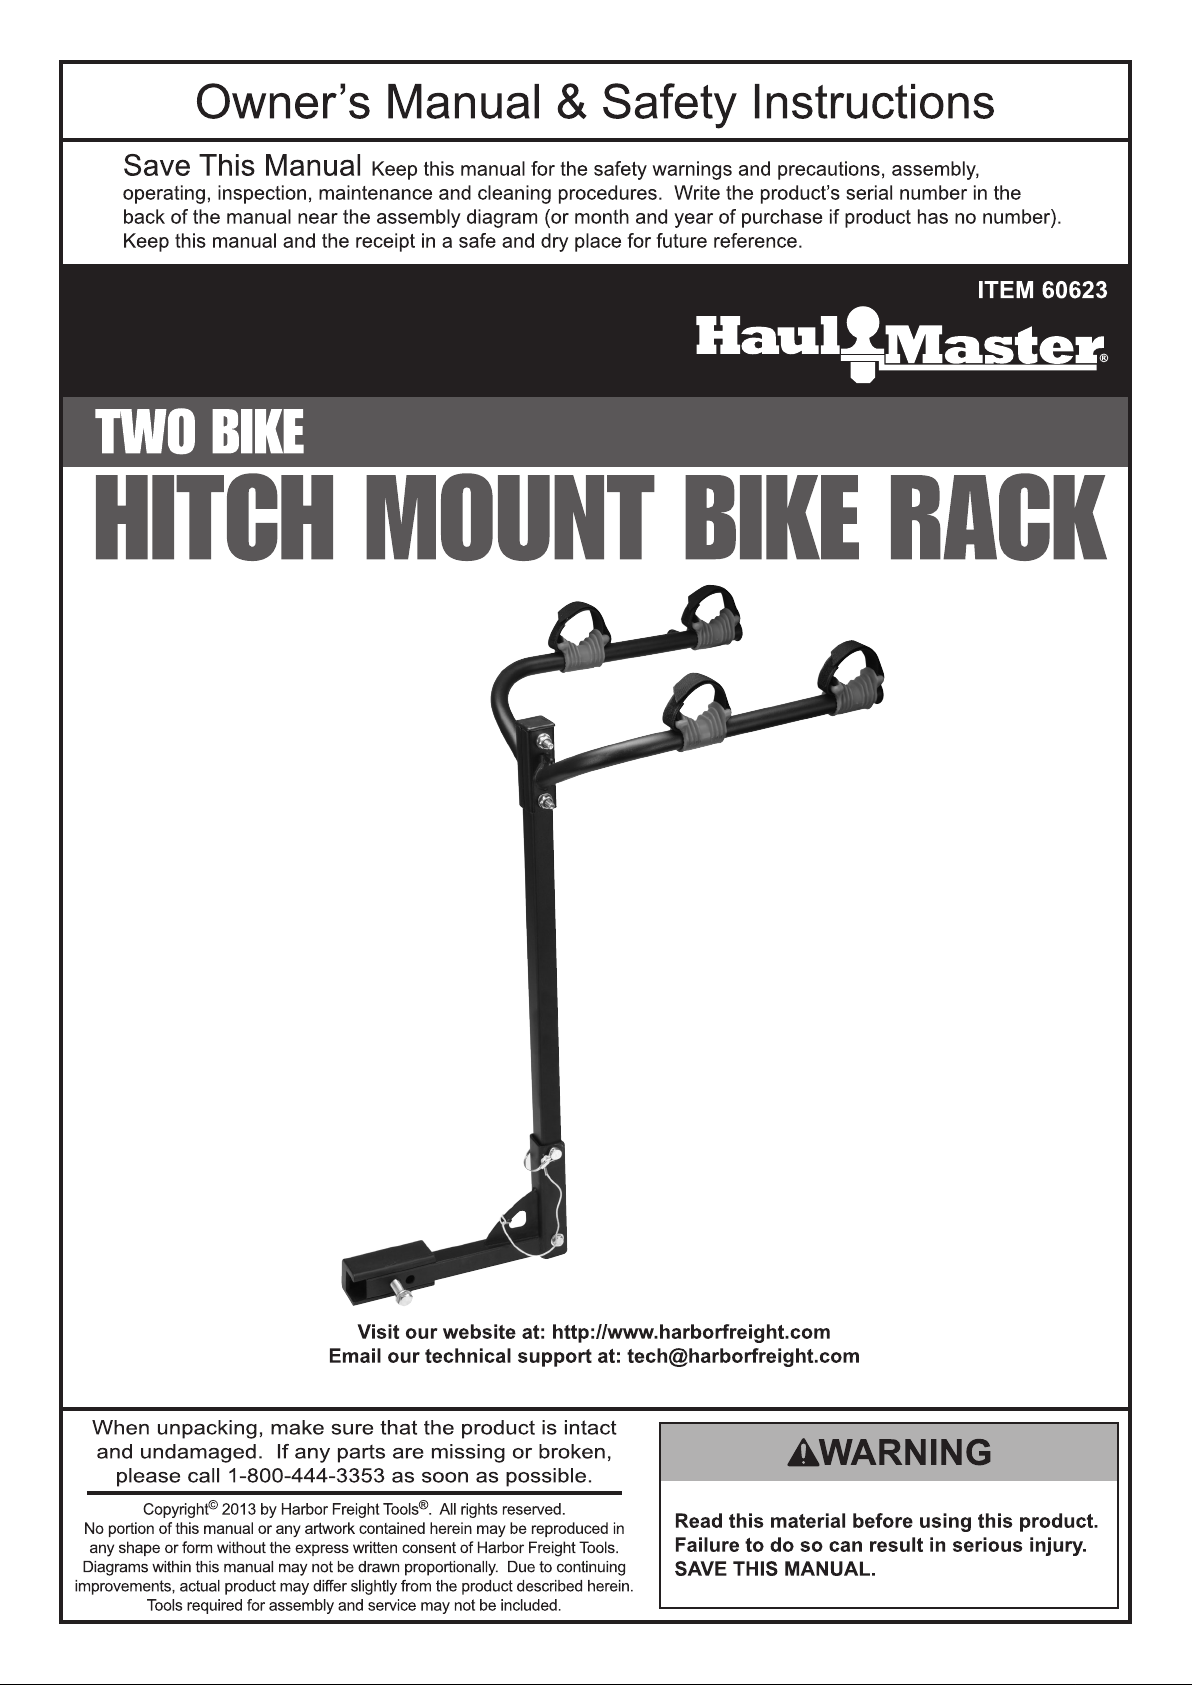
Specifications
Maximum Weight Capacity 100 lb.
Bike Capacity 2
Holding Mechanism Bike Clamps, Hook & Loop Straps
Compatible Hitch Classes Class I, II, III, IV Hitches
IMPORTANT SAFETY INFORMATION
Assembly Precautions
1. Assemble only according to these instructions.
Improper assembly can create hazards.
2. Wear ANSI-approved safety goggles and
heavy-duty work gloves during assembly.
3. Keep assembly area clean and well lit.
4. Keep bystanders out of the area during assembly.
Use Precautions
1. This product is not a toy. Do not allow
children to play with or near this item.
2. Use as intended only.
3. Inspect before every use; do not use
if parts are loose or damaged.
Assembly
5. Do not assemble when tired or when under the
influence of alcohol, drugs or medication.
6. Weight capacity and other product capabilities apply
to properly and completely assembled product only.
7. Contact the Department of Transportation (DOT)
and check local regulations for laws regarding
the installation and use of this bike rack.
4. Do not exceed listed weight capacity.
Be aware of dynamic loading!
Sudden load movement may briefly create
excess load causing product failure.
5. Maintain product labels and nameplates.
These carry important safety information.
If unreadable or missing, contact
Harbor Freight Tools for a replacement.
Read the ENTIRE IMPORTANT SAFETY INFORMATION section at the beginning of this document
including all text under subheadings therein before set up or use of this product.
NOTE: Refer to assembly diagram on
facing page during assembly.
1. Slide the Hitch End of the Linker Brace (1) into
the vehicle’s trailer hitch and lock with a steel
Hitch Pin (4). Fasten Cord (9) to Hitch Pin (4)
and Linker Brace (1).
2. Secure the Support Column (2) to the upright part
of the Linker Brace (1) with a Bolt (5), Self-Locking
Nut (7) and two Washers (6), through the bottom
hole and the Hitch Pin (4) through the upper hole.
Page 2 For technical questions, please call 1-800-444-3353. Item 60623
3. Hold the two Bike Rack (3) sections over the upper
end of the Support Column (2) aligning the bolt
holes for orientation. Secure this with two Bolts (5),
four Washers (6) and two Self-Locking Nuts (7).
4. Fit Cover (10) securely into top of support
column, flat side up.
5. Double check all nuts and bolts, making sure
they are all tight.
 Loading...