

Page 1
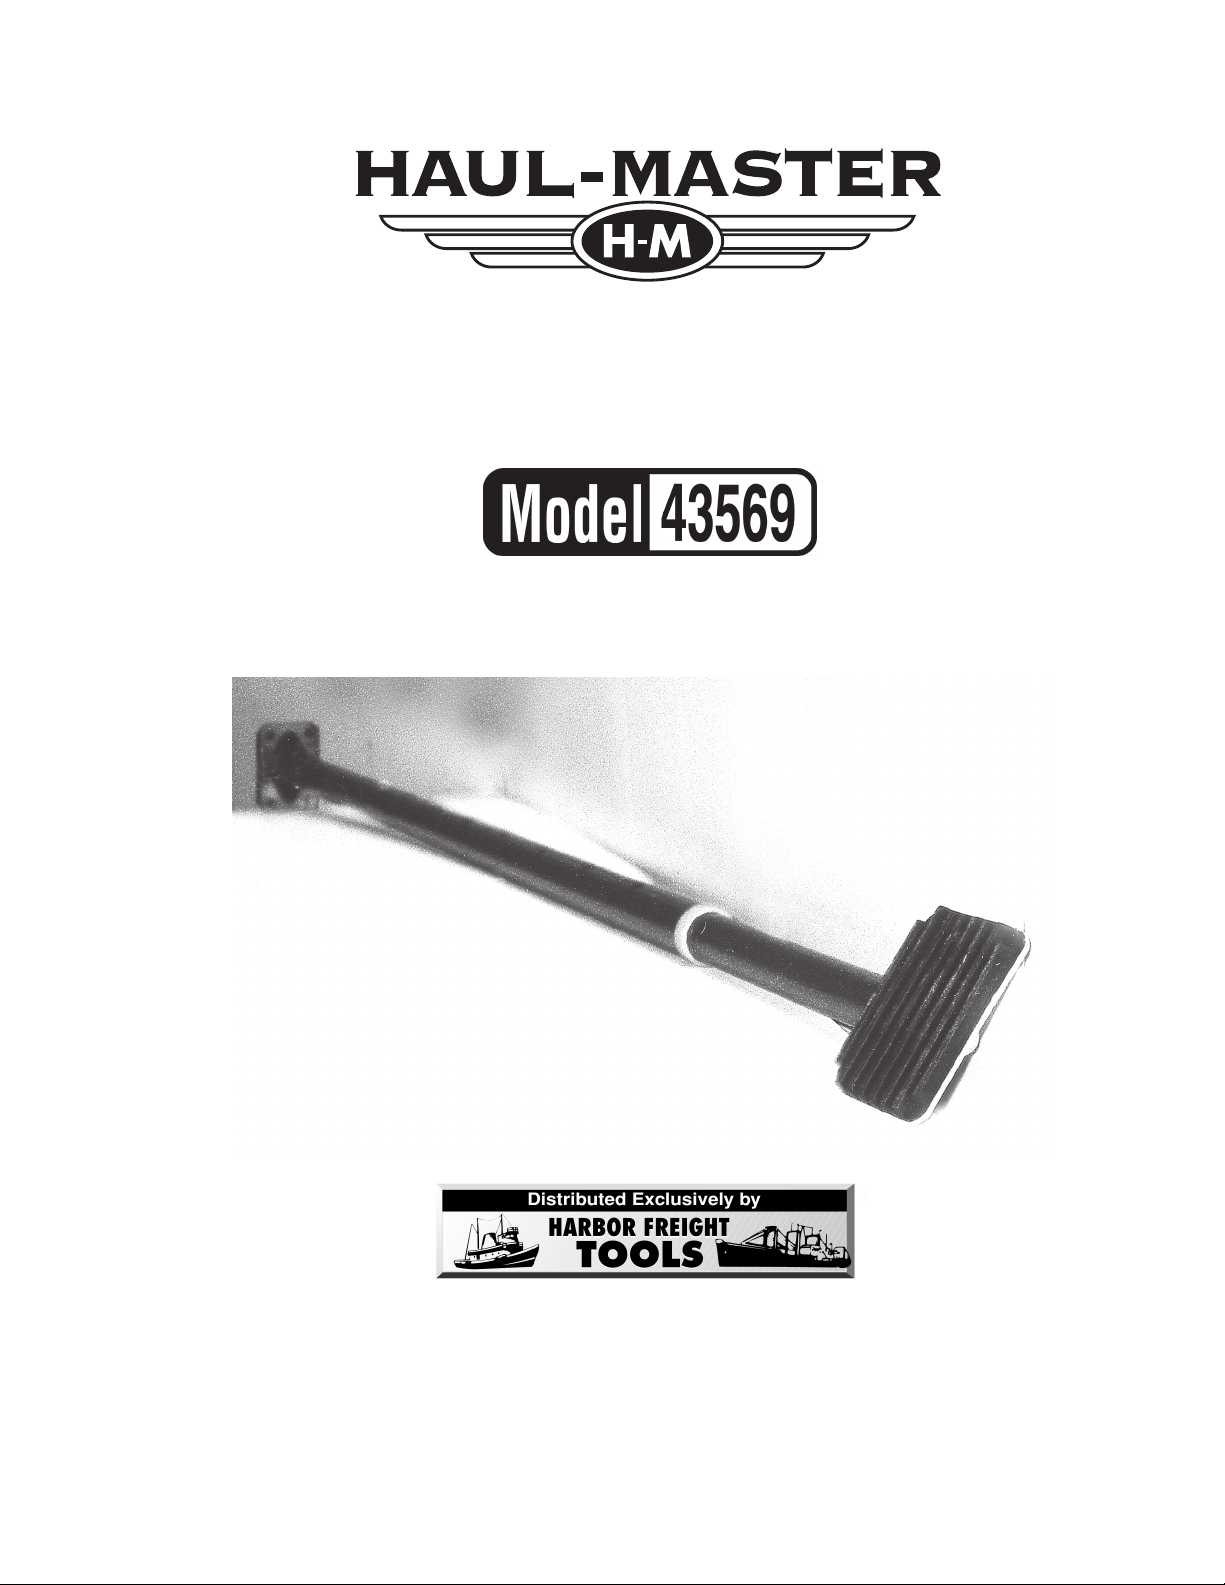
CARGO RETAINING BAR
®
ADJUSTABLE
ASSEMBLY AND OPERATING INSTRUCTIONS
3491 Mission Oaks Blvd., Camarillo, CA 93011
Visit our Web site at http://www.harborfreight.com
Copyright © 2000 by Harbor F reight Tools®. All rights reserved. No portion of this manual
or any artwork contained herein may be reproduced in any shape or form without the
express written consent of Harbor Freight Tools.
For technical questions please call 1-800-444-3353
Revised Cover Page
Page 2

SPECIFICATIONS (PER UNIT)
ITEM DESCRIPTION
Construction
Finish
Net Weight
Bar Diameter
Stand Dimensions
Collapsed Length
Full Extension Length
Bar Adjusting Capacity
Adjusting Bolt Capacity
Mild Steel Tubes
Formed Steel Stands
Rubber Spacers
Bars: Blue Enamel Paint
Stands: Chrome Plated
Spacers: Black Rubber
4.85 Lbs.
1.105 O.D.
2-1/4” W x 3-1/8” L
38-5/8” L
74” L
21” Total Adjusting Range
(3” Per Hole Increments)
6” Total Adjusting Range
(3” Adjusting Range Per End)
SAVE THIS MANUAL
Y ou will need the manual for the saf ety warnings and precautions, assemb ly instructions,
operating and maintenance procedures, parts list and diagram. Keep your
invoice with this manual. Write the invoice number on the inside of the front cover.
Keep the manual and invoice in a safe and dry place for future reference.
SAFETY WARNINGS AND PRECAUTIONS
1. KEEP PRODUCT USAGE AREA CLEAN. Cluttered areas invite injuries.
2. KEEP CHILDREN AWAY FROM PRODUCT USAGE AREA. Do not allow
children to handle this product.
3. DO NOT USE THIS PRODUCT IF UNDER THE INFLUENCE OF ALCOHOL OR
DRUGS. Read warning labels on prescriptions to determine if your judgement or
reflexes are impaired while taking drugs. If there is any doubt, do not attempt to
use this product.
4. DRESS SAFELY. Do not wear loose clothing or jewelry as they can become caught in
moving parts. Wear a protective hair covering to prevent long hair from
becoming caught in the moving parts.
5 USE EYE PROTECTION. Wear ANSI approved safety impact goggles. Goggles are
available from Harbor Freight Tools.
6. DO NOT OVERREACH. Keep proper footing and balance at all times.
SKU 43569 PAGE 2
Page 3

7. STAY ALERT. Watch what you are doing at all times. Use common sense.
Do not operate this product when you are tired or distracted from the job at hand.
8. CHECK FOR DAMAGED PARTS. Before using this product, carefully check that it will
operate properly and perform its intended function. Check for damaged parts and any
other conditions that may affect its operation. Replace or repair damaged or worn parts
immediately.
9. REPLACEMENT PARTS AND ACCESSORIES. When servicing, use only identical
replacement parts. Only use accessories intended for use with this product. Approved
accessories are available from Harbor Freight Tools.
10. MAINTAIN PRODUCT WITH CARE. Keep this product clean and dry for better
performance.
11. MAINTENANCE: Service and maintenance should be performed regularly by a qualified
technician.
12. USE THE RIGHT PRODUCT FOR THE RIGHT JOB. There are certain applications for
which this product was designed. Do not use this product for a purpose for which it was
not intended.
SPECIFIC PRECAUTIONS FOR THIS PRODUCT
1. This product is for use only with
is stacked two or more high. Doing so may result in damaged cargo and/or personal
injury.
When unpacking, check to make sure all parts shown on the Parts List (page #5) are
included. If any parts are missing or broken, please call Harbor Freight Tools at the
number shown on the cover of this manual as soon as possible.
ASSEMBLY INSTRUCTIONS
NOTE: All parts below refer to the parts listed on page #6 of this manual.
one level
UNPACKING
cargo. Do not use this product with cargo that
To Use Cargo
Cargo
Retaining
Bar
Cargo
Tailgate
Retaining Bar:
1. Check to make
sure cargo is packed
firmly and securely
against the front panel
of the truck bed.
NOTE: Do not use
this product when
stacking cargo
(two or more high).
SKU 43569 PAGE 3
Page 4

2. Hand screw the two Stands (part #3)
inward until they are flush with the ends
of Bar A (part #8) and Bar B (part #11).
3
11
2. While firmly holding Bar B with one hand, press in both knobs of the Spring Clamp
(part #9) and extend Bar A (part #8) until the Rubber Spacers (part #1) are pressed
against the cargo toward the front of the truck bed and against the truck tailgate at
the rear end .
3. Release the knobs of the Spring Clamp, and either extend or collapse the length
of the Cargo Retaining Bar until the knobs of the Spring Clamp self-insert into the
nearest Adjusting Hole located on Bar B.
11
9
8
4. Depending on the final adjustment length (up to 6”) required to firmly brace the
Cargo Retaining Bar between the cargo and the truck tailgate, twist Bar A and/or
Bar B
counterclockwise
as needed to extend the Stands at either end.
3
SKU 43569 PAGE 4
8
Page 5

To Release Cargo Retaining Bar:
1. Twist Bar A and/or Bar B
clockwise
to screw the Stands inward until they are flush
with the ends of Bar A and Bar B.
2. While firmly holding Bar B with one hand, press in both knobs of the Spring Clamp
and collapse Bar A into Bar B.
MAINTENANCE
1. For better and safer performance, keep all moving parts of this product clean and
dry at all times.
PLEASE READ THE FOLLOWING CAREFULLY
THE MANUF ACTURER AND/OR DISTRIBUTOR HAS PR OVIDED THE PARTS DIAGRAM
IN THIS MANUAL AS A REFERENCE TOOL ONLY. NEITHER THE MANUFACTURER
NOR DISTRIBUTOR MAKES ANY REPRESENTATION OR WARRANTY OF ANY KIND T O
THE BUYER THAT HE OR SHE IS QUALIFIED TO MAKE ANY REPAIRS TO THE PRODUCT OR THAT HE OR SHE IS QUALIFIED T O REPLA CE ANY PARTS OF THE PR ODUCT.
IN FACT, THE MANUFACTURER AND/OR DISTRIBUTOR EXPRESSLY STATES THAT
ALL REPAIRS AND PARTS REPLACEMENTS SHOULD BE UNDERTAKEN BY CERTIFIED AND LICENSED TECHNICIANS AND NOT BY THE BUYER. THE BUYER ASSUMES
ALL RISK AND LIABILITY ARISING OUT OF HIS OR HER REPAIRS TO THE ORIGINAL
PRODUCT OR REPLACEMENT PARTS THERETO, OR ARISING OUT OF HIS OR HER
INSTALLATION OF REPLACEMENT PARTS THERETO.
PARTS LIST
PART # DESCRIPTION QTY
1
2
3
4
5
6
7
8
9
10
11
12
13
SKU 43569 PAGE 5
Rubber Spacer
Nut
Stand
Screw
Washer
Adjusting Bolt A
Adjusting Bushing A
Bar A
Spring Clamp
Guide Bushing
Bar B
Adjusting Bushing B
Adjusting Bolt B
2
2
2
2
2
1
1
1
1
1
1
1
1
NOTE:
Some parts are listed and shown for
illustration purposes only, and are not
available individually as replacement
parts.
Page 6

PARTS DIAGRAM
SKU 43569 PAGE 6
 Loading...