

Page 1
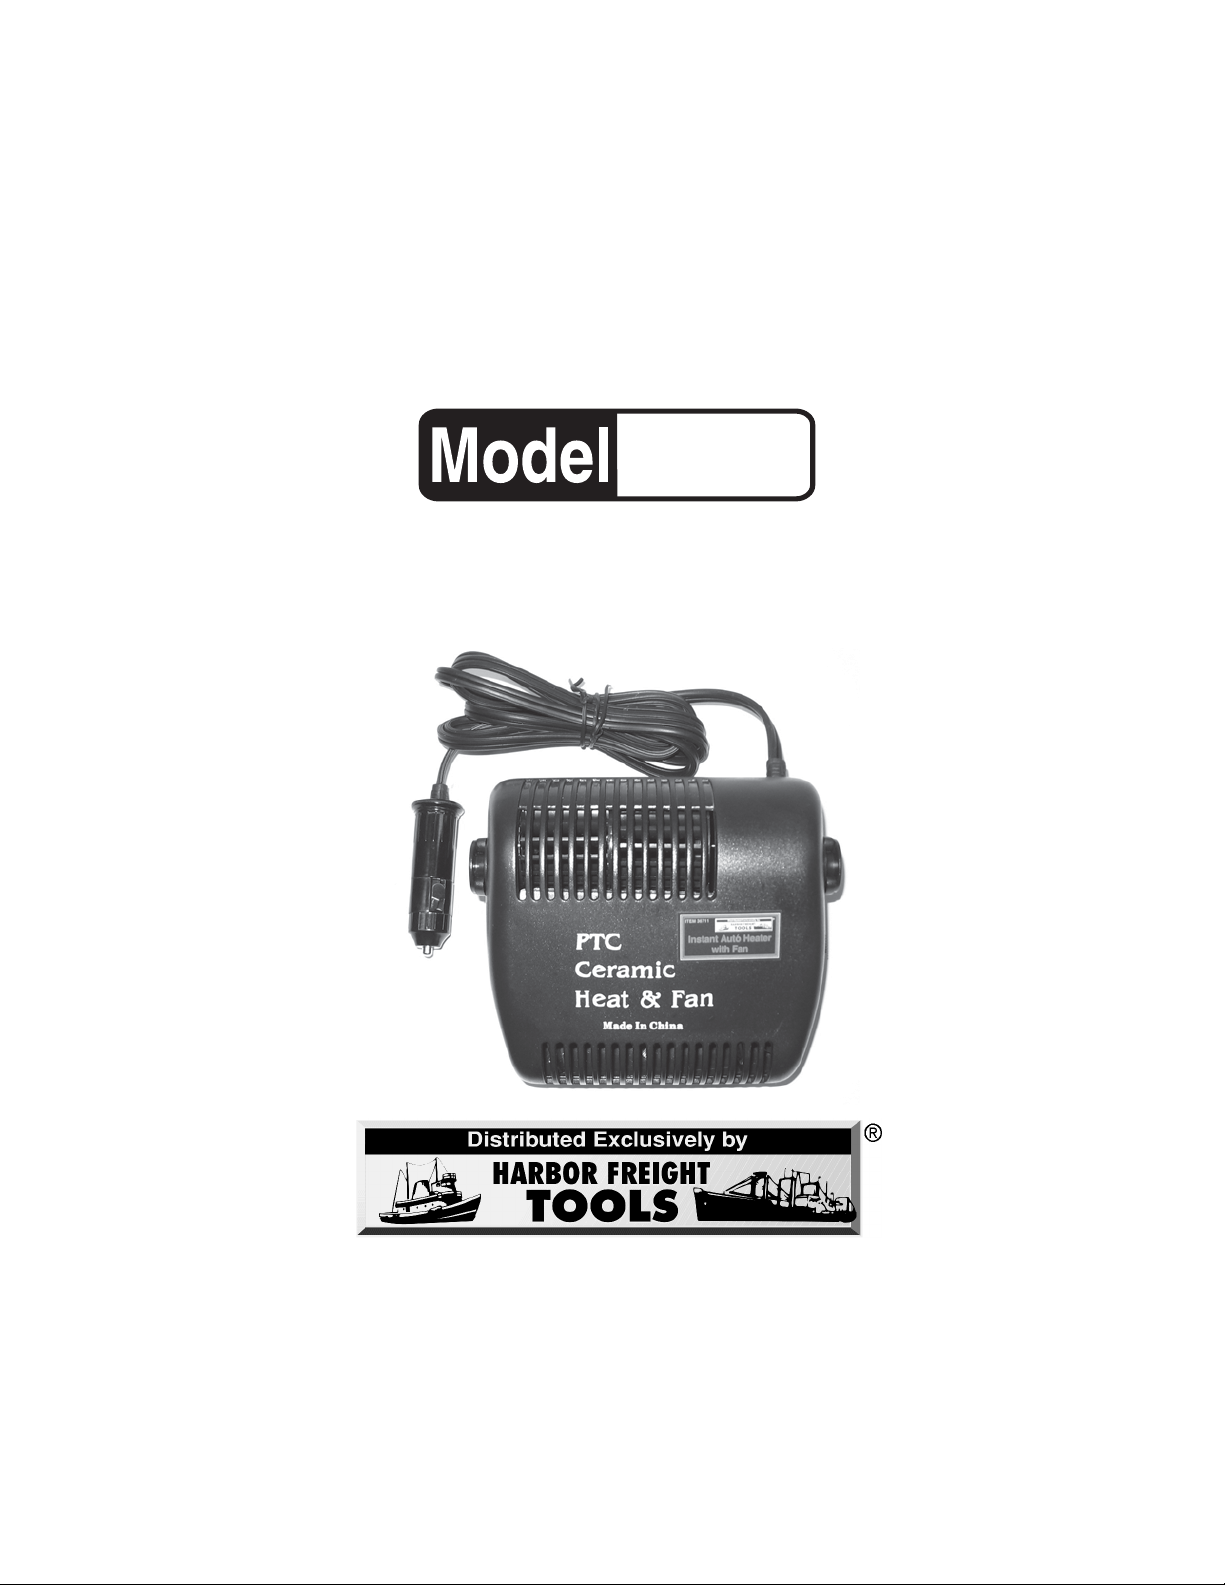
INSTANT AUTO HEATER
WITH FAN
36711
ASSEMBLY AND OPERATING INSTRUCTIONS
3491 Mission Oaks Blvd., Camarillo, CA 93011
Visit our Web site at http://www.harborfreight.com
Copyright © 2006 by Harbor Freight Tools®. All rights reserved. No portion of
this manual or any artwork contained herein may be reproduced in any shape
or form without the express written consent of Harbor Freight Tools.
For technical questions and replacement parts, please call 1-800-444-3353
Page 2

Specifications
Power 12 Volts DC, 120 Watts (Max.)
Heat Output 400 BTU
Power Cord 6’
Plug Cigarette Lighter Plug
Save This Manual
You will need the manual for the safety warnings and precautions, assembly instructions,
operating and maintenance procedures, parts list and diagram. Keep your invoice with this
manual. Write the invoice number on the inside of the front cover. Keep the manual and
invoice in a safe and dry place for future reference.
Safety Warnings and Precautions
WARNING: When using product, basic safety precautions should always be followed
to reduce the risk of personal injury and damage to equipment.
Read all instructions before using this product!
1. Keep area clean. Cluttered areas invite injuries.
2. Observe area conditions. Do not use the Heater in damp or wet locations. Don’t
expose to rain. Keep work area well lit. Do not use electrically powered products in
the presence of flammable gases or liquids.
3. Keep children away. Children must never be allowed near the Heater when it is in
use.
4. Store idle equipment. When not in use, make sure Heater is cool to the touch and
then store in a dry location to inhibit rust. Always lock up the Heater and keep out of
reach of children.
5. Use the right Heater for the job. Do not attempt to force a small Heater to do the
work of a larger industrial Heater. There are certain applications for which this Heater
was designed. It will do the job better and more safely at the rate for which it was
intended. Do not modify this Heater and do not use this Heater for a purpose for
which it was not intended..
6. Maintain products with care. Keep the Heater clean for better and safer
performance. Inspect the Heater cord periodically, and if damaged, have it repaired by
an authorized technician.
7. Disconnect power. Unplug Heater when not in use.
8. Stay alert. Watch what you are doing, use common sense. Do not operate the
Heater when you are tired.
Page 2SKU 36711 For technical questions, please call 1-800-444-3353
Page 3

9. Check for damaged parts. Before using any product, any part that appears
damaged should be carefully checked to determine that it will operate properly and
perform its intended function. Check for alignment and binding of moving parts; any
broken parts or mounting fixtures; and any other condition that may affect proper
operation. Any part that is damaged should be properly repaired or replaced by a
qualified technician. Do not use the Heater if any switch does not turn On and Off
properly.
10. Replacement parts and accessories. When servicing, use only identical
replacement parts. Use of any other parts will void the warranty. Only use accessories
intended for use with this tool. Approved accessories are available from Harbor
Freight Tools. The fuse in this unit must only be replaced with another 10 Amp
Fast Acting (F10A250V) Fuse of the same type.
11. Do not operate product if under the influence of alcohol or drugs. Read warning
labels if taking prescription medicine to determine if your judgment or reflexes are
impaired while taking drugs. If there is any doubt, do not operate the Heater.
12. Maintenance. For your safety, service and maintenance should be performed
regularly by a qualified technician.
Specific Safety Warnings
1. Risk of fire! Never obstruct the inlet or outlet of the Heater. Verify that all
openings are clear during setup. NEVER leave this unit unattended while plugged in.
2. Risk of Burns! Keep children and pets away from this unit while it is hot. Do not
place hands or feet near the vent.
3. Do not deplete the vehicle battery. Only use this Heater when the vehicle’s engine
is running.
4. Not For Extended Use. Only use this Heater for 15 to 20 minutes at a time.
5. Place the Heater in the proper location. Set up the Heater in a level location that
allows at least 2 inches of air space on every side of the unit. Make sure nothing
comes in contact with the Heater. Do not operate in close proximity to liquid.
6. Make sure the vehicle lighter socket has a minimum capacity of 12 amps. Do
not use a socket extension or pigtail to operate this heater.
Page 3SKU 36711 For technical questions, please call 1-800-444-3353
Page 4

Warning: The warnings, cautions, and instructions discussed in this instruction manual
cannot cover all possible conditions and situations that may occur. It must be understood by the operator that common sense and caution are factors which cannot be
built into this product, but must be supplied by the operator.
Unpacking
When unpacking, check to make sure that the product is intact and undamaged. If any
parts are missing or broken, please call Harbor Freight Tools at the number on the cover of
this manual as soon as possible.
Operation
Note: When using the Heater for the first few times, an odor may be noticed. The odor is a
remnant from the moulding process and will dissipate after several minutes of
operation.
Warning!! When not in use and when the vehicle’s engine is OFF, unplug the Heater
from the 12 Volt power source.
1. Make sure the vehicle engine is running when operating the Heater.
2. Mount the Heater on the dashboard or any location in your vehicle where you can
operate the controls. The Heater comes with a mounting bracket that will allow you to
pivot the Heater once it is mounted. The mounting bracket should be separated from
the heater by firmly pulling the bracket with one hand while holding the heater in your
other hand.
3. Next attach the mounting bracket using screws or the supplied double sided tape.
Note: Before drilling any holes make sure there are no wires or cables in the drilling path.
4. Re-attach the Heater to the mounting bracket by firmly pressing it back on the round
holders on the sides of the Heater.
Note: Make sure the air openings on the Heater are clear of dirt or debris.
5. Insert the 12 Volt plug into the vehicle’s DC power inlet (cigarette lighter).
6. Turn the switch on the side of the unit to FAN or HEAT position. The Fan setting blows
air only. The HEAT setting blows out heated air.
Warning! Do not operate the unit for more than 15-20 minutes at a time.
7. When finished, turn the switch to “OFF” and unplug the unit.
Page 4SKU 36711 For technical questions, please call 1-800-444-3353
 Loading...