

Page 1
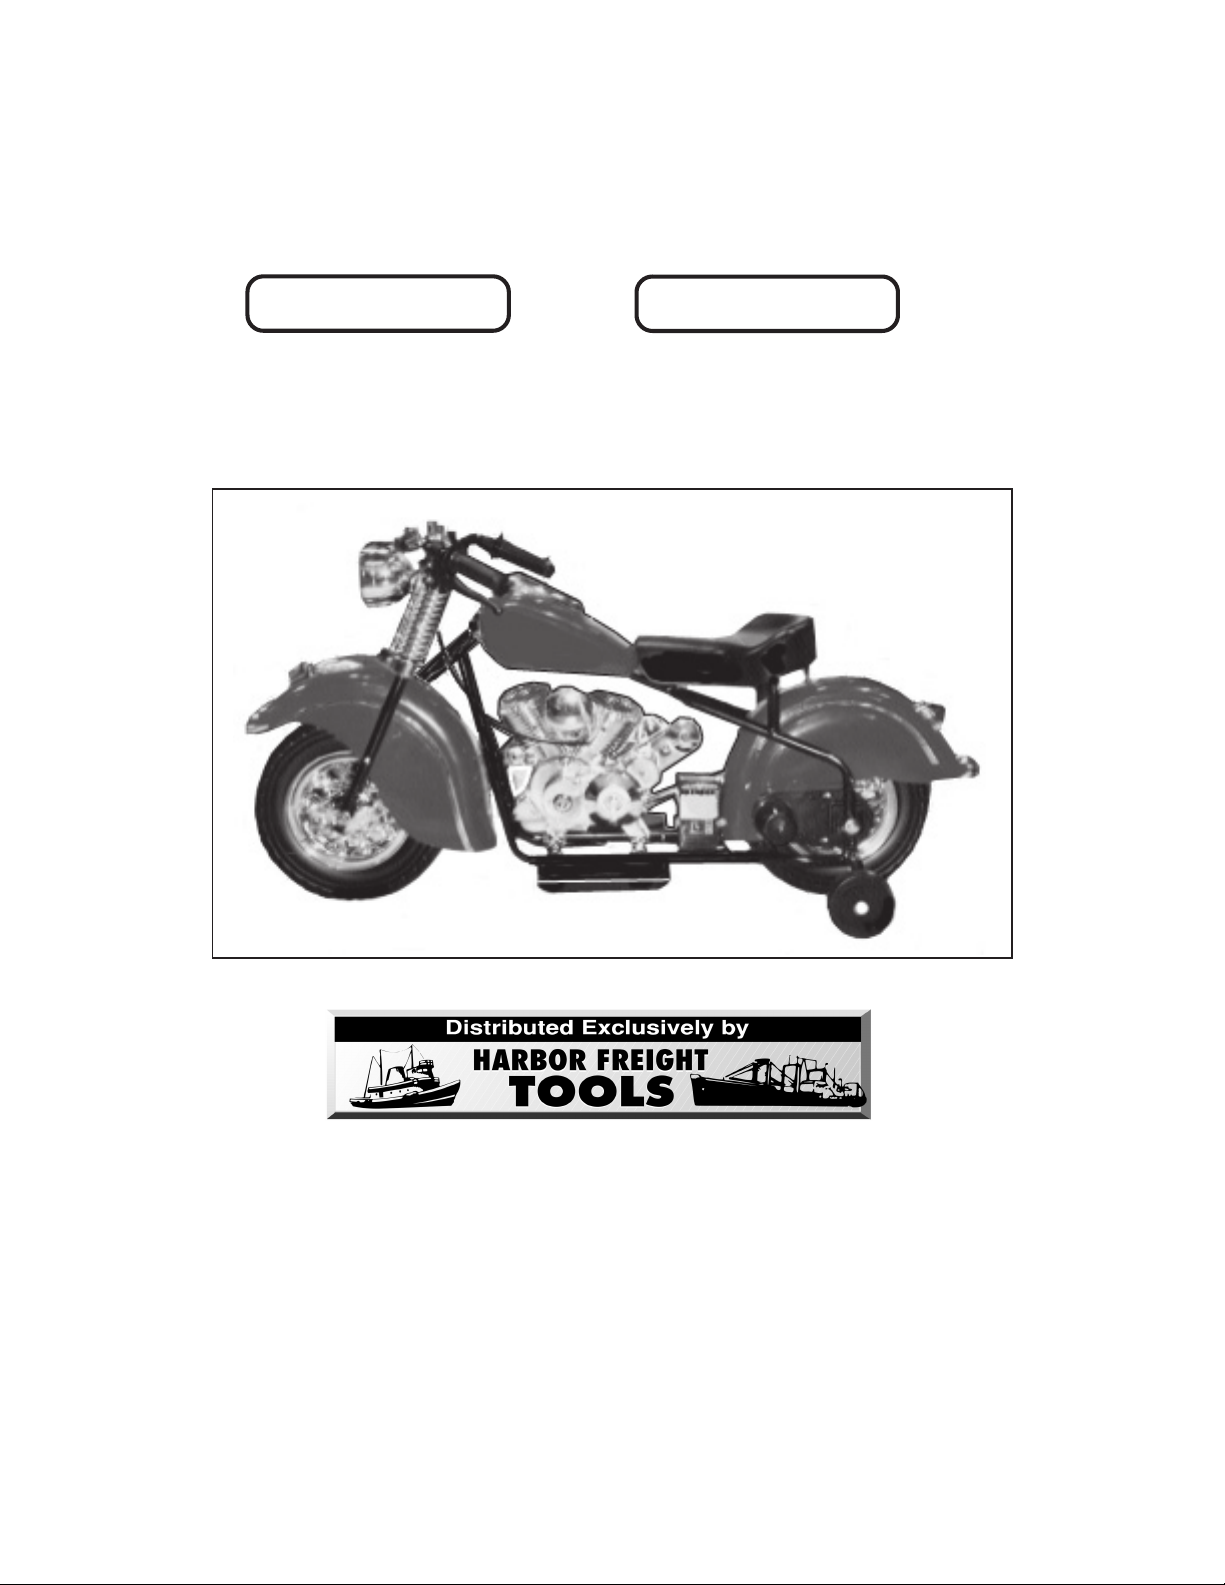
RIDE-ON ELECTRIC MOTORCYCLE TOY
®
Model 03514 Model 92927
RED
BLACK
ASSEMBLY AND OPERATING INSTRUCTIONS
3491 Mission Oaks Blvd., Camarillo, CA 93011
Visit our Web site at: http://www.harborfreight.com
Copyright© 2005 by Harbor F reight Tools®. All rights reserved. No portion of this
manual or any artwork contained herein may be reproduced in any shape or form
without the express written consent of Harbor F reight Tools.
For technical questions, please call 1-800-444-3353.
Page 2

PRODUCT SPECIFICATIONS
Item Description
Recommended Age Limits For Children Ages 5 To 7 Years
Recommended
Seating Capacity
Maximum Load Capacity 66 Pounds (Dead Weight)
Electric Adapter Transformer Input: 120 VAC, 60 Hz
Battery 6 VDC Rechargeable
Fuse Type Thermal: Automatic Shut Down/Reset
Speed 1.6 MPH Forward (2.5 KM/Hr.)
Weight 16.0 Pounds
One Person
Output: 6 VDC
Initial Charge Time: 10 To 12 Hours
Subsequent Charge Times: Under 15 Hours
Quantity: 1
1.6 MPH Reverse (2.5 KM/Hr.)
IMPORTANT
BEFORE OPERA TION, THE NEGATIVE TERMINAL OF THE BA TTER Y
MUST BE PROPERL Y CONNECTED .
SEE ASSEMBL Y INSTR UCTIONS ON P A GE 7 FOR DETAILS.
SAVE THIS MANUAL
Y ou will need this man ual for the safety warnings and precautions, assembl y ,
operating, inspection, maintenance and cleaning procedures, and parts list. Keep
your invoice with this manual. Write the invoice number on the inside of the front
cover. K eep this manual and in voice in a safe and dry place for future reference.
GENERAL SAFETY WARNINGS AND PRECAUTIONS
1. DRESS SAFELY. MAKE SURE THAT CHILDREN ALWAYS WEAR LOCAL,
STATE, AND FEDERALLY APPROVED SAFETY HELMET, ELBOW/KNEE
PADS, AND SAFETY CLOTHING WHEN OPERATING THIS PRODUCT. Do not
allow children to wear loose clothing or jewelry , as the y can become caught in moving
parts. Wear a protectiv e hair covering to pre vent long hair from becoming caught in
moving parts.
2. STAY ALERT. Make sure the user is watching what he/she is doing at all times.
Adult should be present at all times. Use common sense. Do not allow this product
to be used when child is tired or distracted .
SKU 03514/92927 For technical questions, please call 1-800-444-3353. Page 2
Page 3

3. CHECK FOR DAMA GED P AR TS. Before allowing this product to be used, carefully
check that it will operate properly and perform its intended function. Check for
damaged parts and any other conditions that may affect the operation of this product.
Replace or repair damaged or worn parts immediately.
4. REPLACEMENT P AR TS AND ACCESSORIES: When servicing, use only identical
replacement parts.
5. MAINTAIN THIS PRODUCT WITH CARE. Keep this product clean and dry for better
and safer performance.
6. MAINTENANCE: For your safety, service and maintenance should be performed
regularly by a qualified technician.
7. THERE ARE CERTAIN APPLICATIONS FOR WHICH THIS PRODUCT WAS
DESIGNED. It will perform better and more safely at the rate for which it was intended.
Do not modify this product, and do not use this product for a purpose for which it was
not intended.
8. WARNING: The warnings, precautions, and instructions discussed in this manual
cannot cover all possible conditions and situations that may occur. The operator
must understand that common sense and caution are factors, which cannot be built
into this product, but must be supplied by the oper ator .
SPECIFIC PRODUCT WARNINGS AND PRECAUTIONS
1. THIS PRODUCT SHOULD BE ASSEMBLED ONLY BY AN ADULT, AND
OPERATED ONLY UNDER ADULT SUPERVISION.
2. THE RECOMMENDED AGE LIMITS FOR THIS PRODUCT ARE AGES 5 TO 7
YEARS.
3. DO NOT EXCEED THE MAXIMUM LOAD CAPACITY (66 POUNDS) FOR THIS
PRODUCT. This product is designed only for one rider. Do not allow passengers
on this product. Do not allow product to be jumped on.
4. MAINT AIN A SAFE PLAY ENVIRONMENT . Keep the pla y area well lit. Mak e sure
there is adequate surrounding space in which to play. Always keep the play area
free of obstructions, trash, and other debris. Use this product only on open, flat,
terrain. Avoid wet or sandy areas. Do not attempt to use this product on steep
inclines. Use this product only on private property . A void side walks, alle ys, streets,
and other potentially dangerous public areas. Obey all local, state, and federal
laws regarding the use of this product in public areas.
5. NEVER STAND ON THIS PRODUCT. Serious injury could result if the Motorcycle
is tipped.
6. ALWAYS KEEP HANDS, FINGERS, AND FEET, AWAY FROM THE MOVING
PARTS OF THIS PRODUCT.
SKU 03514/92927 For technical questions, please call 1-800-444-3353. Page 3
Page 4

7. DO NOT ATTEMPT TO REMOVE DEBRIS OR FOREIGN MATERIAL CAUGHT
IN THE MOVING PARTS OF THIS PRODUCT WHILE THE MOTORCYCLE’S
THRO TTLE PEDAL (2) IS IN THE “ON/DOWN” POSITION. Release pressure on
the Throttle P edal to turn off and stop the Motorcycle.
8. GROUND THE ELECTRIC ADAPTER TRANSFORMER OF THIS PRODUCT. The
6 Volt DC Adapter Transformer (10) for this product is equipped with a 2-Prong Plug
and requires the use of a grounded, 3-Prong Adapter Plug (not included). To comply
with the National Electric Code, and to provide additional protection from the risk of
electrical shock, this product should only be connected to a 120 V olt, 3-hole electrical
outlet that is protected by a Ground F ault Circuit Interrupter (GFCI). (See Figure
A.)
6 VOL T DC
ADAPTER TRANSFORMER (10)
3-PRONG ADAPTER PLUG
(NOT INCLUDED)
GROUNDED, 120 VOLT AC
FIGURE A
ELECTRICAL OUTLET
9. REDUCE THE RISK OF ACCIDENTAL STARTING. Make sure the Motorcycle’s
Throttle Pedal (2) is in the “UP/OFF” position before plugging the 6 Volt DC
Adapter Transformer into a grounded, 3-hole, 120 Volt, electrical outlet.
10. DO NOT ABUSE THE 6 VOLT DC ADAPTER TRANSFORMER CORD
(10). Do not use the Cord to pull its Plug from an electrical power outlet. Keep the
Cord awa y from heat, oil, sharp edges, and moving parts. Route the Cord saf ely.
Do not route the Cord where it can be walked on or tripped over. Replace a
damaged Cord immediately.
11. IF AN ELECTRICAL EXTENSION CORD (not included) IS USED WHEN
CHARGING THIS PRODUCT, MAKE SURE TO USE ONLY UL APPROVED
CORDS HAVING THE CORRECT GAUGE AND LENGTH.
(See Figure B, next page.)
12. PROPER BATTERY CARE: Battery (9) leakage may occur under extreme usage
or temperature conditions. Never allo w children to handle the 6 Volt DC Battery
for this product. If Battery fluid comes in contact with skin, wash with
SKU 03514/92927 For technical questions, please call 1-800-444-3353. Page 4
Page 5

REQUIRED MINIMUM EXTENSION CORD GAUGE – 120 VOLT
(
)
NAMEPLATE
AMPERES
At Full Load
0 - 25
Feet
0 - 5 16 16 16 12 12
5.1 - 8 16 16 14 10 -
8.1 - 12 14 14 12 - -
12.1 - 15 12 12 10 - -
15.1 - 20 10 10 10 - -
EXTENSION CORD LENGTH
25 - 50
Feet
50 -100
Feet
100 – 150
Feet
150– 200
Feet
FIGURE B
soap and water and rinse with lemon juice and vinegar. If the fluid comes into contact
with the eyes, flush with w ater for sev eral minutes and contact a doctor immediately .
Nev er burn the Battery, as it can e xplode in a fire. Do not charge the Motorcycle with
a leaking Battery . Only a qualified technician should replace or perf orm maintenance
on the Battery. Contact local solid waste authorities for instructions on correct
disposal or recycling of the Battery .
13. THE INITIAL CHARGING TIME FOR THE BA TTER Y IS 10 TO 12 HOURS. The
Battery (9) for this product has been
therefore requires an
hours
initial
charging time. THEREAFTER, each subsequent charging time f or the
initial
charging time of only 10 to 12 hours. Do not exceed 12
partially
charged by the manufacturer, and
Battery may take up to 15 HOURS. Do not exceed 15 hours for any subsequent
charging of the Battery .
14. BEFORE OPERATING, START THE MOTORCYCLE AND CHECK FOR
EXCESSIVELY LOOSE PARTS OR MACHINE VIBRATION. If this is found, turn
off the Motorcycle and correct the problem before operating.
15. ALWAYS HAVE CHILDREN WEAR LOCAL, STATE, AND FEDERALLY
APPRO VED SAFETY HELMET , ELBO W/KNEE P ADS, AND SAFETY CLOTHING
WHEN OPERATING THIS PRODUCT.
16. TO AVOID ACCIDENTAL INJURY, INSTRUCT USERS TO AVOID MAKING
SUDDEN STARTS, ST OPS, AND TURNS. DO NOT ALLO W THIS PRODUCT TO
BE USED ON STEEP INCLINES, WET, OR SANDY AREAS.
17. AL WAYS MAKE SURE THE THR OTTLE PED AL (2) IS IN ITS “UP/OFF” POSITION
BEFORE PERFORMING ANY INSPECTING, ADJUSTING, MAINTAINING, OR
CLEANING PROCEDURES.
18. THIS PRODUCT IS EQUIPPED WITH AN AUTOMATIC SHUTDOWN DEVICE.
During overload or improper operation, the Motorcycle will automatically shutdown
for appro ximately 15 to 20 seconds. After this period, the Motorcycle may be started
again.
SKU 03514/92927 For technical questions, please call 1-800-444-3353. Page 5
Page 6

19. WARNING: People with pacemakers should consult their physician(s) before
being around this product. Operation of electrical equipment in close proximity to
a heart pacemaker could cause interference or failure of the pacemak er.
UNPACKING
When unpacking, check to make sure all the parts shown on the P arts List (page 11) are
included. If any parts are missing or broken, please call Harbor Freight T ools at the n umber
shown on the cover of this manual as soon as possible.
PRODUCT FEATURES
NOTE: The supervising adult must make sure the child is taught and thoroughly
understands the following procedures before the child is allowed to ride the
Motorcycle.
The Instrument Panel:
1. The Instrument Panel (1) consists of a Forward/Reverse Switc h and a Horn
Button. (See Figure C, next page.)
2. Make sure the Motorcycle is at a
Reverse Switch. Do not attempt to change directions while the Motorcycle is
in motion. (See Figure C.)
3. The Motorcycle’ s Horn operates by simply pressing the Horn Button.
complete stop
prior to depressing the Forward/
The Throttle Pedal:
1. The Throttle Pedal (2) turns the Motorcycle on and off. To turn on the Motorcycle,
step on and keep the Throttle Pedal in its
Pedal features an automatic breaking mechanism and will turn off the Motorcycle
when downward pressure is released and the Throttle P edal is in its
position. (See Figure C.)
“DOWN/ON”
position. The Throttle
“UP/OFF”
The Head Light And Tail Light:
1. The Motorcycle features one Head Light (3) and one Tail Light, (4) both of which
automatically turn on when stepping on the Throttle Pedal. When the v ehicle
goes forward the head light turns on and when the vehicle goes backward, the tail
light turns on. Once pressure on the Throttle P edal (2) is released, the head light
and tail light will automatically turn off.
SKU 03514/92927 For technical questions, please call 1-800-444-3353. Page 6
Page 7

INSTRUMENT
PANEL
(1)
SEA T (5)
T AIL LIGHT (4)
FORWARD SWITCH
REVERSE SWITCH
HORN BUTTON
HANDLE BAR (6)
HEAD
LIGHT
(3)
SAFETY
WHEEL
(7)
THROTTLE PED AL (2)
WHEEL
(8)
FIGURE C
ASSEMBLY INSTRUCTIONS
CAUTION: THIS PRODUCT SHOULD BE ASSEMBLED ONLY BY AN ADULT.
To Connect The Front End Chassis To The Frame:
1.
2. Align the two mounting holes in the F ront End Chassis (11) with the mounting hole
3. While making certain that the Throttle Pedal (2) is
With assistance, raise and hold
the front end of the Motorcycle off the ground.
in the Frame (12). Then secure the Front End Chas-
sis to the Frame, using one Bolt (13) and one Nut
(14). (See Figure D, next page.)
not depressed, remove the 2 screws holding the
battery cover on. Move the cover slightly aside.
The negative terminal is left disconnected to pre-
vent the unit from operating during shipment.
Reconnect the negative battery wire, shown right.
4. Then, connect the Battery Supply Wire (15) to the
Wiring Harness (16). (See Figure D.)
SKU 03514/92927 For technical questions, please call 1-800-444-3353. Page 7
Page 8

FRAME (12)
BOL T (13)
FRONT END
CHASSIS (11)
NUT (14)
FIGURE D
BATTER Y
SUPPL Y WIRE
(15)
WIRING
HARNESS
(16)
To Charge The Battery:
1. THE INITIAL CHARGING TIME FOR THE BA TTER Y IS 10 TO 12 HOURS. The
Battery for this product has been
therefore requires an
12 hours
initial
charging time. THEREAFTER, each subsequent charging time for
initial
charging time of only 10 to 12 hours. Do not exceed
partially
charged by the manufacturer, and
the Battery may take up to 15 HOURS. Do not exceed 15 hours for any
subsequent charging of the Battery .
2. To charge the Battery (9), plug the 6 V olt DC Adapter T ransf ormer Output Line (10)
directly into the Charging Receptacle located on the side of the Battery . (See
Figures A, and E, next page.)
3. Plug the 6 Volt DC Adapter Transf ormer (10) into a grounded, 3-Hole, 120 Volt
electric outlet. (See Figure A.)
4. Follow the directions in Step #1 to fully charge the Battery (9).
5. When the charging process is completed, disconnect the 6 Volt DC Adapter
Transformer (10) from the grounded, 3-Hole, 120 Volt electric outlet.
(See Figure A.)
6. Disconnect the 6 Volt DC Adapter Transformer Output Line (10) from the Charging
Receptacle on the Battery (9). (See Figures A, and E.)
SKU 03514/92927 For technical questions, please call 1-800-444-3353. Page 8
Page 9

FIGURE E
BA TTER Y (9)
OPERATING INSTRUCTIONS
1. CAUTION: The Motorcycle T o y ma y easil y tip over if not rid den pr operl y.
Always make slow turns and avoid sharp turns.
2. Once seated on the Motorcycle Toy, select the desired speed direction (Forward
or Reverse) on the Instrument P anel (1). (See Figure C.)
3. Make sure to firmly grip and hold the Handle Bar (6) with both hands.
4. Then, step on the Throttle Pedal (2) to mov e the Motorcycle in the pre-selected
direction.
5. To turn off and stop the Motorcycle, release pressure on the Throttle P edal (2).
6. NOTE: Make sure the Motorcycle is at a
Forward/Reverse Switch. Do not attempt to change directions while the
Motorcyc le is in motion or damage to the Motorc yc le may occur.
(See Figure C.)
SKU 03514/92927 For technical questions, please call 1-800-444-3353. Page 9
complete stop
prior to depressing the
Page 10

INSPECTION, MAINTENANCE, AND CLEANING
y
1. NOTE: ALL INSPECTIONS, MAINTENANCE, AND CLEANING SHOULD BE
PERFORMED
2. CAUTION: Always make sure the Throttle Pedal (2) is in its “UP/OFF”
position before performing any inspection, adjustments, maintenance, or
cleaning.
3. BEFORE EACH USE, inspect the general condition of the Motorcycle. Check for
loose screws, misalignment or binding of mo ving parts, cracked or broken parts,
damaged electrical wiring, and any other condition that may affect its safe
operation. If abnormal noise or vibration occurs, have the problem corrected
before further use.
4. BATTERY REPLACEMENTS: For your personal safety, it is recommended that
only a qualified technician replace the 6 Volt DC Battery (9).
5. DAILY: With a soft brush, cloth, or vacuum, remo v e all dirt and debris from the
Motorcycle. If necessary, a mild detergent may be used. Do not e xpose the
electrical system of this product to water or any other liquids.
ONLY BY AN ADULT.
Do not use this product if it is damaged.
PLEASE READ THE FOLLOWING CAREFULLY
THE MANUF ACTURER AND/OR DISTRIBUT OR HAS PRO VIDED THE P AR TS LIST AND ASSEMBLY
DIAGRAM IN THIS MANU AL AS A REFERENCE TOOL ONLY . NEITHER THE MANUF ACTURER OR
DISTRIBUTOR MAKES ANY REPRESENTATION OR WARRANTY OF ANY KIND TO THE BUYER
THA T HE OR SHE IS QU ALIFIED T O MAKE ANY REP AIRS T O THE PRODUCT, OR THAT HE OR SHE
IS QUALIFIED TO REPLACE ANY PARTS OF THE PRODUCT. IN FACT, THE MANUFACTURER
AND/OR DISTRIBUTOR EXPRESSLY ST ATES THAT ALL REP AIRS AND PARTS REPLACEMENTS
SHOULD BE UNDERTAKEN BY CERTIFIED AND LICENSED TECHNICIANS, AND NOT BY THE
BUYER. THE BUYER ASSUMES ALL RISK AND LIABILITY ARISING OUT OF HIS OR HER REP AIRS
TO THE ORIGINAL PRODUCT OR REPLACEMENT PARTS THERETO, OR ARISING OUT OF HIS
OR HER INST ALLATION OF REPLACEMENT P AR TS THERET O.
PARTS LIST
Part # Description Qty. Part # Description Qty.
1 Instrument P a nel 1 10 12 Volt DC Adapter Transformer 1
2 Throttle Pedal 1 11 Front E nd Chass is 1
3 Head Light 1 12 Frame 1
4 Tail Light 1 13 Bolt 1
5 Seat 1 14 Nut 1
6 Handle Bar 1 15 Battery Supply Wire 1
7 Safety Wheel 1 16 Wiring Harness 1
8 Wheel 2
9 Batter
1
NOTE: Some parts are listed and shown for illustration purposes only, and are not
available individually as replacement parts.
SKU 03514/92927 For technical questions, please call 1-800-444-3353. Page 10
 Loading...