

Hanover HANAW05A, HANAW06A User Manual

WINDOW/WALL TYPE
ROOM AIR CONDITIONER
-
Before using your air conditioner, please read
this manual carefully and keep it for future reference.
Model:HANAW05A
HANAW06A
Meijer.com

Meijer.com
Producto
Meijer.com

1 866 646 4332
1 866 646 4332
Meijer.com

CONTENTS
Inside you will find many helpful hints on how to use and maintain your air conditioner
properly. Just a little preventive care on your part can save you a great deal of time
and money over the life of your air conditioner. You'll find many answers to common
problems in the chart of troubleshooting tips. If you review our chart of Troubleshooting
Tips first, you may not need to call for service at all.
Contact the authorized service technician for repair or maintenance of this unit.
Contact the installer for installation of this unit.
The air conditioner is not intended for use by young children or infirm persons
without supervision.
Young children should be supervised to ensure that they do not play with the air
conditioner.
If the power cord is to be replaced, replacement work shall be performed by
authorized personnel only.
Installation work must be performed in accordance with the national wiring
standards by authorized personnel only.
!
CAUTION
Read This Manual
1
1. SAFETY PRECAUTIONS............. .....................................................2
2. IMPORTANT SAFETY INSTRUCTIONS ...... ....................................4
3. NORMAL SOUNDS .... . ...................................................................5
4. AIR CONDITIONER FEATURES ...... .. ... ......................................5
5. INSTALLATION INSTRUCTIONS.... ..................................................10
6. CARE AND CLEANING ..... ..............................................................14
7. TROUBLESHOOTING TIPS...............................................................15
8
..
..
.. ...
.. .. .. ..
.
..
. WARRANTY INFORMATION..............................................................17
9. CUSTOMER SERVICE INFORMATION.............................................17
Meijer.com
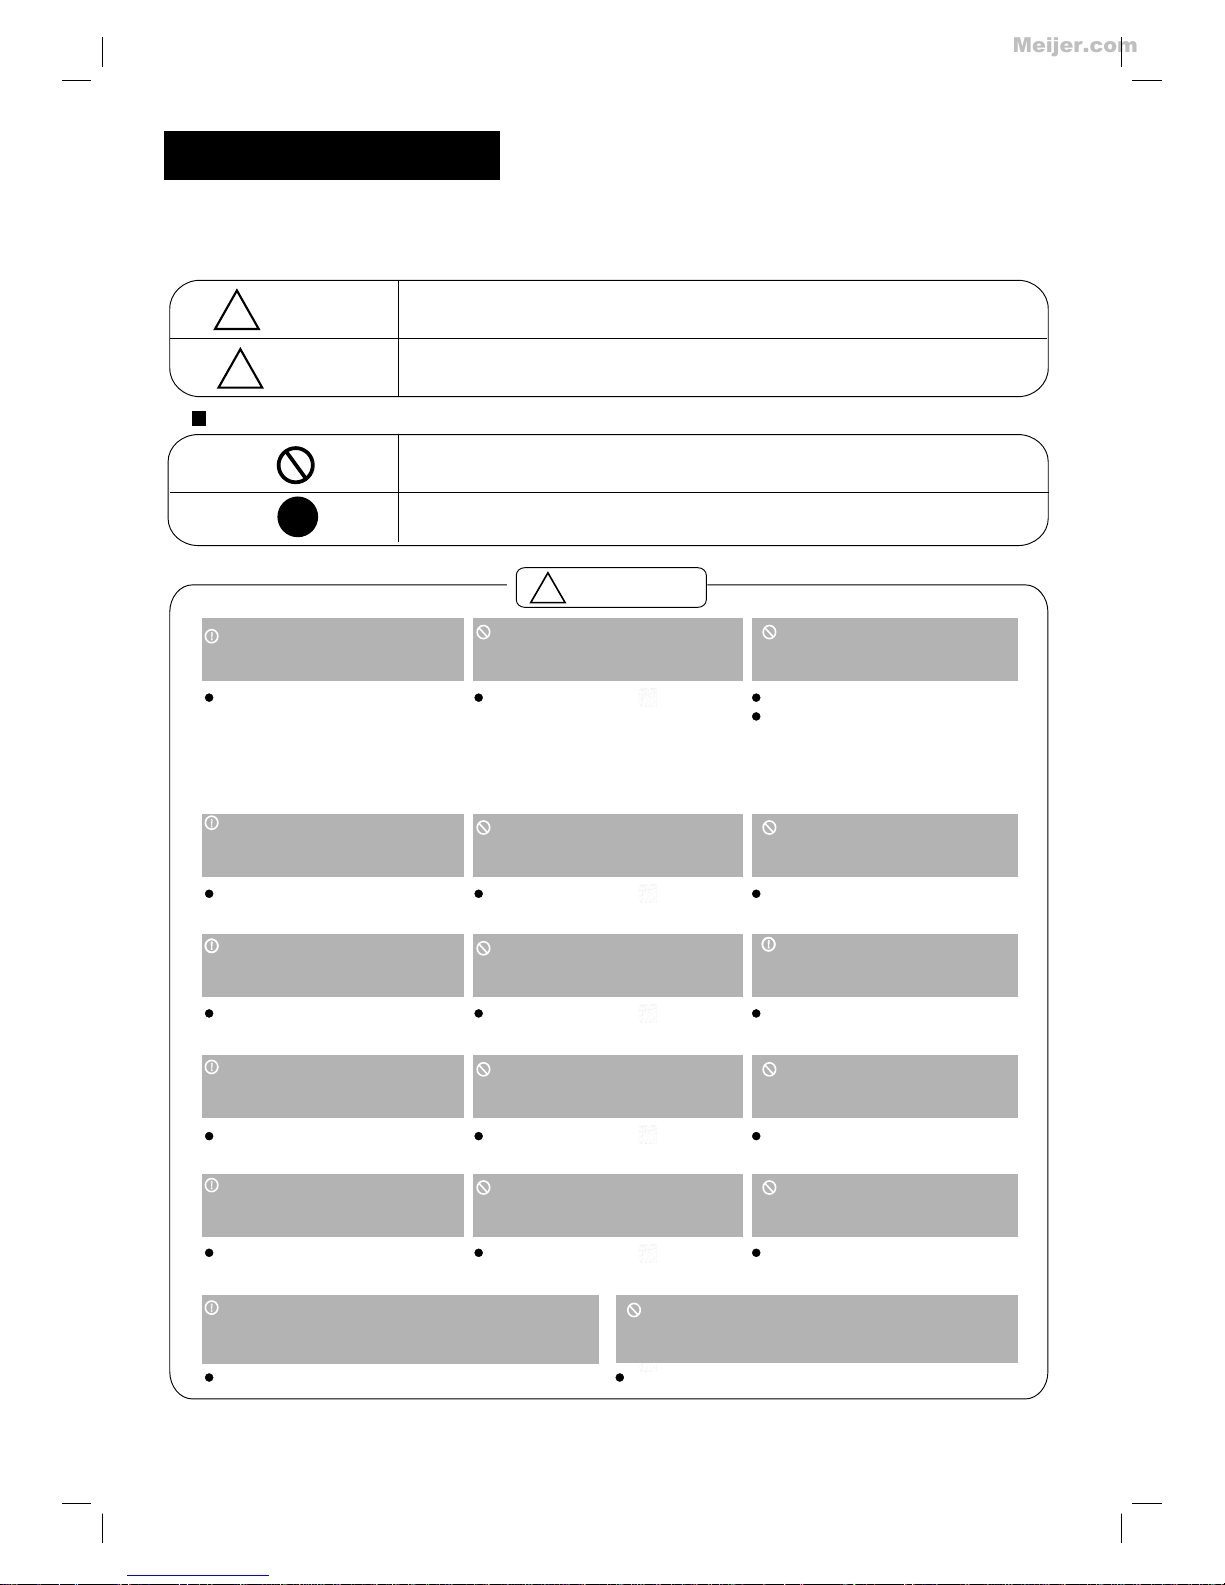
To prevent injury to the user or other people and property damage, the following instructions
must be followed. Incorrect operation due to ignoring of instructions may cause harm or
damage. The seriousness is classified by the following indications.
Safety Precautions
This symbol indicates the possibility of death or serious injury.
Meanings of symbols used in this manual are as shown below.
!
!
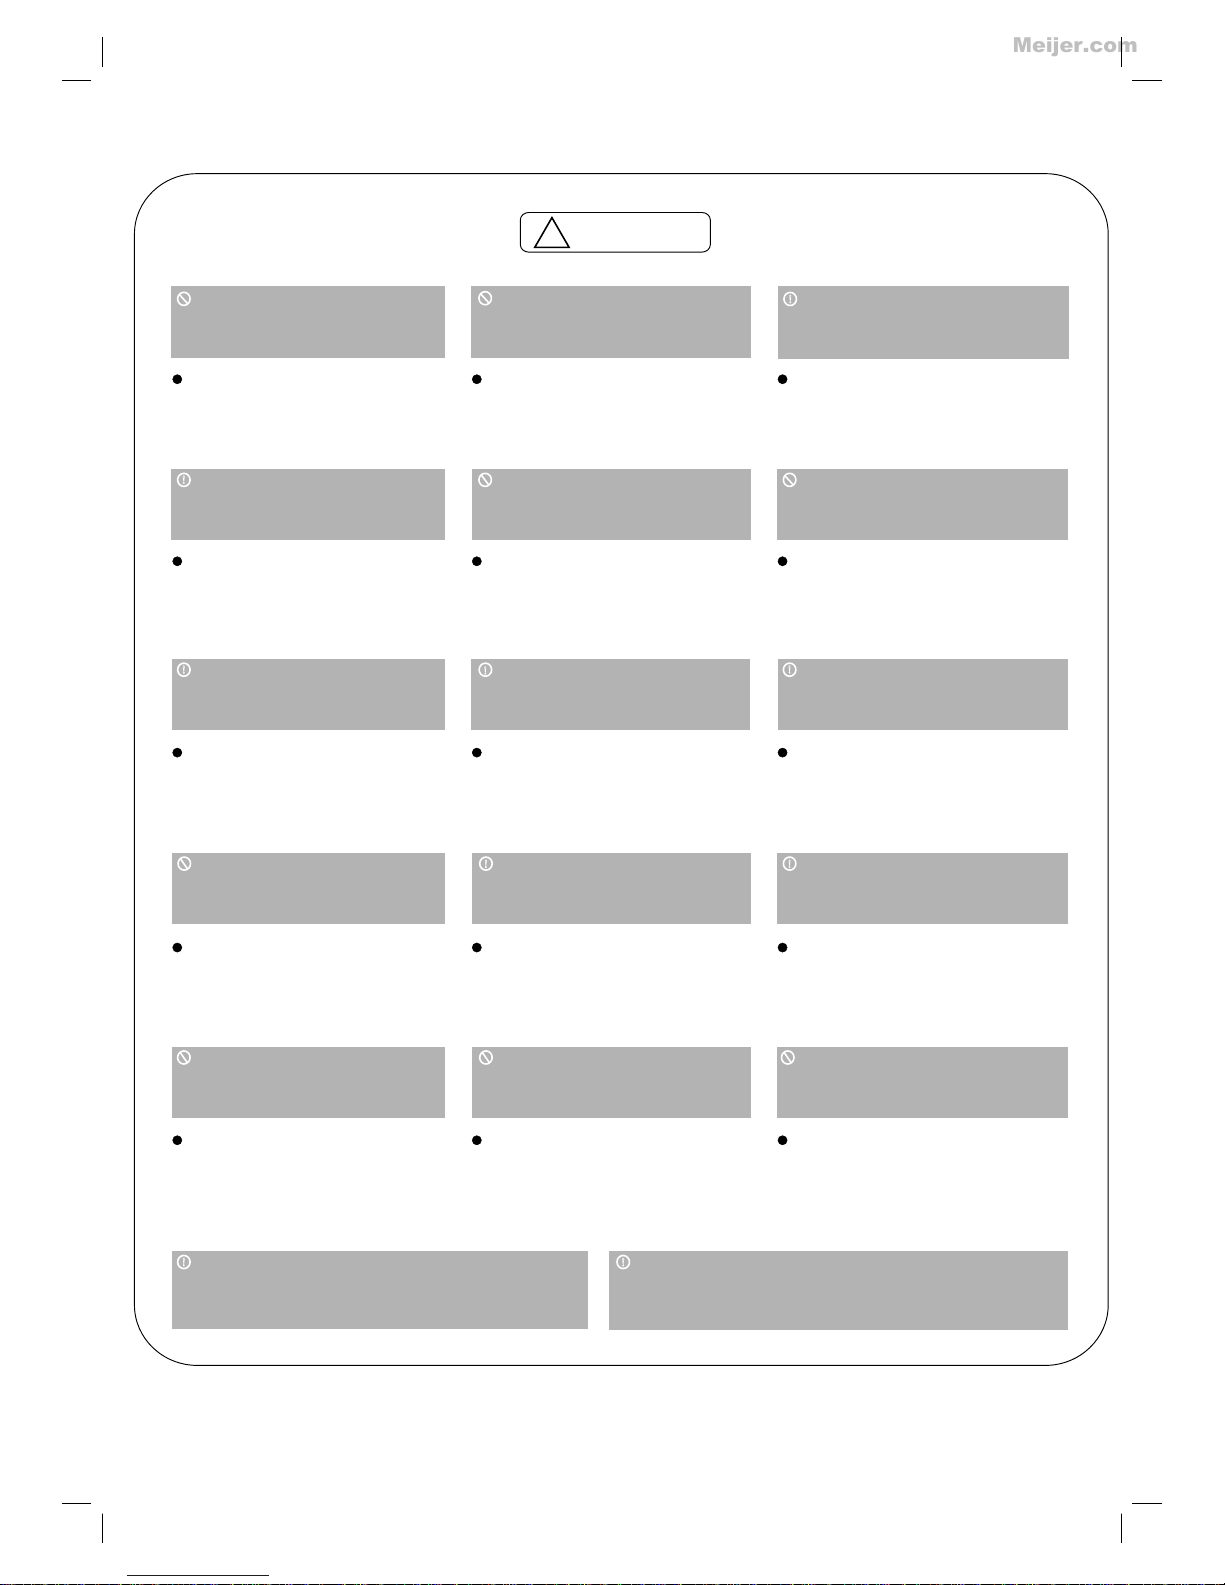
WARNING
Always do this.
Never do this.
!
CAUTION
This symbol indicates the possibility of injury or damage to property.
Plug in power plug
properly.
Do not modify power cord
length or share the outlet
with other appliances.
Always ensure effective
earthing.
Unplug the unit if strange
sounds, smell, or smoke
comes from it.
Keep firearms away.
Ventilate room before operating air
conditioner if there is a gas leakage from
another appliance.
Otherwise, it may cause electric
shock or fire due to heat
generation.
excess
It may cause electric shock or
fire due to heat generation.
Incorrect earthing may cause
electric shock.
It may cause fire and electric
shock.
It may cause fire.
It may cause explosion, fire and, burns.
It may cause electric shock or fire
due to heat generation.
It may cause electric shock.
It may cause failure of machine
or electric shock.
It may cause fire and electric
shock.
It may cause fire and electric
shock.
It may cause electric shock or fire.
If the power cord is damaged, it
must be replaced by the manufacturer or an authorised service
centre or a similarly qualified person in order to avoid a hazard.
This could damage your health.
Incorrect installation may cause
fire and electric shock.
It may cause electric shock.
It may cause an explosion or fire.
It may cause failure and electric shock.
Do not operate or stop the
unit by inserting or pulling
out the power plug.
Do not operate with wet
hands or in damp
environment.
Do not allow water to run
into electric parts.
Do not use the socket if it is
loose or damaged.
Do not use the power cord
close to heating appliances.
Do not damage or use an
unspecified power cord.
Do not direct airflow at
room occupants only.
Always install circuit
breaker and a dedicated
power circuit.
Do not open the unit
during operation.
Do not use the power cord near
flammable gas or combustibles, such
as gasoline, benzene, thinner, etc.
Do not disassemble or modify unit.
!
!
!
!
!
!
WARNING
!
2
!
!!
Meijer.com
!
CAUTION
When the air filter is to be
removed, do not touch the
metal parts of the unit.
It may cause an injury.
Do not clean unit when
power is on as it may cause
fire and electric shock, it may
cause an injury.
Operation with windows
opened may cause wetting
of indoor and soaking of
household furniture.
When the unit is to be
cleaned, switch off, and turn
off the circuit breaker.
Stop operation and close
the window in storm or
hurricane.
Use caution when unpacking and
installing. Sharp edges could cause injury.
Do not clean the air
conditioner with water.
Water may enter the unit and
degrade the insulation. It may
cause an electric shock.
This could injure the pet or
plant.
It may cause electric shock
and damage.
Do not put a pet or house
plant where it will be
exposed to direct air flow.
Hold the plug by the head
of the power plug when
taking it out.
Ventilate the room well when
used together with a stove,
etc.
An oxygen shortage may occur.
Do not use this air conditioner to
preserve precision devices, food,
pets, plants, and art objects.
It may cause deterioration of
quality, etc.
It may cause failure of product
or fire.
Do not use for special
purposes.
Turn off the main power
switch when not sing the
unit for a long time.
u
If water enters the unit, turn the unit off at the power
outlet and switch off the circuit breaker. Isolate
supply by taking the power-plug out and contact a
qualified service technician.
3
!
!
!
!
!
!
!
It may cause failure of
appliance or accident.
Appearance may be
deteriorated due to change
of product color or
scratching of its surface.
Do not place obstacles
around air-inlets or inside
of air-outlet.
Do not use strong detergent such as wax or
thinner but use a soft cloth.
If bracket is damaged, there
is concern of damage due to
falling of unit.
There is danger of fire or
electric shock.
Ensure that the installation bracket of
the outdoor appliance is not damaged
due to prolonged exposure.
Do not place heavy object on the
power cord and ensure that the cord
is not compressed.
Operation without filters may
cause failure.
It contains contaminants and
could make you sick.
Always insert the filters
securely. Clean filter once
every two weeks.
Do not drink water drained
from air conditioner.
!
!
Meijer.com
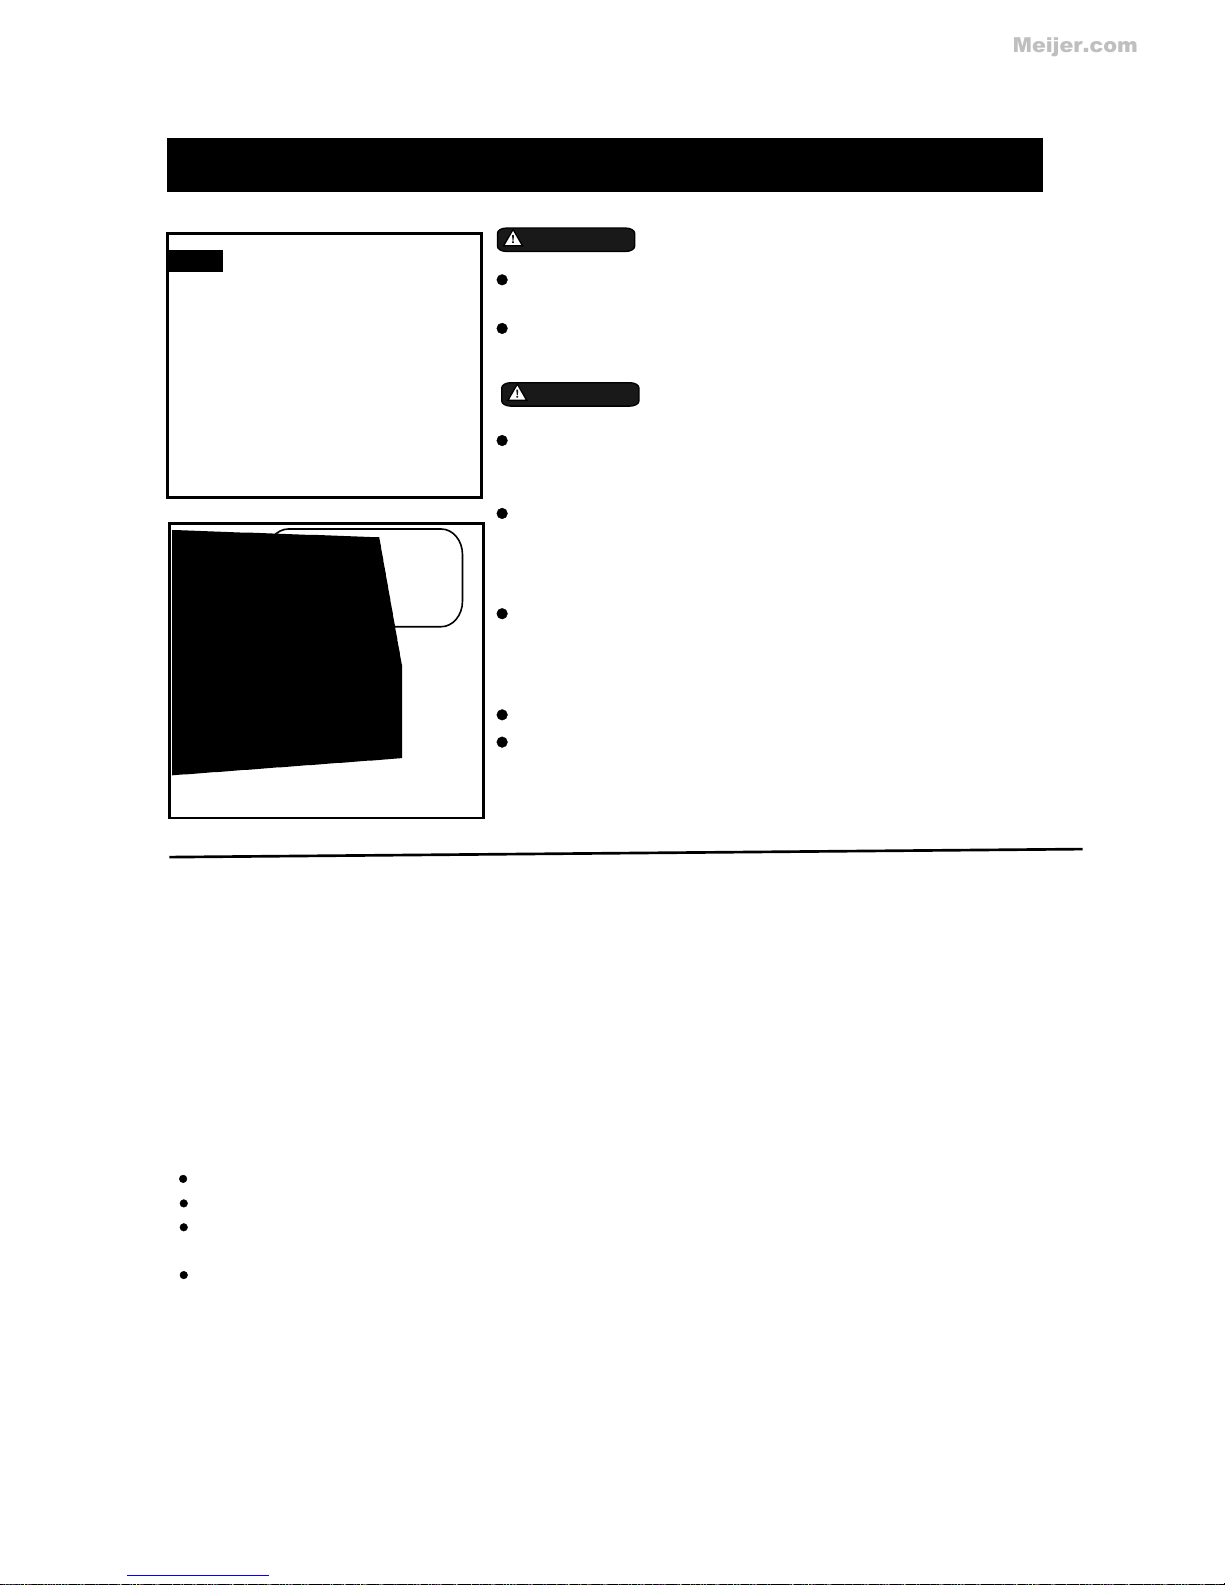
IMPORTANT SAFETY INSTRUCTIONS
Be sure the electrical service is adequate for the model you have
chosen. This information can be found on the serial plate, which
is located on the side of the cabinet and behind the grille.
Be sure the air conditioner is properly grounded. To minimize
shock and fire hazards, proper grounding is important. The power
cord is equipped with a three-prong grounding plug for protection
against shock hazards.
Your air conditioner must be used in a properly grounded wall
receptacle. If the wall receptacle you intend to use is not adequately
grounded or protected by a time delay fuse or circuit breaker,
have a qualified electrician install the proper receptacle.
Ensure the receptacle is accessible after the unit installation.
Do not run air conditioner without side protective cover in place.
This could result in mechanical damage within the air conditioner.
Do not use an extension cord or an adapter plug.
WARNING
For you r safety
Do not store or use gasoline or other flammable vapors and liquids
in the vicinity of this or any other appliance.
Avoid fire hazard or electric shock. Do not use an extension cord or
an adaptor plug. Do not remove any prong from the power cord.
WARNING
Ele ctrica l Infor mati on
NOTE The power supply cord with
this air conditioner contains a current
detection device designed to reduce
the risk of fire.
Please refer to the section Operation
of Current Device for details.
In the event that the power supply
cord is damaged, it can not be
repaired.It must be replaced with a
cord from the Product Manufacturer.
,
,
Do not, under any
circumstances, cut,
remove, or bypass
the grounding prong.
Power supply cord
with 3-prong grounding plug
and current detection device
Ope r ation o f Cur rent Device
The power supply cord contains a current device that senses damage to the power cord. To test your power
supply cord as follows:
1. Plug in the Air Conditioner.
2. The power supply cord will have TWO buttons on the plug head. Press the TEST button, you will notice a
click as the RESET button pops out.
3. Press the RESET button, again you will notice a click as the button engages.
4. The power supply cord is now supplying electricity to the unit. (On some products this it also indicated by
a light on the plug head.)
Do not use this device to turn the unit on or off.
Always make sure the RESET button is pushed in for correct operation.
The power supply must be replaced if it fails reset when either the TEST button is pushed, or it can not be
reset. A new one can be obtained from the product manufacturer.
If power supply cord is damaged, it can not be repaired. It MUST be replaced by one
NOTE:
obtained from the
product manufacturer.
4
Meijer.com
NORMAL SOUNDS
AIR CONDITIONER FEATURES
Sound of Ru sh ing Air
At the fr ont of th e uni t, you ma y
hear th e sound o f rus hi ng ai r
being m oved by t he fa n
High Pitc he d Chatter
High effic iency c omp re sso rs
may hav e a high pi tch ed c hat ter
durin g the coo lin g cy cle .
Gurgle/ Hi ss
Gurgl ing or hi ssi ng n ois e may
be hear d due to re fri ge ran t
passi ng thro ugh e va por ator
durin g norma l ope ra tio n.
Pinging o r Sw itching
Dropl ets of wa ter h ittin g conde nse r
durin g norma l ope ra tio n may cau se
pingi ng or swi tch in g sou nds.
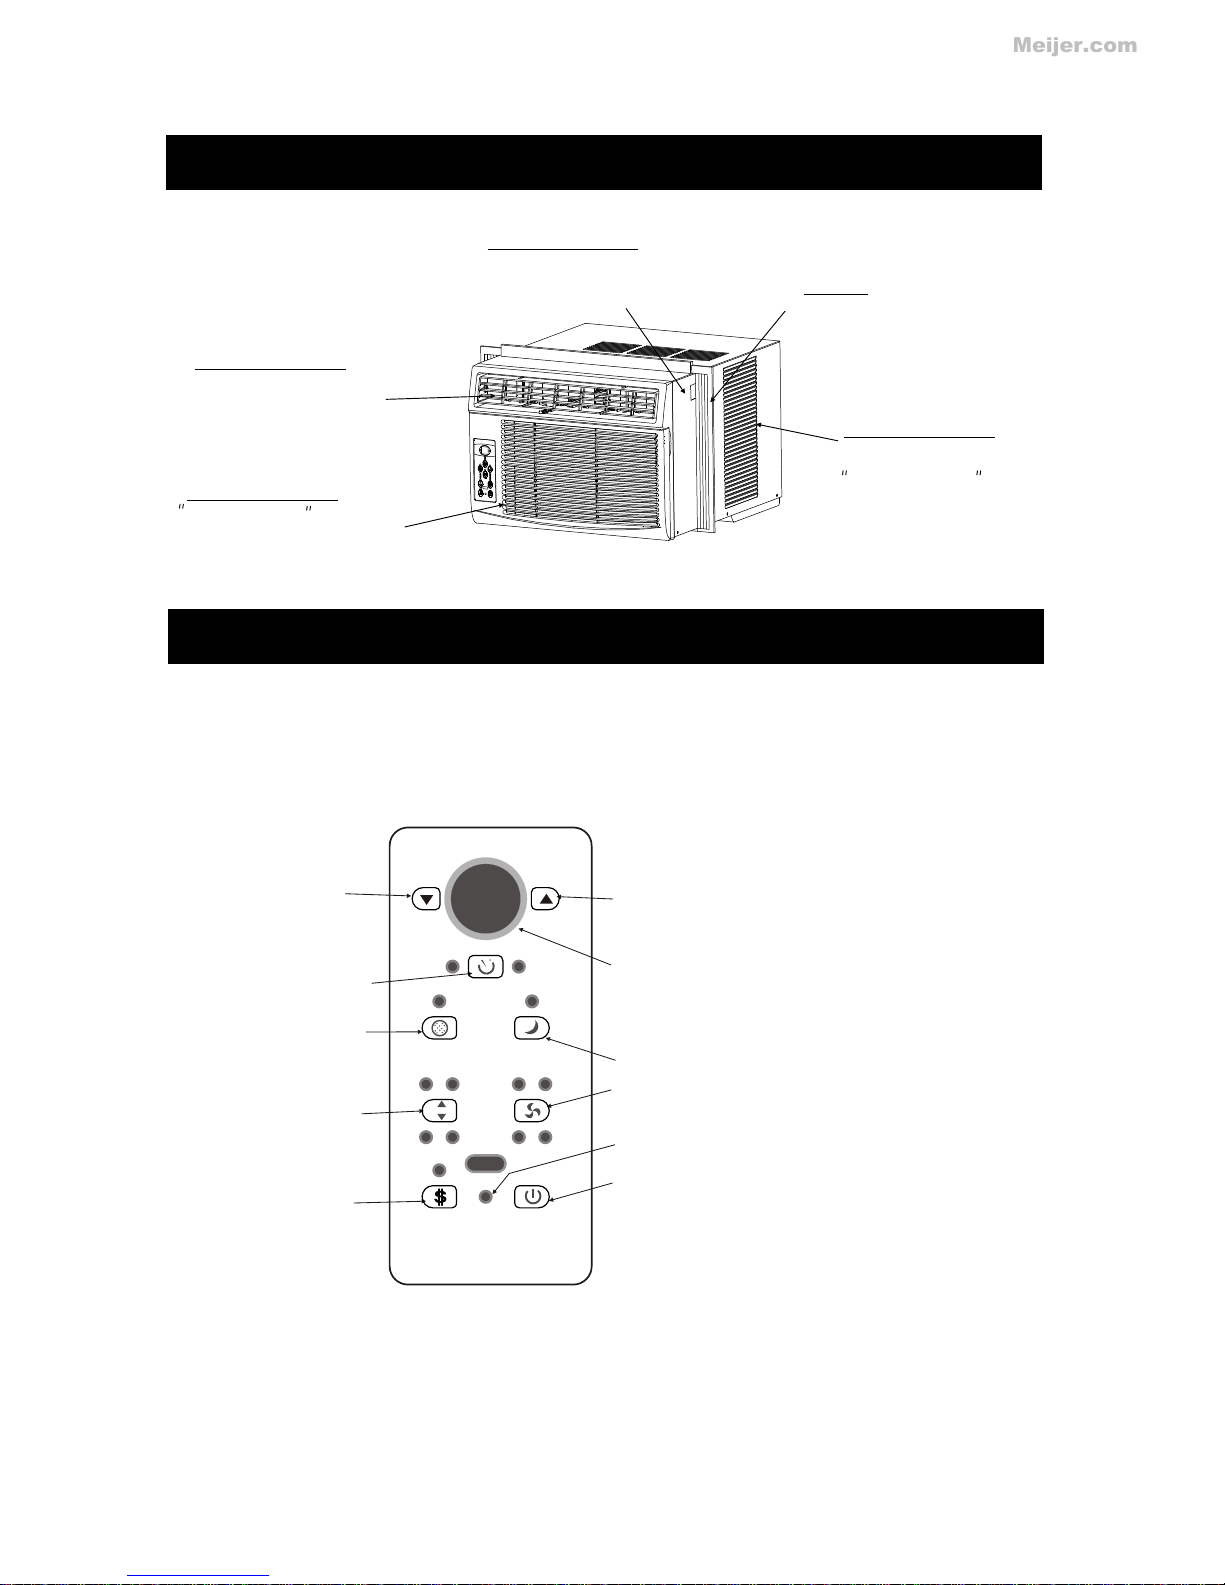
Befo re you begin, t horoughly f amiliariz e yourself wi th the control panel and remote as shown belo w
and al l its functio ns, then foll ow the symbol for the function s you desire. The u nit can be controlled
by the u nit control alo ne or the remot e.
Vibra ti on
Unit ma y vibra te an d make no ise
becau se of poo r wal l or w ind ow
const ructi on or i nc orr ect ins tal la tio n.
EL ECT RONIC CONTROL O PER ATIN G INS TRUCT ION S
UNIT CO NT ROL
5
ADJUSTS
TEMPERATURE
OR TIME
ADJUSTS
TEMPERATURE
OR TIME
DISPLAYS
TEMPERATURE
OR TIME
ACTIVATES
TIMER
CHECK FILTER
RESET BUTTON
SETS MODE
ENERGY
SAVER MODE
SLEEP MODE
SET FAN SPEED
TURNS UNIT
ON OR OFF
FOLLOW ME INDICATOR
TTeemmpp
TTi i mme err
T Teem mpp
TTii mm eerr
On On
OffOff
Timer Timer
Check Check
Filter Filter
CoolCool
AutoAuto LowLowAutoAuto
Mode Mode
Fan Fan
Fan Fan Dry Dry
Med Med HighHigh
Follow Follow
Me Me
Energy Energy
Saver Saver
On/OffOn/Off
SleepSleep
Meijer.com

AIR CONDITIONER FEATURES(CONTINUED)
TO TUR N UNI T ON:
NOTE : The fo llowing ins tructions r epresent th e Unit Controls, the same instructions ca n be used
for th e Remote Cont rol.
TO CHA NGE T EMP ERAT URE
SE TTI NG:
Pres s the On/Off button .
DO THI S:
Pres s to raise
DO THI S:
Pres s to lower
Pres s or hold eithe r Left( <) or Rig ht (>) button
unti l the desired t emperatur e is seen on the
disp lay. This t emperature will be automatically
main tained anyw here betwee n 62 F(17 C) and
86 F(3 0 C). If you want t he display to r ead the
actu al room tempe rature, see To Operate on
Fan On ly section.
NOTE :
TO ADJ UST FAN SP EED S:
Pres s to select
appr opriate fan
spee d
DO THI S:
Used t o select the Fa n Speed in four s teps:
Auto , Low, Med or High . Each time the b utton
is pre ssed, the fan s peed mode is sh ifted.
NOTE :
6
Check Check
Filter Filter
CoolCool
AutoAuto LowLowAutoAuto
Mode Mode
Fan Fan
Fan Fan Dry Dry
Med Med HighHigh
Follow Follow
Me Me
Energy Energy
Saver Saver
On/OffOn/Off
SleepSleep
TTe em mp p
TTiimm eerr
TTeemmpp
TTiimm eerr
On On
OffOff
Timer Timer
Check Check
Filter Filter
CoolCool
AutoAuto LowLowAutoAuto
Mode Mode
Fan Fan
SleepSleep
Check Check
Filter Filter
CoolCool
AutoAuto LowLowAutoAuto
Mode Mode
Fan Fan
Fan Fan Dry Dry
Med Med HighHigh
Follow Follow
Me Me
Energy Energy
Saver Saver
On/OffOn/Off
SleepSleep
Meijer.com

AIR CONDITIONER FEATURES(CONTINUED)
TO SEL ECT T HE
OP ERAT ING M ODE :
Pres s the Mode
butt on.
DO THI S:
To choos e operating m ode, press th e Mode button .
Each t ime you press t he button, a mo de is selected
in a seq uence that go es from Auto, Co ol, Dry to
Fan. The ind icator ligh t besides wil l be illumina ted
and re mained on onc e the mode is sel ected.
NOTE :
To operate on Auto feature:
In thi s mode, the fan s peed can not be adjusted, it
star ts automati cally at a spee d according to the
room t emperatur e. If the room do es not get too
warm , it will stay at L ow speed.
To operate on F an Only:
Use th is function o nly when cool ing is not desi red,
such a s for room air ci rculation o r to exhaust stale
air( on some model s). (Rememb er to open the ve nt
duri ng this funct ion, but keep i t closed during
cool ing for maxim um cooling effici ency.) You can
choo se any fan spee d you prefer.
Duri ng this funct ion, the disp lay will show t he actual
room t emperatur e, not the set te mperature as in the
cool ing mode.
TO USE T HE EN ERGY
SAVER FEATURE:
Pres s the button
DO THI S:
In thi s mode, the fan w ill continue to run for 3 minute s
afte r the compres sor shuts off. The fan then c ycles
on for 2 m inutes at 10 mi nute intervals until the roo m
temp erature is ab ove the set tem perature, at which
time t he compress or turns back o n and cooling s tarts.
NOTE :
SL EEP F EATU RE:
Pres s Sleep
butt on
DO THI S:
NOTE :
7
In thi s mode the sele cted temperature will increase
by 2 F(1 C ) 30 minutes af ter the mode is selected.
The te mperature w ill then incr ease by anoth er 2 F
(1 C) af ter an additi onal 30 minut es. Th is new
temp erature wil l be maintain ed for 7 hours be fore it
retu rns to the orig inally sele cted temperature. This
ends t he Sleep mode a nd the unit wil l continue to
oper ate as origin ally progra mmed. The Sleep mod e
prog ram can be canc elled at any ti me during ope ration
by pre ssing the Sle ep button aga in.
NOTE :
Check Check
Filter Filter
CoolCool
AutoAuto LowLowAutoAuto
Mode Mode
Fan Fan
Fan Fan Dry Dry
Med Med HighHigh
Follow Follow
Me Me
Energy Energy
Saver Saver
On/OffOn/Off
SleepSleep
Check Check
Filter Filter
CoolCool
AutoAuto LowLowAutoAuto
Mode Mode
Fan Fan
Fan Fan Dry Dry
Med Med HighHigh
Follow Follow
Me Me
Energy Energy
Saver Saver
On/OffOn/Off
SleepSleep
Check Check
Filter Filter
CoolCool
AutoAuto LowLowAutoAuto
Mode Mode
Fan Fan
Fan Fan Dry Dry
Med Med HighHigh
Follow Follow
Me Me
Energy Energy
Saver Saver
On/OffOn/Off
SleepSleep
Meijer.com

TI MER : AU TO S TART/
STOP F EATU RE:
Pres s Timer
butt on
DO THI S:
AIR CONDITIONER FEATURES(CONTINUED)
Firs t press the Time r button, the indicator light
besi des word On ill uminates. I t indicates the Auto
Star t program is in itiated.
Pres s or hold the Lef t arrow or Righ t arrow to chan ge
the Aut o time by 0.5 hou r increment s, up to 10 hours,
then a t 1 hour increm ents up to 24 hou rs. Th e control
will c ount down the t ime remaini ng until star t.
The se lected time w ill registe r in 5 seconds an d the
syst em will autom atically re vert back to display the
prev ious temper ature setti ng.
Turning the un it ON or OFF at any tim e will cancel t he
Auto S tart/Stop function.
NOTE :
CH ECK F ILTER FEATURE:
Pres s Check
Filt er button
DO THI S:
This f eature is a rem inder to clea n the Air Filter for
more e ffic ient operat ion. The light will i lluminate
afte r 250 hours of op eration. To reset aft er cleaning
the fi lter, press th e Check Filter button and the li ght
will g o off.
NOTE :
8
TTeemmpp
TTiimm eerr
TTeemmpp
TTiimm eerr
On On
OffOff
Timer Timer
Check Check
Filter Filter
CoolCool
AutoAuto LowLowAutoAuto
Mode Mode
Fan Fan
SleepSleep
TTeemmp p
TTiimmeerr
TTeemmpp
TTiimmeerr
On On
OffOff
Timer Timer
Check Check
Filter Filter
CoolCool
AutoAuto LowLowAutoAuto
Mode Mode
Fan Fan
SleepSleep
Meijer.com
 Loading...