

Page 1
Message Codes
Clear calibration
Press the CAL button and the tester enters calibration mode. Press ON/OFF
butt on and the “CLR” mess age is displayed. Th e tester will now b e at default
calibration.
Error messages
During user calibration, if the reading is out of the accepte d range, the tester
will displa y the “--- Err“ message. Du ring measurement m ode if the reading
is out of range, for example in ppt the “70.0“ value will blink on the LCD.
In measurement mode if the measured temperature is higher than 50.0 ºC or
lower than 0.0 ºC, the 50.0 ºC or 0.0 ºC temperature value will blink on the LCD.
Operational Guide
Turn the tester ON and check the battery status
Press the ON/OFF button to turn the tester on. At start-up, all the LCD
segments are displayed for 1 second, then the percent indication of the
remaining battery life is displayed for another second. The tester then enters
the normal measurement m ode using the last selected unit, that is displaye d
on the secondary LCD for 3 seconds.
Note: Keeping the ON/OFF button pressed while turning the tester on
will display all LCD segments as long as the button is pressed.
Change settings
1. To enter setup mode, turn the tester on. While in measurement mode,
remove the battery cover on the back of the tester.
2. Locate a nd press the small, bl ack Setup button nex t to the batt ery, in the
battery compartment.
3. The tester is now in setup mode. Press the ON/OFF button to move
through the setup parameters.
4. Change parameter options by pressing CAL button.
5. The default settings are: Salinity measure unit – ”PPt”, Temperature
unit – ”Set t°C”, Auto OFF – (8 min).
Setup
Button
Select the salinity unit (PPt/PSU/S.G.)
To select the salinity unit when Unit is displayed press the CAL button and
change between PPt, PSU, S.G.
Select the temperature unit (°C/°F)
To select t he temperature unit when SET t is displayed press the CAL button
to change between °C or °F.
Select the Auto Off time (8/60/---)
To select t he AUTO OFF when “AOFF” is displayed pres s the CAL button to
change between 8 min, 60 min or --- (disabled).
Return to measurement mode
Press the ON/OFF button.
Care and Maintenance
To ensure accuracy of measurements:
• Use fresh calibration standards for each calibration.
• Rinse the tester with purified water and dry off with a soft tissue before
calibrating or taking measurements.
• Calibrate monthly with regular use or more of ten with frequent use.
• Inspect the tester to see if foreign material is detected in the openings
housing the electrodes. A more thorough cleaning may be made using
a non-abrasive detergent, and a soft material such as cardboard, to
dislodge the material.
• Rinse thoro ughly with a steam o f running tap water an d jetting the s team
through the opening. Shake excess water and rinse in purified water. Dr y
off and recalibrate the tester before using.
• Store with the protective cap on.
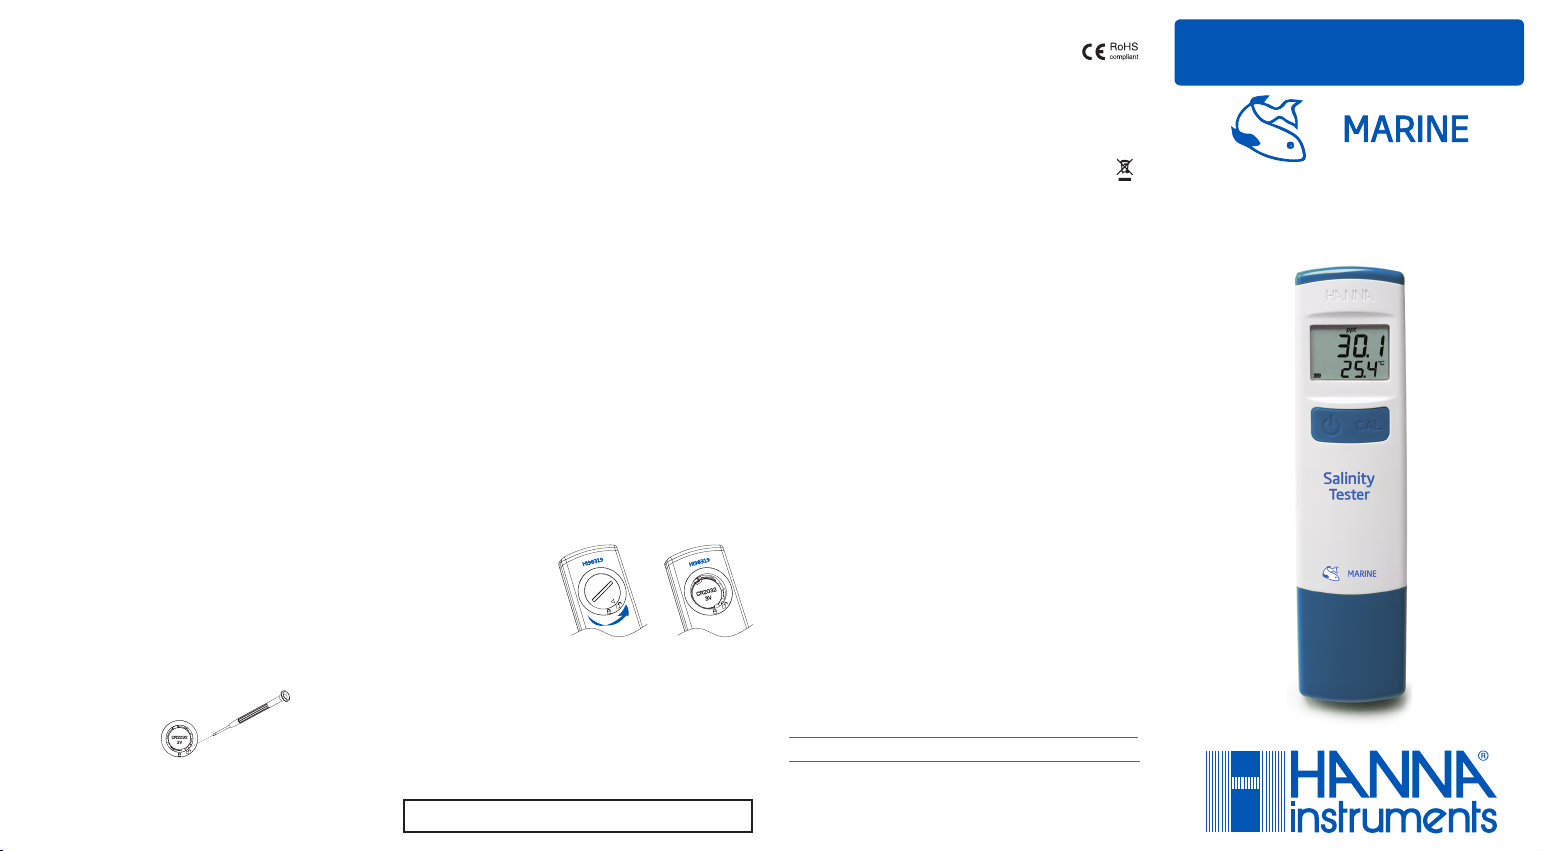
Battery Replacement
The tester features a low
battery indicator. When the
battery is running low (under
10 %), the battery indicator
will blink on the LCD. When the
battery is discharged “dEAd
bAtt” will be displayed on the LCD for 2 seconds and the tester will turn off.
To change the CR2032 Li-ion battery, turn the battery cover located on the
back of the t ester counterc lockwise to unlock. Remove co ver and replace wit h
new battery “+“ sign facing up.
Note: Batteries should only be replaced in a safe area using the
battery type specified in this instruction manual. Old batteries should
be disposed in accordance with local regulations.
Hanna Instruments reserves the right to modify the design, construction or appea rance
of its products without advance notice.
Certification
All Hanna Instruments products conform to CE European
Directives.
Disposal of Electrical & Electronic Equipment. The product should not be
treated as household waste. Instead hand it over to the appropriate collection
point for the recycling of electrical and electronic equipment which will conserve
natural resources.
Disposal of waste batteries. This product contains batteries, do not
dispose of them with other household waste. Hand them over to the
appropriate collection point for recycling.
Ensuring proper product and battery disposal prevents potential negative
consequences for the environment and human health. For more information,
contact your city, your local household waste disposal service, the place of
purchase or go to www.hannainst.com.
Warranty
This tester is warranted for a period of one year against defects in
workmanship and materials when used for its intended purpose and
maintained according to instructions. This warranty is limited to repair or
replacement free of charge. Damage due to accidents, misuse, tampering or
lack of prescribed maintenance is not covered. If service is required, contact
your local Hanna Instruments Office. If under warranty, report the model
number, date of purchase, serial number and the nature of the problem. If
the repair is not covered by the warranty, you will be notified of the charges
incurred. I f the instrument i s to be returned to H anna Instrument s, first obtain
a Returned Goods Authorization (RGA) number from the Technical Service
department and then send it with shipping costs prepaid. When shipping
any instrument, make sure it is properly packaged for complete protection.
Recommendations for Users
Before using Hanna Instruments products, make sure that they are entirely
suitable for your specific application and for the environment in which they
are used. Any variation introduced by the user to the supplied equipment
may degrade the tester’s performance. For yours and the instrument safety
do not use or store the instrument in hazardous environments.
Accessories
Solution
Code Description
HI70024P 35.00 ppt calibration solution, 20 mL sachet (25 pcs .)
All rights are reserved. Reproduction in whole or in part is prohibited without the
writte n consent of the copyright owner.
IST 98319 12/18
INSTRUCTION MANUAL
HI98319
Waterproof Salinity Tester
Page 2
Thank You
Thank you for choosing a Hanna Instruments product. Please
read this instruction manual carefully before using the tester.
For more information about Hanna Instruments and our products,
visit www.hannainst.com or e-mail us at [email protected].
For technical support, contact your local Hanna Instruments
Office or e-mail us at [email protected]
Find your local Hanna Instruments Office on www.hannainst.com
Preliminary Examination
Remove the tester and accessories from the packaging and examine it
carefully. Notify your nearest Hanna Customer Service Center if damage is
observed.
Each HI98319 is delivered in a cardboard box and is supplied with:
• 35.00 ppt calibration standard sachet (4 pcs.)
• CR2032 battery (inside the tester)
• Storage / Protection sleeve
• Instruction manual
• Quality certificate
Note: Save all packing material until you are sure that the tester works
correctly. Any damaged or defective items must be returned in their
original packing material together with the supplied accessories.
Intended Use
The HI98 319 digital, waterproof, pocket tester is designed for the
measurement of salinity in salt water aquariums, aquaculture, brackish
water or other salt water bodies.
Operation
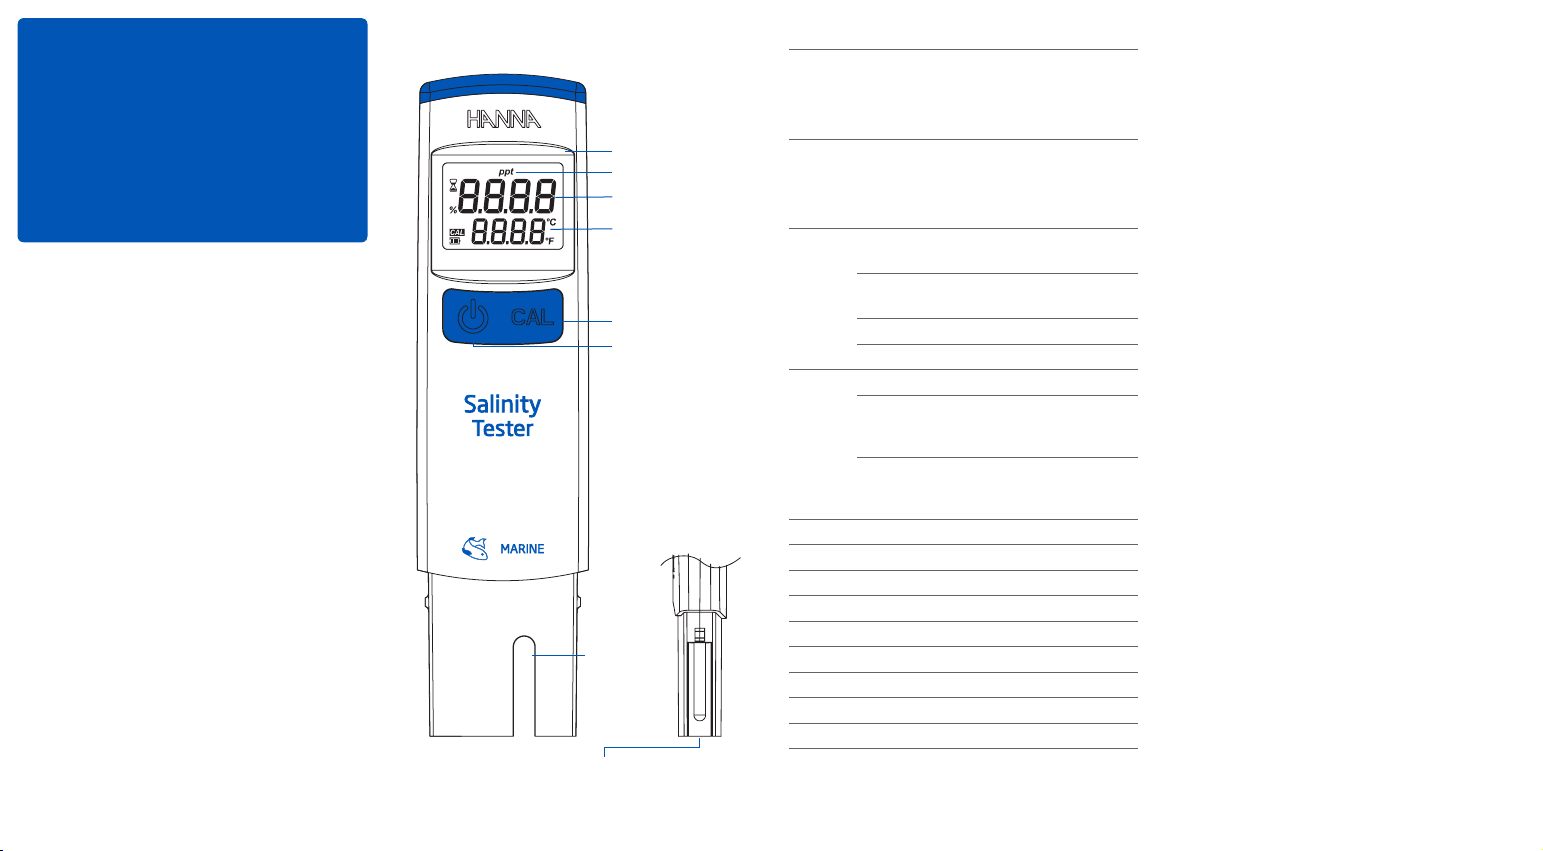
Liquid Crystal Display
Measurement unit
Primary Display
Secondary Display
CAL button
ON/OFF button
Graphite
electrodes
Recessed
temperature sensor
Specifications
ppt
Range
Resolution
Accuracy
Method
Calibration Solution HI70024 (35.00 ppt)
Calibration automatic, single point 35.00 ppt
Temperature Compensation automatic from 5 to 50.0ºC / 41 to 122°F
Battery Type CR2032 3V Li-Ion (1 pc.)
Battery Life approxim ately 100 hours of cont inuous use
Auto-Off user selectable: after 8 min, 60 min or disabled
Environment 0 to 50 °C (32 °C to 122 °F); RH max 100%
Dimensions 160 x 40 x 17 mm (6.3 x 1.6 x 0.7”)
Weight 68 g (2.4 oz.) without battery
PSU
S.G.
Temperature
ppt
PSU
S.G.
Temperature
ppt
PSU
S.G. ±0.001
Temperature ±0.5°C /±1.0°F
ppt International Oceanographic Tables, 1966
PSU
S.G.
0.0 to 70.0 ppt (g/L)
0.0 to 70.0 PSU
1.000-1.041
0.0 to 50.0°C / 32.0 to 122.0°F
0.1 ppt (g/L)
0.1 PSU
0.001
0.1° C / 0.1° F
±1.0 ppt for 0.0 - 40.0 ppt
±2.0 ppt for 40.0 - 70.0 ppt
±1.0 PSU for 0.0 - 40.0 PSU
±2.0 PSU for 40.0 - 70.0 PSU
Standard Methods for the Examination of
Water and Wastewater, 2520 B, Electrical
Conductivity Method
Standard Methods for the Examination of
Water and Wastewater, 2520 C, Density
Method
Preparation
The tester is shipped dry. Before using, remove the protective cap. Rinse the
electrodes (lower section) with purified water. Dry off. Press the ON/OFF
button to turn the tester on. After going through a startup screen, the tester
will enter the normal measurement mode using the last selected unit.
If this is the first time operating, it is advised the tester be calibrated.
Calibration and Measurement
To ensure accuracy of measurements:
• Use a fresh calibration standard sachet for each calibration.
• Rinse the test er with purifi ed water befor e calibration and dr y completely.
• Calibrate at least monthly with regular use.
• Recalibrate whenever high accuracy is required.
To clean:
• Rinse probe tip with purified water, that is distilled, deionized or reverse
osmosis. Dry off.
• Store with the cap on.
Calibration Procedure
1. Press the CAL button to enter calibration mode.
2. The tester will enter the calibration mode, displaying “35.00 ppt USE”
message, with CAL tag blinking.
3. Cut the sachet open at the top. Open up the top of the sachet and do not
squeeze it or heat the solution by handling. It can be placed into a stable
container.
4. Place the Salinity tester into the sachet. Some solution may overflow.
5. Tap the sachet gently to dislodge entrapped bubbles. The tester will
automatically recognize the solution.
6. Once the standard calibration solution is recognized, the “REC“ message
is displayed until the reading is stable and the calibration is accepted.
7. After acceptance, the “Stor“ message is displayed and the tester returns
to measurement mode.
8. Rinse off the Salinity tester in purified water and dry off.
Measurement
• Immerse the tester 1.5” (38 mm) into the sample to be tested.
• Swirl the tester in sample to dislodge entrapped air bubbles and wait for
the stability tag to disappear.
• The tester automatically compensates for temperature variations.
• The salinity reading will be displayed on the LCD with the last selected
measurement unit displayed – ppt, PSU or S.G.
• The measured temperature will be displayed on the secondary LCD.
• After use, rinse the probe with purified water and dry off.
• Always replace the protective cap after each use.
 Loading...