

Page 1
Item #1000 000 000
Model #NS PUG 144-300D
USE AND CARE GUIDE
STOCKTON 12 FT. X 12 FT. CANOPY WITH NETTING
Questions, problems, missing parts? Before returning to the store,
call Hampton Bay Customer Service
8 a.m. - 7 p.m., EST, Monday – Friday, 9 a.m. – 6 p.m., EST, Saturday
1-855-HD-HAMPTON
HAMPTONBAY.COM
THANK YOU
We appreciate the trust and condence you have placed in Hampton Bay through the purchase of this canopy. We strive to continually create
quality products designed to enhance your home. Visit us online to see our full line of products available for your home improvement needs.
Thank you for choosing Hampton Bay!
Page 2
Table of Contents
Safety Information ..................................2
Warranty ..........................................2
Pre-Installation .....................................3
Planning Installation ...............................3
Tools Required ....................................3
Hardware Included .................................3
Package Contents .................................4
Safety Information
When assembling and using this product, basic safety precautions
should always be followed to reduce the risk of personal injury
and damage to the equipment. Please read all instructions before
assembly and usage.
CAUTION: Do not climb on top of the gazebo. Falling off
the gazebo can result in serious injury, possibly even death.
NOTE: For outdoor use only.
NOTE: This product contains composite wood that
complies with Phase 2 of CAATCM 93120 for formaldehyde.
Manufacture ID :Guangxi Gaolin Forestry Inc. 05/06/2018
TSCA Title VI Compliance.
Assembly. . . . . . . . . . . . . . . . . . . . . . . . . . . . . . . . . . . . . . . . . . 5
Care And Cleaning ..................................9
Service Parts ......................................10
WARNING: Do not leave the gazebo where there is a risk
of high wind, as possible damage will occur to the structure.
WARNING: Keep all ame and heat sources away from
this gazebo fabric. This Gazebo is made with fabric that
meets CPAI-84 specications for ame resistance. It is not
re proof. The fabric will burn if left in continuous contact
with any ame source. The application of any foreign
substance to the gazebo fabric may render the ameresistant properties ineffective.
Warranty
1 YEAR WARRANTY
WHAT IS COVERED
This limited warranty is extended to the original purchaser and applies to defects in materials and workmanship of your item provided the
item is maintained with care and used only for personal, residential purposes. The item is warranted to be free from defects in material or
workmanship for a period of 1 year.
WHAT IS NOT COVERED
We do not reimburse for transportation of delivery costs, or compensate the individual or any outside party for assembling or disassembling
the product.
Contact the Customer Service Team at 1-855-HD-HAMPTON or visit www.HAMPTONBAY.com.
2
Page 3
Pre-Installation
PLANNING INSTALLATION
Before beginning assembly of this product, make sure all parts are present. Compare parts with the Hardware Included and Package
Contents lists. If any part is missing or damaged, do not attempt to assemble the product. Contact customer service for replacement parts.
IMPORTANT: Requires 2 people for the installation work.
Approximate installation time: 10~15 minutes
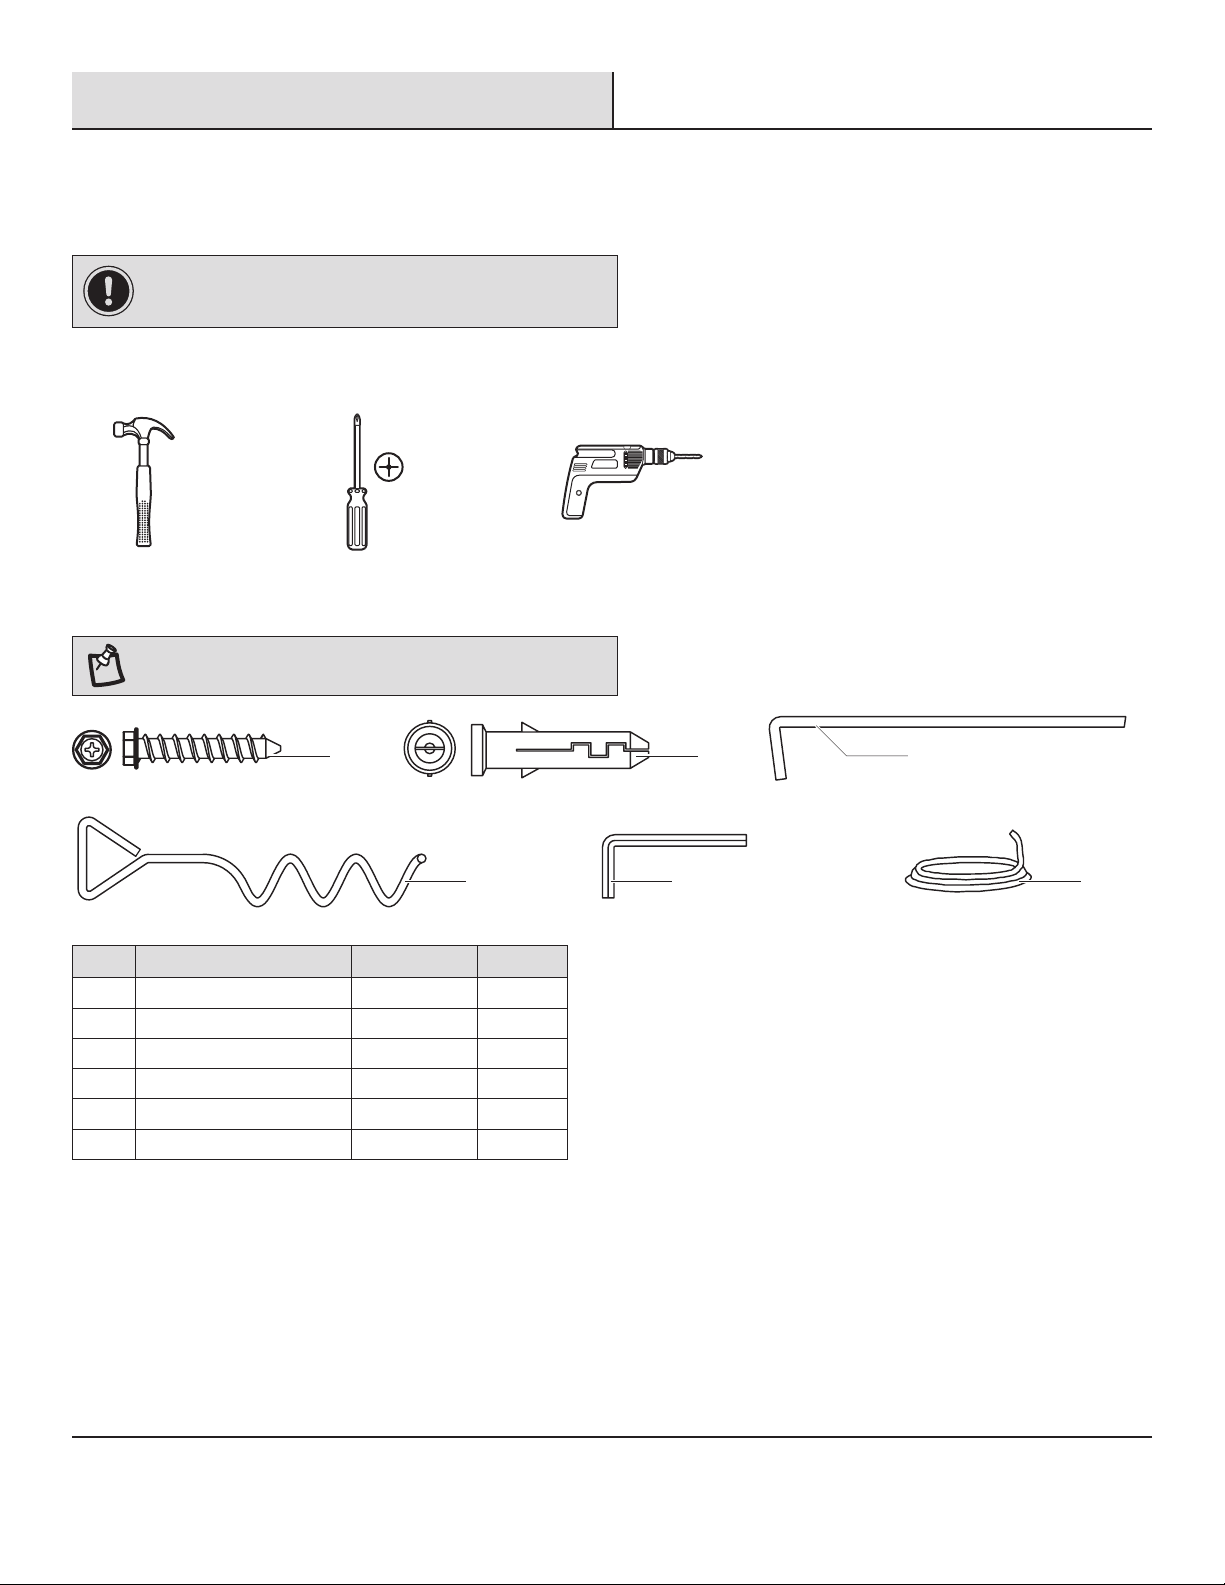
TOOLS REQUIRED
Claw
hammer
Phillips
screwdriver
HARDWARE INCLUDED
NOTE: Hardware not shown to actual size. To avoid destroying
the nish, do not put the parts on the ground directly.
AA BB CC
DD EE FF
Part Description Reference No. Quantity
AA Self tapping screw SP142 4
BB Expansion sleeve SP143 4
CC Stake SP178 4
DD Spiral stake SP139 4
EE L-shape wrench SP177 1
FF Guide rope SP181 4
Electric
drill
3 HAMPTONBAY.COM
Please contact 1-855-HD-HAMPTON for further assistance.
Page 4
Pre-Installation (continued)
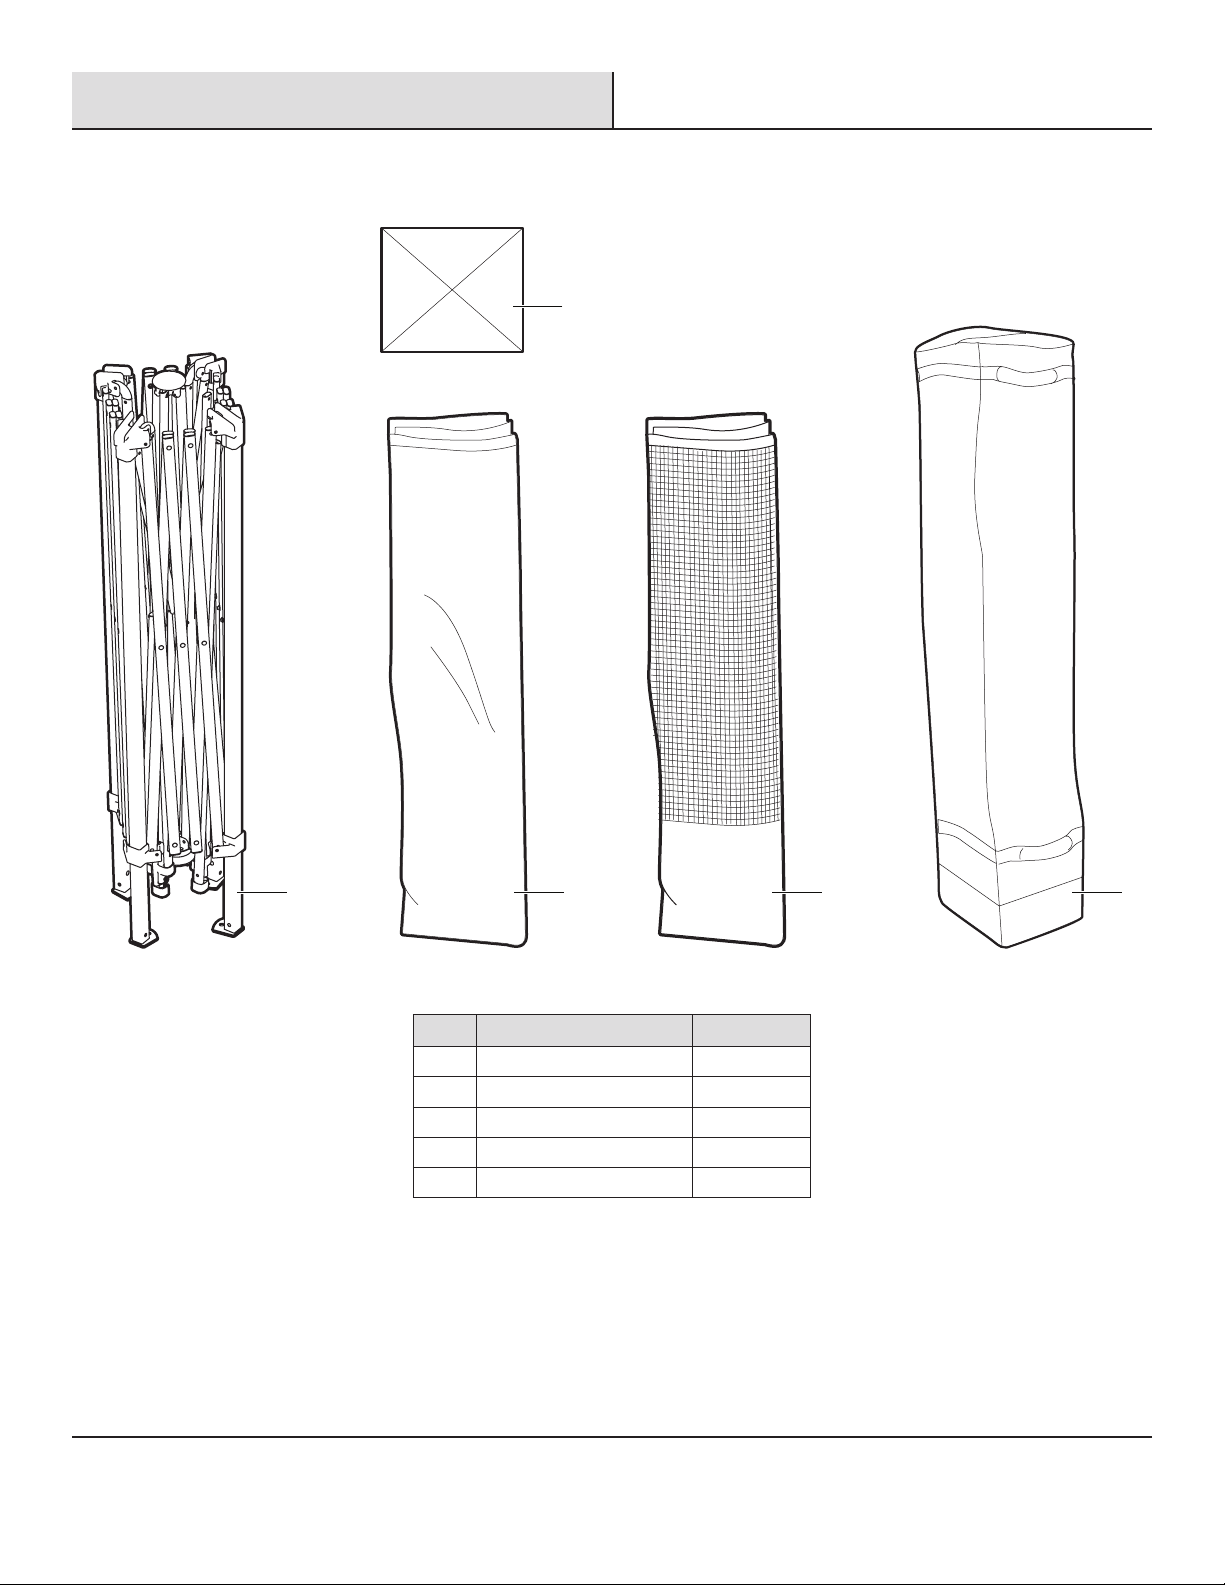
PACKAGE CONTENTS
B
A
Part Description Quantity
A Canopy frame 1
B Small top 1
C Large top 1
D Mosquito netting 1
E Wheeled storage bag 1
4
C D E
Page 5

Assembly
Opening the canopy frame
1
□ With two people on the diagonal ends, lift and partially pull the canopy frame (A) apart.
A
Attaching the small canopy
2
□ Unfold the small top (B) and place it over the open frame (A).
□ Attach the four canopy corners to the frame top.
A
B
4x
5 HAMPTONBAY.COM
Please contact 1-855-HD-HAMPTON for further assistance.
Page 6

Assembly (continued)
Attaching the large canopy
3
□ Unfold the large top (C) and place it over the open frame (A). Be sure the neckband of the large top (C) is totally under
the small top (B).
□ Attach the four canopy corners to the awning poles, then tie the small top (B) and large top (C) together with the ropes.
4x
C
4x
A
Locking the frame
4
□ Under the canopy, place one hand on the upper frame and use the other hand to push the central hub straight up
until it clicks into the central pole.
□ Finish attaching the large canopy (C) inside the canopy frame (A) using the Velcro loops.
B
4x
A
6
C
Page 7

Assembly (continued)
Adjusting the canopy height
5
□ Press the red button on each leg and raise or lower to adjust the canopy height.
4x
Hanging the mosquito netting
6
□ Unfold and open one zipper of the mosquito netting (D).
□ Connect the velcro loops around the frame to secure the mosquito netting in place.
□ Hook the canopy end into the leg holes on the canopy legs.
D
4x
7 HAMPTONBAY.COM
Please contact 1-855-HD-HAMPTON for further assistance.
Page 8

Assembly (continued)
4x
4x
AA
4x
4x
4x
4x
4x
4x
DD
AA
Securing the legs
7
Grass ground
DD
□ Measure out each leg to a proper distance.
□ Secure four spiral stakes (DD) to the grass ground.
Concrete ground
BB
Wooden deck
AA
□ Measure out each leg to a proper distance.
□ Secure four self tapping screws (AA) to the wooden deck.
AA
□ Measure out each leg to a proper distance, drill four holes (ø10 mm) in the concrete ground with a pistol drill.
□ Knock the expansion sleeves (BB) into the holes, and secure four self tapping screws (AA) to the concrete ground.
8
Page 9

Assembly (continued)
Securing the canopy
8
□ Drive stakes (CC) into the ground a few feet from the corners of the canopy.
□ Attach the ropes (FF) to the metal rings on the frame and tie the attached ropes to the stakes (CC) in the ground.
□ Ensure the ropes (FF) have the proper tension by adjusting the plastic adjusters on the ropes.
4x
FF
4x
FF
FF
CC
Care and Cleaning
□ Before using, clean the canopy completely with a soft dry towel.
□ Do not put your canopy in wet conditions where there is a risk of rust developing.
□ When not in use, store in a cool, dry area.
9 HAMPTONBAY.COM
Please contact 1-855-HD-HAMPTON for further assistance.
Page 10

Service Parts
1
3
4
7
8
2
5
9
6
1
Part Description Reference No. Quantity Part Description Reference No. Quantity
1 Central pole SP165 1 8 Leg extend SP171 4
2 Central bottom hub SP002 1 9 Bolt kit SP172 28
3 Top cap SP166 4 B Small top SP173 1
4 Slider SP167 4 C Large top SP174 1
5 Ceiling assembly SP168 1 D Mosquito netting SP175 1
6 Eave assembly SP169 4 E Wheeled storage bag SP176 1
7 Leg assembly SP170 4
2
3
5
6
4 7 8
9
C
D
B
E
10
Page 11

Questions, problems, missing parts? Before returning to the store,
call Hampton Bay Customer Service
8 a.m. – 7 p.m., EST, Monday – Friday, 9 a.m. – 6 p.m., EST, Saturday
1-855-HD-HAMPTON
HAMPTONBAY.COM
Retain this manual for future use.
 Loading...