

Haier HSU-26HEK03/R2(DB)/I, HSU-35HEK03/R2(DB)/I, HSU-53HEK03/R2(DB)/I, HSU-71HEK03/R2(DB)/I Operation Manual
Please read this operation manual before using the air conditioner.
Ɣ
Keep this operation manual for future reference.
SPLIT TYPE ROOM AIR CONDITIONER
OPERATION MANUAL
HSU-26HEK03/R2(DB)/I
Contents
PARTS AND FUNCTIONS
OPERATION
MAINTENANCE
CAUTIONS
TROUBLE SHOOTING
HSU-35HEK03/R2(DB)/I
HSU-53HEK03/R2(DB)/I
HSU-71HEK03/R2(DB)/I
2
3
6
7
8
1
2
3
4
5
6
7
8
4
LO MED HI
Operation mode
AUTO FANCOOL DRY
Remote controller
HEAT
1
2
3
4
5
9
10
11
12
13
14
15
16
17
22
23
24
25
19
20
21
8
18
7
6
AUTO
Display
circulated
1
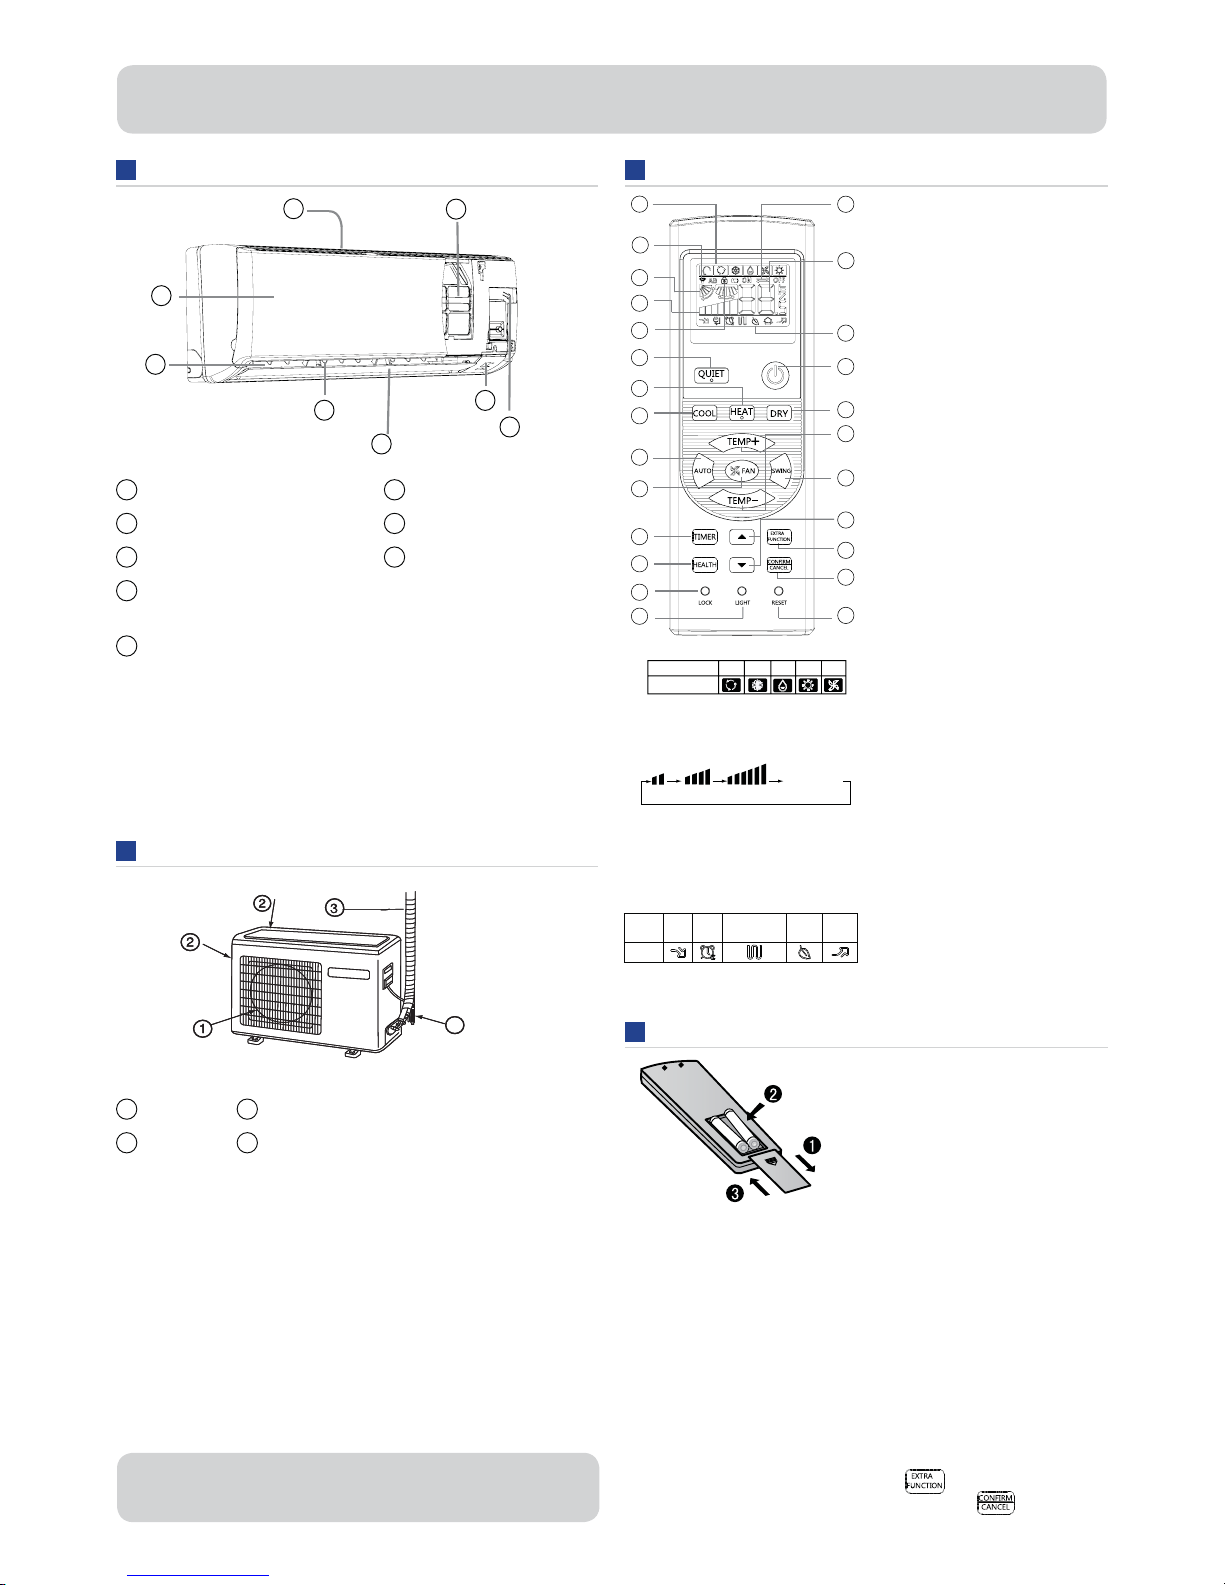
Inlet
2
Inlet grille
3
Outlet
4
Vertical blade
(adMust left and right air ÀoZ)
5
Hori]ontal Àap
(adMust up and doZn air ÀoZ.
Don¶t adMust manuall\.)
1
Outlet
2
Inlet
6
Displa\ board
7
Emergenc\ SZitch
8
Air Purif\ing Filter
(inside)
3
Connecting piping and electrical Ziring
4
drain hose
Operation
mode QUITE SLEEP
Supplemented
electrical heating
(not used) HEALTH POWER
Remote
controller
Parts and functions
Indoor Unit
Outdoor Unit
Loading of the battery
Remote controller
The picture aboYe is for reference products ma\ differ slightl\
from the image shoZn.
1. Mode displa\
HEALTH function is not aYailable for some units.
The picture aboYe is for reference onl\. Products ma\ differ
slightl\ from the image shoZn.
Hint:
RemoYe the batteries if the product Zon¶t be in use for a long period. If there
is an\ displa\ after the batteries are remoYed Must press the reset Ne\.
Note:
The distance betZeen the signal transmission head and the receiYer hole
should be less than 7m. An\ obstacles betZeen the transmission head and
receiYer hole ma\ blocN the signal.
If an electric Àuorescent light or Zireless telephone is installed in the room it
ma\ interrupt the signal so the distance betZeen the controller and indoor unit
should be shorter.
If the displa\ is full or unclear charge the batteries.
If the remote controller doesn¶t run normall\ remoYe the batteries and reload
seYeral minutes later.
If tZo units are installed in the same room both units can be operated b\
one remote controller. <ou can also maNe a dedicated remote controller for
each unit. The remote controller and unit are b\ default set as ID codes ³A´
shoZn on the top left hand side of the displa\. To change ID for the unit
and remote turn the poZer on and press the
button repeatedl\
until ³AB´ is displa\ed ± the ³B´ should be Àashing. Press
button
to con¿rm. ³B´ should noZ be shoZn on the displa\.
1. RemoYe the batter\ coYer
2. Load the batteries as illustrated.
Use ³AAA´ batteries resetting
Ne\ (c\linder)
3. Be sure that the batteries
are in line Zith the / -
4. Load the batter\ then
replace the coYer.
2. Signal sending displa\
3. SWING displa\
4. FAN SPEED displa\
5. LOCK displa\
6. TIMER OFF displa\
TIMER ON displa\
7. TEMP displa\
8. Additional functions displa\
. QUIET button
10. HEAT button
11. COOL button
12. AUTO button
13. FAN speed button
14. TIMER button
15. HEALTH button
16. LOCK button
Used to locN buttons
and LCD displa\.
17. LIGHT button
Turns the indoor LED displa\
board on and off.
18. POWER ON/OFF button
1. DR< button
20. TEMP button
21. SWING button
22. HOUR button
23. E;TRA FUNCTION button
Functions:
FAN onl\ mode
AirÀ
oZ position 1/2
AirÀoZ position 4/5
Restore original louYer position
Right / Left airÀoZ (not used)
A-B
remote selection
Heating mode
SLEEP mode
Electrical element heating
(not used)
Refresh air (not used)
POWER operation
Fahrenheit / Celcius displa\
24. CONFIRM/CANCEL button
Function: Set and cancel the timer
and other additional functions
(press Zithin 5 seconds to con¿rm).
25. RESET button
When the remote controller
appears abnormal use a sharp
pointed article to press this button
to reset the remote.
1
LOW
MED HI
AUTO
Display
circulated
Pos.1
Pos.2
Pos.3
Pos.4
Pos.5
Pos.6
(Auto swing)
Remote controller
Operation
Mode
Remote
Controller Note
AUTO
In AUTO mode the air conditioner will
automatically select Cool or Heat operation
according to the room temperature. When the
FAN speed is set to AUTO, the air conditioner
automatically adjusts the fan speed according to
the room temperature. Temperature settings can
not be adjusted
COOL
In COOL mode, cool to cold air will blow out after
a short delay. When the FAN is set to AUTO, the
air conditioner automatically adjusts the fan speed
according to room temperature.
HEAT
In HEAT mode, warm air will blow out after a short
delay due to the cold-draft prevention function.
When FAN is set to AUTO, the air conditioner
automatically adjusts the fan speed according
to room temperature.
DRY
In DRY mode, when the room temperature
becomes lower than the temperature setting
+2
o
C, unit will run intermittently at LOW speed
regardless of the FAN setting.
FAN
Press extra function and button to
select FAN mode. In FAN operation mode, the unit
will not operate in COOL or HEAT mode, but only
in FAN mode. AUTO is not available in FAN mode,
the temperature setting is disabled and the sleep
operation is not available.
Operation
Basic Operation
1. Unit start
Press ON/OFF on the remote controller to start the unit.
2. Select operation mode
AUTO button: Automatic selection of heating or cooling
COOL button: Refrigerated cooling mode
HEAT button: Reverse cycle heating mode
DRY button: Dehumidify mode
FAN only mode: Air circulation only, no heating or cooling
Caution:
When adjusting the by hand, turn the unit off
When humidity is high, condensation might drain through the air outlet
if all vertical louvers are adjusted to the left or right.
It is advisable not to keep the horizontal in the downward position for a
long time in COOL or DRY mode, or condensation might collect.
Note:
When restarting after turning off remotely, the remote controller will
automatically memorize the previous set position.
1.
direction display
The
positions are shown on the remote controller display as below:
2. To set
direction, press the button to enter additional options.
Press this button to cycle between the three locations shown below. Choose
the swing location that you need, then press the
button to
When FAN is set to AUTO, the air conditioner automatically adjusts the fan speed
according to the room temperature.
3. AUTO swing
Press SWING button to cycle the louvers between Pos.1 and 5.
Press again to stop cycling.
3. Select temperature setting
Press TEMP+ / TEMP- button
TEMP+ Every time the button is pressed, the temperature setting will
increase by 1°C. If you hold the button down it will increase rapidly.
TEMP- Every time the button is pressed, the temperature setting will
decrease by 1°C. If you hold the button down it will decrease rapidly.
Select your desired temperature (16-30°C).
Note: When AUTO mode is selected, the temperature setting can not be adjusted.
4. Fan speed selection
Press FAN button. Each time you press the button, the fan speed changes
as shown in the diagram
Remote controller:
4. Left and right air
adjustment (manual)
Move the vertical blade using the knob on the air conditioner to adjust left and
right, as shown in the diagram.
Airflow
upward
Airflow
downward
Present
position
Note:
Do not direct the
by hand, otherwise the grille will run incorrectly.
Damage to this
due to manual adjustment is not covered by warranty. If
the grille does not run correctly, stop for a minute and then restart, using the
remote controller to adjust it.
Note:
1. After setting the direction, the position grille is
2. For heating, it is better to select the
mode
3. For cooling, it is better to select the
mode.
4. In cooling and dry modes, when using the air conditioner for a long time in
high air humidity, condensate water may collect on the grille.
Note: The cool or warm air will be regulated by the room temperature and the
temperature you have selected on the remote control. Cool or warm air will
cease to blow out once the room has reached your selected temperature.
During heating, the unit may go into a “De-ice” – this is normal and the unit
should be left operating during this period. Steam may be visible at the outdoor
unit as it automatically removes any ice build up. Once this function
is complete your unit will revert back to heating.
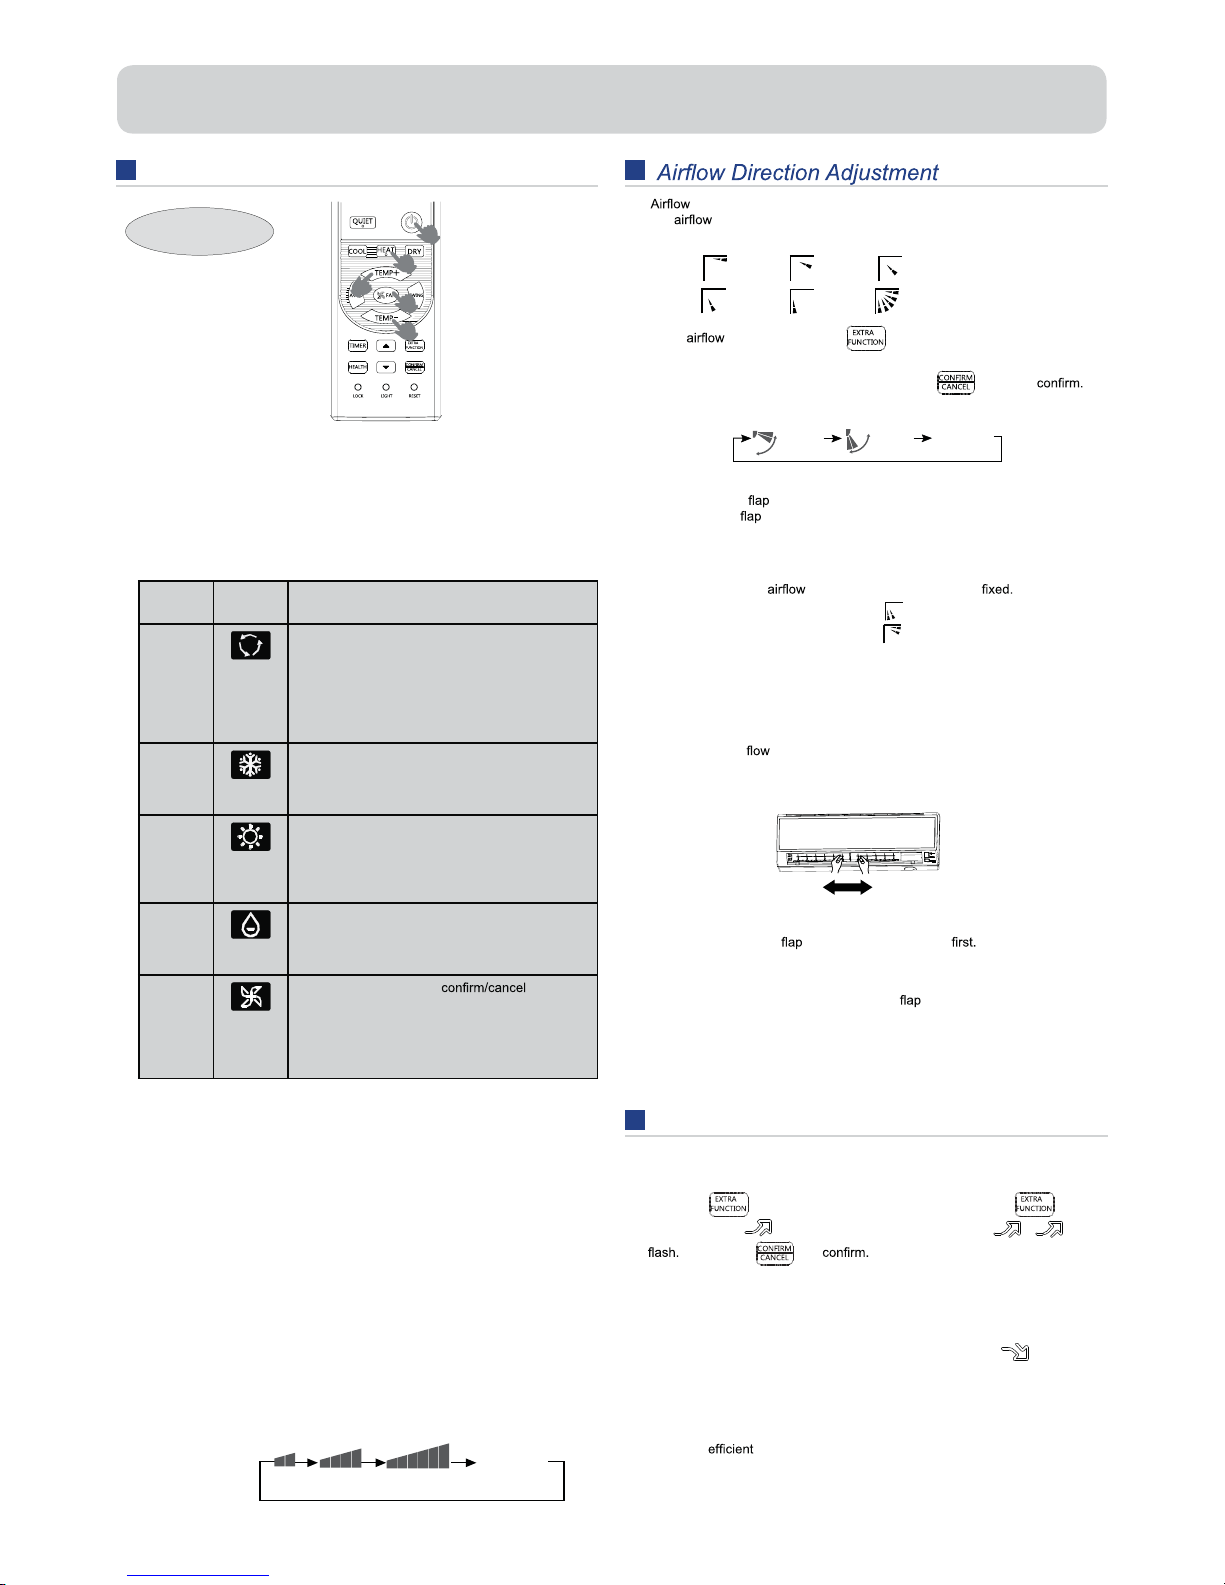
POWER/QUIET Operation
1. POWER Operation
When you need rapid heating or cooling, you can use this function.
Press the button to enter additional options. Press the
repeatedly until
displays. When the display cycles to , will
Then press , to
Repeat the process above to cancel.
2. QUIET Operation
You can use this function when silence is needed for rest or reading.
Press the QUIET button and the remote controller will show
.
Press the QUIET button again and the quiet function will be cancelled.
Note:
During POWER operation, in rapid HEAT or COOL mode, the room may show
uneven temperature distribution. Extended use of the QUIET function will provide
complete and
cooling of your room.
2
 Loading...