How it Works
Log In / Sign Up
Buy Points
How it Works
FAQ
Contact Us
Questions and Suggestions
Users
Haier
Loading...
H
HLH26BBTV
3
HLH26BBTV-01
HLH326BB
5
HLH326BB - 32"" LCD TV
HLH32ATBB
6
HLH32BB
2
HLH32BBTV
2
HLH32BBTV-01
HLH376BB
HLH37ATBB
3
HLH37BBTV
2
HLH37BBTV-01
HLH406BB
3
HLH426BB
2
HLH42ATBB
2
HLHL22RW1
HLK1140
HLM-109B
HLM-116B
HLM-32B
HLM-801B
HLP021
HLP021-WM
HLP140E
5
HLP141E
6
HLP141E-CF05R0E0000
HLP141E-CF06M0E0M00
HLP20E
HLP21
HLP21E
3
HLP21N
6
HLP22P
4
HLP22P - 06-03
HLP23E
3
HLP24E
6
HLP28E
2
HLP455E
HLPW028AXW
HLPW028AXWP
HLPW028BXW
4
HLT10
HLT20E
2
HLT23E
3
HLT23E - 07-04
HLT23E1
HLT364XXQ
5
HLT41E
2
HLT71
HLTD500ACW
3
HLTD500AEW
2
HLTD500AGW
3
HLTD600ACW
HLTD600AEW
HLTD600AGW
2
HLTD7
HLTDC15
3
HLTDC19
3
HLTDC19 - 19"" LCD TV
HLTDC20
3
HLTW500AXW
HLTW600AXW
HM 05
HM-05CB03
HM-05CB03R1
3
HM-05CC03-R1
2
HM06R750
HM-07C03
4
HM-07C03/R1
4
HM-07C03/R1_EUR
HM-07CA03/R1
HM-07CC03-R1
3
HM-09C12
HM-09C12-R2
2
HM09CA03
3
HM-09CA03/R1
2
HM-09CB03
HM-09CB03R1
HM-09CC03
HM-09CC03-R1
3
HM1000
HM1000TX
2
HM1200TX
HM1400TX
HM1630
HM30
HM500T
HM500TX
HM500X
2
HM501
2
HM50E
HM50EP
3
HM600T
HM600TE
HM600TX
HM-C300
HM-G552-FL
HM-I558-FL
HM-I560-FL
HM-N501-FL
HM-V6
Loading...
Loading...
Nothing found
HLTD500AGW
Owner’s Manual
108 pgs
3.9 Mb
0
Service Manual
35 pgs
3.22 Mb
0
User Manual
108 pgs
3.03 Mb
0
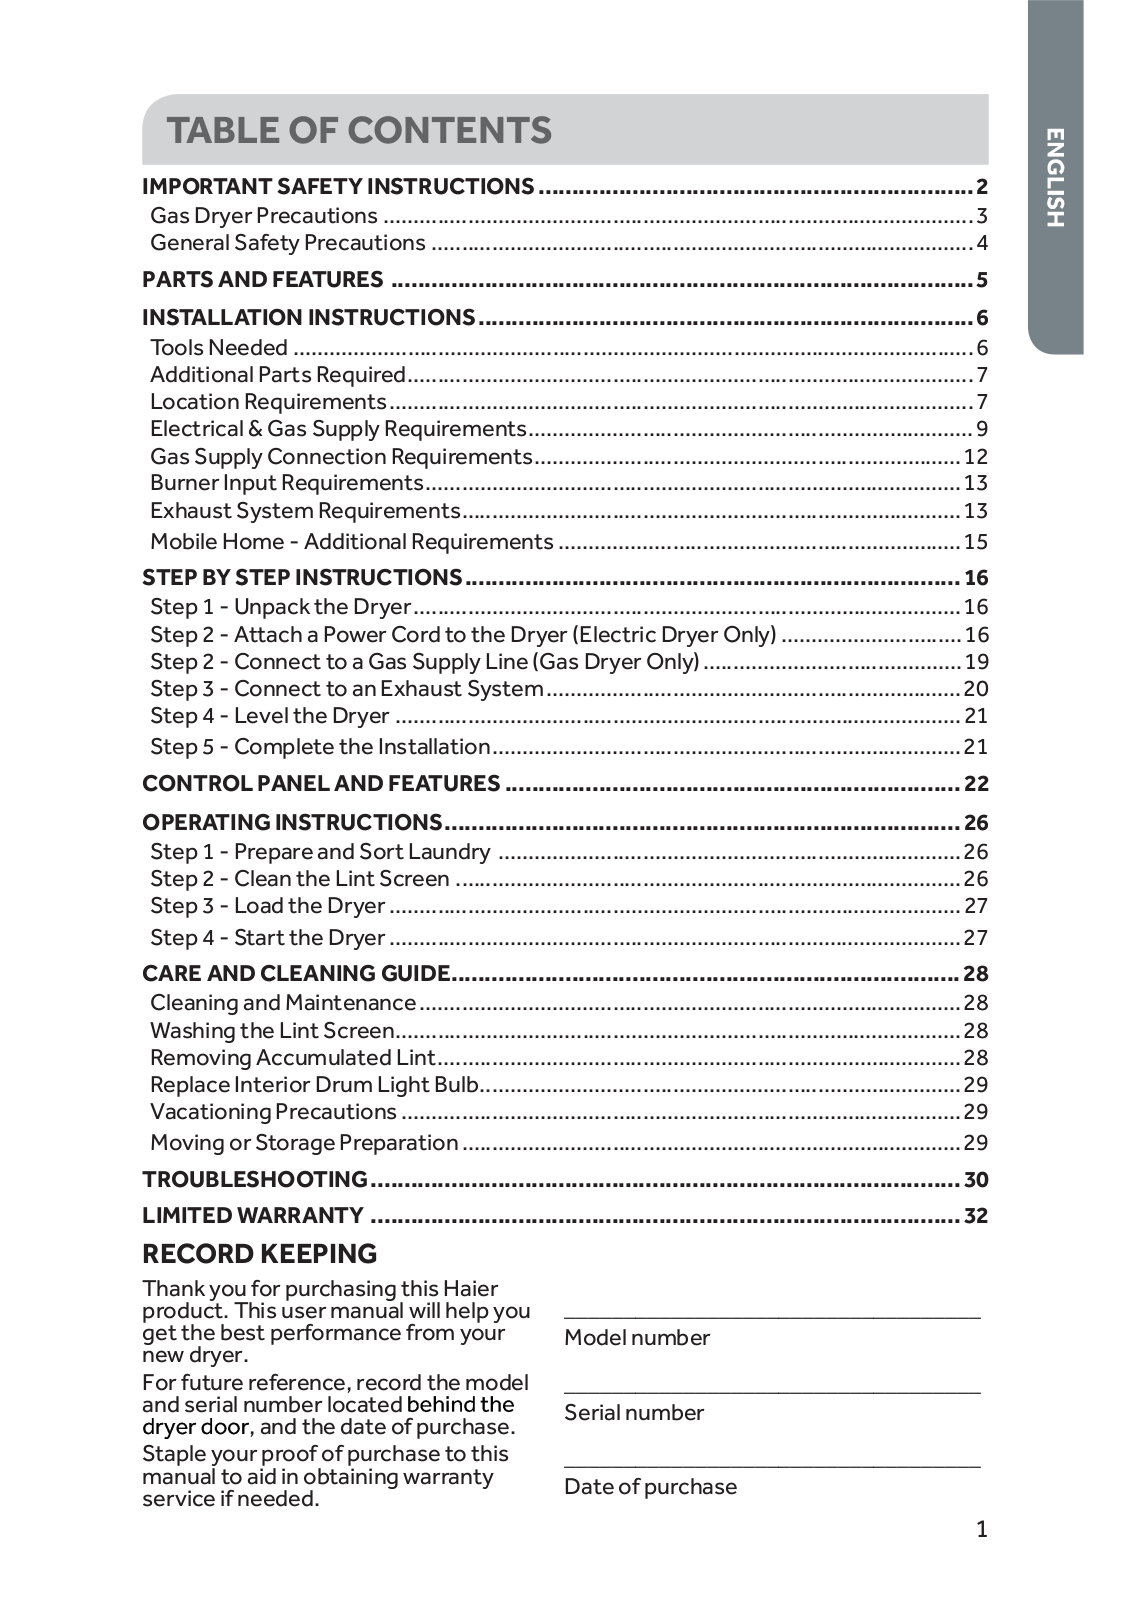
Table of contents
Loading...
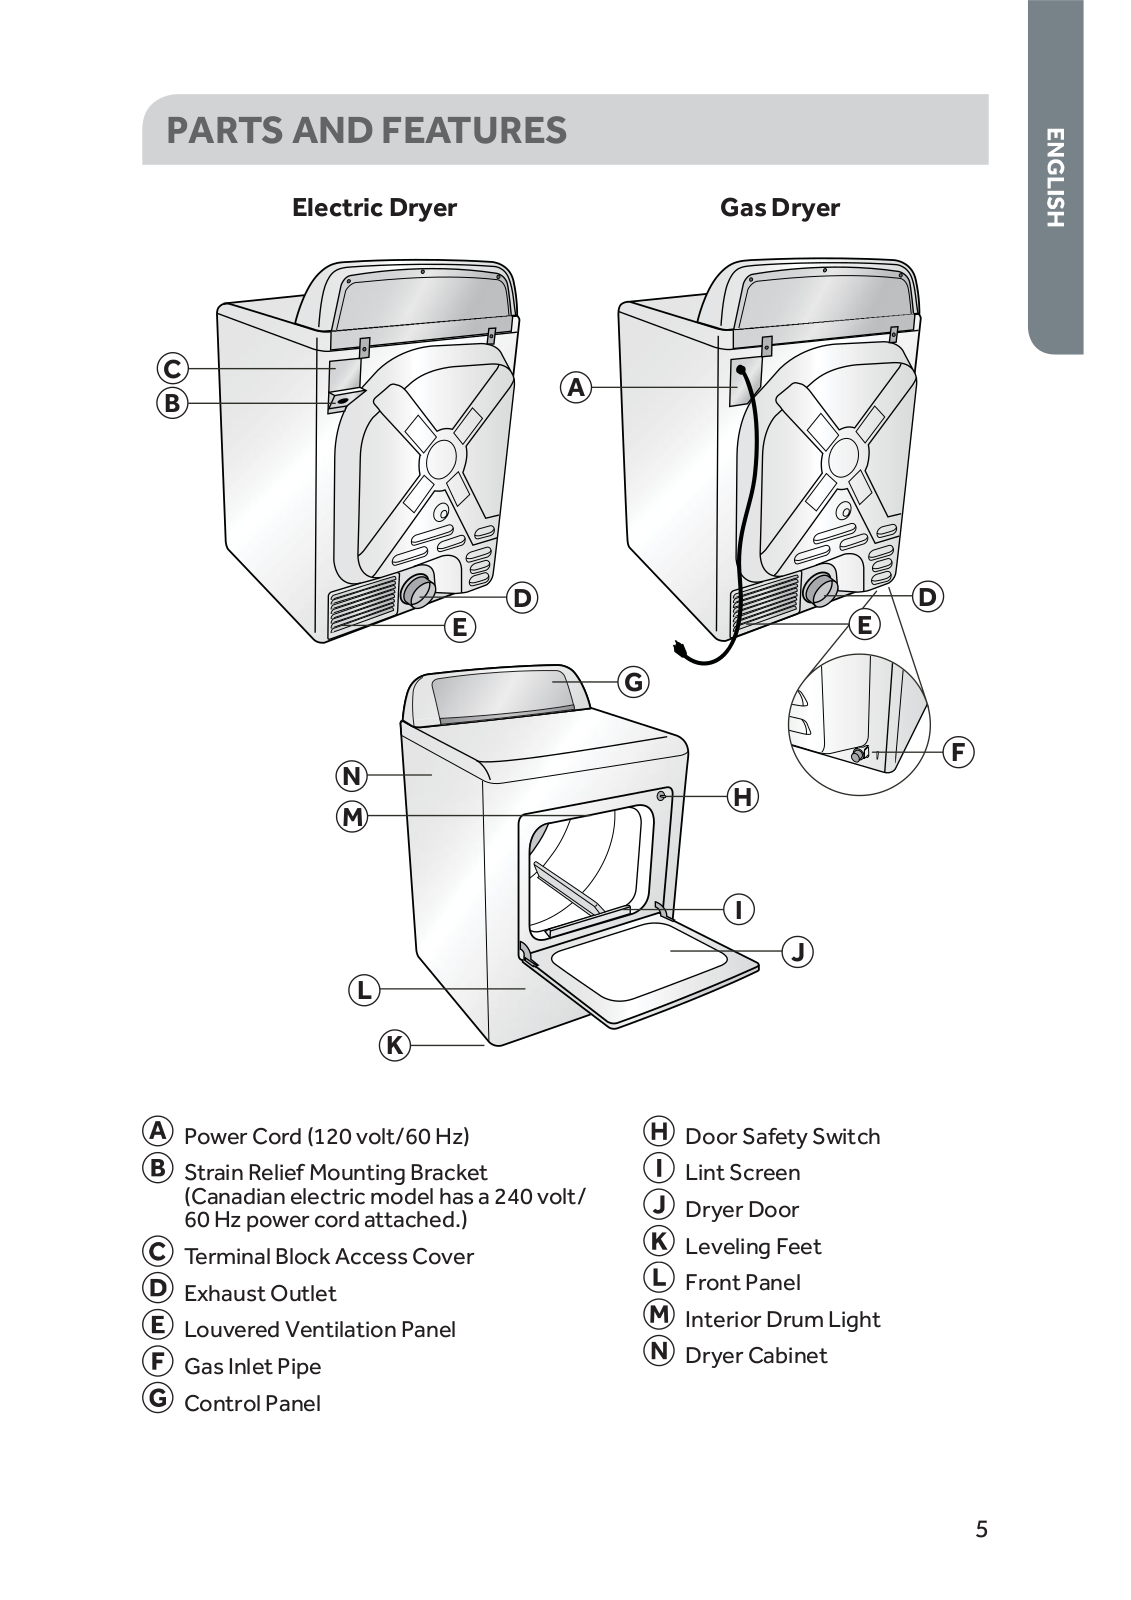
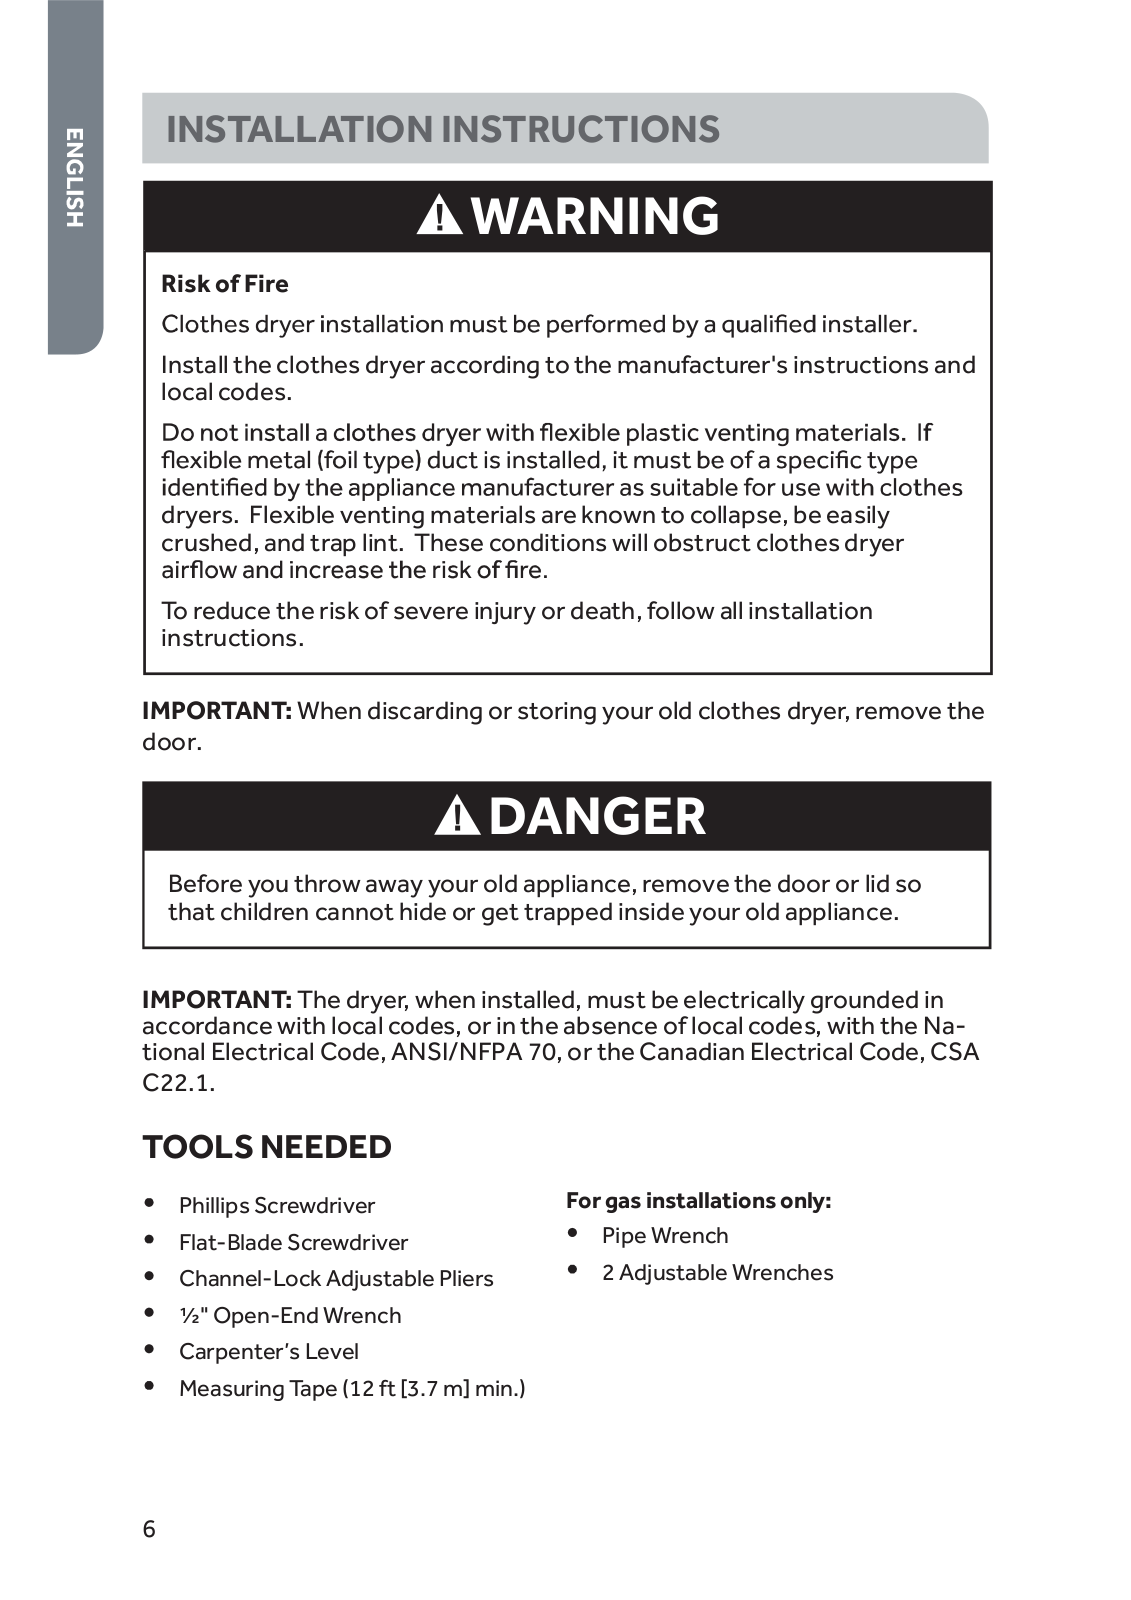
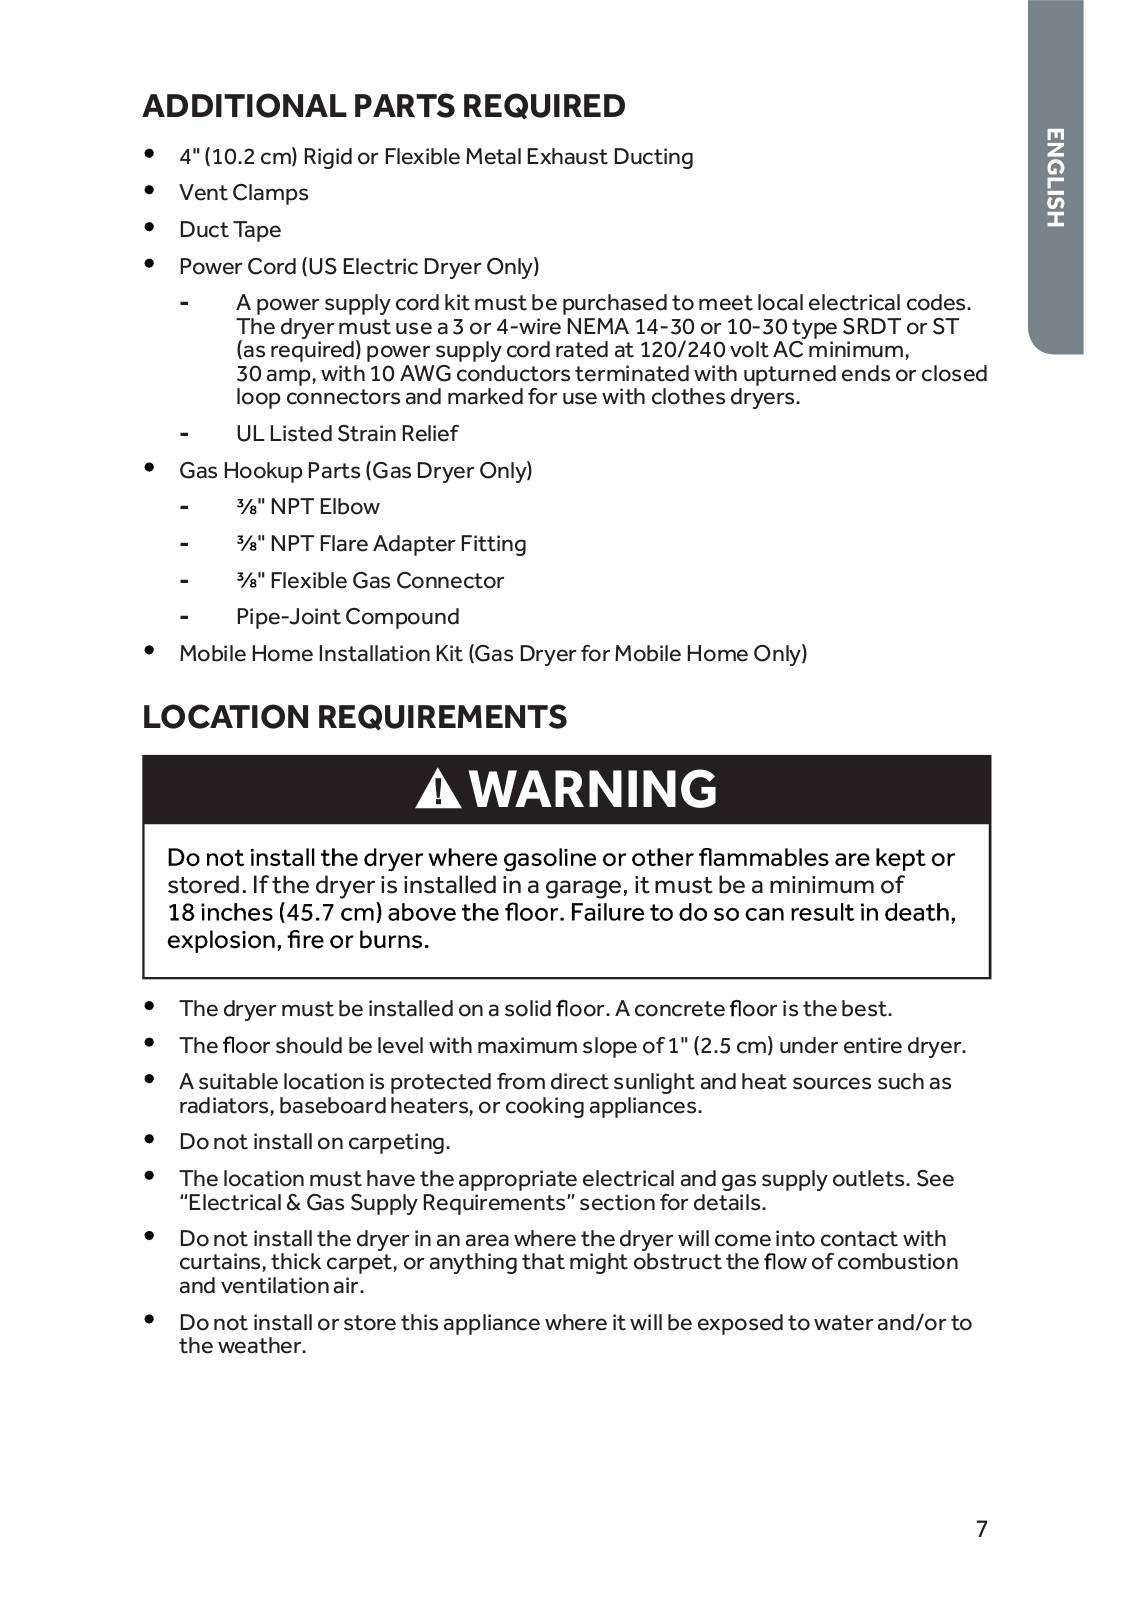
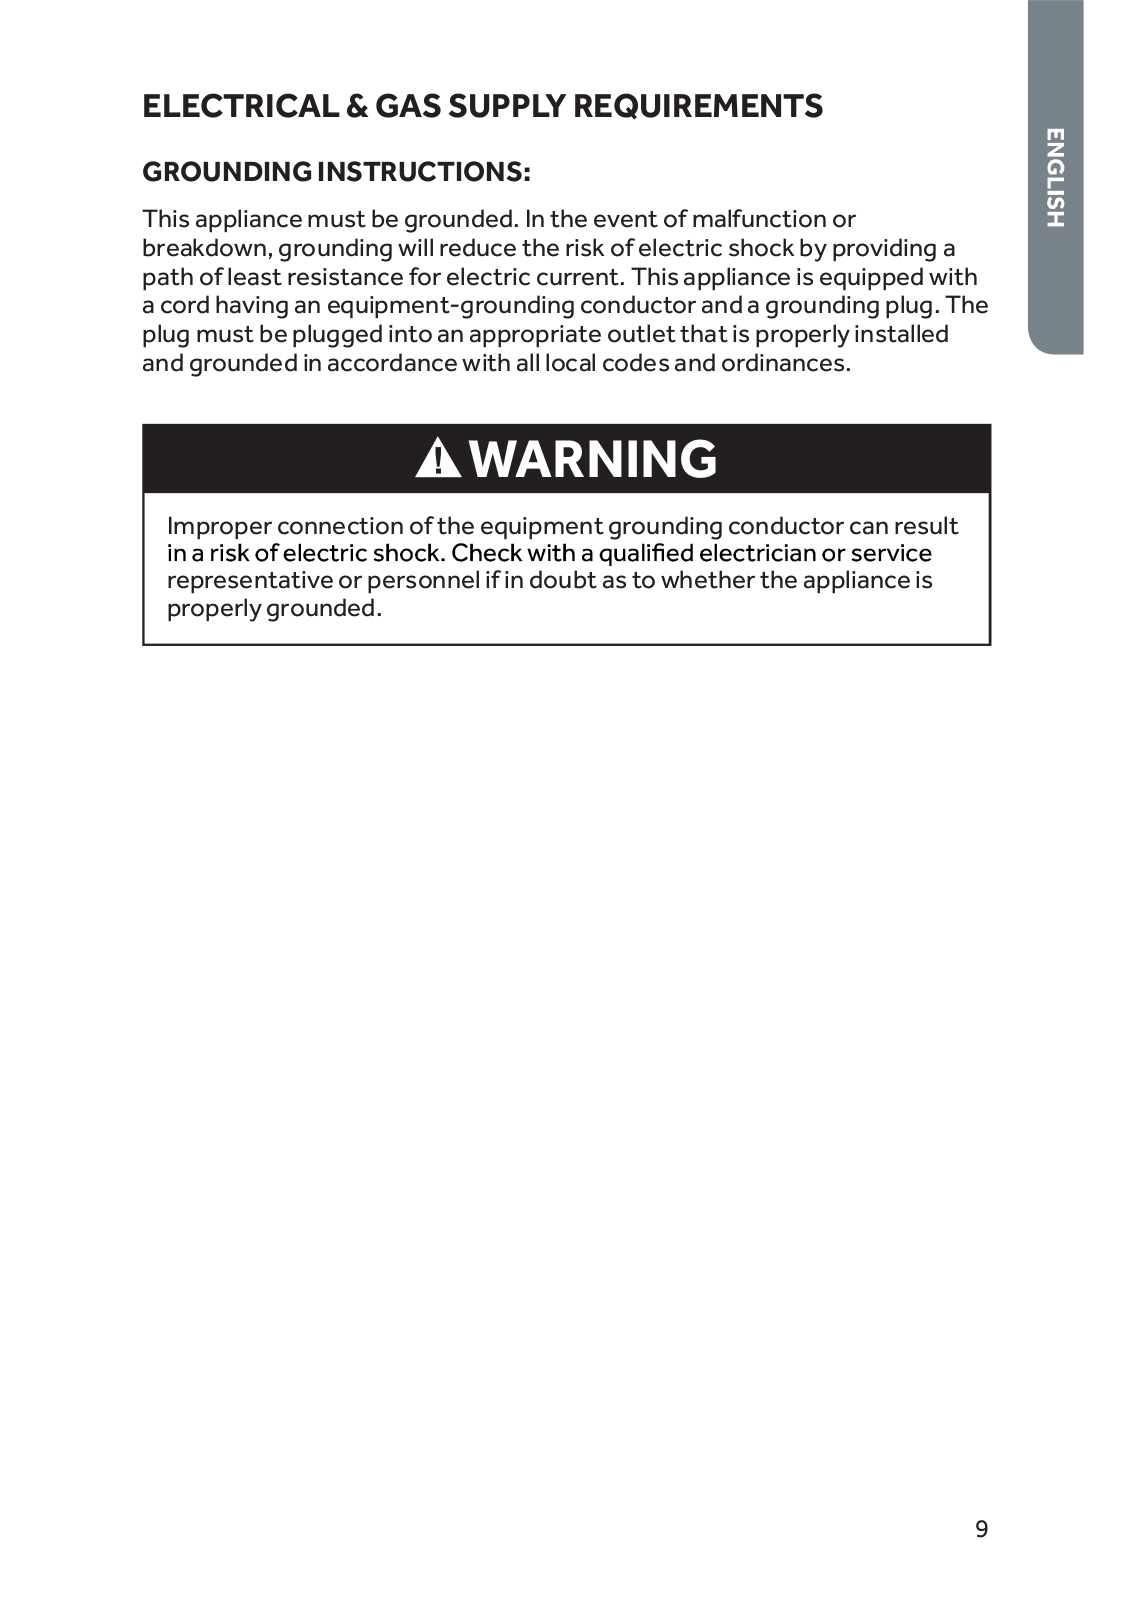
Haier HLTD500AGW, HLTD500AEW, HLTD500ACW Owner’s Manual
...
Haier Owner’s Manual
Download
Specifications and Main Features
Frequently Asked Questions
User Manual
Download
Loading...
+
78
hidden pages
Unhide
You need points to download manuals.
1 point = 1 manual.
You can buy points or you can get point for every manual you upload.
Buy points
Upload your manuals
 Loading...