

Page 1
DOC022.53.00768
LDO™ Sensor Replacement Kit
For use with Hach LDO101 Standard and Rugged Dissolved Oxygen Probes
User Manual
© HACH Company, 2006. All rights reserved. Printed in the U.S.A. jk/dk February 2006, Edition 1
Page 2

2
Page 3

LDO™ Sensor Replacement for LDO101 Probes
Each LDO sensor cap replacement kit comes with a sensor-specific
calibration update iButton
sensor module (located on the LDO101 probe cable), the probe calibration is
updated for the new sensor cap.
The kit includes:
• Sensor cap with O-ring and seal
• Calibration update iButton
Replacing the Sensor Cap and iButton
1. Disconnect the LDO101 probe from the meter. If using a rugged LDO101
probe, remove the protective shroud from the end of the probe.
2. Remove the used sensor cap from the probe and discard. Do not touch or
soil the exposed sensor lens (Figure 1).
3. Carefully remove the used O-ring from the sensor tip. Remove the used
cap seal by rolling it off with your fingers. Do not use sharp metal tools.
®
. When the iButton is installed in the pressure-
3
Page 4

LDO™ Sensor Replacement for LDO101 Probes, continued
4. Position the new cap seal on the probe body with the narrow shoulder of
the seal facing the probe tip (Figure 1). Slide the seal until it rests against
the probe body threads.
5. Place the new O-ring into the groove at the sensor tip (Figure 1). Do not
touch the sensor lens.
Note: If the sensor lens is soiled, rinse with dilute isopropyl alcohol or deionized
water and blot completely dry. Do not wipe the lens or use abrasive cleaners.
6. Finger-tighten the new sensor cap onto the probe until the seal is
compressed. Do not over-tighten. The cap will push the seal over the
threads and into position (Figure 1). Do not touch or soil the sensor lens.
Note: Avoid handling the black face of the sensor cap. DO NOT use alcohol or
other organic solvents to clean the black face of the sensor cap. These solvents
will destroy the sensor cap.
7. Inspect the cap seal to make sure the narrow shoulder of the seal is
inside the cap.
4
Page 5

LDO™ Sensor Replacement for LDO101 Probes, continued
8. Pull to open the iButton®* cover on the pressure-sensor module
(Figure 1). Tip the module to remove the existing iButton.
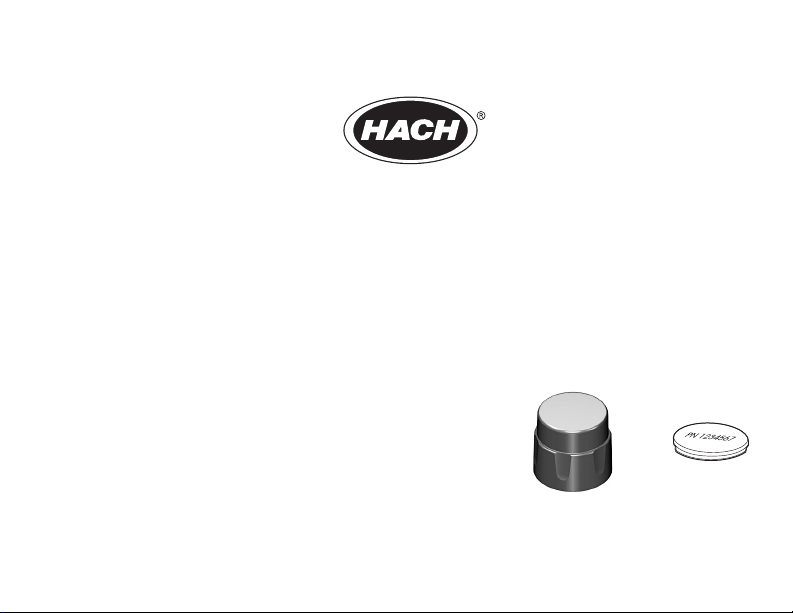
9. Verify that the lot code printed on the new iButton matches the lot code on
the new sensor cap (Figure 2).
10. Insert the new iButton with the paper label facing up.
11. Close the iButton cover and press until it seats against the surface of the
module housing. The cover must be seated properly to ensure good
electrical contact with the iButton and to ensure a proper seal.
12. Re-assemble the protective shroud and ring (if using the rugged probe)
and re-connect the LDO101 probe to the meter.
Note: Changing the iButton resets the stored calibration to correspond to the new
sensor. If the meter was calibrated manually, the PROBE ? icon will appear to indicate
that the manual calibration is not valid for use with the new sensor.
* iButton is a registered trademark of Maxim Integrated Products, Inc.
5
Page 6

LDO™ Sensor Replacement for LDO101 Probes, continued
Figure 1 LDO101 Standard Probe—Sensor Cap and iButton
1 Sensor Cap 6 1- or 3-meter Cable
2 O-ring 7 iButton
3 Sensor Lens 8 iButton Cover
4 Cap Seal 9 Pressure-sensor Module
5 Temperature Sensor 10 Location for Color-code Clips
6
Page 7

LDO™ Sensor Replacement for LDO101 Probes, continued
Figure 2 Sensor Cap
1 Lot Code on Sensor Cap
7
Page 8

LDO™ Sensor Replacement for LDO101 Probes, continued
Replacement Parts
Description Quantity Catalog Number
LDO Sensor Replacement Kit for LDO101 Probes 1 58112-00
Instruction Manual for Sensor Replacement 1 58112-89
 Loading...