

Page 1
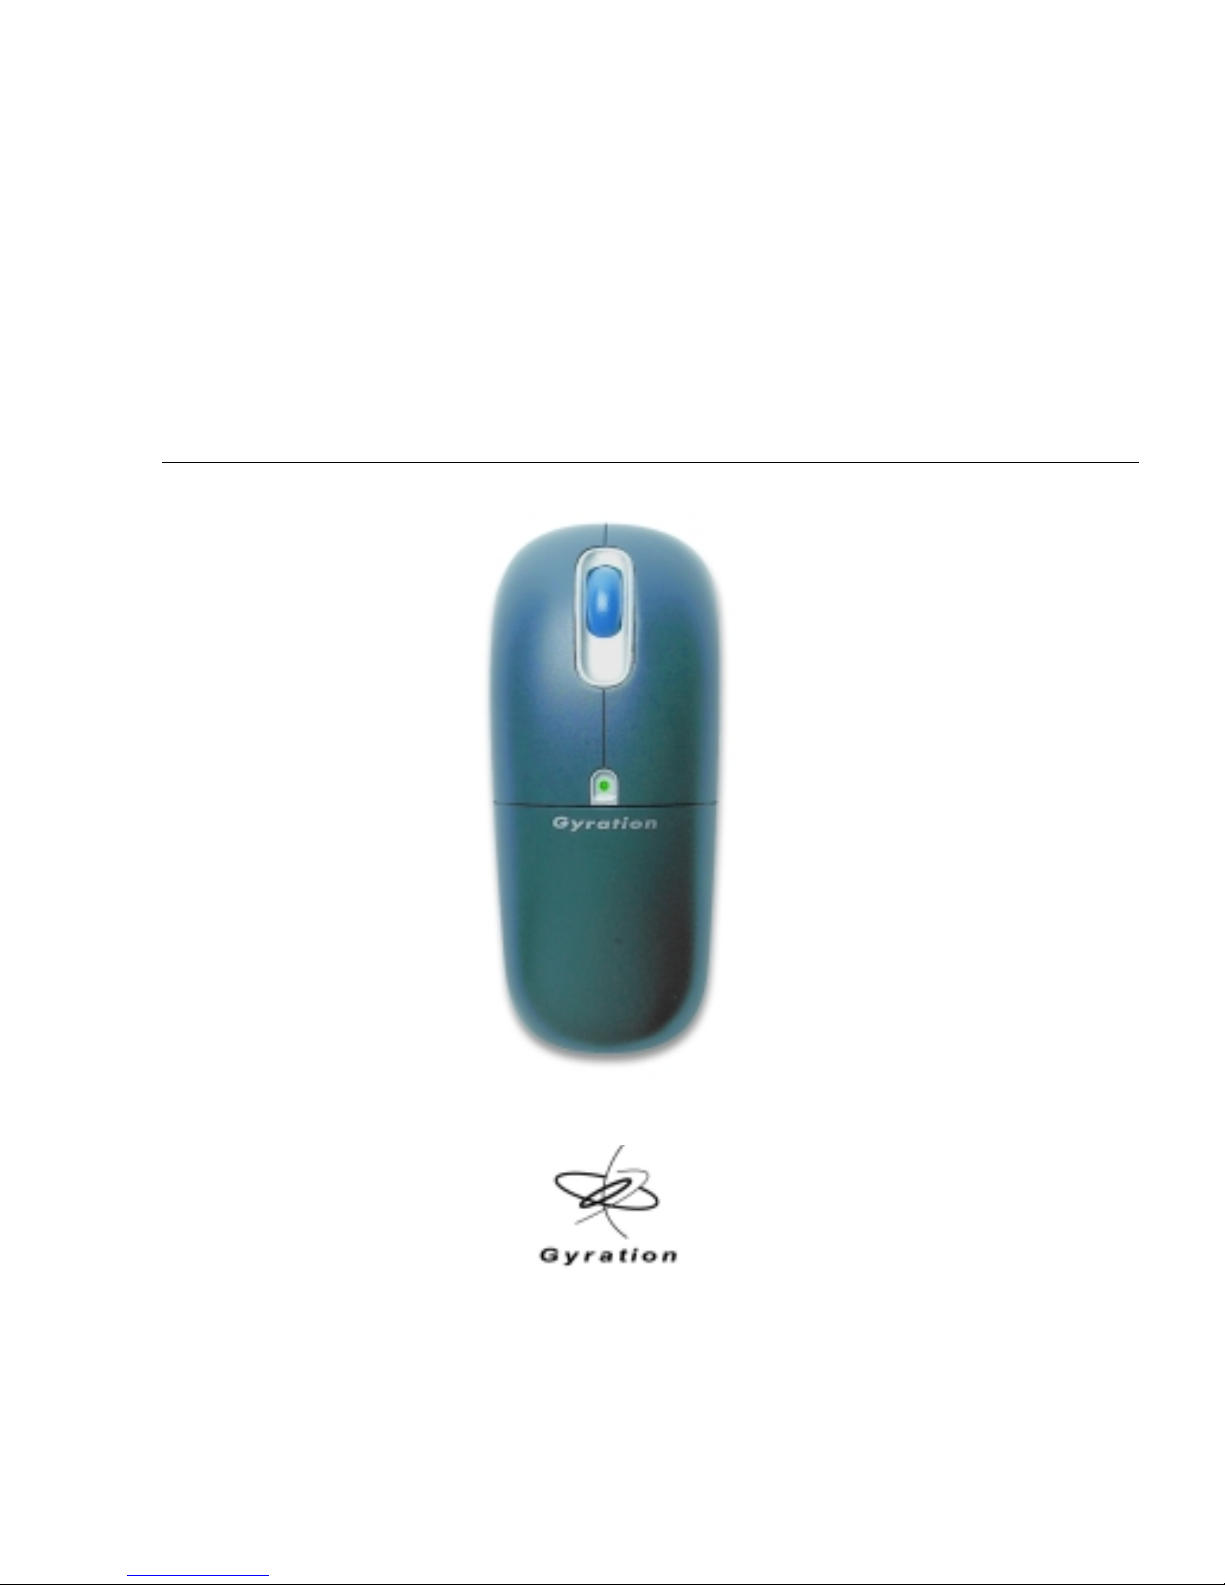
Gyration Ultra Cordless Optical Mouse
User Manual
Page 2

Product Specifications
Spec Ultra Cordless Optical Mouse RF Receiver
System
Requirements
Size 4.8”L x 2.0”W x 1.8”H (12.2cm x 5.1cm
Weight 5.3 oz (150g) with battery pac k 4 ounces (124g)
Operating Range Ultra - Up to 25 feet (7.6m) typical with
Radio 49 MHz (U.S.) with 8 channels and
Batteries
Connector N/A USB with 5’ (1.5m) cable
Operating Temp +10 to 40 C (+50 to +104 F)
Storage Temp -30 to +70 C (-86 to +158 F)
T Full functionality on Mac and IBM compatible PCs running Windows 98 (2nd
ed.), 2000, ME, XP or higher
T Available USB port
T CD ROM drive (for GyroTools installation with Ultra Professional model)
T Microsoft or Mac co m pa ti ble mo u s e dr ive r (no a dd itional drivers to ins tall)
5”L x 4”W x 2”H (13cm x 10cm x 5cm)
x 4.5cm)
N/A
no line-of-sig h t re qu ire ment
Ultra Professional - Up to 100 feet
(30.5m) typica l w ith no line-of-sight
requirement
N/A
36,800 security addresses
T NiMH battery pack (additional spare
N/A
NiMH battery included with Ultra
Professional model)
T 3 AAA batteri e s (AAA battery clip
included with Ultra Pro fessional
model only)
1
Page 3

Gyration Ultra Cordless Optical Mouse
Identifying the Parts
Installing an d Charging the Batteries
The Ultra mouse comes with an NiMH batt ery pack already instal led but yo u wil l need to remov e the plast ic
insulator tab located inside the battery compartment. This clear plastic tab prevents the battery from discharging until you are ready to use your mouse.
1. Press release button on the end of the mouse and lift battery pack of f.
2. Remove and discard plastic tab.
3. Replac e battery pack by snapping into place.
Using the Chargi ng Cradle
Important! Your mouse must be charged for 9 hours prior to first use. To charge your mouse:
1. Be sure th a t the N iM H ba t ter y pa c k is properly install ed .
2. Connect power adapter to charging cradle and plug into power source.
3. Place mouse handset into charging cradle. LED on cradle will light solid. LED indicator on mouse
will flash slowly while batteries are charging and maintain a steady glow when fully charged.
2
Page 4

Note: When a full charge is not required, you may remove the mouse from the charging cradle at anytime -- you do not
need to wait for the LED to stop flashing.
Low Battery Warning
When battery drops to 20% of a full charge the LED indicator on the mouse will blink intermittently when
transmitting data. To optimize the performance of your NiMH battery, it is best to recharge after every day
of use.
Power-Saving Sleep Mode
To conserve power, the Ultra mouse enters a sleep mode when it is left on the desktop for more than 24
hours. Click any button to wake the mouse from sleep mode.
Using an In-line Charger
The NiMH battery pa ck c an al so be char ged us ing an in- lin e cha rger (inc lu d ed wit h
the Ultra Professional model and available for purchase as add-on accessory):
1. Connect power adapter to inline charger and plug into power source.
2. Place battery pack into charger cradle to begin charging. LED indicator on
cradle will light solid.
Using an Alkaline Battery Clip
A standard alk alin e ba tt er y clip may also be used with your mouse (in c lu de d with
the Ultra Professional model and available for purchase as add-on accessory):
1. Insert 3 AAA ba tt er ie s int o battery clip.
2. Attach batter y cl ip to mouse by snapping into plac e .
Note: 1) AAA batteries are not recharged when the unit is placed in the charging cradle. 2) If
an alkaline battery clip is installed, the Ultra mouse enters a sleep mode when left on the desktop for 4 or more hours. Click any button to wake from sleep mode.
Setting Up and Synchronizing Ultra Mouse and the Receiver
1. Make sure the mouse is fully charged.
2. Power on your computer and connect the Receiver’s USB cable into an avail able USB port on y our
computer. Follow standard USB device installation screens.
3. Press and hold the LEARN button on the Receiver for 2 seconds. The STATUS light will blink slowly,
indicating th at th e rec e ive r is in “Learn Mode.”
4. Press the TEACH button located on bottom of the mouse handset. The status light on the Receiver
will blink rapidly for 4 seconds, then will blink slowly. Push the TEACH button on any additional
devices (i.e. keyboard or 2nd mouse) at this time.
3
Page 5

5. OPTIONAL: To exit “Learn Mode,” press the LEARN button on the Receiver for 2 seconds. Otherwise, after five minutes , Lear n M od e wi ll au to matically time out.
If more than one Gy rat ion d evice is bein g inst alled on the sy stem, pl ace the R ec eiver into Le arn Mod e (ste p
3 above) only once, then “Teach” each device before exiting Learn Mode. Do not pus h the L ear n butt on on
the receiver for each device to be added. (See “Installing 3 or More Devices” on page 9.)
When the Receiver is put into Learn Mod e , it erase s its me m or y of lea r n ed de vic e s an d looks for new
devices. Therefore, when adding a new dev ice to a system it is necessary to put the Rece iver into Learn
Mode then Teach all devices that will be used on the system.
Note: After the Teach/Learn sequence is performed, the Re ce iv er and the device will remain synchronized after powering
down and/or changing channels. It is only necessary to perform the Teach/Learn sequence when setting a device up for th e
first time or when adding additional devices to the system.
Determinin g Wh ic h Cha n n e l U lt ra Mouse is Using
The Ultra mouse has multiple chan ne ls availab le to it. To determine which chan ne l a dev ic e is cur re ntly
using:
1. Press and quickly release the CHANNEL button on the bottom of the mouse handset.
2. Count the number of times the red LED on the bottom of the handset or the green LED on the top
of the handset flashes. The number of flashes indi cates the channel the handset is usi ng.
Changing the Channel Ultra Mouse is Using
When two devices are being used in the same proximity, each device should be set to operate on a unique
channel. For best reception, space the channels apart by one or more channels. (For example, setting the
channels to “2” and “4” is recommended over setting the cha nnels to “2” and “3”.)
To change the channel:
1. Press and hold the CHANNEL button on the bottom of the mouse handset for 2 seconds.
2. When you release the button, the mou s e will change to the next channel and the red LE D on the
bottom of the handset and the gree n L ED on th e top of the handset will flash . Th e n um be r of
flashes indica tes the new channel the handset i s usi ng.
If a Teach/Learn sequence has already been performed, it will not be necessary to re-synchronize the
devices after a channel change.
Note: If the mouse’s channel is changed when the computer i s powered dow n or the receiv er is not connec ted, the dev ices
will become unsynchronized. When the system is running, click and release the channel button as described above to
confirm the channel. The mouse broadcasts a message across all eight channels that informs the receiver what channel it
is currently operating on. The receiver then automatically restores synchronization.
Tip: If you are installing three or more devices on a single receiver, see “Installing 3 or More Devices” on page 9.
4
Page 6

Using Ultra Mouse on the Desktop
The Ultra mouse provides great flexibility in how you control your
computer and its optic al sens or allow s for prec ise tr acki ng on virt ually any
surface (for optimal performance, avoid highly reflective glass or mirrored
surfaces). To use on the desktop:
1. Set up and synchronize the mouse with the Receiver (see page 4).
2. Remov e the f ully charged mous e from t he char ging c r adle an d pla ce it
on a flat surface. The LED light on the receiver base will flicker rapidly when communicating with
the mouse handset.
3. Use the mouse like a standard desktop mouse.
In addition to its optical sensor, Ultra mouse features an advanced reflective sensor that detects when the
mouse is being lifted off the desktop. T o conserve battery life, this sensor powers on the Gyro and shuts
down the optical sensor each time the mouse is picked up.
Ultra mouse uses standard Windows and Mac mouse drivers. Cursor tracking speeds, mouse double-click
speeds and other opt ions can be customized using the Mouse Control Panel under Windows 98 (2nd ed.),
2000, ME, XP or Mac OS 8 and above (see OS documentation for further information about customizing
mouse properties).
Tip: For optimal battery life, avoid using the Ultra mouse on dark-colored surfaces.
Using Ultra Mous e in t he A ir
The Ultra mouse has no li ne-of-si ght requir ements so it’s not ne cessary to
point the device at the computer, receiver or monitor. Find a comfortable,
relaxed position and move the cursor with easy wrist movements.
1. Set up and synchronize the mouse with the Receiver (see page 4).
2. Hold the mouse in a comfortable, relaxed position with your index fin-
ger on the ACTIVATION TRIGGER and your thumb at the base of the
scroll wheel (se e ill ust rati on).
3. Press and hold the ACTIVATION TRIGGER with your index finger. While
holding the ACTIVATION TRIGGER, flex your wrist up, down, sideways, in a manner similar to
using a flashlight. The mouse cursor tracks the motions of your hand.
4. Use your thumb to press the left/right mouse buttons or to operate the scroll wheel.
5. Double-click the ACTIVATION TRIGGER to keep the cursor continuously active. To stop the cursor ,
click the ACTIVATION TRIGGER once.
Powering Off Ultra Mouse
1. Simultaneously press and release the CHANNEL button and TEACH button on the bottom of the
unit. The mou se will immed iate ly enter deep s leep m ode and w ill be unre spons ive to butt on cli cks.
5
Page 7

The unit will confirm it is powering off by flashing its LED three times.
2. Repeat this sequence to power the unit back on. The unit will confirm it is powering on by flashing
its LED for 1 second.
Note: Powering off the mouse prevents battery drain when traveling. It may be necessary to power off the unit when
traveling on commercial airlines due to FCC regulations regarding radio-emitting devices.
Fine-tuning Cursor Control
The Ultra mouse uses your standard Windows mouse driver. There are no additional drivers to install. Any
settings that are available to a standard desktop mouse are also available to Ultra mouse. Multiple factors
will determi ne how you adjust you r mouse to sui t your pr eferenc e includ ing screen resoluti on, mous e driver
version and overall personal preference. While becoming familiar with your mouse and getting a feel for the
GyroPoint method of cursor contro l, Gy ratio n re commends ad ju st in g your mouse driver to the following
settings:
T Pointer Speed – Average. Some new users pr efer this settin g to be slightly slower than average.
Advanced users will increase the speed so that less wrist movement gives them more screen
coverage with the cursor.
T Acceleration – Low or Off.
Troubleshooting Tips
Symptom Reason Solution
Mouse LED come s on wh e n
activate button is pressed,
but receiver is unresponsive
When using in air, cursor is
visible but shows no movement
Cursor movement is choppy
or erratic
When pressing the activate
button, the LED on the
mouse is flashing
When pressing the activation
trigger , the LED on the mouse
is off
Cursor moves too fast or t oo
slow
Cursor drifts on the screen Sensor may require
Mouse and Receiver not
synchronized
Gyro not activated Squeeze or double-click trigger on bottom of mouse.
Radio interference 1. Change the device’s channel setting (See “Changing
Batteries are low Replace or recharge batteries (See page 3).
Batteries are dead
Speed or acceleration not
set properly
recalibration
Perform a Teach/Learn sequence (See “Setting Up and
Synchronizing Ultra Mouse and the Receiver” on page 4).
the Channel Ultra Mouse is Using” on page 5.)
2. Move receiver away from other electronic devices
(e.g. monitor, speakers, radio, etc.).
3. Raise receiver antenna and/or uncoil USB Receiver
cable.
Change the cursor tracking speed in the mouse control
panel (See OS documentation for details).
Place the mouse on the desk for 4 or more se co nd s to
steady the cursor.
6
Page 8

Troubl eshooting Tips (Cont inued)
Symptom Reason Solution
Mouse LED does not flash in
charging cradle and mouse
does not charge
Inadequate battery life Mouse used on dark-colored
Dirty contacts Clean the contacts on bottom of mouse.
Improper battery installed Make sure that the AAA battery pack is not installed.
End-of-life battery Replace battery.
surface
Gyration RF Receiver
Use mouse on light-colored surface to minimize battery
drain.
Learn Button
Pressing the LEARN button for 2 seconds puts the receiver int o “Learn Mode” allowing you to synchroni ze
one or more devices with the receiver. After devices have been synchro n ized , pres s ing the LEAR N butto n
again for 2 seconds takes the receiver out of Learn mode. If the receiver is not manually taken out of Learn
Mode, it will automatically return to Normal Mode after five minutes.
Status LED
The Status LED displays useful information about modes of operation and the connection between receiv er
and transmitter(s).
T The Status LED remain s off when the receiver is operatin g in “Normal Mode” and no devices are
transmitting.
T The Status LED f lickers rapidly when the receiver is operating in “Normal Mode” and a
7
Page 9

synchronized devi ce is transm it ting . If the re is radio inter fe re nc e, the fli cke ri ng lig ht wil l be
inconsistent.
T The Status LED blinks slowly (1 blin k pe r s ec o nd) when the receiver is in Lea r n Mo de an d is
awaiting a Teach instruction from a device.
T The Status LED blinks r apidly for a 4-seco nd burst when it is in Lear n Mode and process ing a Teach
instructio n and synchronizing the receiver with the device.
Keyboard Status LEDs
The Keyb oard Status LEDs will indicate whet her your computer has the Num Lock, Caps Lock and/or Scroll
Lock features activated.
Conflict LED
If an unrecognized Gyration device is attempting to operat e on the same channel as a device that has been
synchronized, the red “Conflict” LED on the receiver will flicker and input control may be intermittent.
The Conflict Light will only detect interference from another Gyration RF device (i.e. not cordless phones,
personal radios, etc .) .
Installing 3 or More Devices
The Receiver can be taught to recognize up to eight devices (mice, remotes, keyboards, etc.) on a system,
but only two of tho se device s may be u sed simu ltaneou sly. When setting up a system with a sing le rece iver
and 3 or more devices, the following guidelines must be followed:
T Select two channels that are free of outside interference and install all devices on either of those
two channels. When poss ib l e, it is r eco mme nded th at t he t wo chos en chann el s be sep arated by at
least one unused channel.
T Any of the devices installed on one channel may be used simultaneously with any of the devices on
the other channel. Two devices that share a channel may not be used simultaneously. When
installing the devices try to determine which devices will be used simultaneously and set them on
opposite channels.
The following example describes a single-receiver system with two mice and a keyboard that requires one
mouse to be used by a presenter for cursor control while another presenter inputs data on the keyboard.
Mouse #1 is set to channel 3 and the keyboard and mouse #2 are set to channel 5. With this configuration,
mouse #1 and the keyboard can be used simultaneously, but mouse #2 and the keyboard cannot.
Note: Gyration carries both a consumer and professional line of RF products. Please note that a low-power consumer
device (i.e. Ultra mouse with 25-ft. range) should not be used simultaneousl y wit h a hi gh-power professional device (i.e.
RF Keyboard with 100-ft. range). One or both devices may not work properly if data is being transmitted by the two units
at the same t ime. F or op tima l si multa n eou s per for mance, it i s reco mm ended that y ou use t wo l ow -po were d devi ces or two
high-powered devices. If you wish to use both a high- and low-pow e r device simultaneously, it is recommended that you
alternate usage between the devices.
8
Page 10

Contacting Gyration
If you have any questions on your new Gyration prod uct, ple a se use a ny of the pho n e/ FAX numbers or addr e sse s be low :
Main Office
Gyration, Inc.
12930 Saratoga Avenue, Bldg. C
Saratoga, CA 95070
USA
Phone: 408-255-3016
Fax: 408-255-9075
World Wide Web
www.gyration.com
Sales
Phone: 800-316-5432 (Toll-free in US and Canada)
Fax: 408-351-4433
E-mail: sales@gyration.com
Technical Support
Phone: 408-973-7086
E-mail: support@gyration.com
Warranty Information
Gyration products come with a two-y ear hardware w arranty. Gyration, Inc., (Gyration) warr ants products against d efects in
material and workmanship for a period of two years from the date of purchase from Gyration or an authorized Gyration
agent. This warranty applies only to the original purchaser and is not transferable. This warranty does not cover any
incompatibilities due to the user's computer, hardware, software or any other related system configuration in which the
product interfaces. Proof of purchase will be required before any warranty consideration by Gyration occurs. This w arranty
does not cover any damage caused by negligence, non-auth orize d mo dif ication s, or par ts inst alled withou t prior written
permission from Gyration. This warranty does not ap ply if the product has been damaged by acciden t, abus e, misuse , or
misapplication, nor as a result of service to the product by anyone other than by Gyration.
Gyration is not responsible for any lost profits, lost savings or other incidental or consequential damages
arising out of the use of, or inability to use, this product. This includes damage to property and, to the extent
permitted by law, damages for personal injury. This warranty is in lieu of all other warranties including
implied warranties of merchantability and fitness for a particular purpose.
Some states do not allow limitation of implied warranties, or exclusion or limitation of incidental or consequential damages,
so the above limitations may not apply to you. This warranty gives you specific legal rights. You may have other rights
which may vary from state to state. This warranty applies only to these products, and is governed by the laws of the State
of California.
9
 Loading...