

Page 1

Digta 3010
ENGLISH
Page 2

CONTENTS
_____________________________________________
4 Notes
4 Safety
4 Environmental protection
5 Scope of delivery
5 Accessories
6 MultiMediaCard or Secure
Digital Card
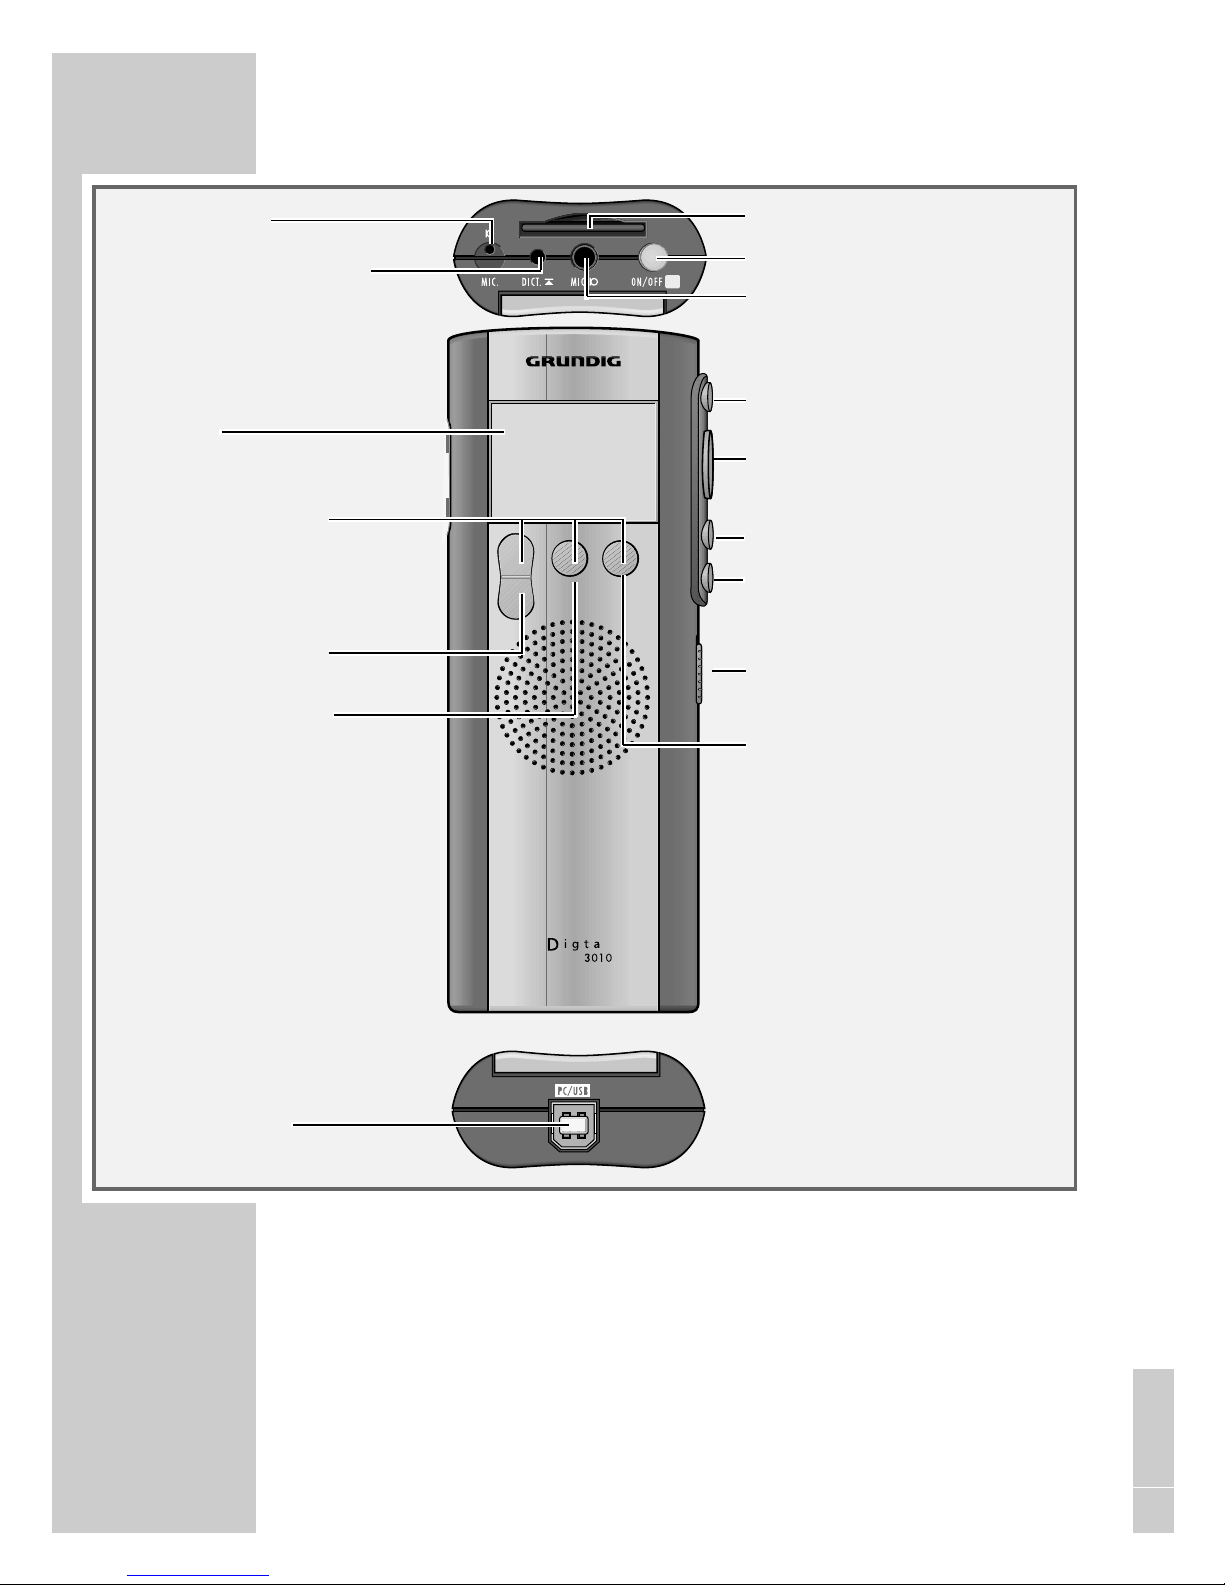
7 The Control Elements
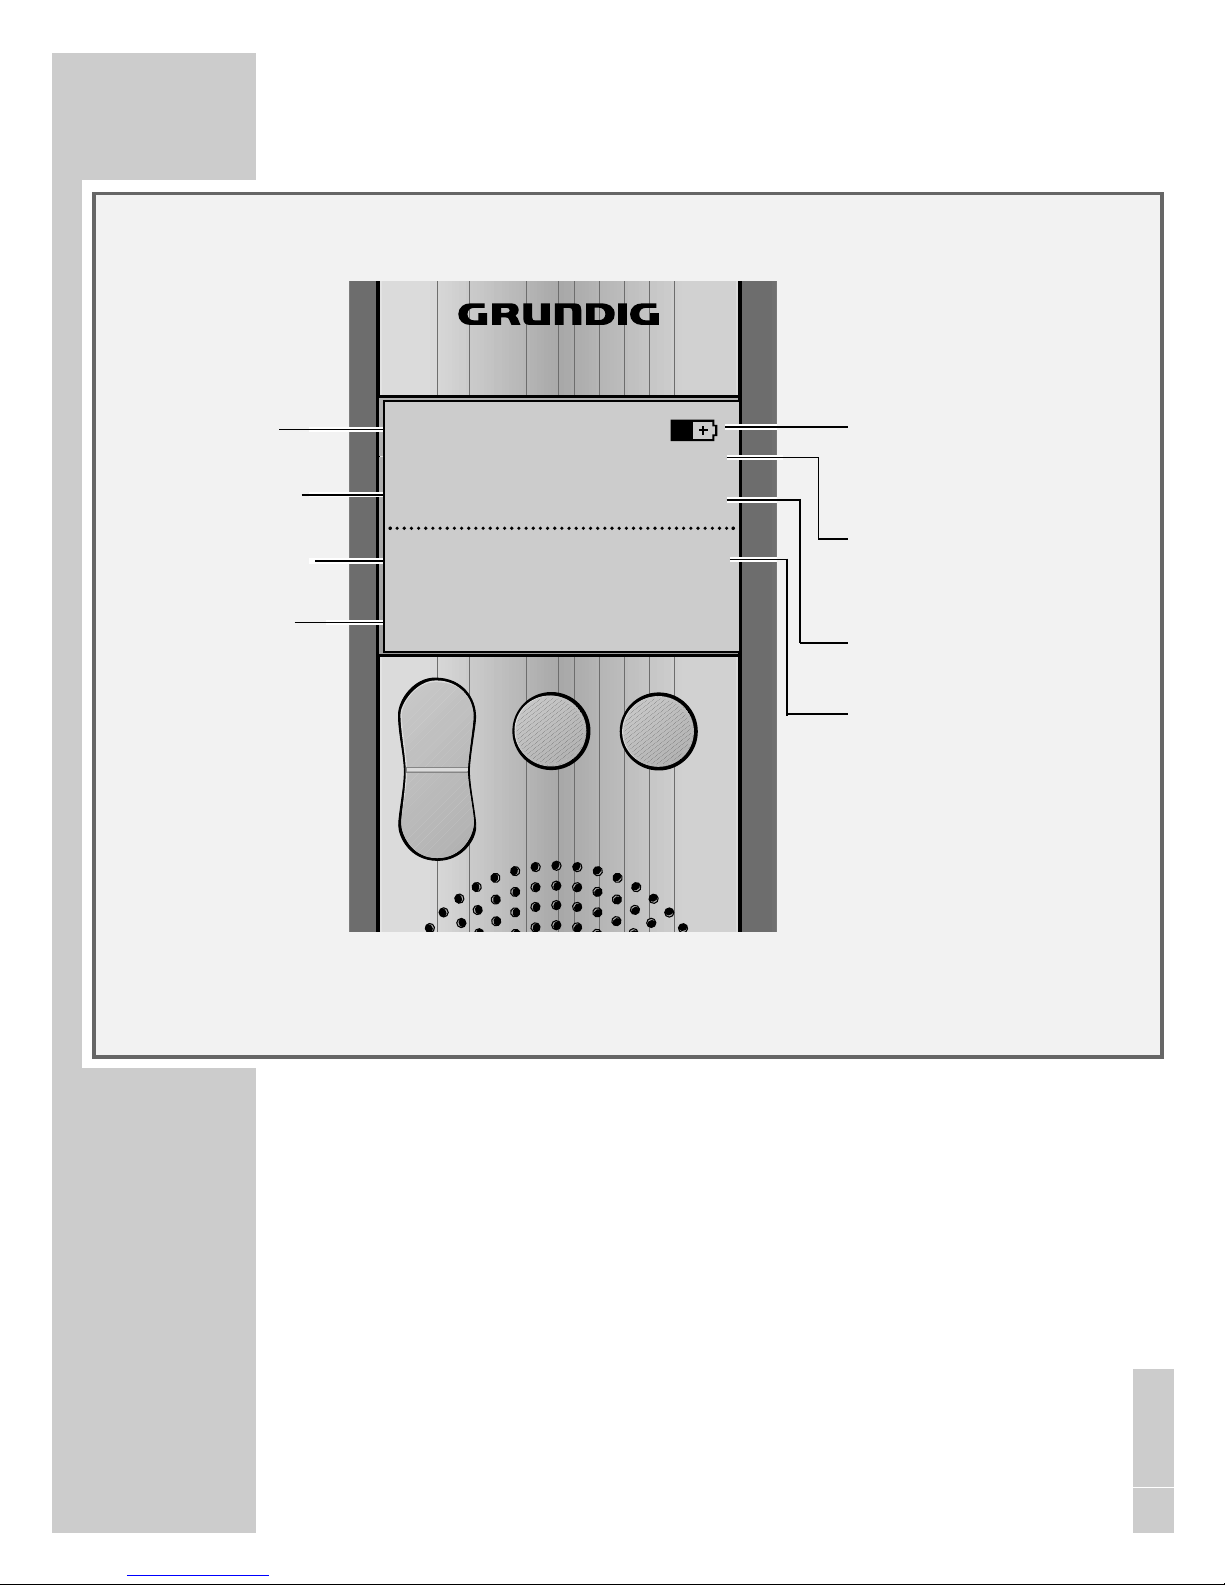
9 The Display
10 Preparations
10 Battery operation
10 Mains operation
10 Safety hints for power
supply/charging units 472/473
(Accessories)
11 Rechargeable battery
operation
11 Operation using rechargeable
batteries
11 Inserting rechargeable batteries
12 Charging the rechargeable
battery
13 Notes on Grundig rechargeable
battery 462
14 Fitting the MultiMediaCard
14 Formatting the MultiMedia-
Card
15 Switching On
15 Switching on and off
15 Switching on the first time
15 Subsequent switching on
15 Switching off
15 Safety lock
16 Recording
16 Dictation
16 New dictation
17 Recording-pause
17 Ending the recording
17 Editing a dictation
18 Inserting a recording
19 Playing back a Dictation
19 Selecting a dictation and
playing back
19 Fast skip to the beginning
or the end of the dictation
19 Volume control
19 Fast play-back
20 Fast forward and rewind
20 Deleting Dictations
20 Deleting a dictation
21 Deleting a part of a
dictation
22 Menu Functions
22 Menu options
23 Navigating in the menu
23 Typist
24 Dictation type
25 Group
26 No./Ref.
27 Voice Activation
27 Microphone sensitivity
28 PC microphone
29 Power off
29 Dictation counter
30 Version
31 Reset all
32 Format card
32 Language
2
Page 3

3
33 Communication with the PC
33 Steno.trans
33 StenoNet.mail
33 System requirements for Steno.trans and Steno.mail
34 Connectiong the dictation machine with the PC and dis-
conneting it
35 Firmware update
35 Carrying out a firmware update
CONTENTS
_____________________________________________
ENGLISH
Page 4

Your Digta 3010 is a digital portable dictation machine. It can be
used as a single-station dictation system with the Steno.trans software supplied. In addition to this it can connect to your network
(local areanetwork with several authors and transcribers) using the
StenoNet.mail software.
To simplify the revision editing of recordings, the machine has been
provided with functions, such as the insertion or deletion of text
passages. Using a PC, dictations can be transmitted via a
network.
Safety
This digital portable dictation machine has been designed for the
recording and play-back of voice.
Make absolutely sure that the machine is protected against dampness (rain, water splashes).
Do not place the dictation machine close to the heating or in direct
sunshine.
You may not open the dictation machine under any circumstances.
Opening the device invalidates the guarantee.
Open only the cover of the battery compartment.
Use only a dry cloth for cleaning. Never use chemical cleaning
agents.
Environmental protection
The batteries – those free of heavy metals too – must not be disposed of in the domestic refuse. Used batteries must be taken to an
old battery collection point at the dealer’s and disposed of
properly.
CE This product complies with the EC regulations »89/336/CEE,
73/23/CEE, 93/68/CEE«.
Technical data and design subject to change.
4
NOTES
___________________________________________________
Page 5

5
NOTES
___________________________________________________
Scope of delivery
– PC software StenoNet.mail and Steno.trans
– USB cable
– Batteries
– MultiMediaCard (1MB corresponds to about 10 minutes
recording capacity)
– Pouch
Accesssories
– Mains/charging unit 472 (Europe only, excluding the UK).
– Mains/charging unit 473 enclosed with adapter cables, for
Europe (including the UK), USA and Canada.
– Rechargeable battery 462 (rechargeable NiMh batteries, which
may be loaded in the dictation machine using charging unit
472 or 473).
– External microphone:
Commercially available microphones with Ø 3.5 mm mono
jack plug may be used. The built-in microphone is automatically
disconnected.
– External headphone:
any commercial mono or stereo earphone or headset (impe-
dance: min. 32 Ω) with Ø 3.5 mm jack plug can be used.
The built-in loudspeaker is automatically switched off.
The volume level at the headphone connector is limited to
85 dB (A) (with 32 Ω headphone).
The features indicated by Grundig apply only when using original
Grundig accessories.
Defects due to the use of accessories which are not original
Grundig accessoires or which do not comply with the legal regulations or the corresponding standards lead automatically to the
expiration of any guarantee rights.
ENGLISH
Page 6

6
MultiMediaCard or SecureDigital Card
We recommend commercially-available MultiMediaCard/
SecureDigital Card (MMC/SD) from various manufacturers
(SanDisk, Intel, Infineon, Panasonic SDCard etc.) with a memory
capacity of max. 32 MB.
Make absolutely sure that the electrical contacts at the bottom side
of the MultiMediaCard/SecureDigital Card are not exposed to
strong mechanical stress.
The cards are insensitive to dirt and moisture but must nevertheless
be introduced into the machine in dry and proper condition.
New MultiMediaCard/SecureDigital Card must be formatted before writing is possible. It is essential that the notes in the chapter
”MENU FUNCTIONS – Format memory” be observed.
Note:
Do not remove the cards during dictation or during data
transfer from PC or to PC. This can result in data loss.
NOTES
___________________________________________________
Page 7
7
THE CONTROL ELEMENTS
_______________________
Card slot
On/off button
Socket for external
microphone
Recording button
Safety lock
Button for new dictaton/
back (escape)
Microphone
Recording indicator
Display
Function buttons:
Lettering in bottom
display row
Up/down button
Menu/OK button
USB interface
PC
Start/Stop button
Rewind/previous dictation
Fast forward/next
dictation
ENGLISH
Page 8
8
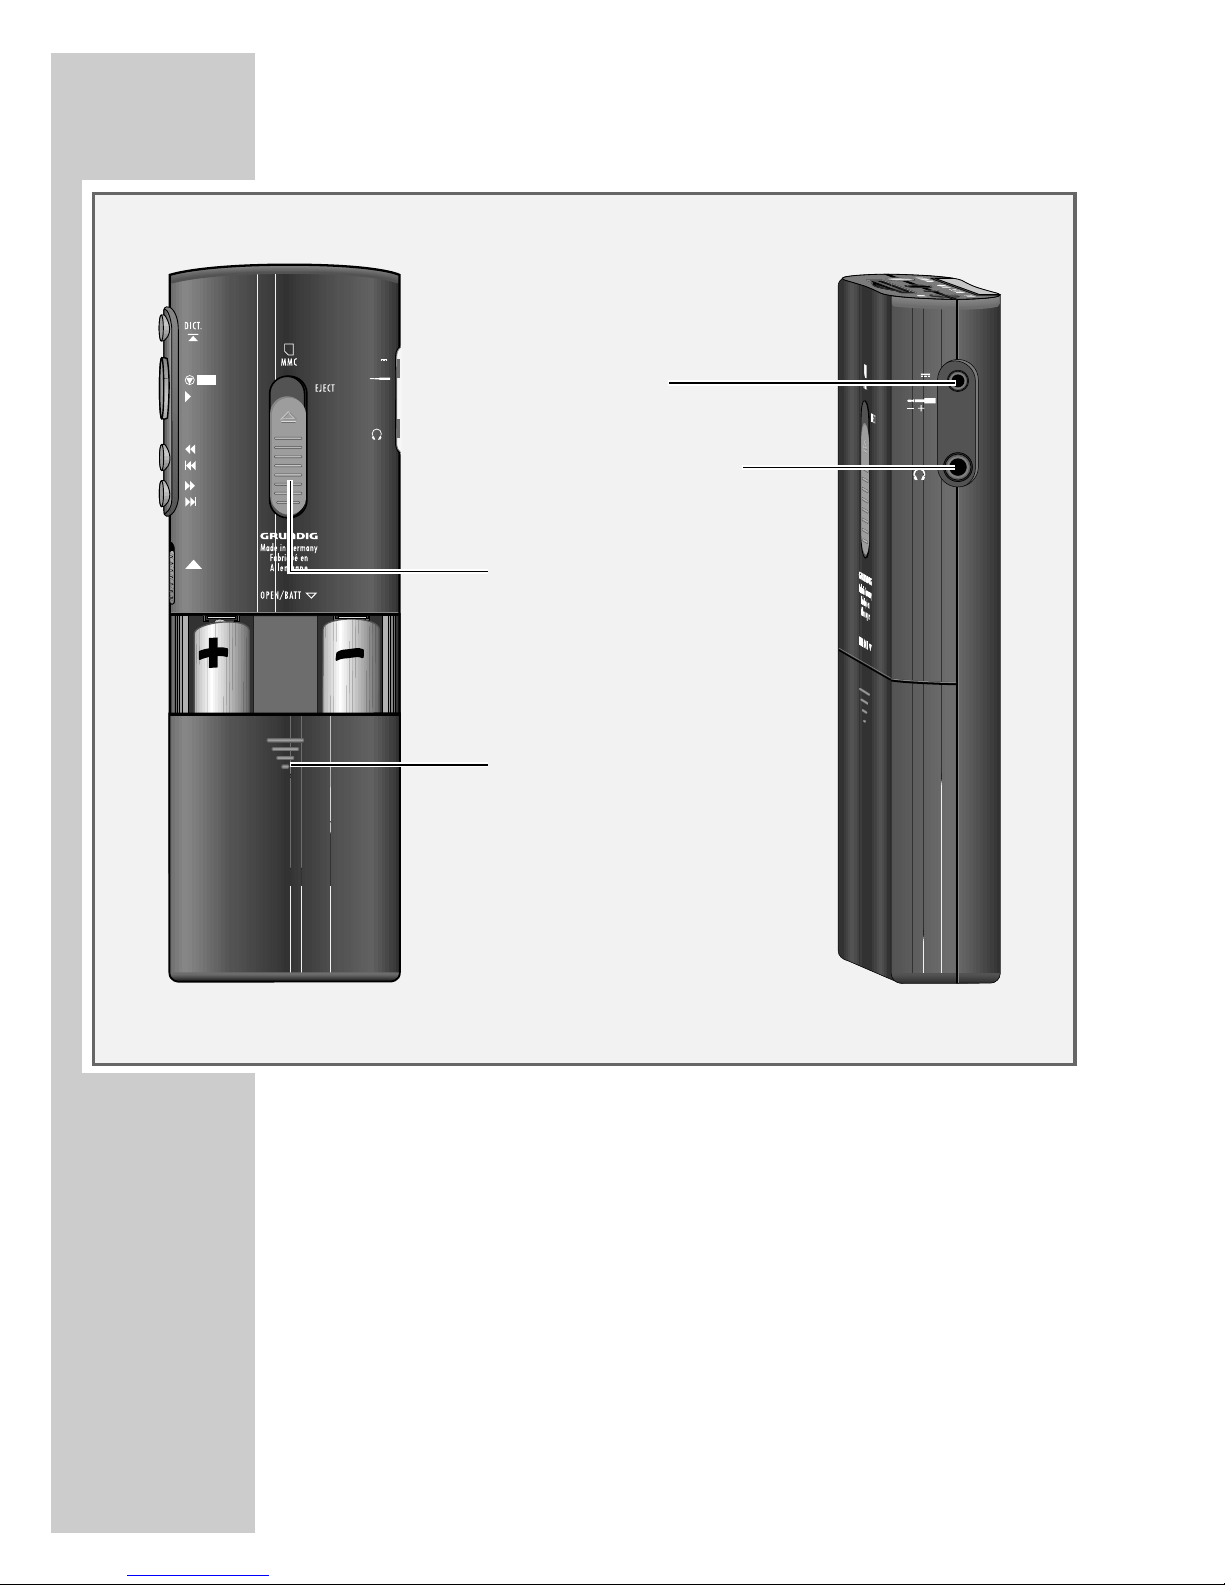
THE CONTROL ELEMENTS
_______________________
HOLD
STOP
START
F.FWD
PREV.
REW.
NEXT
0,35 A
3 V
+
–
EAR
EAR
3 V
0,35 A
Power supply
socket:
3 V –---
/ 0.35 A
Headphone socket:
imped. 32 Ω min
Card ejection
slide-switch
Battery
compartment cover
Page 9
9
THE DISPLAY
__________________________________________
Free memory
Dictation name
Current function
Button lettering
Symbol for the battery/rechargeable
battery charge state
Indication for voice
activation and microphone sensitivity
Dictation position,
total length
State
Free 0:37h
vac
DICTOO1 O:O6
Record
Stop
INS
NEW
ENGLISH
Page 10
10
PREPARATIONS
________________________________________
Battery operation
The dictation machine can be used for approximately 12
hours when the alkaline manganese batteries are fully
charged.
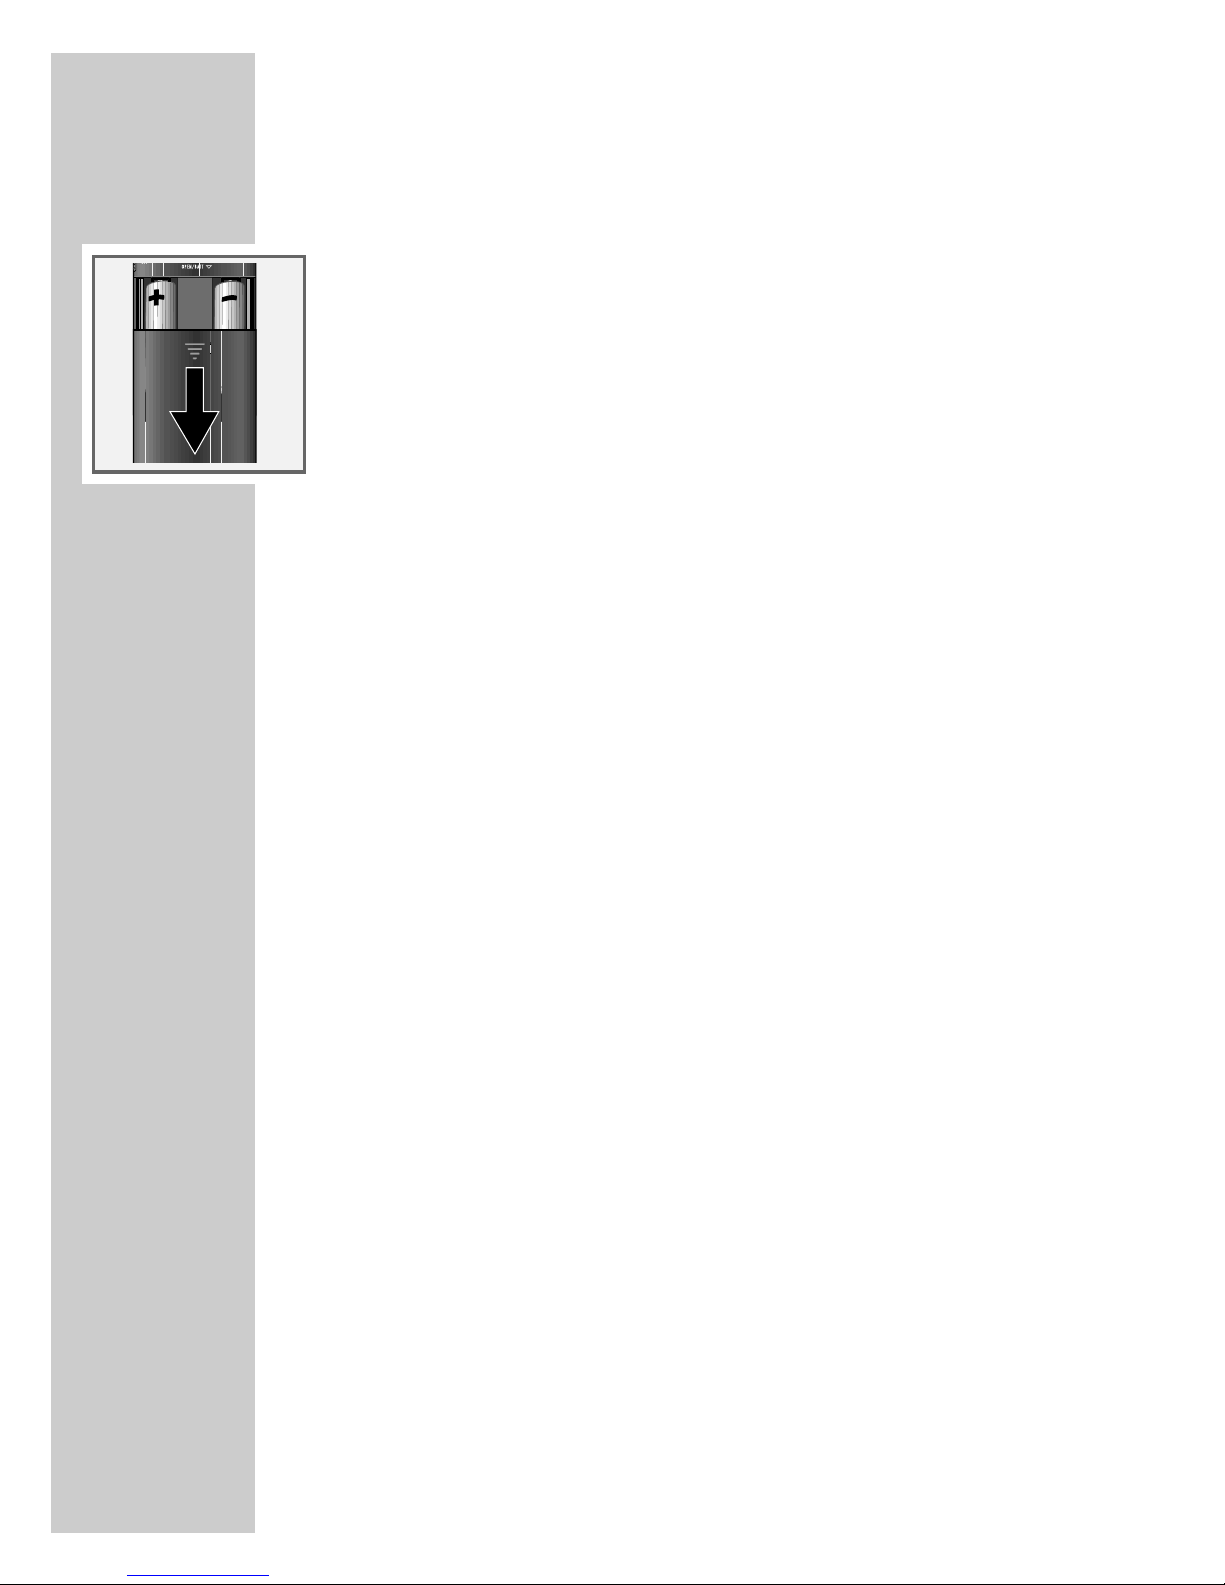
1 Open the battery compartment.
2 Insert batteries (Mignon types, e.g. R6, UM3 or AA,
2 x 1.5 V). Make certain the polarity is correct.
Note:
A signal will be omitted when batteries are weak (but not
during recording). The battery symbol flashes on the
upper right edge of the display. You will still be able to dictate for a few minutes until the dictation machine automatically switches off.
Mains operation
If the dictation machine has been switched on and is
connected to a charging unit, the unit will supply the dictation
machine with power. Inserted batteries or rechargeable
batteries will be neither used nor charged. The battery or
rechargeable battery symbol disappears.
Safety hints for power supply/charging units
472/473 (Accessories)
Before putting the machine into operation, please ensure that
the supply voltage corresponds to the input voltage specified
on the power unit. A temperature rise in the housing during
operation is normal and no cause for concern. During operation, the charging unit should have good ventilation and
should not be used in the vicinity of radiators or in direct sunlight.
Maintenance: Only a dry cloth should be used to wipe off the
unit. Do not use solvents.
Page 11
11
PREPARATIONS
________________________________________
Rechargeable battery operation
Operation using rechargeable batteries
To ensure smooth operation using rechargeable batteries, you
should always switch off the dictation machine once the
dictation is complete and reconnect it to the power supply so
that it can be recharged.
– Display for operation with rechargeable batteries» «.
Inserting rechargeable batteries
Only Grundig rechargeable batteries 462 may be charged
inside the dictation machine using power supply/charging
units 472/473.
1 Switch off the dictation machine.
2 Open the battery compartment.
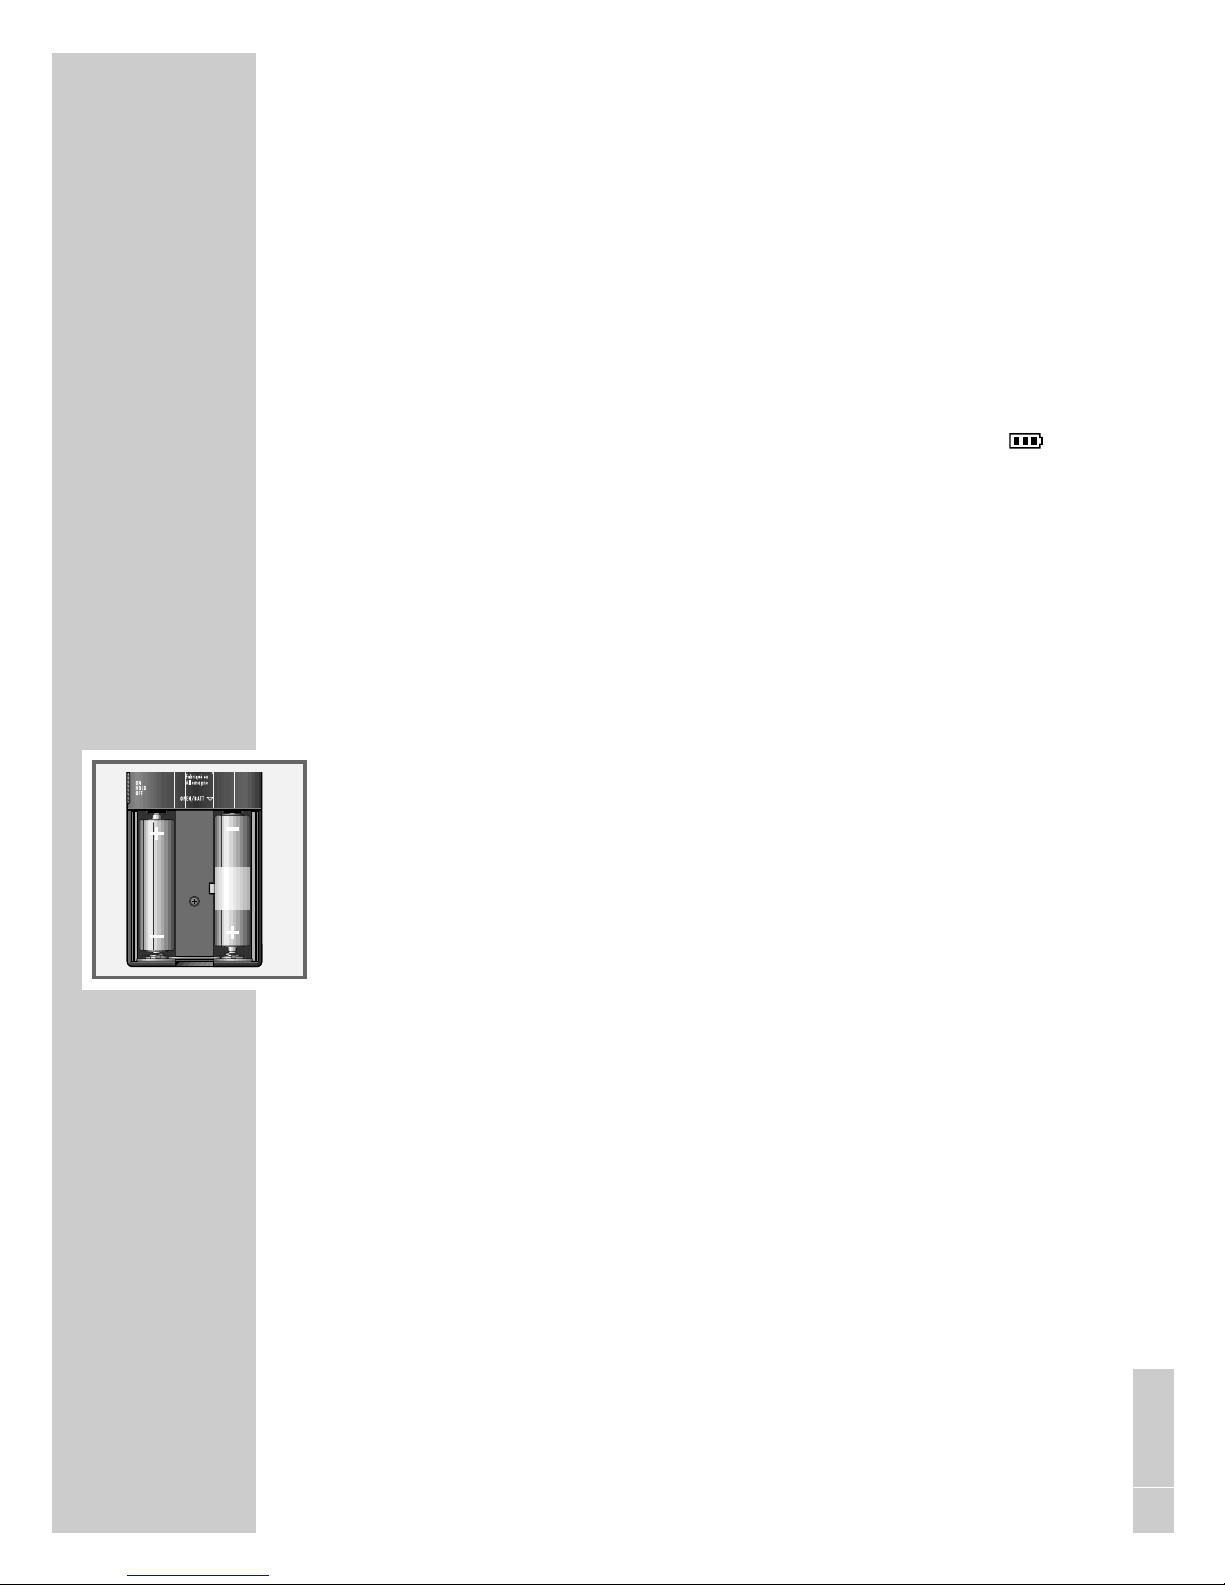
3 Insert the rechargeable batteries, making certain that
polarity and position are correct. Insert the rechargeable
battery with the removed sheathing into the compartment
with the lateral charging contact (see figure).
Warning:
Never place a standard battery together with a recharcheable battery in the battery compartment.
This can destroy the battery.
ENGLISH
Page 12
12
PREPARATIONS
________________________________________
Warning:
The dictating machine gives an optical and audible warning of weak rechargeable batteries. This is however only
the case when using Grundig 462 rechargeable batteries.
When using Grundig 462 rechargeable batteries there is
also the guarantee that if the batteries may become completely drained the current task will be stopped in good
time, and the dictation saved.
As a result of technical differences between Grundig
rechargeable batteries and some other makes, it is possible that part or all of the dictation could be lost if original
Grundig rechargeable batteries are not used.
Rechargeable batteries from other manufacturers are
identified by the dictation machine as non-rechargeable
batteries, and shown in the display by the » « symbol.
Charging the rechargeable battery
1 Switch off the dictation machine.
2 Plug the power supply into a wall outlet.
3 Plug the power supply cord into the »3V
–
---
0.35A« dictation machine socket.
– The charging indication will be displayed after a short
time.
– The empty rechargeable batteries will be recharged
after approximately 3 hours; the charging indication
then disappears.
4 Disconnect the power supply from the wall outlet and
remove the power supply cord from the »3V
–
---
0.35A«
socket.
Page 13

13
PREPARATIONS
________________________________________
Notes on Grundig rechargeable battery 462
New rechargeable batteries do not reach full capacity until
they have been recharged several times. For this reason the
operating time for new rechargeable batteries is a maximum
of 3 hours.
When these batteries are fully charged, you can use the
dication machine up to 7 hours.
The rechargeable batteries’ charge state is shown on the
dictation machine display.
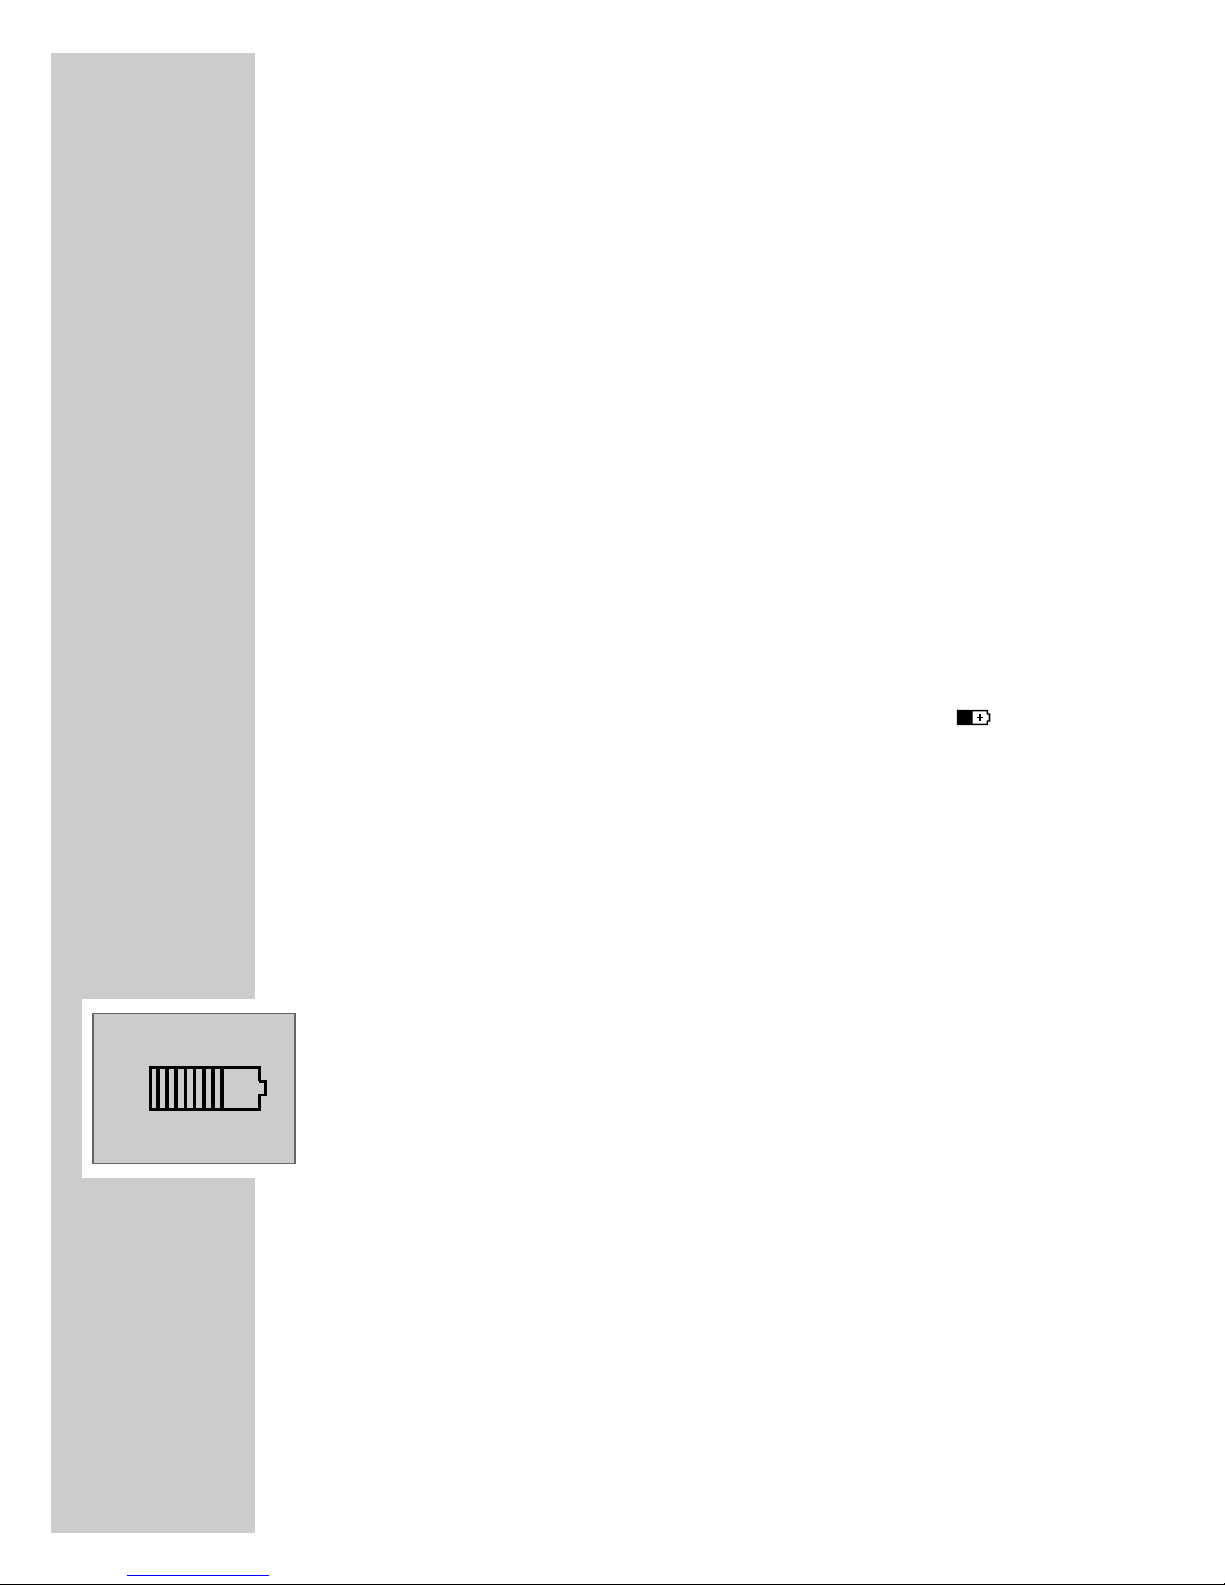
– » « Rechargeable batteries charged;
– » « After approx. 2 hours operating time;
– » « After approx. 4 hours operating time;
– » « After approx. 7 hours operating time.
If the rechargeable batteries were completely recharged, a
brief warning beep (rechargeable battery/battery warning)
will sound after 7 hours operating time. During recording
mode, operation will automatically switch over to play mode.
The » « rechargeable battery symbol will flash on the display. You will still be able to dictate for a few minutes before
the dictation machine automatically switches off. We recommend either starting the charging process after the warning
beep or to use the power supply to operate the dictation
machine.
The rechargeable batteries will not be charged if the dictation
machine has been switched on and connected to the power
supply. You are now using the dictation machine in mains
operation.
The dictation machine’s operating system is ”shut down”
(as for a PC) when it is switched off. Sufficient power must still
be available for this purpose. If, after the dictation machine
has automatically switched off, you switch it back on again
without plugging in the power supply or if the rechargeable
batteries have not been recharged, your saved dictations may
be permanently lost.
ENGLISH
Page 14
14
Fitting the MultiMediaCard
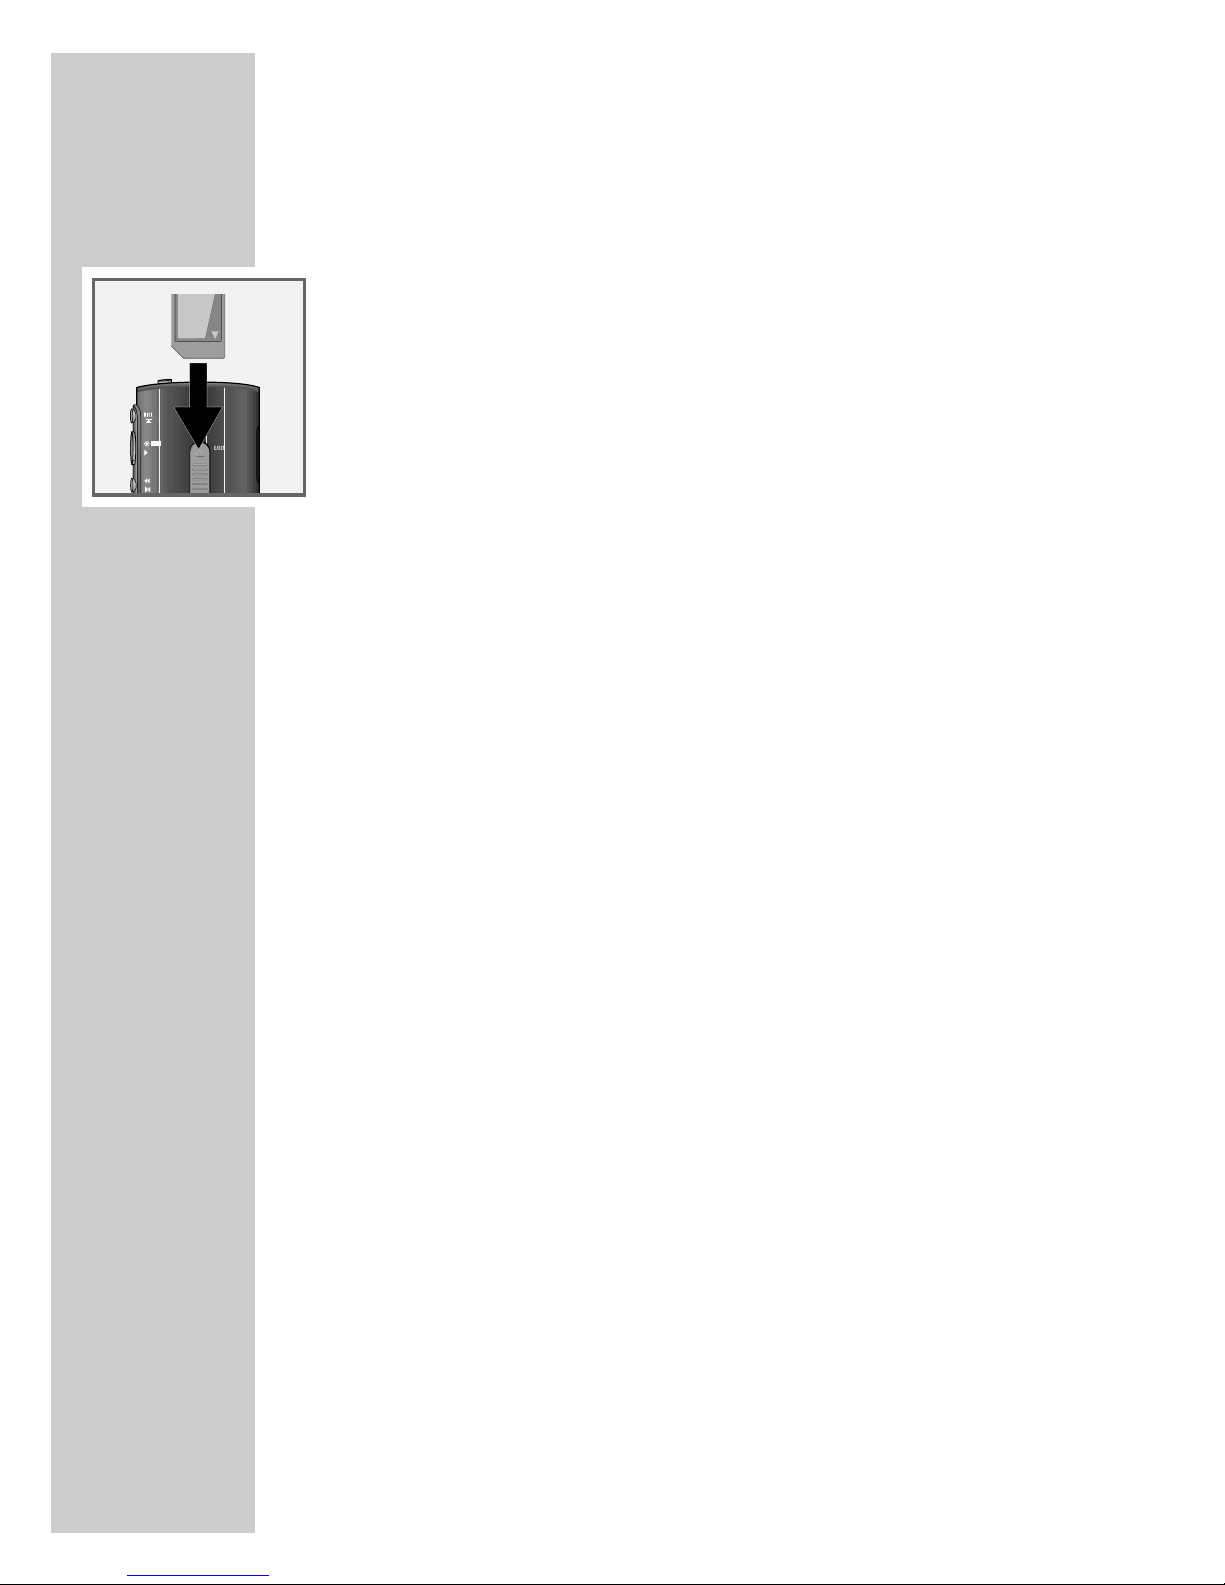
1 Insert the MultiMediaCard into the card compartment with
its skewed side pointing in the direction shown in the display and at the rear of the dication machine.
Note:
Do not apply force wihen inserting the card. A slight
pressure is sufficient.
You may use any commercial MultiMediaCards of any
capacity available.
Formatting the MultiMediaCard
MultiMediaCards – including those which have been preformatted – must first be formatted with the dictation machine
prior to writing.
If an error message appears after a non-formatted
MultiMediaCard is inserted, confirm with the »OK« button.
The »Format card?« and »Card formatted« are confirmed using the »OK« button as well.
The MultiMediaCard may not be formatted as a removable
disk with a PC formatting function.
New MultiMediaCards may only be formatted using the
”Format card” menu function. It is essential that the notes
in the chapter ”MENU FUNCTIONS – Format card” be
observed.
We recommend reformatting the MultiMediaCard on the
PC once it has been copied several times. The
MultiMediaCard is defragmented during formatting. Access
to succeeding dictations is then faster – especially when
MultiMediaCards are full.
PREPARATIONS
________________________________________
STOP
START
PREV.
REW.
Page 15
15
Switching on and off
Switching on the first time
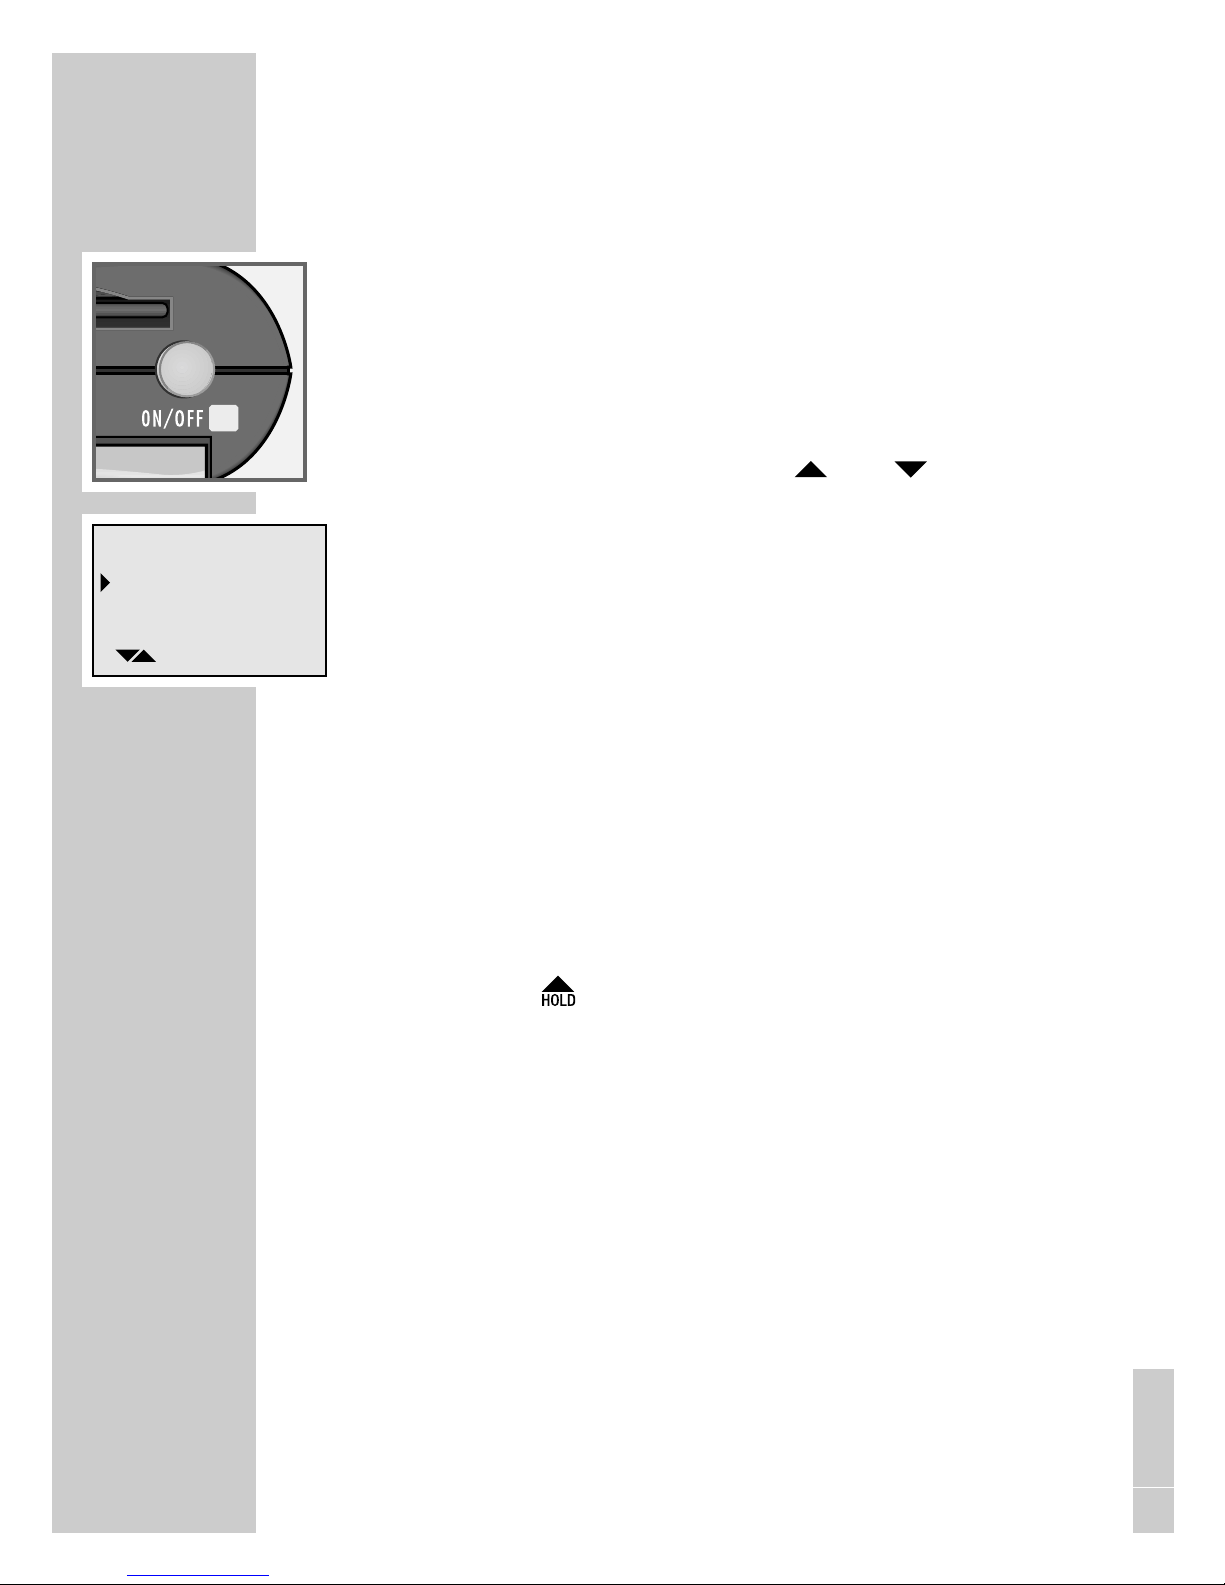
1 Press the »ON/OFF« button until the display is activated.
– The software is loaded.
2 Select the desired display language.
3 Use the up or down button » « » « to select the
desired language, e.g. »English«.
4 Press the »OK« button.
– The dictation machine is ready for use.
Subsequent switching on
1 Press the »ON/OFF« button until the display is activated.
Switching off
1 Briefly press the »ON/OFF« button.
Safety lock
1 Push the » « slide-switch up.
Note:
If the safety lock is activated, the message »Keys locked«
appears in the display. If the machine is switched on inadvertently (e.g. when carrying it in a pocket), it is switched
off automatically.
SWITCHING ON
____________________________________
Deutsch
English
Francais
OK
PC
ENGLISH
Page 16
16
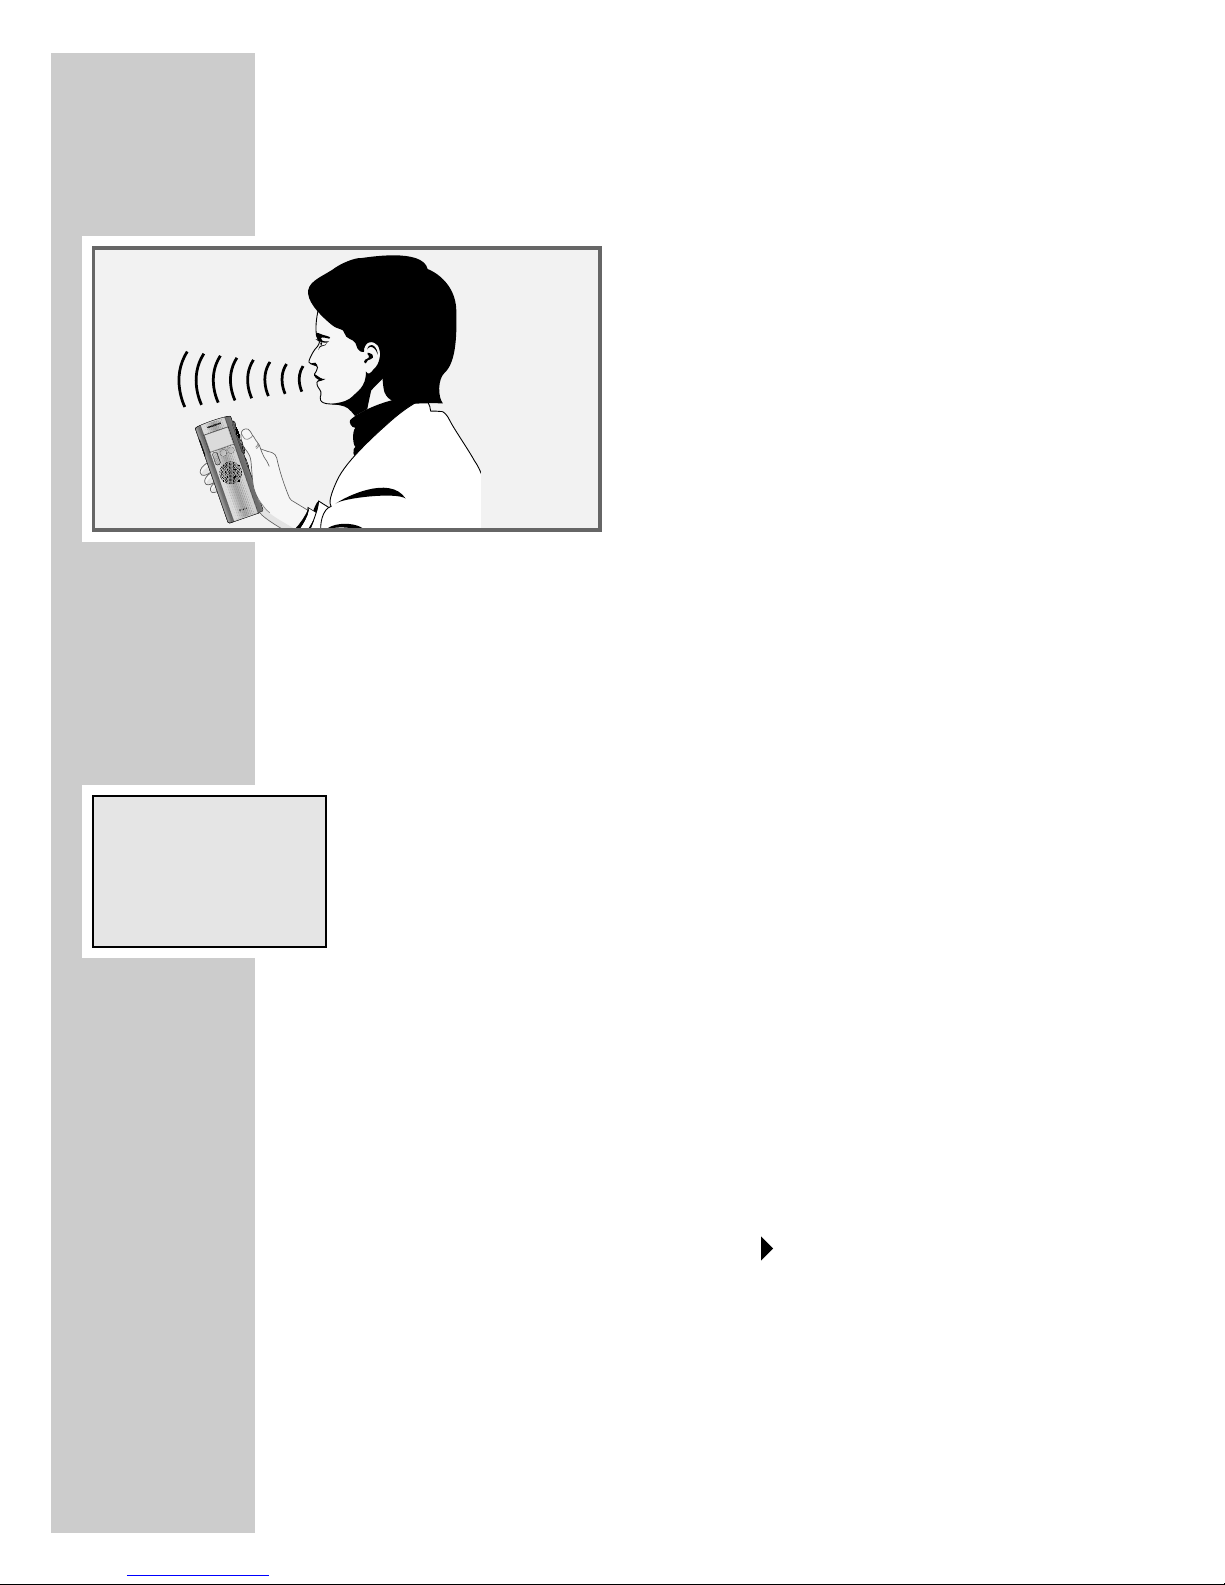
Dictation
Speak over the dictation machine.
– The figure shows the optimum position of the dictation machine.
The high-quality microphone allows also for recordings over
greater distances.
New dictation
1 Press the »NEW« button. A new dictation with the next
higher index number is created.
– The red recording indicator flashes.
– The message »Record Stop« (recording-pause)
appears in the display.
Note:
If »Typist«, »Dictation type«, »Group« or »No./Ref.«
have been activated in the menu, the respective selection
lists will then appear; see chapter ”MENU FUNCTIONS”.
Use the up/down button »ļ« »Ļ« to select the desired
entry and confirm with »OK«.
2 Press the Start/Stop button » START«.
– The red recording indicator lights.
– The message »Record Start« appears in the
display.
– The dictation machine records the dictation.
RECORDING
__________________________________________
3
0
1
0
Free 0:37h
no dictations
MENU NEW
Page 17
17
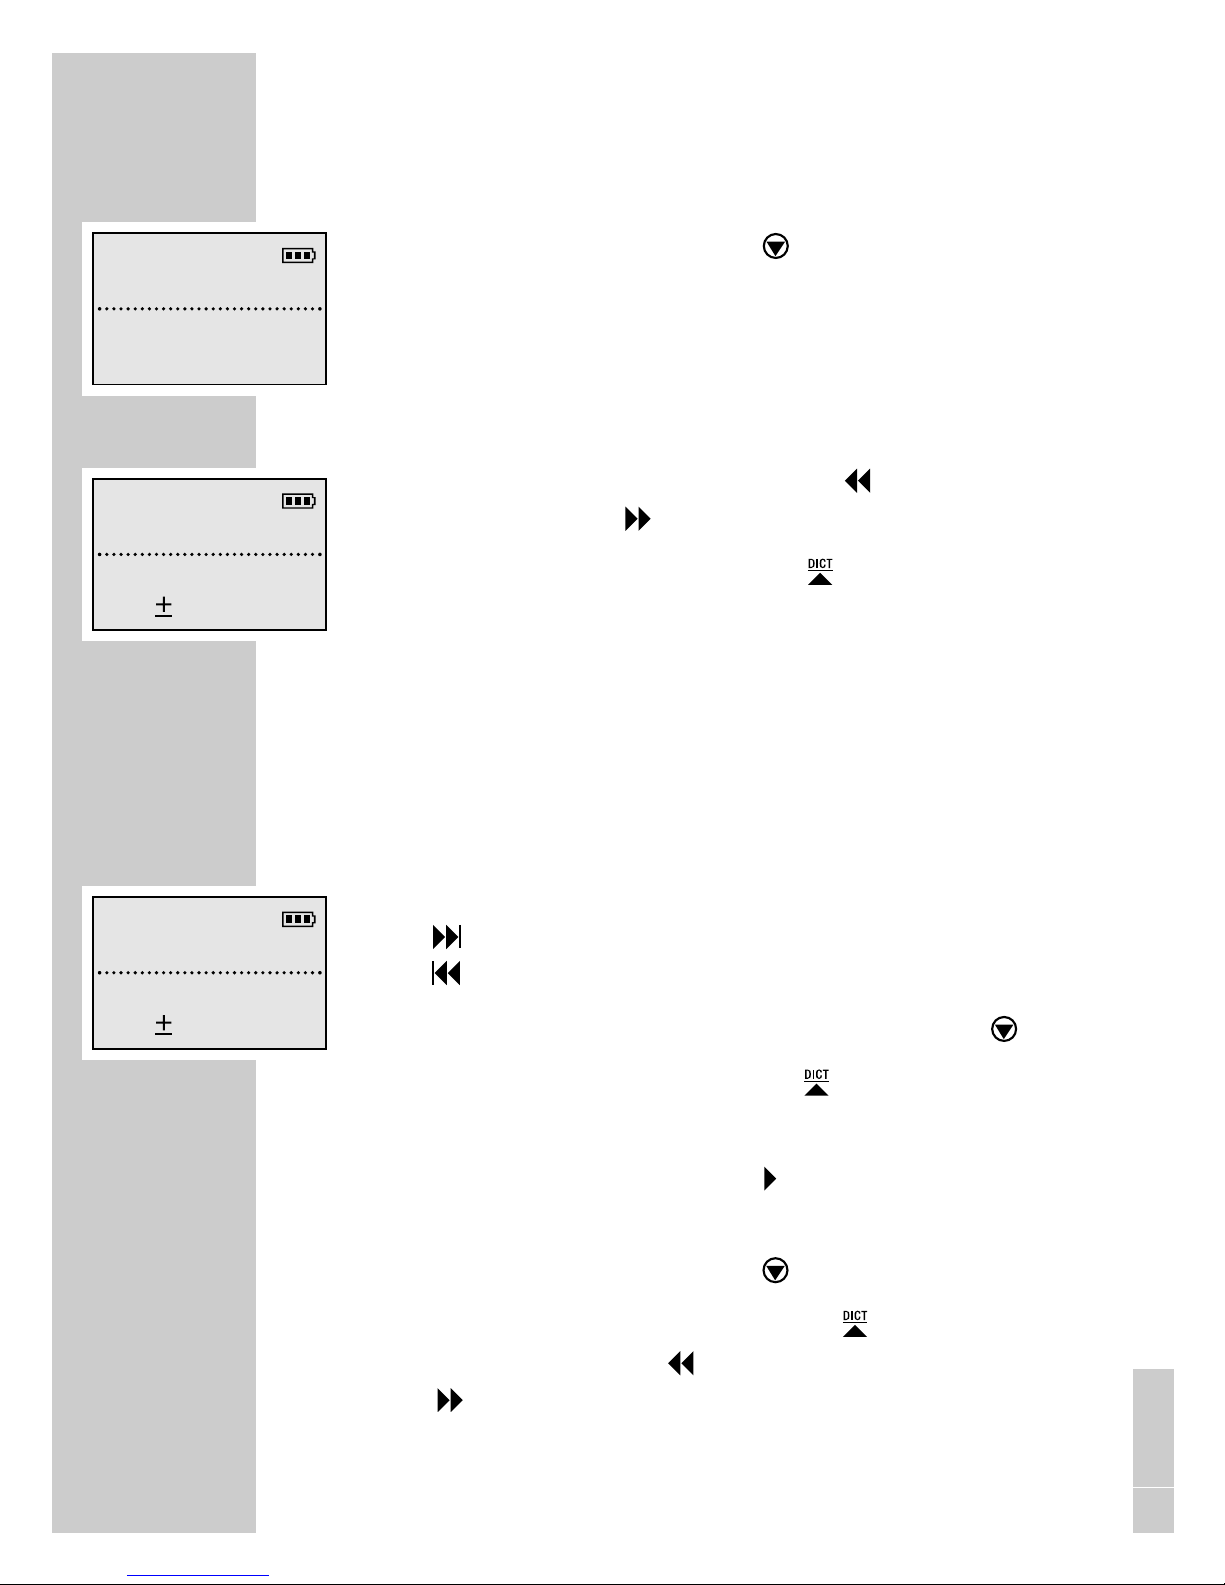
Recording-pause
1 Press the Start/Stop button » STOP«.
– The recording indicator flashes.
– The message »Record Stop« appears in the display.
Ending the recording
1 Briefly press the rewind button » REW.« or the fast
forward button » F.FWD« or
2 press the red recording button » «.
– »Stop« appears in the display.
Editing a dictation
You can interrupt play-back and record a new text at the current
dictation position, or add a recording to the end of the dictation.
Note the memory which is available; this is displayed as
»Free -:--h« (in hours and minutes).
1 Select the desired dictation by briefly pressing the
» NEXT« button for the next dictation, or the
» PREV.« button for the previous dictation.
2 During play-back, press the Start/Stop button » STOP«.
3 Press the red recording button » «.
– »Record Stop« appears in the display.
4 Press the Start/Stop button » START« and dictate.
– »Record Start« appears in the display.
5 Press the Start/Stop button » STOP«.
6 Press the red recording button » «, or briefly press
the rewind button » REW.« or the fast forward button
» F.FWD«.
– Recording is stopped.
RECORDING
__________________________________________
Free 0:37h
DICTOO1 O:17
vac
Record Stop
INS NEW
Free 0:37h
DICTOO1 O:17
vac
Stop
VOL MENU NEW
Free 0:37h
DICTOO1 O:17
vac
Stop
VOL MENU NEW
ENGLISH
Page 18
18
Note:
If the dictation machine has been switched off with the
»ON/OFF« button during the dictation, and then is
switched on again with the »ON/OFF« button, the
dictation will automatically be resumed from its end by
pressing the recording button » «.
Inserting a recording
You can interrupt play-back and insert a new recording at the
current dictation position.
1 During play-back, press the Start/Stop button » STOP«.
2 Press the red recording button » «.
– »Record Stop« appears in the display.
3 Press the »INS« button.
– »Insert Stop« appears in the display.
4 Press the Start/Stop button » START« and speak the text
to be inserted.
– »Insert Start« appears in the display.
5 Press the Start/Stop button » STOP«.
6 Press the red recording button » «, or briefly press the
rewind button » REW.« or the fast forward button
» F.FWD«.
– Recording is stopped.
RECORDING
__________________________________________
Free 0:37h
DICTOO1 O:14
vac
Insert Stop
NEW
Page 19
19
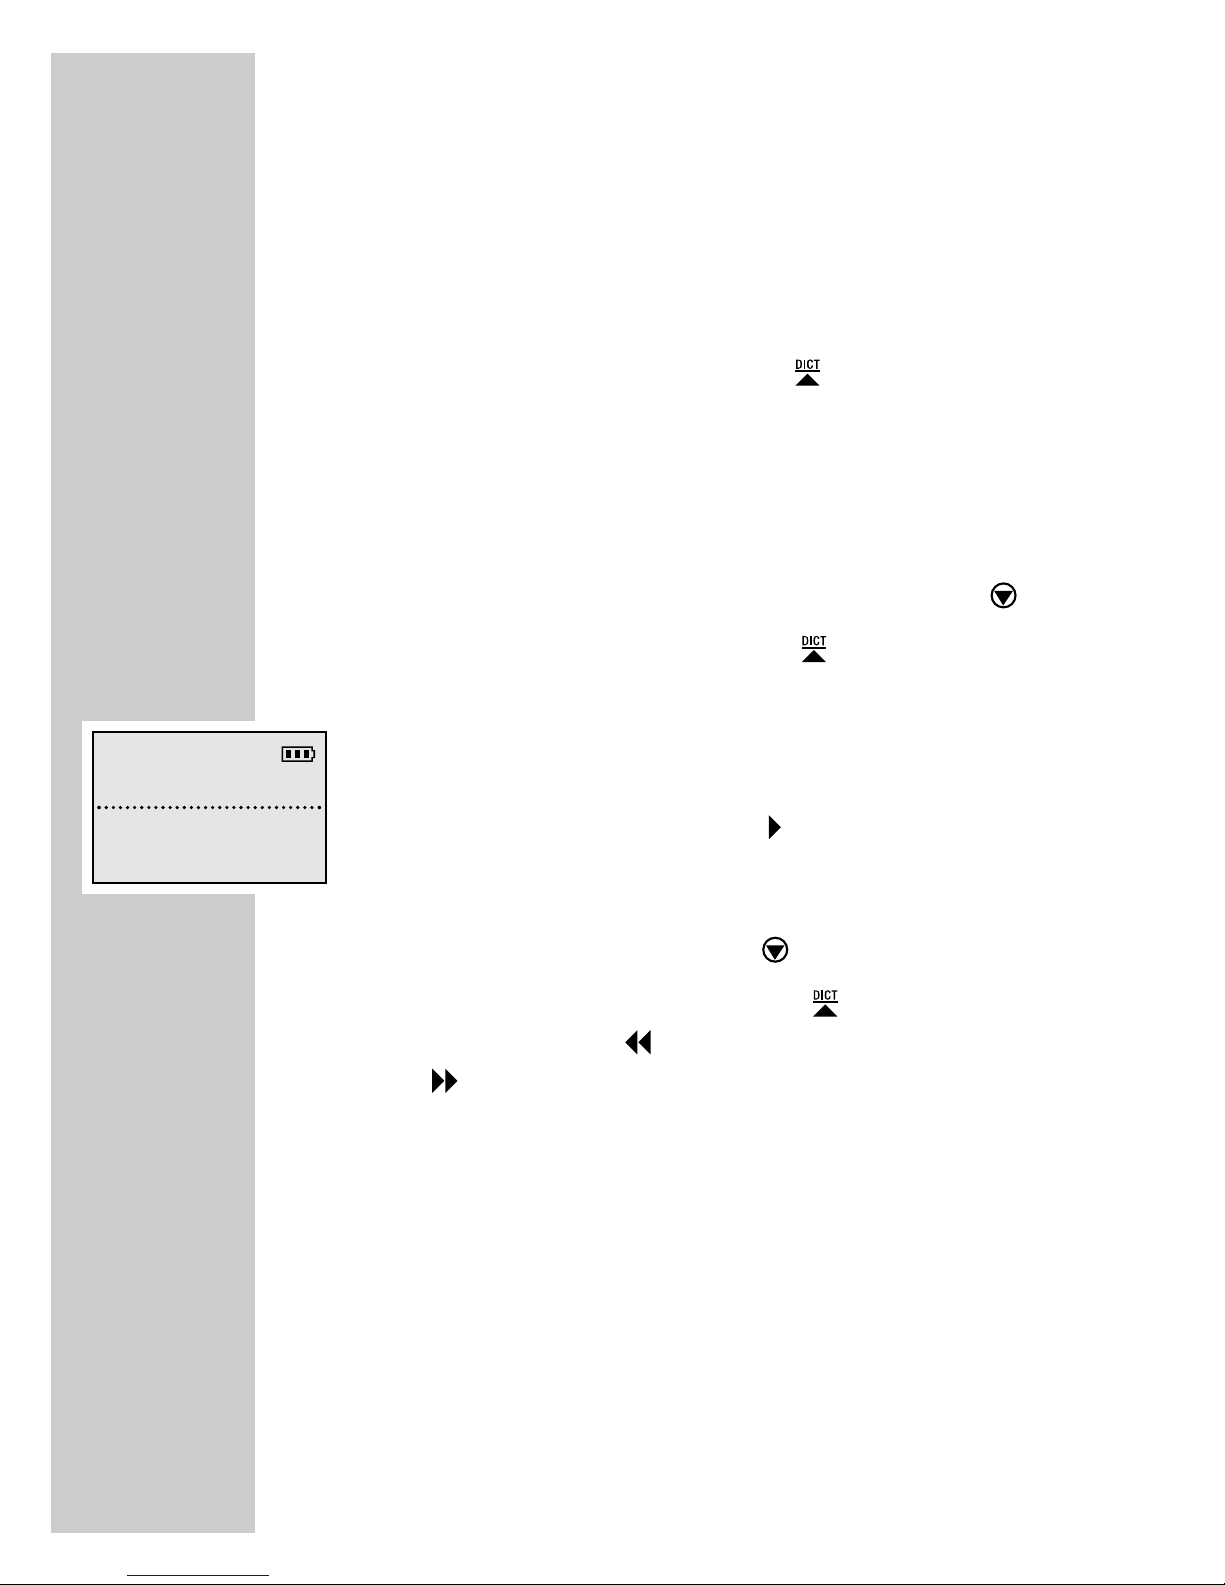
Selecting a dictation and playing back
1 Select the desired dictation by briefly pressing the
» NEXT« button for the next dictation, or the
» PREV.« button for the previous dictation.
2 Press the Start/Stop button » START«.
– »Start« appears in the display. The dictation is played
back from the beginning.
– At the end of the dictation, »End« appears in the
display.
Note:
If the dictation machine is switched off with the
»ON/OFF« button, you can resume play-back at the
current position after switching the machine on again with
the »ON/OFF« button.
Fast skip to the beginning or the end of the
dictation
1 Start play-back by pressing the Start/Stop button
» START«.
2 Briefly press the right function button to skip alternately to
the end or the beginning of the dictation.
Volume control
1 During play-back or in Stop mode, press the up/down
button »VOL «.
Fast play-back
1 Press the » 1.5 « button during play-back.
– The dictation will be played back with about 1.5 times
the normal speed.
2 To return to the normal play-back speed, press the
» 1.0 « button during fast play-back.
PLAYING BACK A DICTATION
________________
Free 0:37h
DICTOO1 O:26
vac
Stop
VOL MENU NEW
Free 0:37h
DICTOO1 O:26
vac
Start
VOL 1.5 END
ENGLISH
Page 20
20
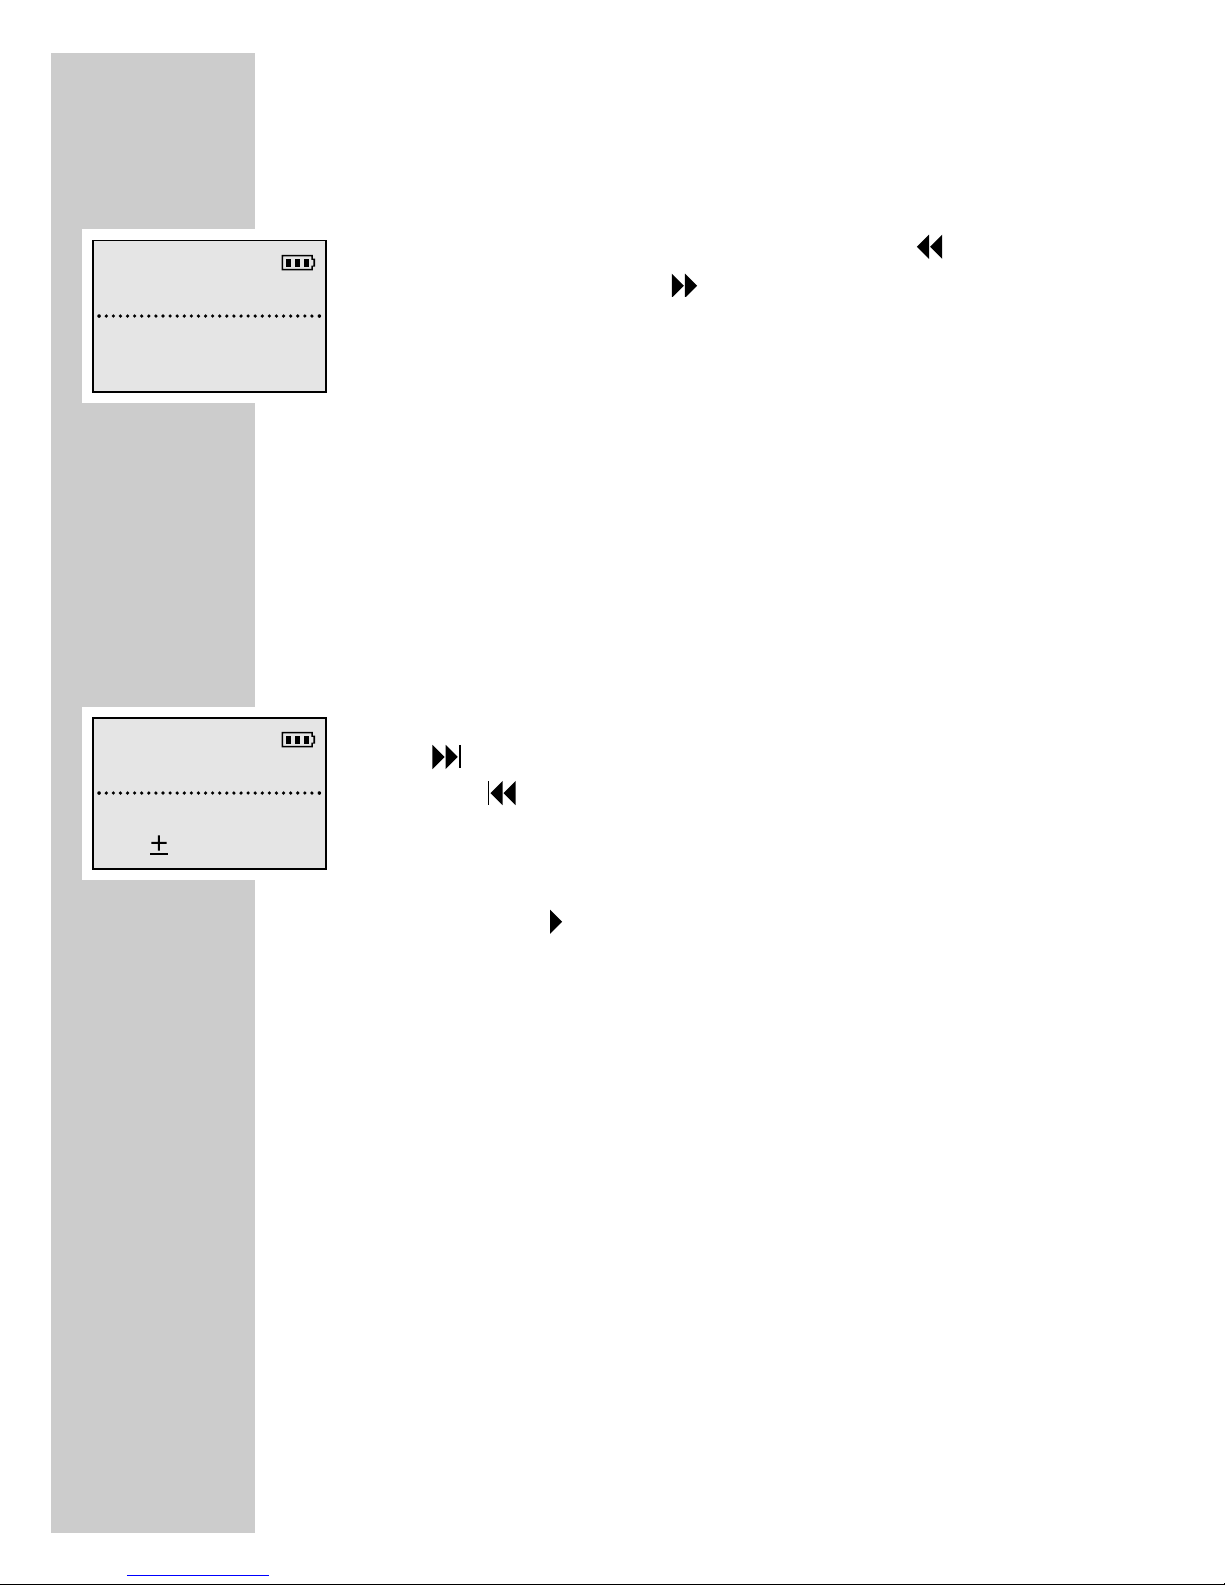
Deleting a dictation
1 Select the desired dictation by briefly pressing the
» NEXT« button for the next dictation, or the
» PREV.« button for the previous dictation.
2 Press the »MENU« button.
– The first menu function »Delete« appears in the display.
– Use the » « button to select “Delete”.
3 Press the »OK« button.
– »Delete DICT002?« appears, for example, in the
display.
4 Press the »OK« button.
5 Press the »ESC« button if you do not wish to delete the
dictation.
Note:
If you wish to delete several dictations, connect the
dictation machine to your PC then use the Steno.trans or
StenoNet.mail programme to delete the dictations. After
deleting all dictations, the administration data remains on
the MultiMediaCard. Not the entire memory space on the
card then is available again for recording new dictations.
PLAYING BACK A DICTATION
________________
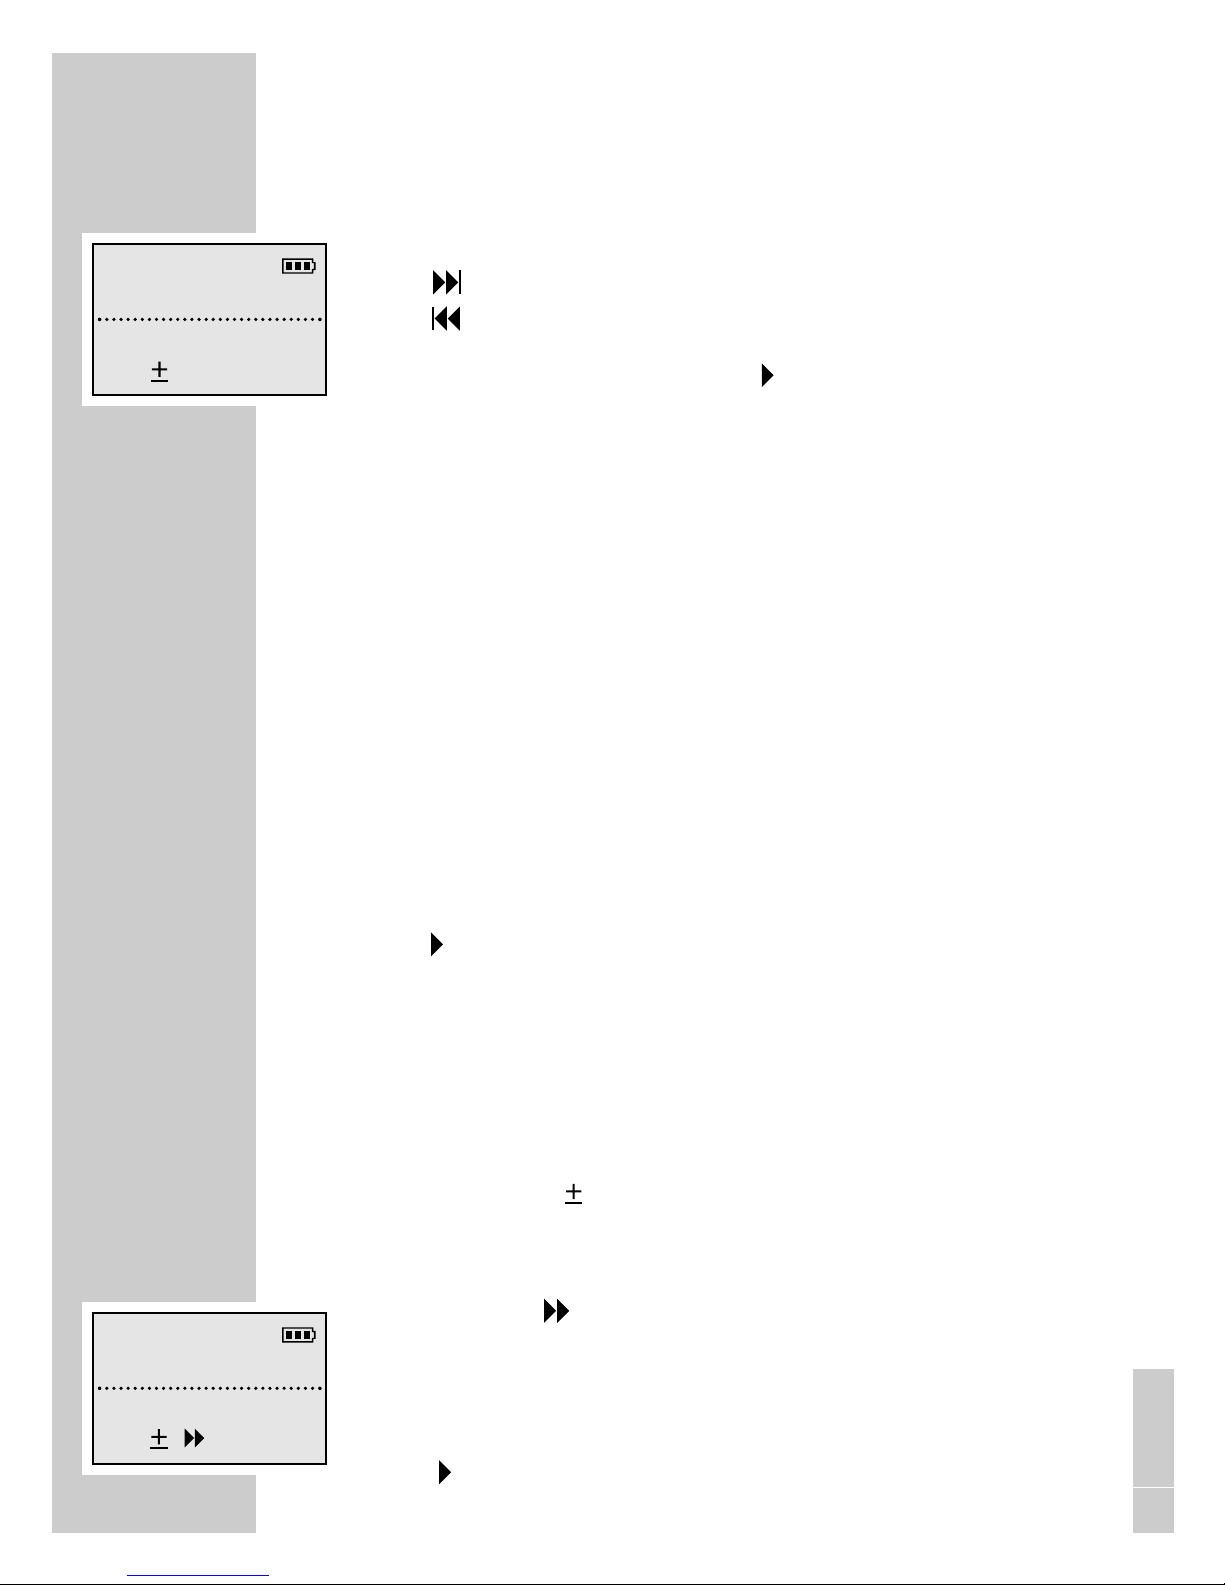
Fast forward and rewind
1 Press and hold down the rewind button » REW.« or the
fast forward button » F.FWD«.
– »F.Fwd« appears in the display for fast forward,
»Rew« appears for rewind.
Free 0:37h
DICTOO1 O:26
vac
F.Fwd
Free 0:37h
DICTOO1 O:26
vac
Stop
VOL MENU NEW
DELETING DICTATIONS
___________________________
Page 21
21
DELETING DICTATIONS
___________________________
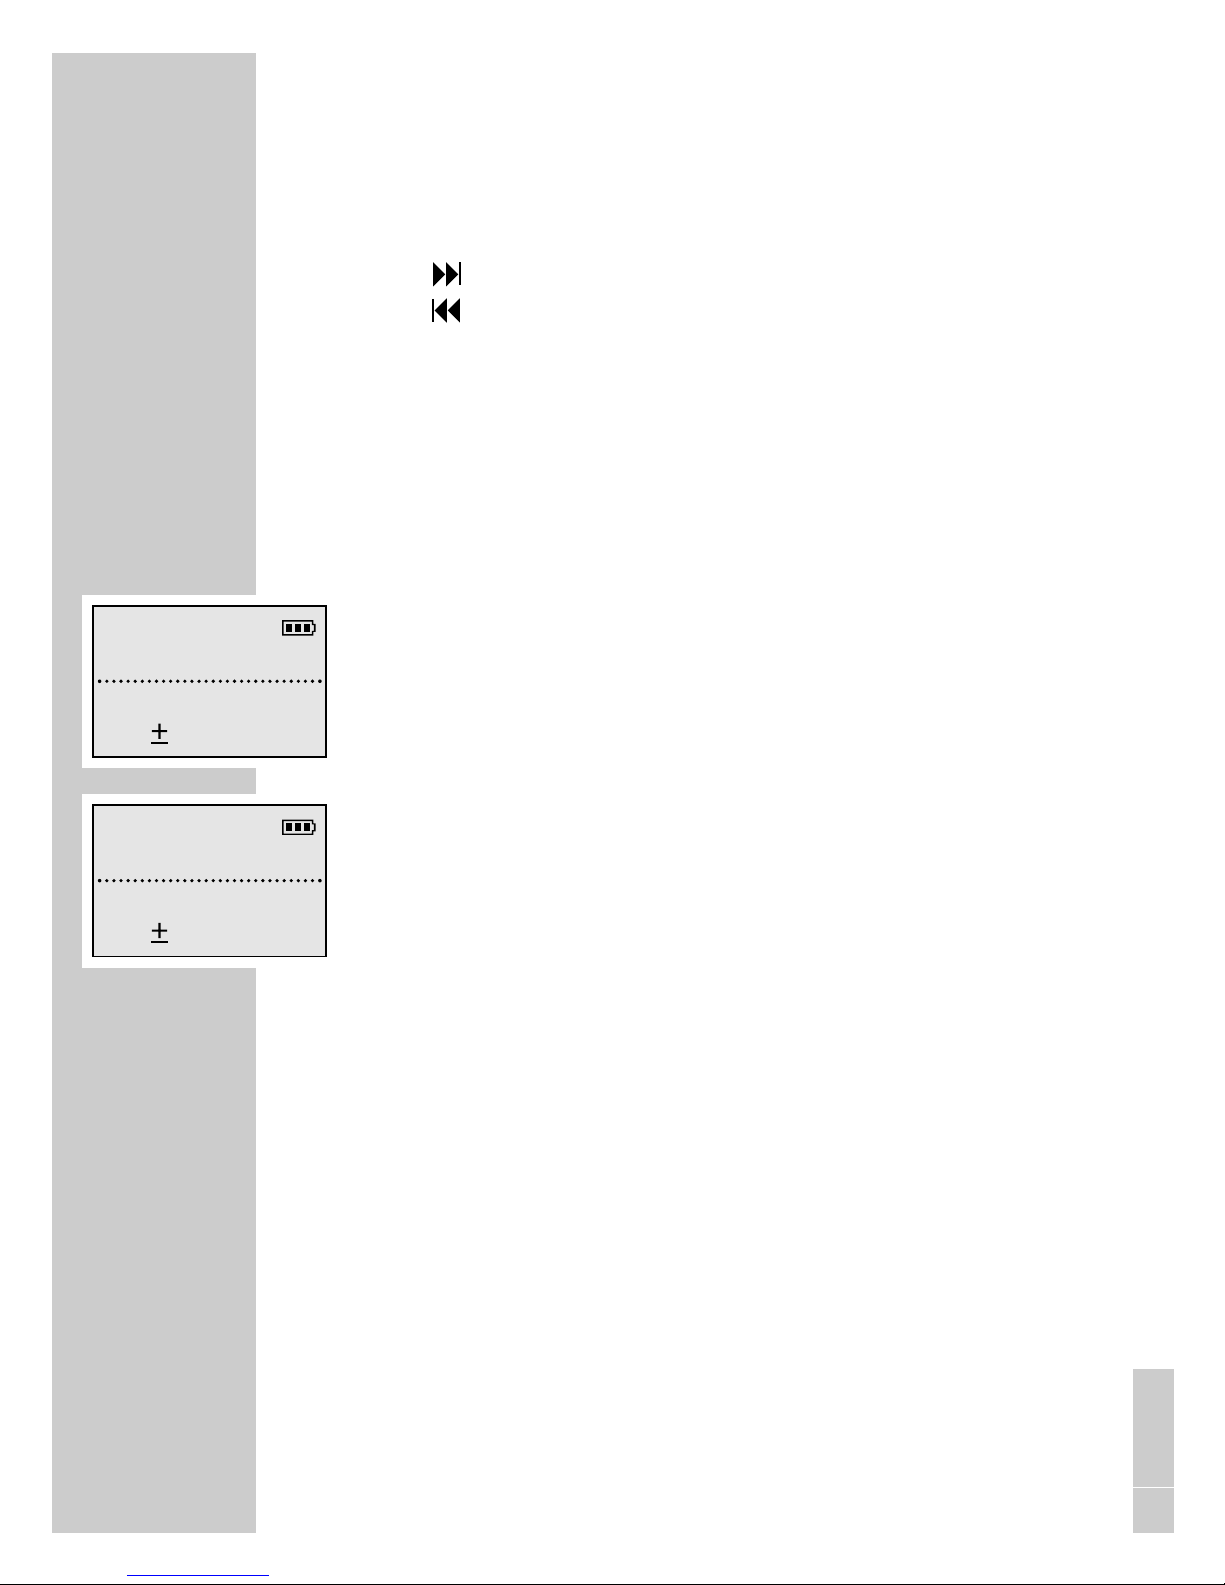
Deleting a part of a dictation
1 Select the desired dictation by briefly pressing the
» NEXT« button for the next dictation, or the
» PREV.« button for the previous dictation.
2 Press the »MENU« button.
– »Delete« appears at the top of the menu in the display.
3 Press the »OK« button.
4 Press the »PART« button.
5 Search the beginning of the passage to be deleted using
the play-back functions.
6 Press the »MARK1» button.
7 Search the end of the passage to be deleted using the
play-back functions.
8 Press the »MARK2« button.
9 Press the »DELETE« button.
– »Delete [-]?« appears in the display.
10 Press the »OK« button.
Free 0:37h
DICTOO1 O:14
vac
Stop
VOL MARK1 ESC
Free 0:37h
DICTOO1 O:14
vac
Stop
VOL MARK2 ESC
ENGLISH
Page 22
22
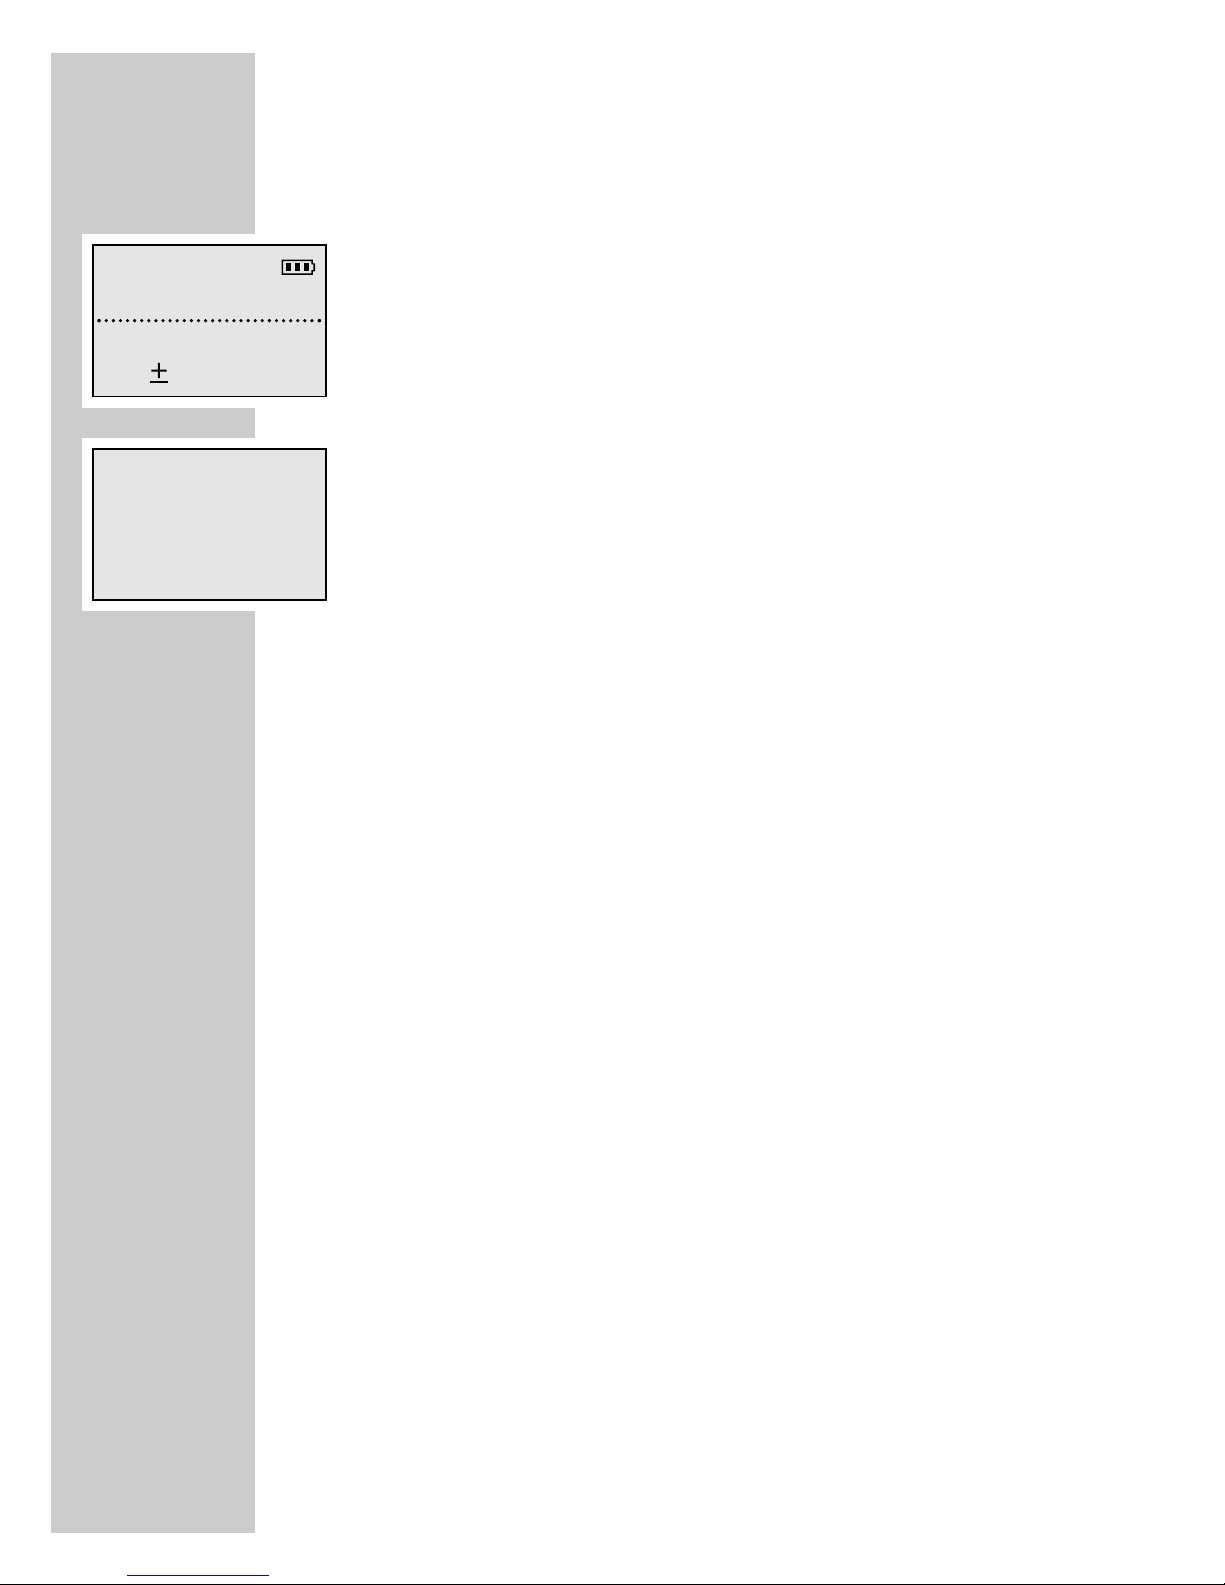
Menu options
Press the »MENU« button.
You can carry out the following functions:
– Delete Described in the chapter »DELETING
DICTATIONS«.
– Typist Selection of transcriber for new
dictations.
– Dictation type Selection of format: Fax, letter,
report.
– Group Selection of a specific group or
department.
– No./Ref File number or patient number entry
for new dictations
– Voice activ. Automatic interruption of the recor-
ding in the event of speaking pauses
(Voice Activation).
– Mic. sensitivity Adjustment of the microphone
sensitivity.
– PC microphone Dictation machine connected as
microphone (without recording) to a
PC sound card. This function is used
for enrolment and direct dictation
using a voice recognition system.
– Power off Automatic or manual switching off
after several minutes.
– Dictation counter Reset dictation counter to zero.
– Version Indication of the machine’s software
version.
– Reset all The factory setting is recovered and
the MultiMediaCard is formatted.
– Format card The MultiMediaCard is formatted.
– Language Select a display language.
MENU FUNCTIONS
________________________________
Free 0:37h
DICTOO1 O:03
vac
Stop
VOL MENU NEW
Ł Delete
Typist
Dictation type
Ļļ OK ESC
Page 23
23
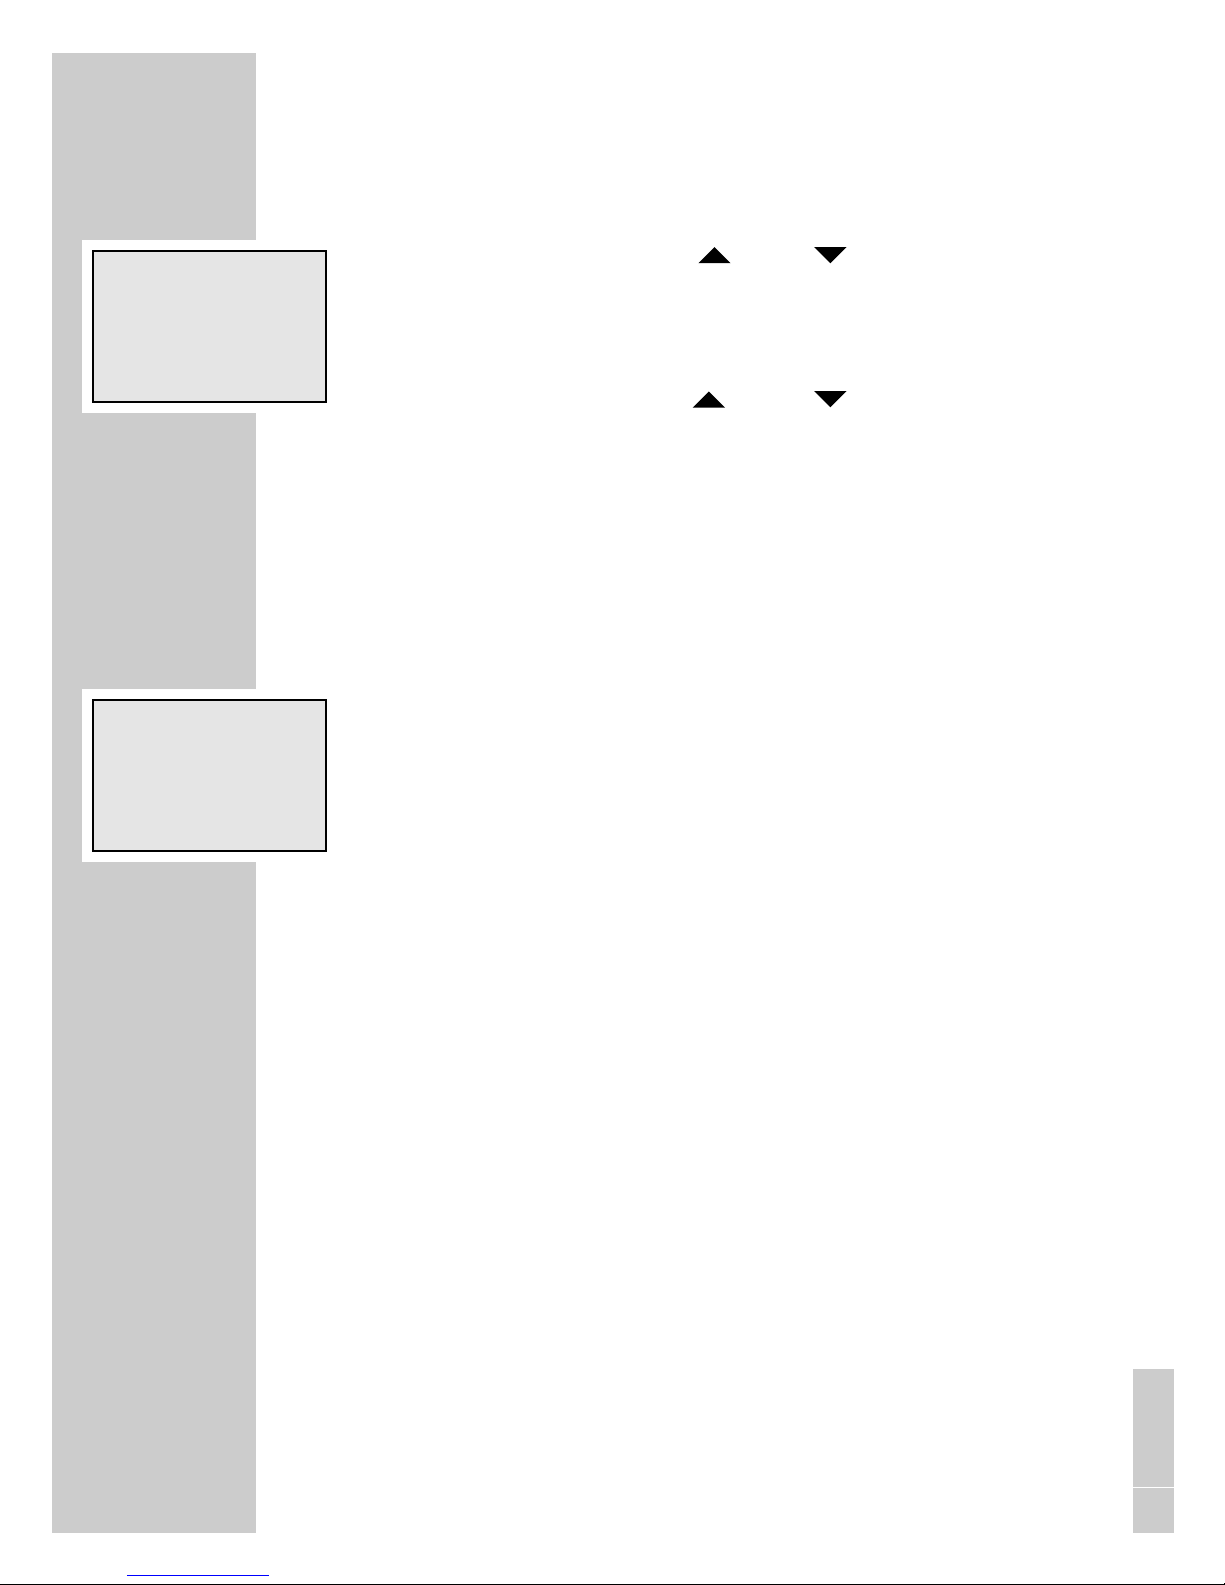
Navigating in the menu
Use the up/down button » « or » « to mark the desired
menu item.
Press the »OK« button to activate the selected menu item.
The current setting is highlighted by a dark background.
Use the up/down button » « or » « to select the setting.
Press the »OK« button to confirm the setting.
Press the »ESC« button to abort the function without changes.
Typist
»Typist« is used to select the transcriber who will
receive your dictation. You may select from three ”transcribers”.
1 Use the up or down button »ļ« »Ļ« to select the
»Typist« menu item.
2 Press the »OK« button.
3 Use the up or down button »ļ« »Ļ« to select »TR on«,
»TR off« or »TR auto«.
– If »TR on« is chosen, a selection will be offered for each
new dictation;
– »TR auto« means that each new dictation will be assig-
ned to the same transcriber.
4 Press the »OK« button.
Notes:
If you have a new dictation, or if you have selected the
»TR auto« function, use the up or down button »ļ« »Ļ«
to select your transcriber from the list.
Press the »OK« button.
You may create individual preallocations for the list using
StenoNet.mail or Steno.trans PC software.
MENU FUNCTIONS
________________________________
Ł Delete
Typist
Dictation type
Ļļ OK ESC
Delete
Ł Typist
Dictation type
Ļļ OK ESC
ENGLISH
Page 24
24
Dictation type
»Dictation type« is used to select the format to be used for
the dictation: fax, letter, or report.
1 Use the up or down button »ļ« »Ļ« to select the
»Dictation type« menu item.
2 Press the »OK« button.
3 Use the up or down button »ļ« »Ļ« to select »DT on«,
»DT off« or »DT auto«.
– If »DT on« is chosen, a selection of formats will be offe-
red for each new dictation;
– »DT auto« means that each new dictation will be of the
same type.
4 Press the »OK« button.
Notes:
If you have a new dictation, or if you have selected the
»DT auto« function, use the up or down button »ļ« »Ļ«
to select your dictation type from the list.
Press the »OK« button.
You may create individual preallocations for the list using
StenoNet.mail or Steno.trans PC software.
MENU FUNCTIONS
________________________________
Delete
Typist
Ł Dictation type
Ļļ OK ESC
Page 25
25
Group
The »Group« function is used to assign your dictation to a
specific group or department.
1 Use the up or down button »ļ« »Ļ« to select the
»Group« menu item.
2 Press the »OK« button.
3 Use the up or down button »ļ« »Ļ« to select »GR on«,
»GR off« or »GR auto«.
– If »GR on« is chosen, a group may be selected for each
new dictation;
– »GR auto« means that each new dictation has the same
group.
4 Press the »OK« button.
Notes:
If you have a new dictation, or if you have selected the
»GR auto« function, use the up or down button »ļ« »Ļ«
to select your group from the list.
Press the »OK« button.
You may create individual preallocations for the list using
StenoNet.mail or Steno.trans PC software.
MENU FUNCTIONS
________________________________
Typist
Dictation type
Ł Group
Ļļ OK ESC
ENGLISH
Page 26
26
No./Ref.
The »No./Ref.« function is used to enter up to 16 characters
for the dictation; examples include file or patient numbers.
1 Use the up or down button »ļ« »Ļ« to select the
»No./Ref.« menu item.
2 Press the »OK« button.
3 Use the up or down button »ļ« »Ļ« to select »NR on«,
»NR off« or »NR auto«.
– If »NR on« is chosen, reference characters may be ente-
red for each new dictation;
– »NR auto« means that each new dictation has the same
number or reference.
4 Press the »OK« button.
5 If you have a new dictation, or if you have selected the
»NR auto« function, use the up or down button »ļ«
»Ļ« to select your number/reference from the list.
6 Confirm the entry by pressing the »OK« button.
7 Repeat the entry for other letters.
Notes:
Digits and special characters are located in the second
level of the character set; select the character »
↓↓
« using the
up or down button »ļ« »Ļ« and then confirm with
»OK«.
To return to the first level of the character set, select the
character »↑↑« using the up or down button »ļ« »Ļ« and
confirm with »OK«.
If a letter is to be deleted, select the character »↵↵« using the
up and down button »ļ« »Ļ« and confirm with »OK«.
8 Confirm the input by pressing the »END« button.
MENU FUNCTIONS
________________________________
Dictation type
Group
Ł No./Ref.
Ļļ OK ESC
↵↵
ABCDEFGHIJKLMN
OPQRSTUVWXYZ
↓↓
_
ĵŁ OK END
Page 27
27
Voice Activation
If the »Voice activ.« function is activated, recording is interrupted when making pauses when speaking. Recording will
be resumed when speaking again.
1 Use the up or down button » « » « to select the
menu item »Voice activ.«.
2 Press the »OK« button.
3 Use the up or down button » « » « to select
»VA off« or »VA on«.
4 Press the »OK« button.
Microphone sensitivity
If the »Mic. sensitivity« function is switched to conference,
the microphone will record already at low voice levels, e.g.
when it is placed on the conference table.
1 Use the up or down button » « » « to select the
menu item »Mic. sensitivity«.
2 Press the »OK« button.
3 Use the up or down button » « » « to select
»Dictation« or »Conference«.
4 Press the »OK« button.
MENU FUNCTIONS
________________________________
Group
No./Ref.
Ł Voice activ.
Ļļ OK ESC
No./Ref.
Voice activ.
Ł Mic. sensitivity
Ļļ OK ESC
ENGLISH
Page 28
28
PC microphone
With the help of the »PC microphone« you can you can
carry out a dictation training (enrolment) or make direct dictations using a voice recognition system. You use the dictation
machine as microphone by connecting the headphones socket
of the machine with the microphone input of the PC’s sound
card using a cable fitted with two 3.5 mm mono jack plugs.
1 Use the up or down button » « » « to select the
menu item »PC microphone«.
2 Press the »OK« button.
– »Activate PC microphone?« appears in the display.
3 Press the »OK« button.
– »PC microphone mode« appears in the display.
4 Use the »VOL
+
_
« button to adjust the recording level.
5 To start dictating, press the Start/Stop button » START«
on the dictation machine.
6 Press the Start/Stop button » STOP« again to interrupt
the connection with the PC sound card. In doing so, you
prevent the voice recognition system from recording
disturbing noise.
7 Press the »ESC« button to end the function.
MENU FUNCTIONS
________________________________
Voice activ.
Mic. sensitivity
Ł PC microphone
Ļļ OK ESC
Page 29
29
Power off
Using the »Power off« function, you can determine whether
the machine switches off automatically after a few minutes, or
must be switched off manually.
1 Use the up or down button » « » « to select the
menu item »Power off«.
2 Press the »OK« button.
3 Use the up or down button »ļ« »Ļ« to select
»manual«, »after 10 minutes« or »after 30 minutes«.
4 Press the »OK« button.
Dictation counter
Using the »Dictation counter« function, you can reset the
dictation counter. The dictation counter is able to count till
999. You should not reset the counter too often to avoid
conflicts with dictations having the same name and being
stored on the the PC.
1 Use the up or down button » « » « to select the
menu item »Dictation counter«.
2 Press the »OK« button.
– »Reset dictate count?« appears in the display.
3 Press the »OK« button.
– The next new dictation then has the lowest free number
(e.g.: DICT 005)
MENU FUNCTIONS
________________________________
Mic. sensitivity
PC microphone
Ł Power off
Ļļ OK ESC
PC microphone
Power off
Ł Dictation counter
Ļļ OK ESC
ENGLISH
Page 30
30
Version
Using the »Version« function, you can display the version of
the machine’s software.
1 Use the up or down button » « » « to select the
menu item »Version«.
2 Press the »OK« button.
– The display indicates, for example,
»SW-Version 1.00« – machine’s software.
»# 58144 009033« – abbreviated serial number,
the complete number is to be found on the type plate in
the battery compartment.
»PCB# 00009541« – number of the machine’s
printed circuit board.
3 Press the »ESC« button.
Note
For information on new software versions, call up the
»Configuration
=
>
Update server« function in either
Steno.trans or StenoNet.mail.
MENU FUNCTIONS
________________________________
Power off
Dictation counter
Ł Version
Ļļ OK ESC
Page 31
31
Reset all
Using the »Reset all« function, you can restore the factory
settings of the machine.
1 Use the up or down button » « » « to select the
menu item »Reset all«.
2 Press the »OK« button.
– The display indicates,
»Reset settings and all dictations?«.
3 Press the »OK« button.
– Reset all:
Typist – automatic;
Dictation type – automatic;
Group – automatic;
No./Ref. – automatic;
Voice activation – off;
Microphone sensitivity – dictation;
Power off – after 10 minutes;
Dictation counter – DICT001;
Individual preallocations for transcriber, dictation type,
Group and no./ref. – deleted;
All dictations to be deleted;
Card to be formatted;
Language selection is displayed.
MENU FUNCTIONS
________________________________
Dictation counter
Version
Ł Reset all
Ļļ OK ESC
ENGLISH
Page 32
32
Format card
Using the »Format card« function, you can format a
MultiMediaCard. All dictations are erased.
1 Use the up or down button » « » « to select the
menu item »Format card«.
2 Press the »OK« button.
– In the diplay appears, for example, »Format card?«.
3 Press the »OK« button.
Directories and files with administration data are created on
the MMC. For this reason, not the entire memory space is
available for recording dictations.
Note
It is not allowed to format the MultiMediaCard as removeable disk using the format function of a PC.
Language
Using the »Language« function you can select the language
for all display functions.
1 Use the up or down button » « » « to select the
menu item »Language«.
2 Press the »OK« button.
3 Use the up or down button » « » « to select a
language, e.g. »English«.
4. Press the »OK« button.
MENU FUNCTIONS
________________________________
Version
Reset all
Ł Format card
Ļļ OK ESC
Reset all
Format card
Ł Language
Ļļ OK ESC
Page 33

33
COMMUNICATION WITH THE PC
___________
Steno.trans
The Steno.trans software is used to transfer your dictations to your
PC. You obtain an immediate overview of your work and can also
play-back your dictations on a notebook. For example, transfer
your dictations to a voice recognition system or send Voice Mails
via your mail system.
StenoNet.mail
If your office organization uses the StenoNet digital dictation
system, Digta and the StenoNet.mail software will bring you network mobility.
All addresses of your authors and typists are available for sending
your dictations. You mark your dictations, for example, with the
dictation type, deadline and priority, in order to perfectly organize
your transcription service. If all dictations have the same priority,
you simply plug the USB cable into the Digta. With the simple pressure of a button all dictations are sent to the preselected typist. Your
Digta is immediately free for further dictations.
System requirements for Steno.trans and
StenoNet.mail
Pentium processor (500 MHz or higher)
WIN 98 SE/ME operating systems,
preferably WIN NT4.0/2000/XP
USB 1.1 or 2.0 serial interface
For e-mail connection: MAPI-compatible mail system
(such as Microsoft Outlook)
The Windows NT operating system does not support a USB port.
To be able to use the digital dictation machine with WinNT, you
need the optional “Grundig USB Driver for WinNT”.
ENGLISH
Page 34

34
Connecting the dictation machine with the PC
and disconnecting it
1 Connect the dictation machine via the USB interface with
the PC.
2 Use the »ON/OFF« button to switch the dictation
machine on.
– During data transfer the red recording indicator is
blinking.
Warning: Disconnect the USB interface only via the task bar as
otherwise the data transfer may be incomplete.
You should not transfer dictations when the batteries
are weak as weak batteries distroy the dictation.
Note: Steno.trans and StenoNet.mail can each be connec-
ted only to one dictation machine. If a 2nd dictation
machine is connected to the USB interface, this is not
recognized by the PC, that is, only one removeable
disk drive appears under Windows
COMMUNICATION WITH THE PC
___________
Page 35

35
The firmware update may be used to keep your dictation machine
in step with the latest developments (firmware = device software).
You will find the current firmware version in the Internet.
The enclosed CD includes the firmware current at the time of
delivery.
Carrying out a firmware update
1 Switch on the PC and start Windows.
2 Use the USB cable to connect the dictation machine to
the PC.
3 Either switch on the dictation machine or use »ON/OFF«
to switch over to PC operation.
– The dictation machine is identified by the PC as a remo-
vable disk.
Note:
If your PC does not have a USB (e.g. Windows NT), you
may also use a card reader to copy the firmware onto the
MultiMediaCard. Make certain that the MultiMediaCard
has already been formatted in the dictation machine.
Firmware updates should only be carried out using MultiMediaCards which were working in your dictation machine before the update (e.g. the MultiMediaCard which was
included with the equipment).
4 If you go to the » «
in the download files and to the »Digta3010« or
»Digta4010« folder on the enclosed CD, you will find
two hex files (gh3010.hex or gh4010.hex and
updatelo.hex).
Copy these two files to the »SYSTEM« folder in the
dictation machine drive (removable disk).
5 The dictation machine’s recording LED flashes during
transfer. Wait until data transfer is complete.
FIRMWARE UPDATE
_______________________________
ENGLISH
www.grundig-gbs.com
Page 36

36
6 Then, from the task bar, select the function for removing
removable disks, as otherwise the transfer may not be
complete.
Notes:
Do not use low batteries to copy the firmware.
Importing a firmware file which was damaged during
transfer could render the dictation machine inoperative.
7 Disconnect the USB cable from the dictation machine.
8 Confirm »LOAD UPDATE?« with »YES«.
9 Wait for the loading process to be completed and confirm
the dictation machine language with »OK«.
Note:
Do not interrupt the loading process for any reason. This
could make the dictation machine inoperative.
1
0
You may now format the MultiMediaCard in the dictation
machine.
FIRMWARE UPDATE
_______________________________
 Loading...