

Page 1
Scissors 12mm socket/ratchet
Torque Wrench
GrimmSpeed Install Guide Series
Installing the GrimmSpeed BRZ/FR-S Strut Tower Brace
Updated 8/14/13
Introduction: This guide will illustrate the installation of the GrimmSpeed Strut
Tower Brace on your BRZ/FR-S. The difficulty here is super low, so take your time
and enjoy the job!
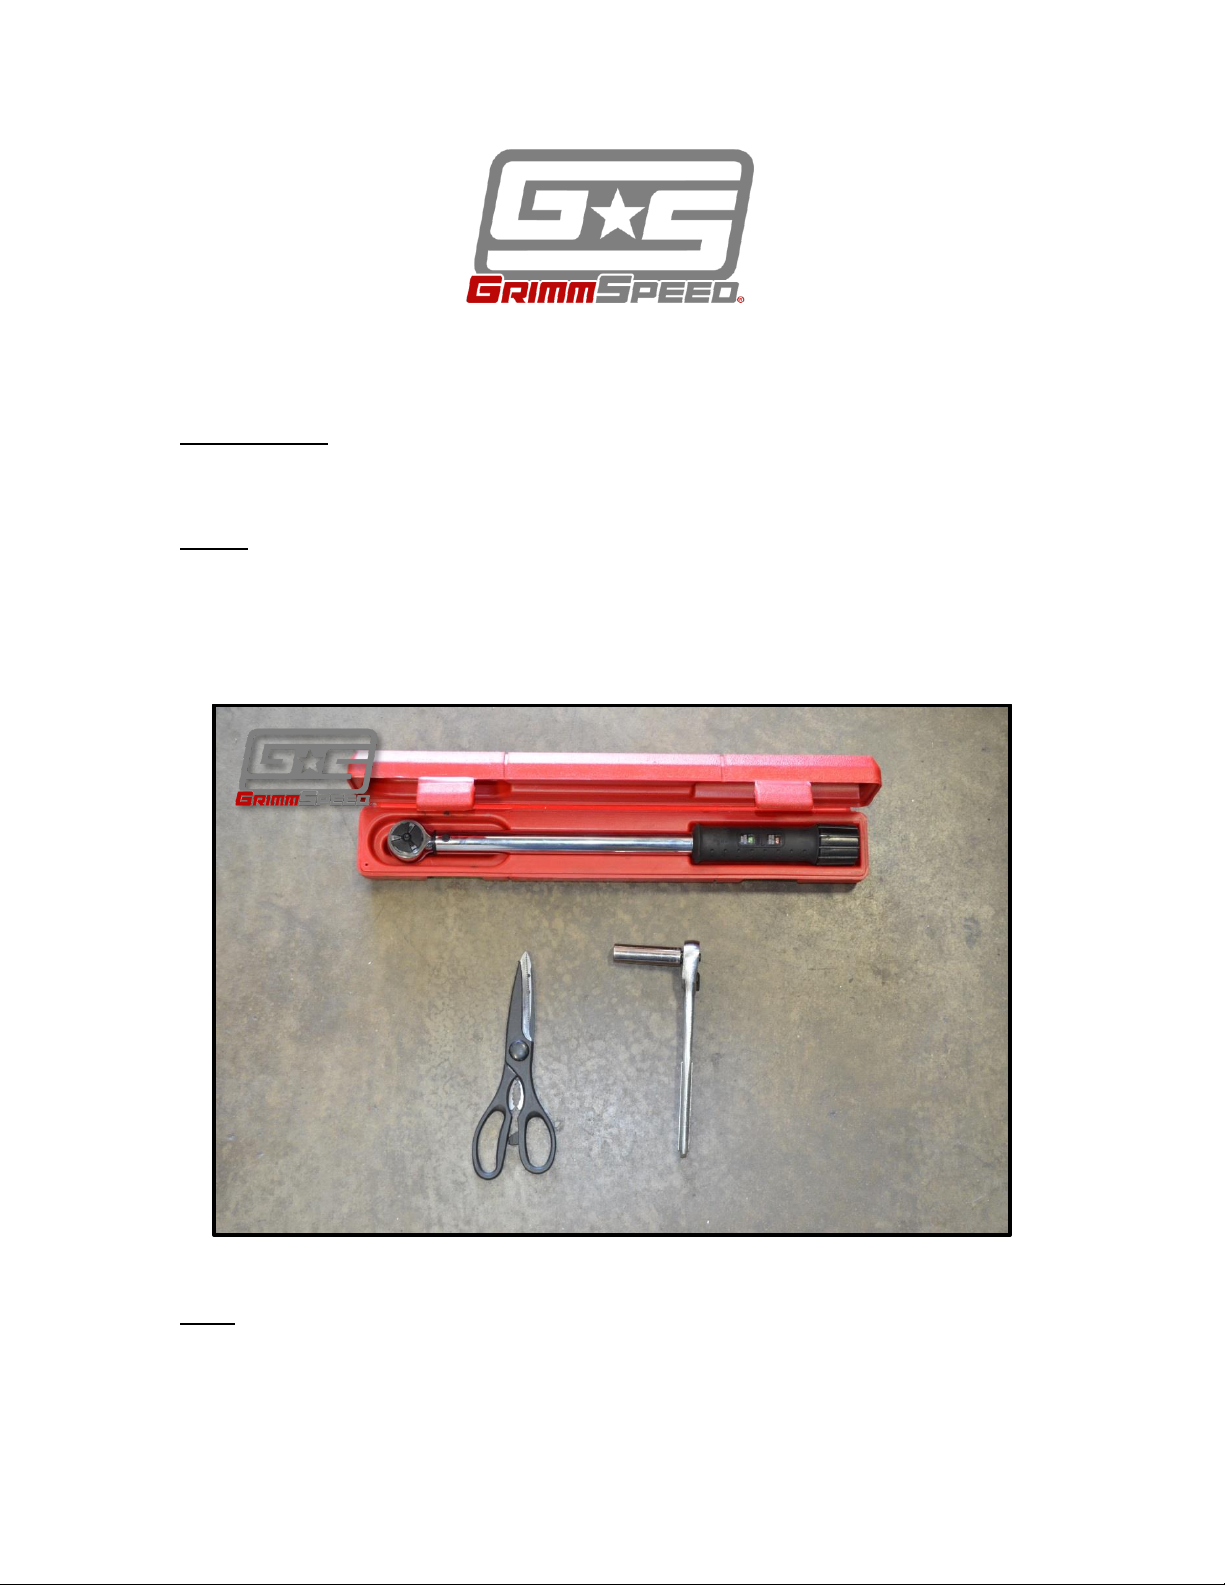
Tools: The tools listed below are suggested for this task (figure 1). Optional tools
are noted.
- 12mm socket and accompanying ratchet
- Torque wrench capable of accurately measuring 12ft-lbs
- Scissors or alternate method of cutting zip ties
Figure 1: Tools
Tips: This install guide demonstrates installation of the AC line sheath and securing
method last. Installing these first may leave some extra working room if you need
additional space to work.
Page 2
Procedure:
Place Strut Brace
Remove 12mm nuts
1. Begin by collecting your tools and popping your hood. This’ll be quick!
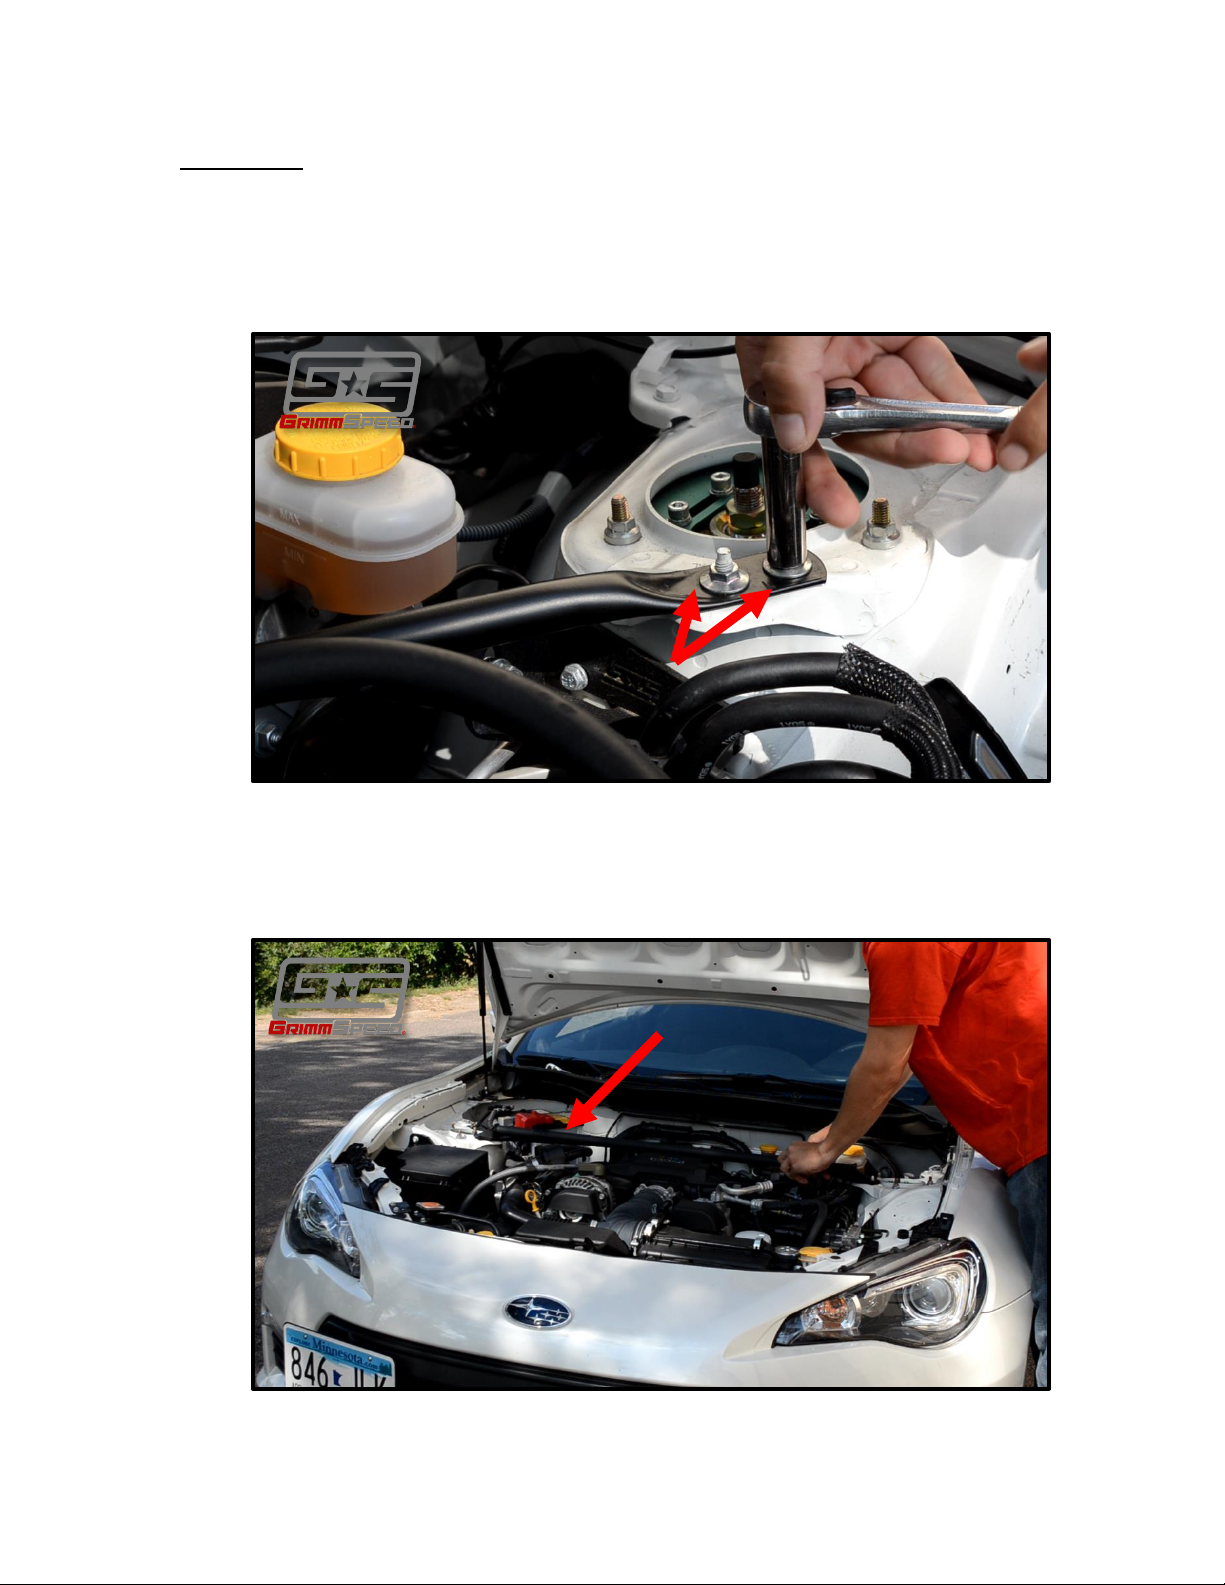
2. Now, remove your driver’s side triangulation bar nuts using a 12mm wrench.
You’ll remove two (2) nuts on the driver’s side strut tower. Set these aside,
you’ll need them again in just a minute. Repeat on passenger side.
Figure 2: Remove 12mm nuts on each side
3. Next, simply place your GrimmSpeed strut tower brace into place. It may
help to know that the logo is on the passenger side, but the brace will only fit
on one way.
Figure 3: Place brace
Page 3

4. Rock on! Now, reinstall the four (4) nuts securing the bar. Get them all finger
Torque to 12 ft-lb
tight before using a torque wrench to apply 12 ft-lbs to each. It doesn’t sound
like much, but it’s the factory spec and provides plenty of clamping force.
Figure 4: Torquing fasteners
5. Alright, your brace is all set. The last step is to install the anti-abrasion sheath
on the AC line that crosses under the brace. You’ll want to slip the included
sheath over the line and then, using the two included zipties, you’ll secure the
line to the fuel line bracket. This solution emulates that of the factory lines
and keeps the AC line out of the way without putting undue tension or stress
into the line, nor the fuel line bracket. Best of all, it is easily done and undone
as necessary, when working on your vehicle.
Page 4

That’s it! You should be all set to go. Take it for a spin and enjoy your sharper
steering response and superior handling. Check the assembly periodically to
make sure everything is still snug.
 Loading...