

Page 1

GrimmSpeed Master Cylinder Brace
Installation Instructions
Manual 300018 RevA
All GrimmSpeed products are intended for Off-Road use only.
Park your vehicle on a level surface. Fully engage the parking brake and put wheel stops on
the front and rear wheels to keep the vehicle from rolling. We recommend the use of antiseize on treads of all bolts, when reassembling. The master cylinder brace only fits left hand
drive vehicles.
Installation of Master Cylinder Brace 1993-2007 Impreza, 2005-2006 9-2X, 1994-1999
Subaru Legacy, and 2003-2008 Subaru Forester.
1. On earlier cars, remove window washer bottle from drivers side strut tower and move to
the side. Later cars do not have washer bottles located on shock tower, and can skip this
step.
G
rimm
s
peed
1
Page 2
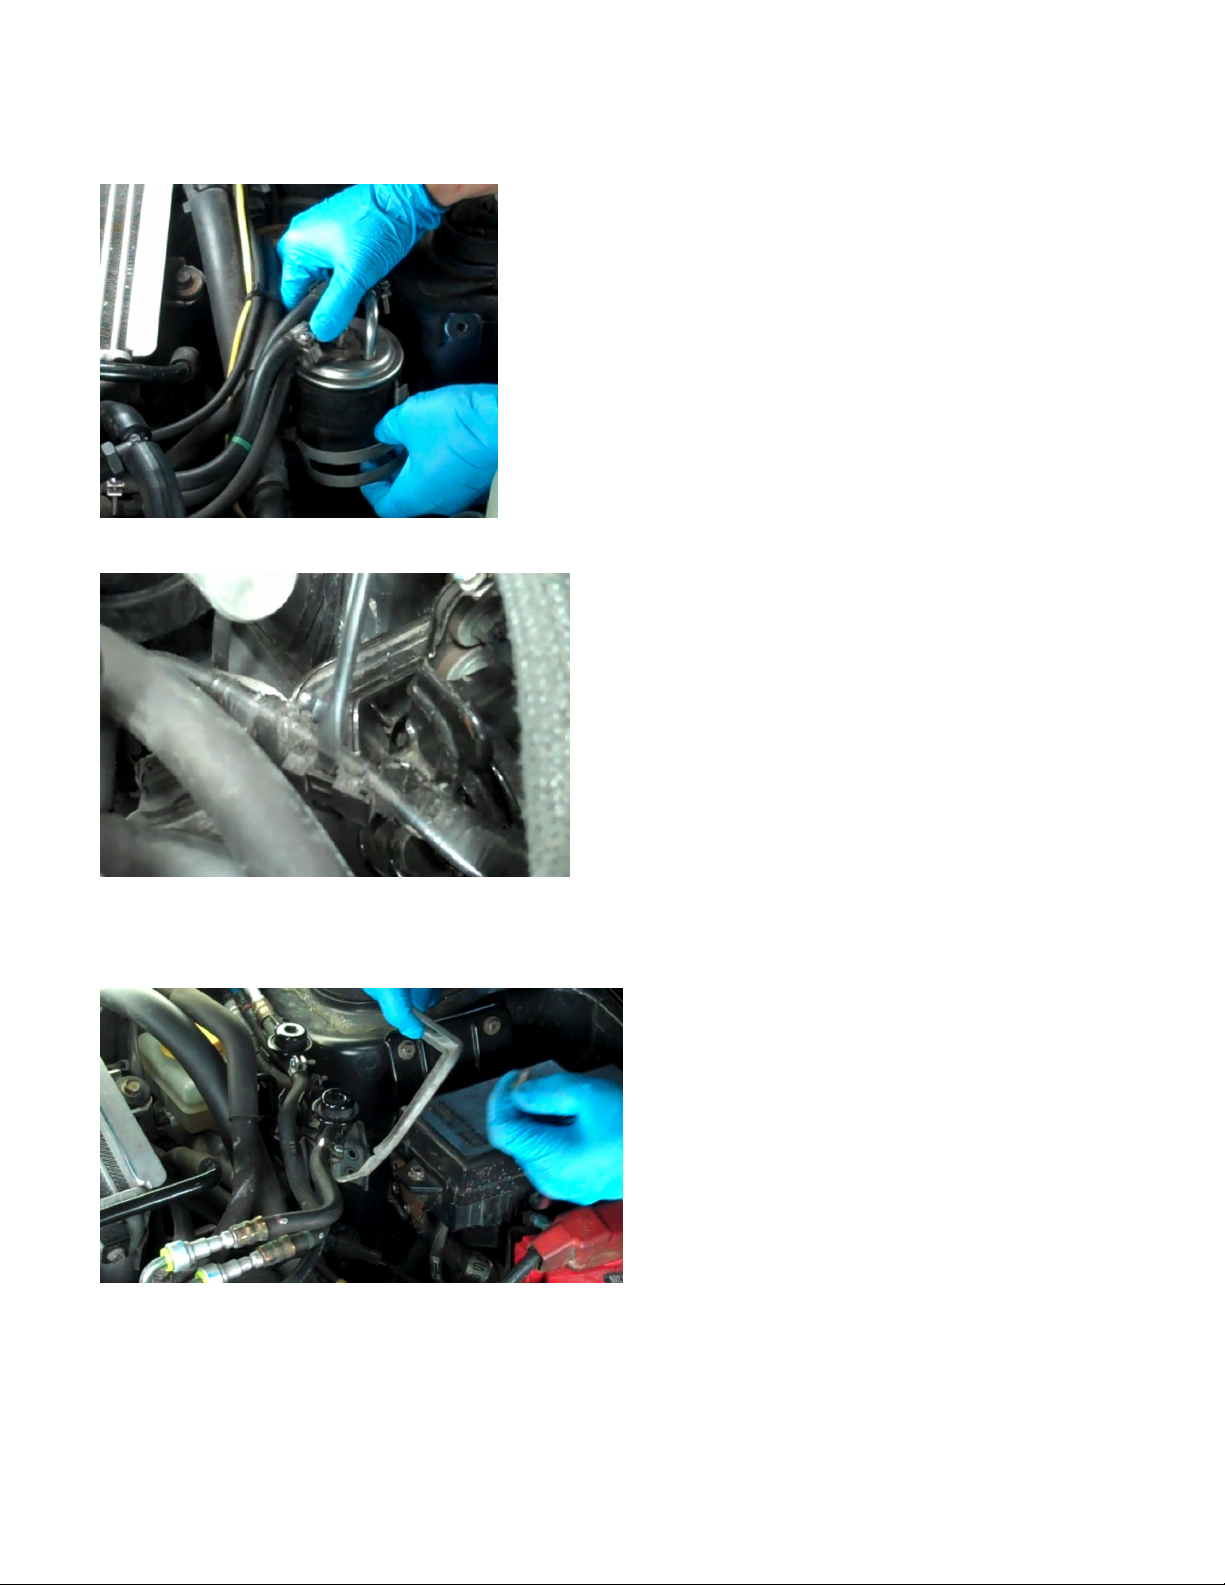
2. Unclip fuel filter and move the filter out of the way. A couple temporary zip ties can be
used to hold it out of the way during the install. Later models can skip this step as the fuel
filter is not mounted here.
3. Unclip wiring harness clip that attaches to the metal wiring harness bracket.
4. Remove fuel filter bracket (earlier models) or fuel line bracket (later models) by removing
2 bolts. These holes will be reused to mount the brace. The wiring harness bracket can be
removed and will not be reused.
5. Later models have a secondary air injection pump that must be moved out of way to access
the bolt for the fuel holder. Remove the 2 bolts on the strut tower, the one bolt towards the
battery, the hose on top of pump, and the electrical connection. Then remove from car.
G
rimm
s
peed
2
Page 3

6. Locate the two additional strut tower mounting holes that will be used by the brace.
Some models will have an A/C bracket that is attached with a 10mm bolt. You will need to
remove this bolt and the brace will slide behind this bracket. Some models will have a plastic
clip that is clipped into one of the threaded holes you will need for the brace.
7. Inspect the OEM threaded body holes on the strut tower. If threads are rusty, run an M6 x
1 tap to clean the threads before installing brace. You will also want to use a small amount
of anti-seize on the bolts.
8. Move brace into position. Using the supplied hardware hand thread the 4 bolts that line up
with the factory captive nuts. You will need to reinstall the factory fuel filter bracket (early
models) or fuel line bracket (later models).
9. Tighten all 4 bolts using a 10mm socket to 15 ft-lbs.
G
rimm
s
peed
3
Page 4

10. Zip tie wiring harness to mounting hole on the bottom of the master cylinder brace using
the brace's hole.
11. Assemble stud, nuts and pressure cup as shown in the picture. Earlier models will use the
longer stud. Later models will use the shorter stud. Do not tighten the nuts.
12. Using a 15mm wrench and 5mm hex key, insert hex key into stud and tighten the nut
closest to the master cylinder which will extend the stud. Ensure that the other nut is loose.
When the pressure cup makes contact with the master cylinder, tighten the nut an additional
1/2 to 1 turn.
13. Now tighten the other nut to lock the adjustment into place.
G
rimm
s
peed
4
Page 5

14. Reinstall fuel filter or fuel line bracket back onto shock tower ensuring it does not rub on
anything. Reinstall washer bottle and/or secondary air injection pump.
15. Take the car for a drive and enjoy the improved brake feel.
Please contact us if you have any questions during installation 612.379.0000 or
sales@grimmspeed.com.
Thank you for your purchase!
G
rimm
s
peed
5
 Loading...