

Page 1
1
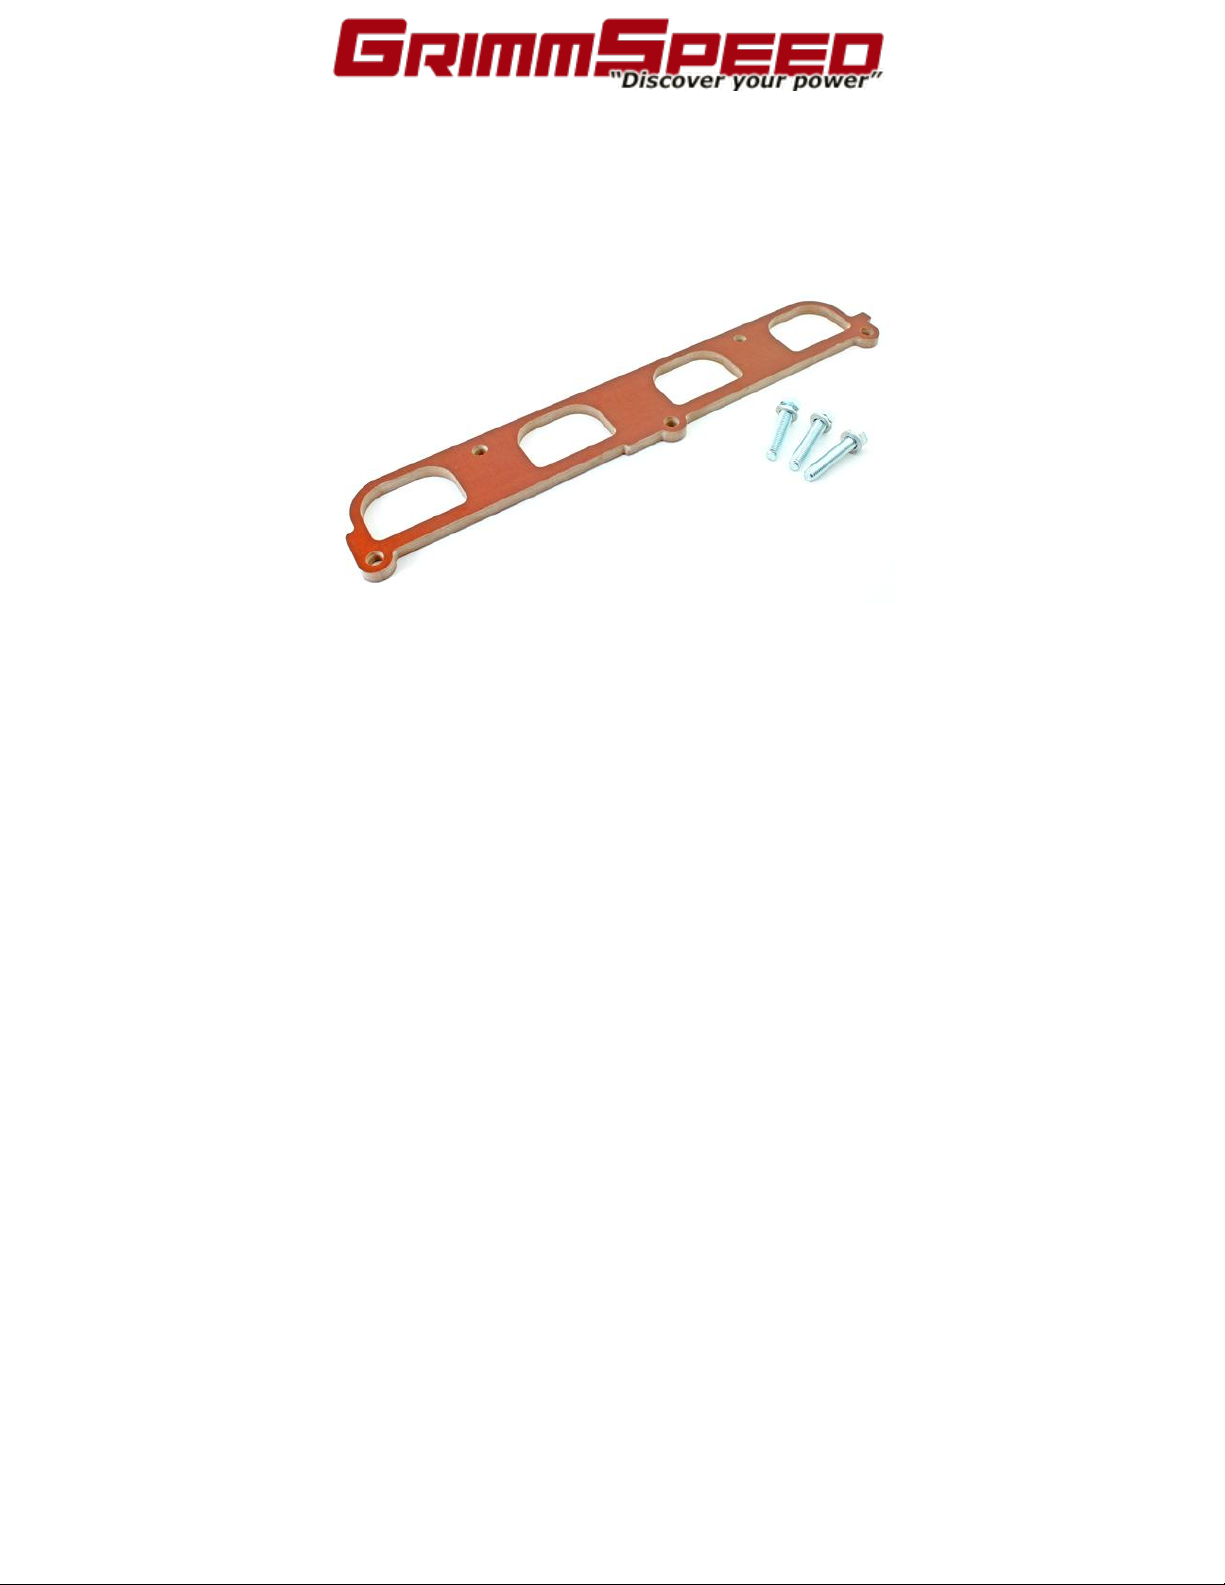
GrimmSpeed Phenolic Spacer
Installation Instructions
Hyundai Genesis 2.0T
All GrimmSpeed products are intended for Off-Road use only. Park your vehicle on a level
surface. Fully engage the parking brake and put wheel stops on the front and rear wheels to
keep the vehicle from rolling.
Warning (read before installing):
Before moving forward with the setups outlined below, insure that you have the experience
to properly modify your car. If not, please consult a professional. Without a proper install
you could possibly damage your engine. Under no circumstances is the GrimmSpeed
Phenolic Spacer to be used in any applications where failure of the spacer to operate as
intended could jeopardize the safety of the operator or any other person or property.
Note: If you do not think you can remember where all of the vacuum hoses and wiring
connectors go on your intake manifold, and easy way to remember is to put a piece of tape
on them and write where they go.
Purpose
The benefits of this upgrade are to keep the superheated engine temps out of your intake
manifold. The cooler the intake manifold and intake air temp is, the higher the power your
vehicle is able to create. Cars like cold intake air! Your car has an aluminum head and an
aluminum intake manifold, in turn the heat from the very hot engine will easily transfer into
the intake manifold. One of the most effective ways to reduce this transfer is to install a
Phenolic Spacer.
Grimmspeed
Page 2

2
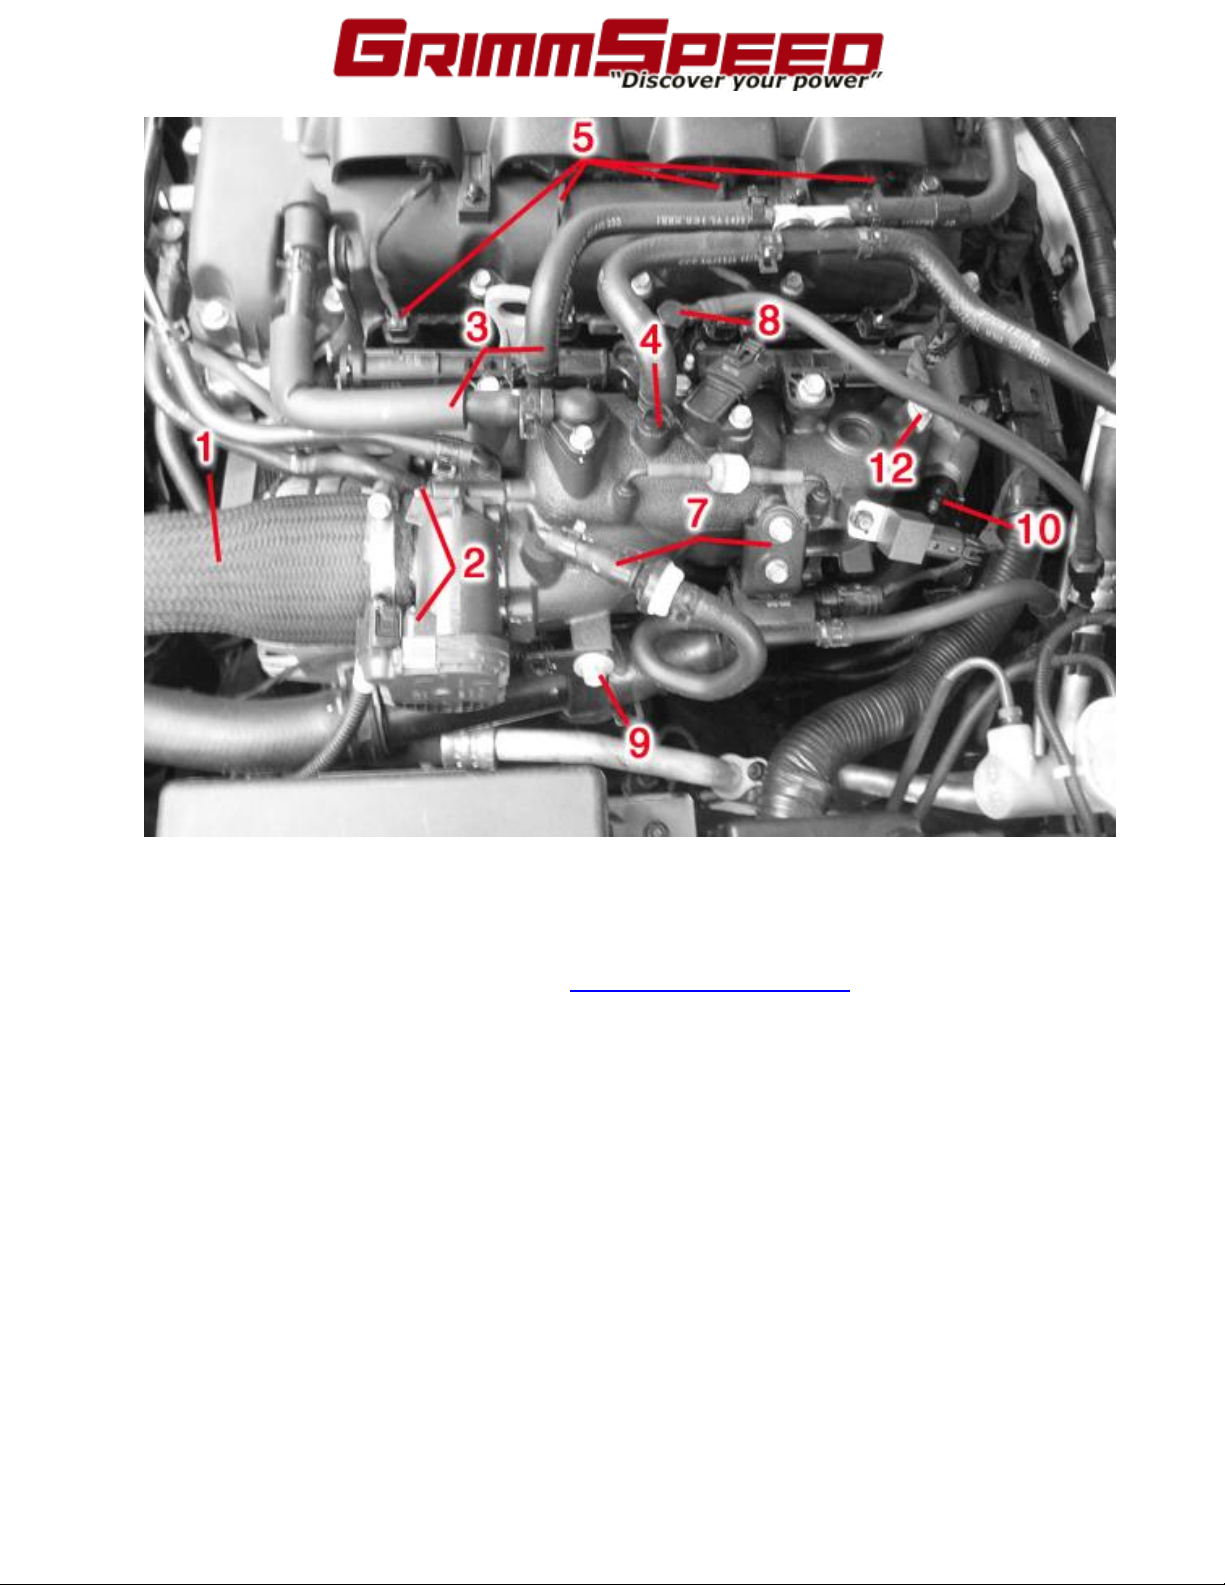
B. Installation Steps (Refer Steps to Image Below)
1. Remove Throttle Body hose. (2) hose clamps.
2. Remove Throttle Body. (2) 10mm bolts, (2) 10mm nuts. (1) Wiring plug.
3. Pull (2) Breather Lines off. These are located on top of Intake Manifold.
4. Pull (1) Brake Booster Line.
5. Unplug 4 Injector Clips.
6. The rear 2 injector wires have a “Y” in them and another plug comes out of the
same wire and attaches to the Intake Manifold. Pull these 2 as well.
7. Pull Check Valve Hose and remove accompanying black Bracket. (2) 12mm bolts.
8. Remove (2) 10mm nuts that attach fuel line/valve to intake manifold.
9. Unbolt (1) 12mm bolt that attaches Coolant Line to Intake Manifold.
10. Unbolt (2) 12mm nuts that attach side Coolant Line to Rear Coolant Line.
11. Pull side Coolant Line out of way. When you do this have a rag in your hand so you
can quickly plug the rear coolant line so you do not lose very much coolant.
12. Unbolt ground wire from top/rear of Intake Manifold.
13. Remove (3) lower Intake Manifold>Engine Head 12mm bolts. This task may seem
daunting at first; luckily Hyundai has given us a pretty good path to sneak a socket
extension in to get them.
14. Remove (2) upper Intake Manifold>Engine Head 12mm nuts.
15. Underneath the Intake Manifold, there are (2) 10mm nuts holding to brackets on. If
you can lift the Intake Manifold slightly it will make getting these nuts off much
easier.
16. You are now able to pull out the Intake Manifold.
17. Install the GrimmSpeed Phenolic Spacer. Make sure to leave the OEM gasket on the
head, and then install the Phenolic Spacer on top of it. The two top Intake Manifold
studs will hold the Phenolic Spacer in place. We advise purchasing a second OEM
gasket so you are essentially sandwiching in the Phenolic Spacer. Doing this will
ensure you have a perfect seal.
18. To reinstall, reverse the install order starting with 14. When reinstalling the Intake
Manifold you will need to use the 3 longer IM>Head bolts that we have supplied.
Grimmspeed
Page 3
3
Please contact us if you have any questions during installation.
651-414-9747 or sales@grimmspeed.com
Thank you for your purchase!
Grimmspeed
 Loading...