

Page 1
10, 12, 13mm
13mm
1/2in
GrimmSpeed Install Guide Series
Installing the GrimmSpeed BRZ/FR-S Hood Strut Kit
Updated 1/17/13
Introduction: This guide will illustrate the installation of the GrimmSpeed BRZ/FRS
Hood Strut Kit. The difficulty here is relatively low, so take your time and enjoy the
job!
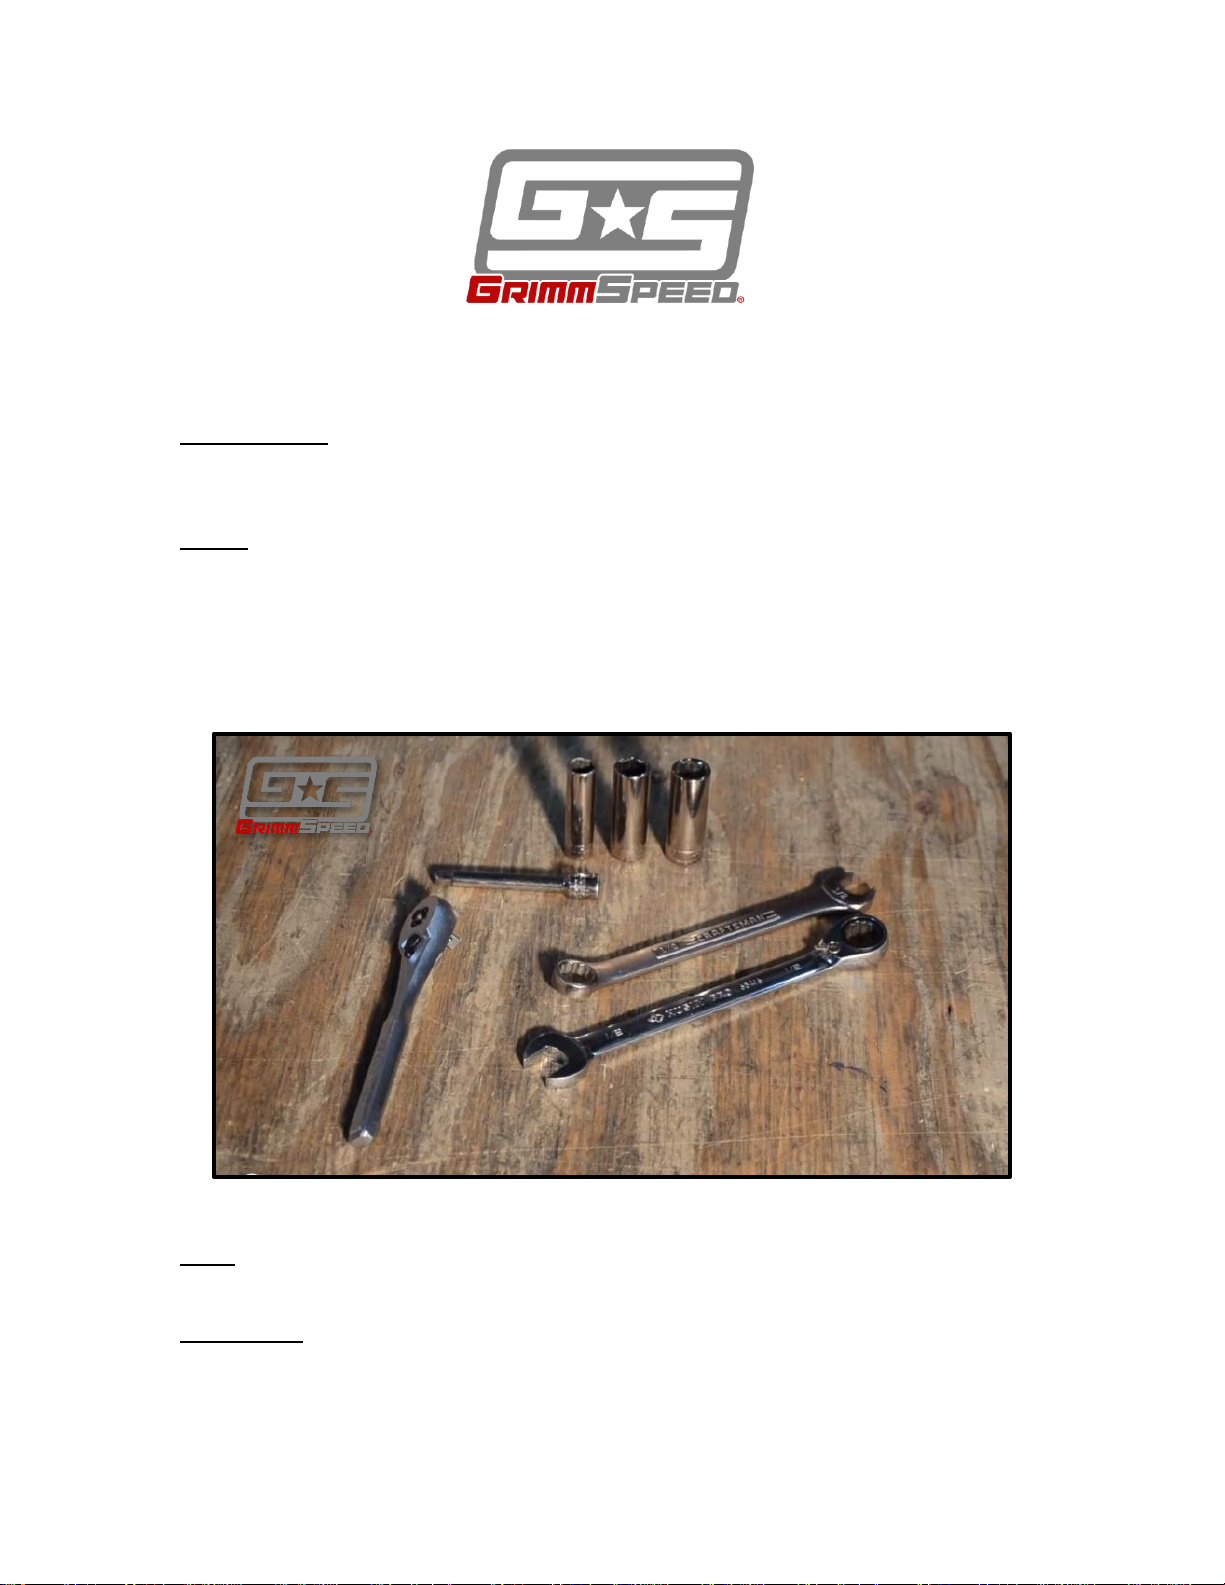
Tools: The tools listed below are suggested for this task (figure 1). Optional tools
are noted.
- 1/2in wrench
- 13mm wrench
- 10mm, 12mm, 13mm sockets
- Ratchet and extension
Tips: Deep well sockets aren’t required, but act like an extra extension, which can
make the install a bit easier.
Procedure:
Figure 1: Tools
1. Begin by collecting your tools and popping your hood. This’ll be quick!
Page 2
2. Prop your hood open using your OEM hood prop. A second set of hands can help
make ‘hood management’ a little easier.
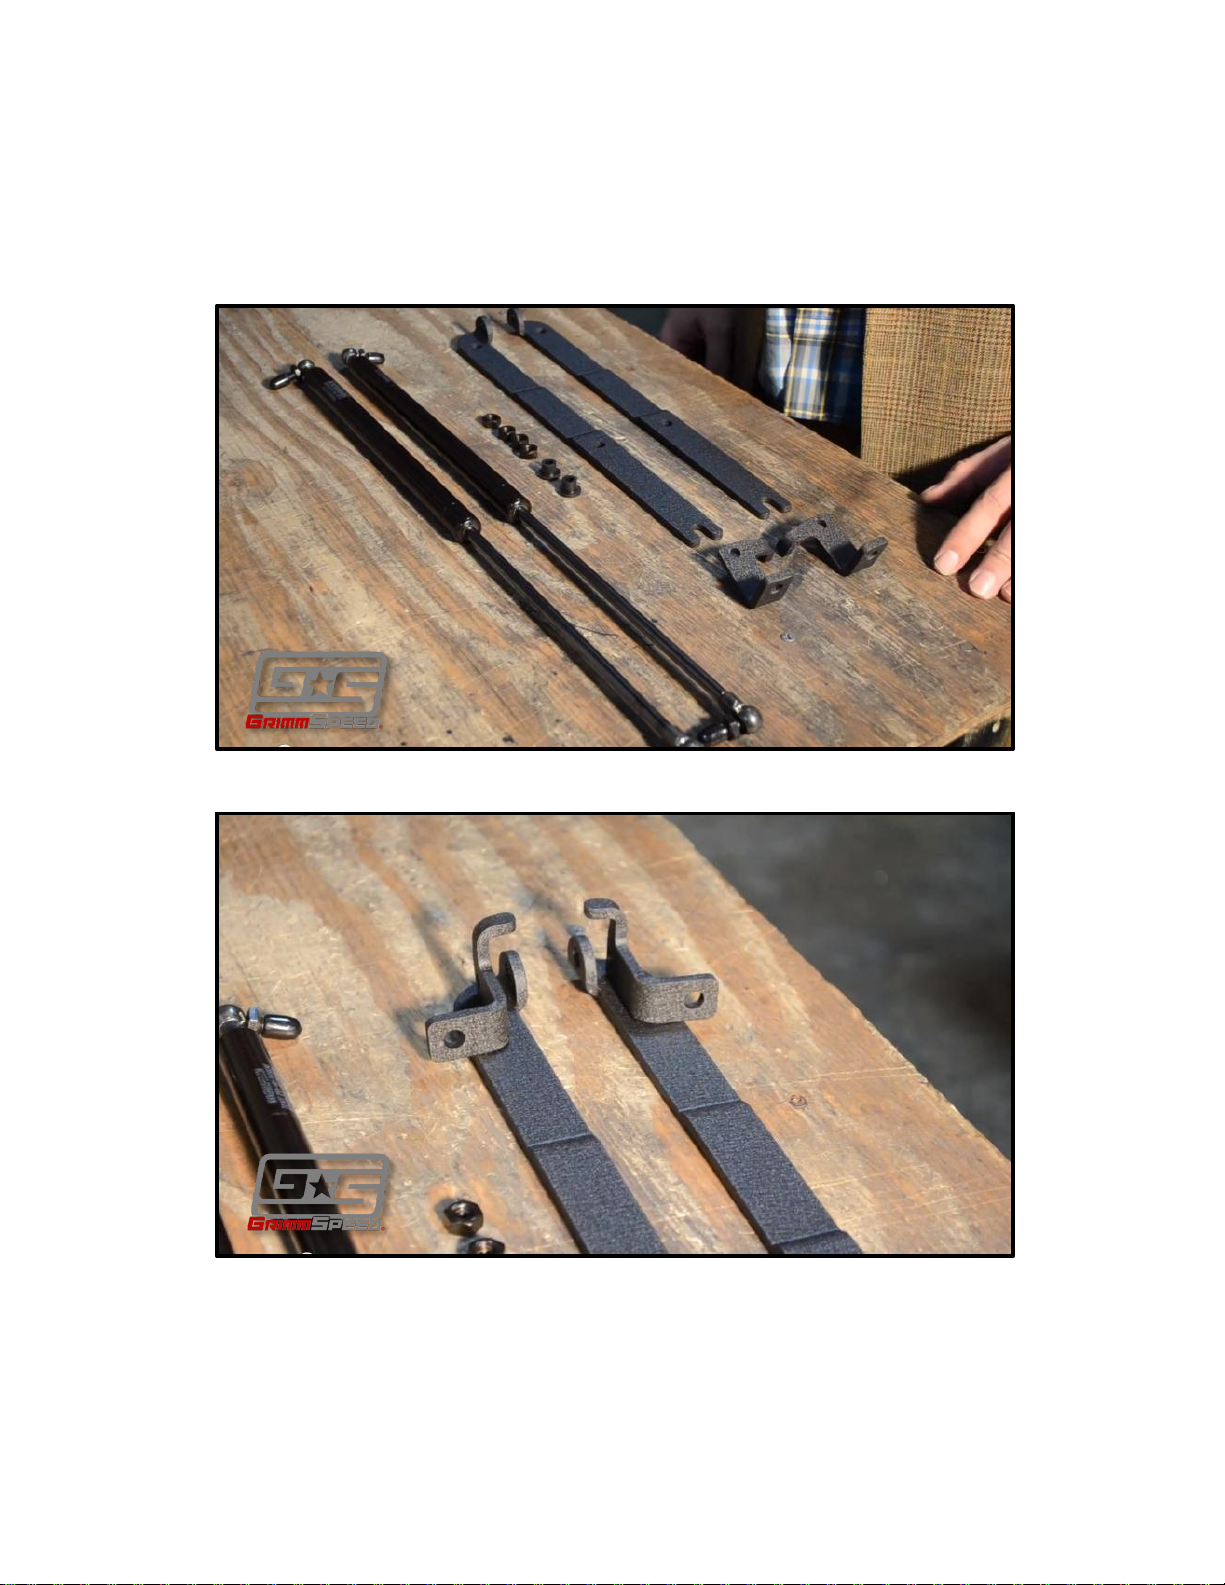
3. Collect the parts to your GrimmSpeed Hood Strut kit and separate into the
driver and passenger sides. Use the figure below to determine which
brackets go together.
Figure 2: Included hardware
Figure 3: Assembled tensioner
4. Next, install the rubber bumper through the back of the longer bracket as
seen below.
Page 3
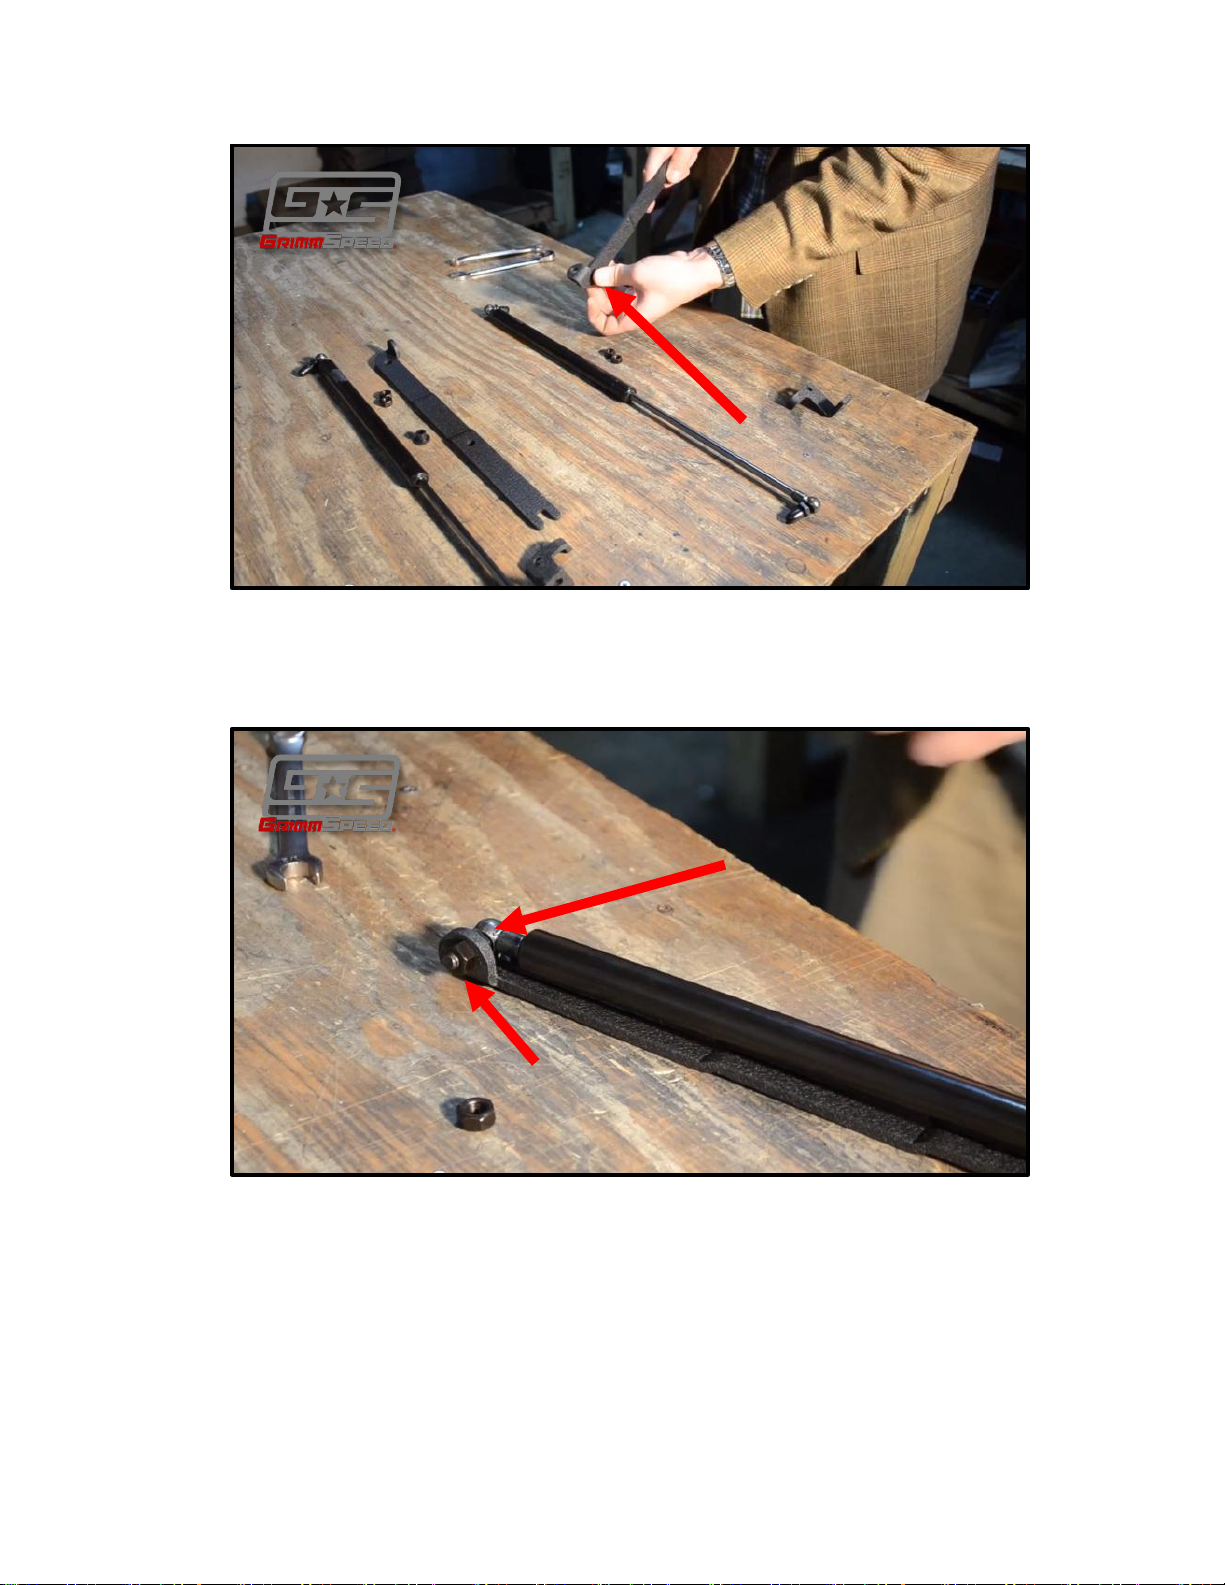
Figure 5: Installing rubber bumper
Install bumper
13mm
1/2in
5. Now we’ll begin by bolting the strut itself to the upper bracket. Use a 13mm
wrench on the ball stud and a 1/2in wrench on the nut.
6. Next, bolt the strut to the lower bracket. Take care to make sure that you’re
Figure 6: Attach upper bracket
using the correct lower bracket. We matched them up properly in step 3.
Once again, use a 13mm wrench on the ball stud and a 1/2in wrench on the
nut.
Page 4

Figure 7: Attach lower bracket
Remove 10mm bolt
1/2in
13mm
7. Begin installation by removing the bolt for the lower bracket. Set it aside, as
we’ll be reusing it.
8. We’ll install the upper bracket first. Remove the OEM bolt and replace it with
one of the bolts from our kit. Do not install it all the way, as you’ll need to slip
the bracket onto it.
Figure 9: Remove lower bolt
Page 5

Figure 10: Loosen lower hood hinge bolt.
Loosen 12mm bolt
Leave this gap
Figure 11: Install lower hood hinge bolt.
9. Next, remove the upper hood hinge bolt using your 12mm socket. Support
the hood with your opposite hand until you have the hood strut installed. You
may prefer to get an extra set of hands to help you out here. Now, slip the
upper bracket into place and use the second large black bolt to reattach the
hood. Take care not to cross-thread the threads in the hood. The tab on the
upper bracket should be towards the inside of the vehicle, so that you
can see the ball from the side of the car.
Page 6

Figure 12: Remove upper hood hinge bolt.
Remove 12mm bolt
Install 13mm bolt
Figure 12: Install upper bracket.
10. Lastly, tighten the lower 13mm bolt.
Page 7

Tighten 12mm bolt
Install 10mm bolt
Figure 13: Loosen lower hood hinge bolt.
11. Next, maneuver the lower bracket into place. If you assembled things
correctly, the through hole should line up with the threaded chassis hole and
the tab should slip into a hole in the chassis. Reinstall the stock 10mm bolt as
shown.
12. Repeat this process on the opposite side and you should be good to go!
Figure 14: Install lower bracket.
That’s it! You should be all set to go.
 Loading...