

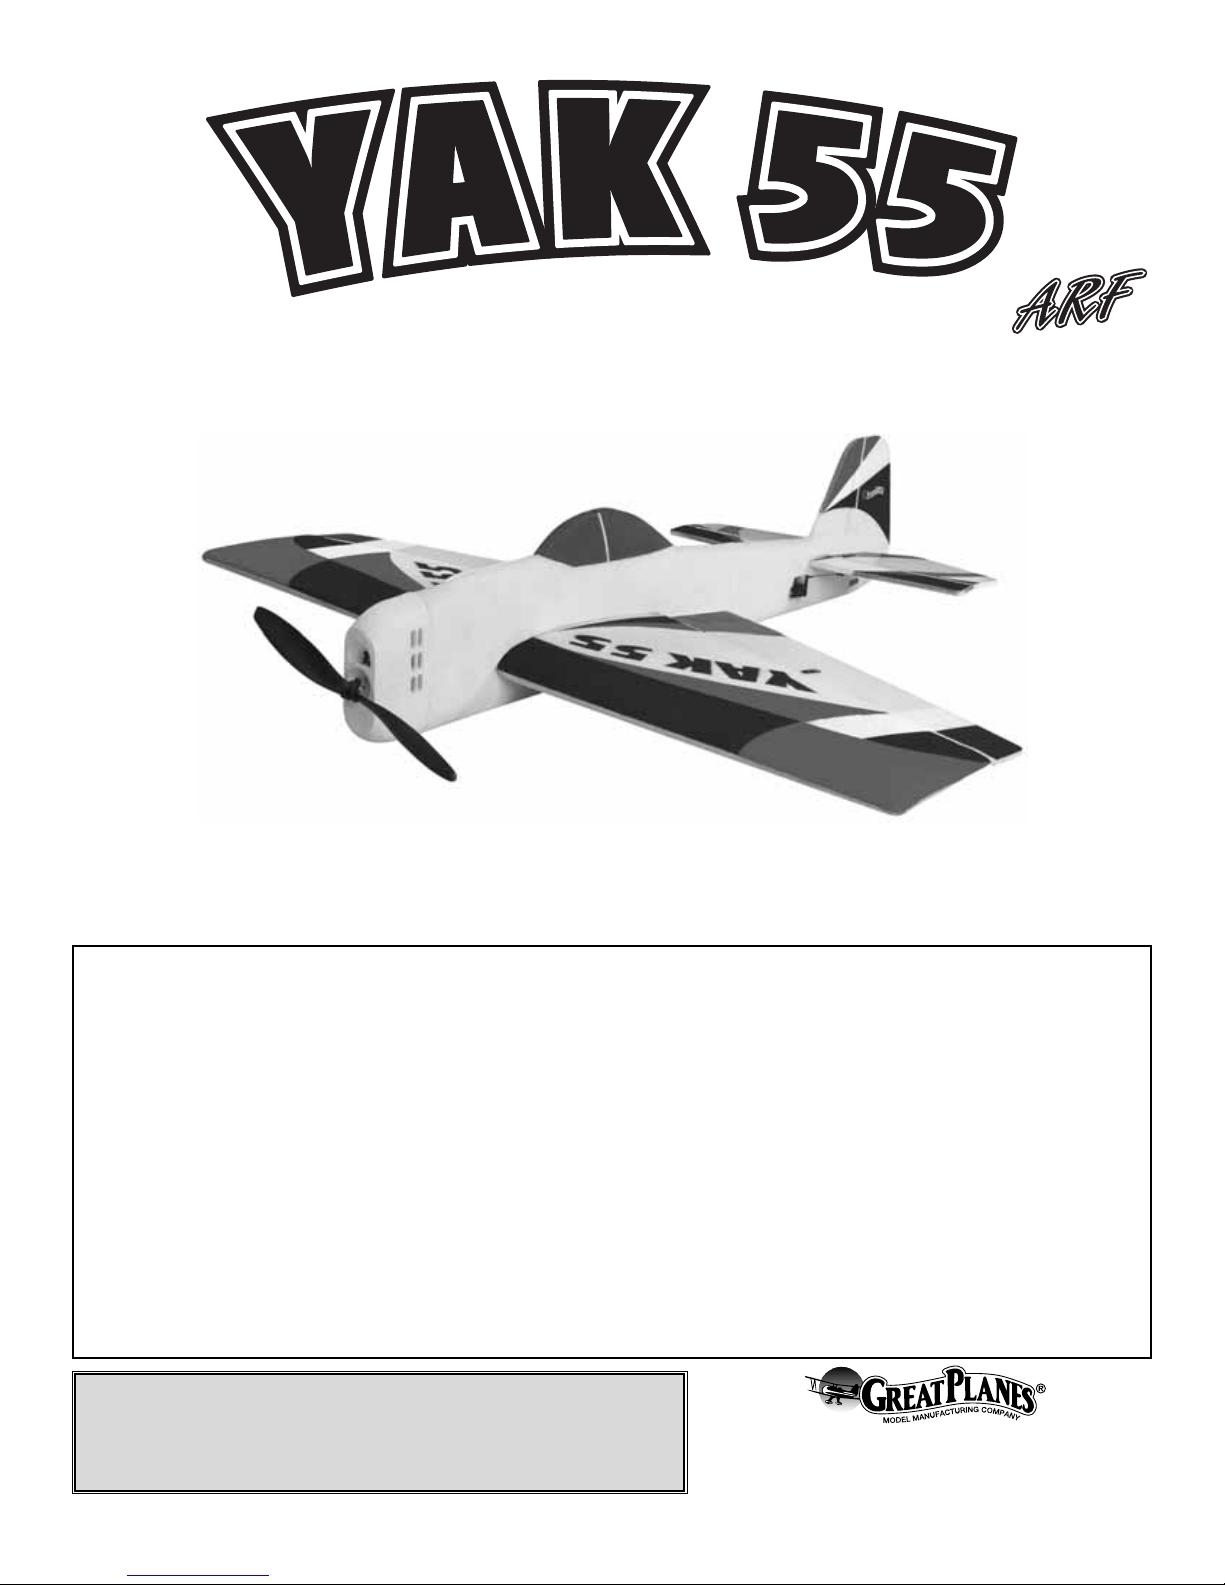
GREAT PLANES YAK 55 Instruction Manual
WARRANTY
Great Planes
®
Model Manufacturing Co. guarantees this kit to be free from defects in both material and workmanship at the date of
purchase.This warranty does not cover any component parts damaged by use or modification. In no case shall Great Planes’ liability
exceed the original cost of the purchased kit. Further, Great Planes reserves the right to change or modify this warranty without notice.
In that Great Planes has no control over the final assembly or material used for final assembly, no liability shall be assumed nor
accepted for any damage resulting from the use by the user of the final user-assemb led product.By the act of using the user-assembled
product, the user accepts all resulting liability.
If the buyer is not prepared to accept the liability associated with the use of this product, the buyer is advised to return this
kit immediately in new and unused condition to the place of purchase.
To make a warranty claim send the defective part or item to Hobby Services at the address below:
Hobby Services
3002 N. Apollo Dr. Suite 1
Champaign IL 61822 USA
Include a letter stating your name, return shipping address, as much contact information as possible (daytime telephone number, fax
number, e-mail address), a detailed description of the problem and a photocopy of the purchase receipt. Upon receipt of the package
the problem will be evaluated as quickly as possible.
READ THROUGH THIS MANUAL BEFORE STARTING
CONSTRUCTION. IT CONTAINS IMPORTANT WARNINGS
AND INSTRUCTIONS CONCERNING THE ASSEMBLY
AND USE OF THIS MODEL.
GPMZ0181 for GPMA1274 V1.0© Copyright 2005
Champaign, Illinois
(217) 398-8970, Ext 5
airsupport@greatplanes.com
INSTRUCTION MANUAL
3D EP with FlightFlex
™
Wingspan: 33.5 in [850mm]
Wing Area: 369 sq in [24 dm2]
Weight: 16-17 oz [455–480g]
Wing Loading: 6.2–6.6oz/sq ft [19–20 g/dm2]
Length: 36.5 in [925mm]
Radio: 4-channel w/ 4 micro servos and 25A brushed ESC
Power System: Ball-bearing 370-sized motor, 5:1 reduction gearbox (included)
INTRODUCTION................................................................2
SAFETY PRECAUTIONS..................................................3
ADDITIONAL ITEMS REQUIRED.....................................3
Radio Equipment.........................................................3
Adhesives and Building Supplies.................................4
Optional Supplies and Tools ........................................4
COMMON ABBREVIATIONS............................................4
IMPORTANT BUILDING NOTES.......................................4
KIT CONTENTS .................................................................5
ORDERING REPLACEMENT PARTS...............................6
BUILDING INSTRUCTIONS..............................................7
Assemble the Airframe ................................................7
Set Up the Radio System............................................9
Install the Propulsion System ....................................11
GET THE MODEL READY TO FLY ................................12
Check the Control Directions.....................................12
Set the Control Throws..............................................13
Balance the Model (C.G.)..........................................13
Balance the Model Laterally......................................14
PREFLIGHT.....................................................................14
Identify Your Model.....................................................14
Charge the Batteries ..................................................14
Balance Propellers.....................................................14
Range Check.............................................................14
MOTOR SAFETY PRECAUTIONS..................................14
AMA SAFETY CODE ......................................................14
CHECK LIST ....................................................................15
FLYING.............................................................................15
Hand Launch................................................back cover
Flight.............................................................back cover
Landing.........................................................back cover
ID tag............................................................back cover
Whether you’re just learning aerobatics or are a seasoned
3D veteran, you’ll enjoy the Yak 55 EP w/ FlightFlex. This
airplane combines the proven flight characteristics of the Yak
55 design in an inexpensive, easy-to-operate electric
powered model with an extremely resilient structure.When
your airplane is capable of bouncing back from unintended
impacts with
terra firma
, it’s just that much easier to learn to
do maneuvers like torque rolls, harriers, high-alpha rolls , etc.
The EPP material that this Yak 55 is made of allows it to
bounce back from most crashes – just pick it up, dust it off,
and launch it again. Just because the airplane is capable of
withstanding crashes doesn’t mean it is completely
indestructible, however. If you drive the airplane straight
down into the ground at full throttle, you will probably be
making some repairs. To minimize damage, cut the throttle
before impact if possible.
Take care to build straight and true as you complete the
airplane. Misaligned parts will hur t the airplane’s ability to
perform the extreme aerobatics it is designed for.
For the latest technical updates or manual corrections to the
Yak 55 EP with FlightFlex, visit the Great Planes web site at
www.greatplanes.com. Open the “Airplanes” link and then
select the Yak 55. If there is new technical information or
changes to this model, a “tech notice” box will appear in the
upper left corner of the page.
We urge you to join the AMA (Academy of Model Aeronautics)
and a local R/C club.The AMA is the governing body of model
aviation and membership is required to fly at AMA clubs.
Though joining the AMA provides many benefits, one of the
primary reasons to join is liability protection. Coverage is not
limited to flying at contests or on the club field. It even applies
to flying at public demonstrations and air shows. Failure to
comply with the Safety Code (excerpts printed in the back of
the manual) may endanger insurance coverage. Additionally,
training programs and instructors are available at AMA club
sites to help you get started the right way. There are over
2,500 AMA chartered clubs across the countr y. Contact the
AMA at the address or toll-free phone number below:
Academy of Model Aeronautics
5151 East Memorial Drive
Muncie, IN 47302-9252
Tele. (800) 435-9262
Fax (765) 741-0057
Or via the Internet at:
http://www.modelaircraft.org
IMPORTANT!!! T w o of the most important things you can do
to preserve the radio controlled aircraft hobby are to avoid
flying near full-scale aircraft and avoid flying near or over
groups of people.
AMA
INTRODUCTIONTABLE OF CONTENTS
2
1. Your YAK 55 should not be considered a toy, but rather a
sophisticated, working model that functions very much like a fullsize airplane. Because of its performance capabilities, the YAK
55, if not assembled and operated correctly, could possibly
cause injury to yourself or spectators and damage to property.
2. Y ou must assemb le the model according to the instructions.
Do not alter or modify the model, as doing so may result in an
unsafe or unflyable model. In a few cases the instructions may
differ slightly from the photos. In those instances the written
instructions should be considered as correct.
3. You must take time to build straight, true and strong.
4. You must use an R/C radio system that is in first-class
condition with a correctly sized motor and components
throughout the building process.
5. You must correctly install all R/C and other components so
that the model operates correctly on the ground and in the air.
6. You must check the operation of the model before every
flight to insure that all equipment is operating and that the
model has remained structurally sound. Be sure to check
clevises or other connectors often and replace them if they
show any signs of wear or fatigue.
7. If you are not an experienced pilot or have not flown this
type of model before, we recommend that you get the
assistance of an experienced pilot in your R/C club for your
first flights.If you’re not a member of a club, your local hobb y
shop has information about clubs in your area whose
membership includes experienced pilots.
Remember:Take y our time and follow the instructions to
end up with a well-built model that is straight and true.
NOTE:Recommended par t numbers are included
in parentheses.
❏ 4-channel radio minimum (for maximum 3D performance,
a computer radio with mixing is recommended)
❏ 4 sub-micro servos ( 0.3 oz [9g] or less each) (FUTM0042)
❏ Micro receiver (FUTL0442-3)
❏ Servo Y-harness (FUTM4130)
❏ two 6” Ser vo extensions (HCAM2000)
❏ two 12” Ser vo extensions (HCAM2100)
❏ 25-amp brushed ESC (GPMM2025)
❏ 1250 - 1500mAh 3-series Lithium Polymer battery
pack (GPMP0823) (GPMP0831)
❏ Lithium Polymer Charger...
Great Planes Triton Charger (GPMP3150) or
Great Planes Polycharger (GPMM3010)
Radio Equipment and Electronics
ADDITIONAL ITEMS REQUIRED
WARNING!! Read the entire instruction sheet included
with the battery. Failure to follow all instructions could
cause permanent damage to the battery and its
surroundings, and cause bodily harm!
• ONLY use a LiPo approved charger.NEVER use a
NiCd/NiMH peak charger!
• NEVER charge in excess of 4.20V per cell.
• ONLY charge through the “charge” lead. NEVER
charge through the “discharge” lead.
• NEVER charge at currents greater than 1C.
• ALWAYS set charger’s output volts to match battery volts.
• ALWAYS charge in a fireproof location.
• NEVER trickle charge.
• NEVER allow the battery temperature to exceed
150°F (65° C).
• NEVER disassemble or modify pack wiring in any way
or puncture cells.
• NEVER discharge below 2.5V per cell.
• NEVER place on combustible materials or leave
unattended during charge or discharge.
• ALWAYS KEEP OUT OF REACH OF CHILDREN.
LITHIUM BATTERY SAFETY
We, as the kit manuf acturer , pro vide you with a top quality,
thoroughly tested kit and instructions, but ultimately the
quality and flyability of your finished model depends on
how you build it; therefore, we cannot in any way
guarantee the performance of your completed model, and
no representations are expressed or implied as to the
performance or safety of your completed model.
PRO TECT YOUR MODEL,YOURSELF
& OTHERS...FOLLOW THESE
IMPORTANT SAFETY PRECAUTIONS
3
In addition to common household tools and hobby tools, this is
the “short list” of the most impor tant items required to build the
YAK 55.
Great Planes Pro™Foam Safe CA is recommended.
❏ Low-temperature, hot-melt glue gun and glue
(WOOU1445/WOOU1446)
❏ Hobby knife with #11 blade (HCAR0105)
❏ Thin, Foam Safe-CA (GPMR6069)
❏ Threadlocker cement (GPMR6060)
Here is a list of optional tools mentioned in the manual that
will help you build the Great Planes Yak 55.
❏ Great Planes CG Machine
™
(GPMR2400)
❏ Household string
❏ Common straight pin
Fuse = Fuselage
Fin = Ver tical Fin
LE = Leading Edge
TE = Trailing Edge
LG = Landing Gear
Ply = Plywood
Stab = Horizontal Stabilizer
" = Inches
SHCS = Socket Head Cap Screw
mm = Millimeters
T o convert inches to millimeters,multiply inches by 25.4
(25.4mm = 1”)
• When you see the term
test fit
in the instructions, it
means that you should first position the part on the
assembly without using any glue, then slightly modify or
custom fit
the part as necessar y for the best fit.
• Whenever the term
glue
is written, you should rely upon your
experience to decide what type of glue to use.When a specific
type of adhesive works best for that step, the instructions will
make a recommendation. Since this model is constructed
from foam, we recommend the use of f oam-safe CA glues and
epoxy
only
.Do not use standard CA glue on this model as
it will dissolve the structure.
• Photos and sketches are placed before the step they
refer to .Frequently you can study photos in following steps
to get another view of the same parts.
IMPORTANT BUILDING NOTES
COMMON ABBREVIATIONS
Optional Supplies and Tools
Adhesives and Building Supplies
4
5
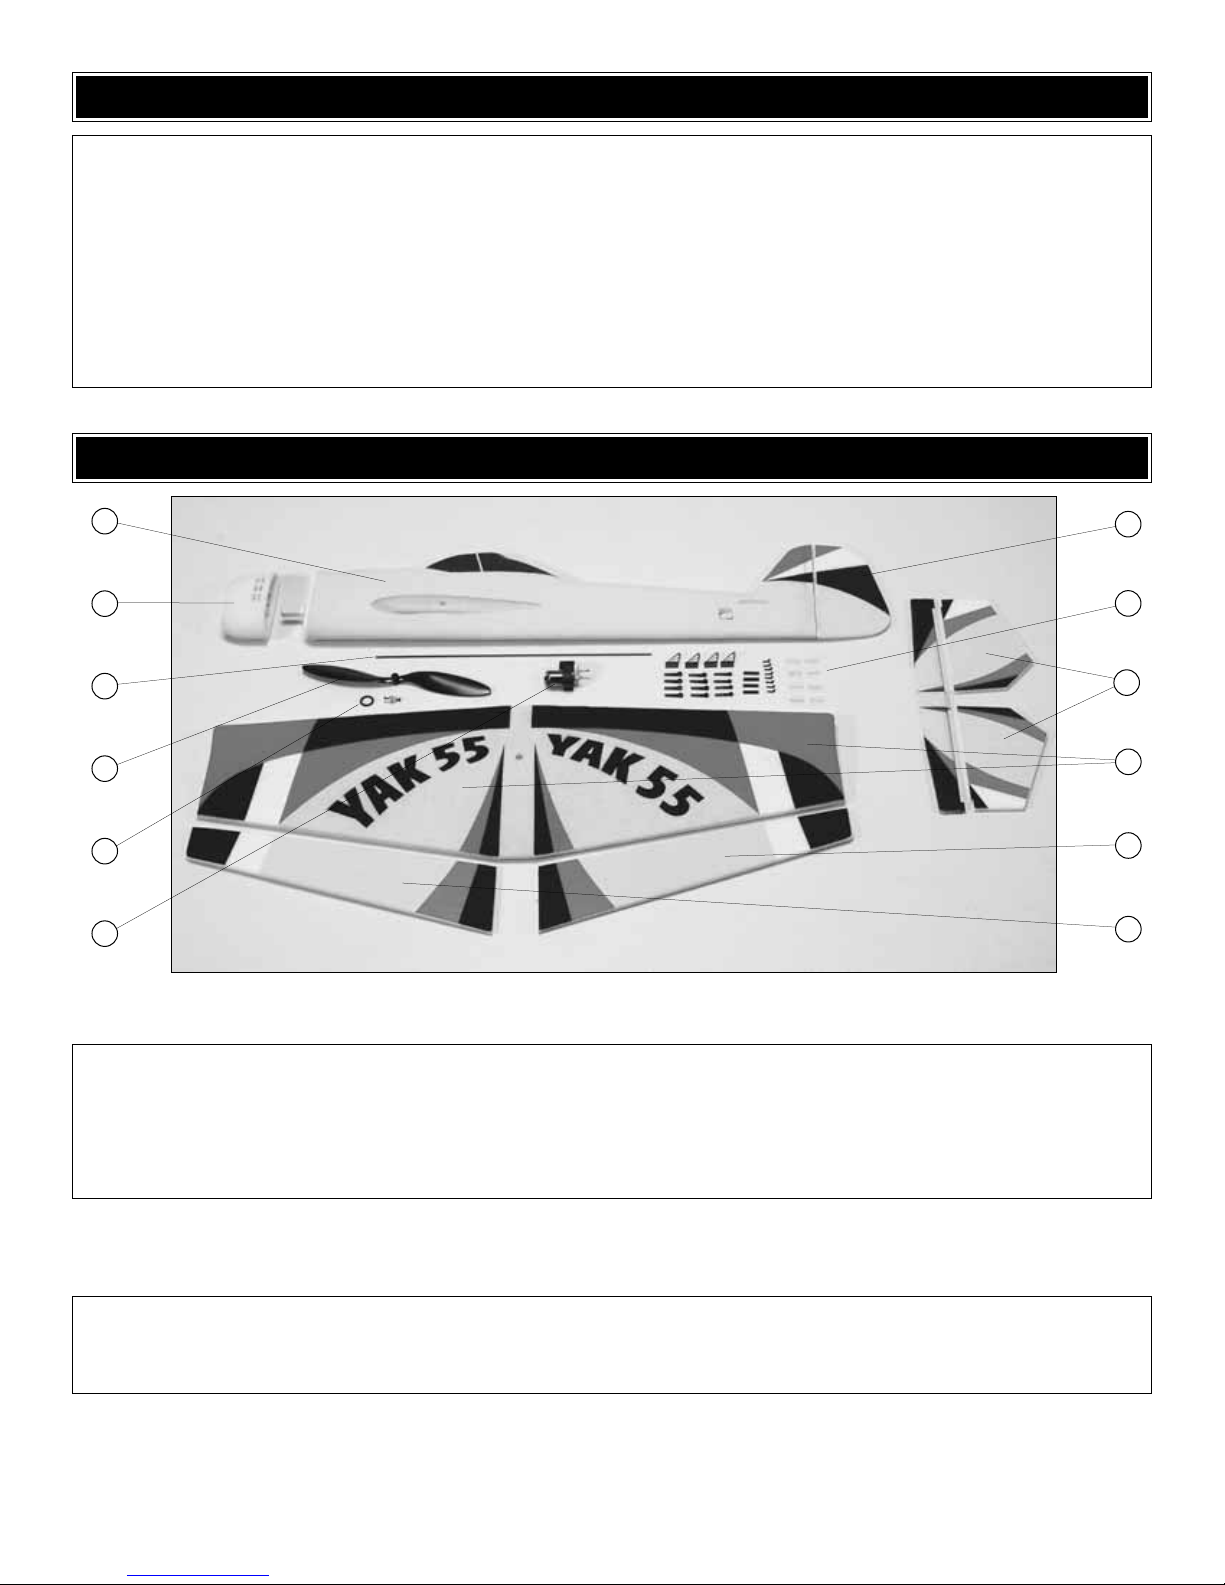
Before starting to build, take an inventory of this kit to make sure it is complete, and inspect the parts to make sure they
are of acceptable quality. If any parts are missing or are not of acceptable quality, or if you need assistance with assembly,
contact Product Support. When repor ting defective or missing parts, use the part names exactly as they are written in
the Kit Contents list.
Great Planes Product Support:
3002 N Apollo Drive, Suite 1
Champaign, IL 61822
Telephone: (217) 398-8970, ext. 5
Fax: (217) 398-7721
E-mail:
airsupport@greatplanes.com
KIT INSPECTION
1 Fuselage
2 Cowl
3 Elevator joiner tube
4 Propeller
5 Prop saver O-ring
6 Motor/Gear drive
7 Rudder
8 Hardware
9 Elevators
10 Wing
11 Right aileron
12 Left aileron
Kit Contents (Photographed)
1 x 130mm [1/32" x 5"] Carbon aileron pushrods (2)
1 x 15mm [1/32" x 5/8"] Carbon rudder pushrod (1)
1 x 80mm [1/32" x 3-1/8"] Carbon elevator pushrod (1)
Hook & loop fasterner (1)
Gearbox screw 2 x 6mm [#2 x 1/4"] (1)
Kit Contents (Not Photographed)
KIT CONTENTS
1
2
3
4
5
6
7
8
9
10
11
12
 Loading...