

Page 1
Imported and Distributed in Australia by
Herma Technologies
Factory 4A, 6 Albert St
Preston, VIC 3072
For more information please go to
www.grandviewscreens.com.au
or call 1300 730 025
Grandview
Fast Fold
User Manual
Nov 2009 V.1.0
Quality features
A fast and easy solution for getting the
big picture to the place you want. The
Grandview Fast Fold Screen includes a
road case for easy transportation.
These screens are suited to big group
events. They are ideal for schools and
large corporate events.
This screen includes front projection fabric
with the option of rear projection fabric.
By using the rear projection fabric the
projector is set up behind the screen.
Page 2
To the owner
Congratulations on purchasing a
Grandview Fast Fold Screen, designed to
produce the most pleasing pictures with
maximum convenience.
Protecting your screen
To ensure long lasting viewing enjoyment,
always keep the screen rolled up in its
protective case when not in use. Always
examine both the front and back of surface
before retracting the screen into its case to
make sure it is free of dust, dirt, insects or
foreign matter. Use a soft brush or cloth to
gently remove any foreign particles.
Cleaning your screen
NEVER attempt to use any solvents,
chemicals or abrasive cleaners on the
screen. Use a mild detergent with warm
water to remove any marks on the surface
or screen case. Always immediately pat
dry the screen with a soft cloth or towel
after cleaning.
Do not rub screen image area
Note:
Grandview’s warranty does not cover
damage casued by incorrect assembly
Using your screen
Assembling the legs
Your screen is now ready for your
viewing enjoyment
Ensure that your work area is clean and
free of dirt,dust and foreign matter.
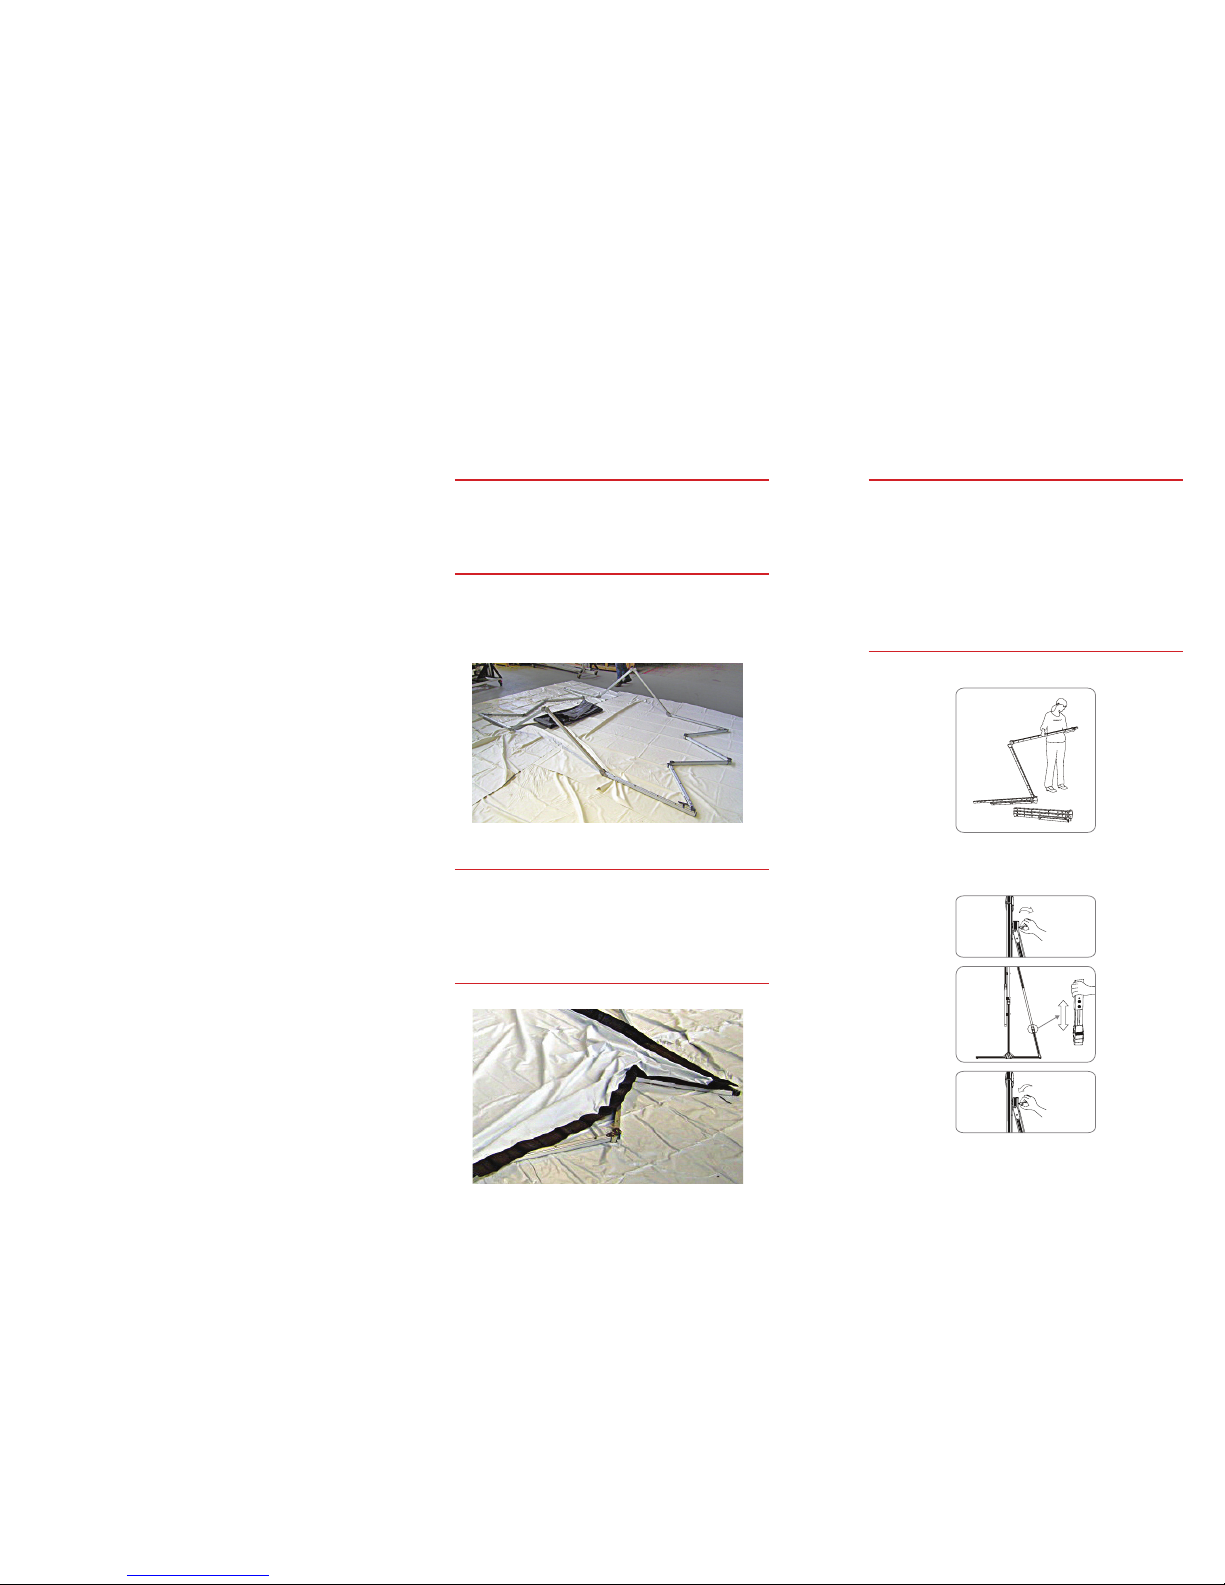
Step 1
Fully assemble the screen frame and
lay it out on thefloor, partially collapsed,
as shown.
Step 2
At each corner, secure the fabric,
using four pressstuds along the top,
bottom and the sides of the frame.
Step 3
Step 4
Secure the remaining press-studs to
the frame. Slowly and carefully extend
the sides of the frame and lock into
position, then secure using the
remaining press studs
Step 5
Unpack and extend the legs.
Step 6
Set frame to desired height then extend legs
accordingly and fasten with black knob
 Loading...