

Page 1
Grandstream Networks, Inc.
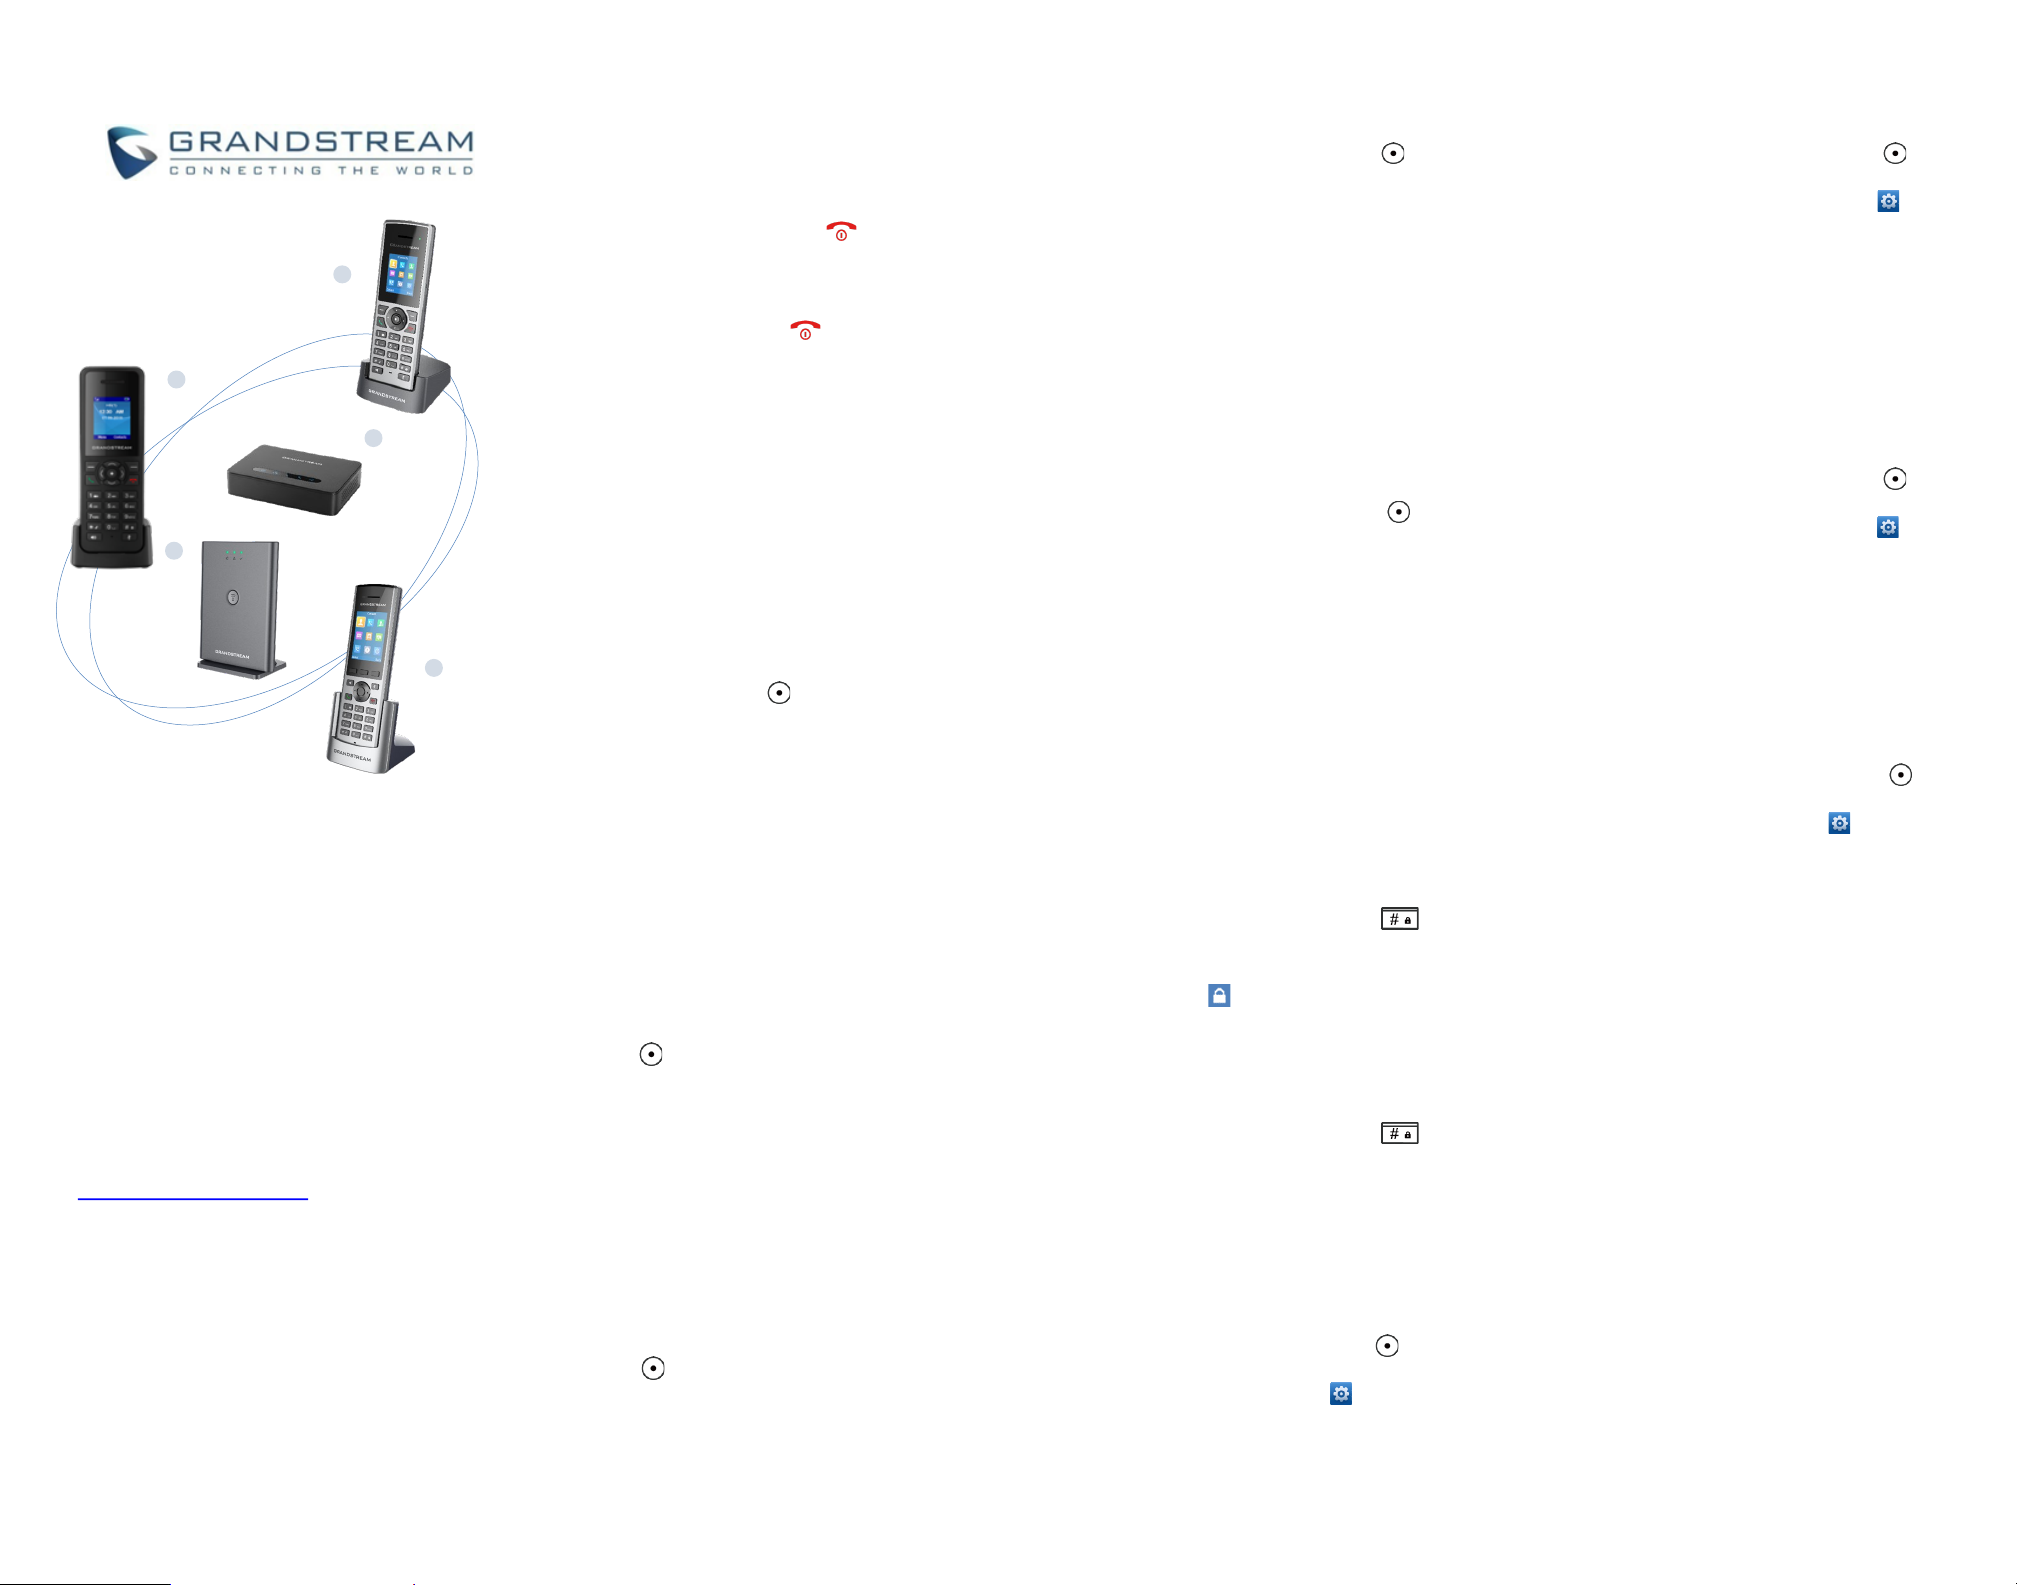
DP750/DP752 - Base Stations
DP720/DP722/DP730 - Handsets
VoIP DECT Phone
Quick User Guide
For detailed information please consult
DP752/DP750 & DP730/DP722/DP720
administration or user guides available at:
www.grandstream.com
©2020 Grandstream Networks, Inc. All rights
reserved. Reproduction or transmittal of the
entire or any part, in any form or by any means,
electronic or print, for any purpose without the
express written permission of Grandstream
Networks, Inc. is not permitted. Information in
this document is subject to change without
notice
BASIC OPERATIONS
TURNING THE HANDSET ON / OFF
To turn ON the handset
• Long press on Power Key until
the LCD
screen lights up.
To turn OFF the handset
• Long press on Power Key
again when the
handset is idle until the display turns off.
REGISTERING HANDSET TO DP75X BASE
STATION
Single DP750/DP752 Base Station
1. On DP750/DP752 Base Station, press and hold
Radio/Page button for about 7 seconds until radio
LED starts blinking; or, access web UI > Status >
DECT Status and press Subscribe button.
2. On handset, Press “Menu” .
3. Use arrow keys to reach “Registration”.
4. Navigate to “Register”, then press “Select” while
the DP750/DP752 radio icon is blinking.
5. Select the corresponding base, and then press
“Subscribe”.
6. DP720/DP722/DP730 handset will display Easy
Pairing on the LCD and play an audible buzz when
subscribed.
Multiple DP750/DP752 Base Stations
1. Press Menu .
2. Use arrow keys to reach Registration.
3. Select Register.
4. Navigate to an unsubscribed base using arrow
keys, and click on Subscribe.
5. Make sure that the subscription is opened on the
new base station.
Switching between different base stations
1. Press Menu
2. Use arrow keys to reach Registration .
3. Navigate to Select Base using arrow keys.
4. Select the desired base station and press Select.
UNREGISTER THE DP720/DP722/DP730
1. On DP72x/DP730 handset, press “Menu” .
2. Press arrow keys to move the cursor to
Registration.
3. Navigate to Deregister.
4. Select the Handset to be unregistered and press
“Deregister”.
5. Enter the system PIN code (default: 0000).
6. Press “Done” to confirm or “Back” to cancel.
CHECKING BASE STATION IP ADDRESS
1. On DP72x/DP730 handset, press “Menu” .
2. Use arrow keys to reach Status > Base Status.
3. Press “Select” softkey to display Info page, browse
the screen to find IP address, subnet mask and
default gateway information for your DP750/DP752
base station.
HANDSET SETTINGS
SETTING THE KEY LOCK
To enable the keypad lock
1. Press and hold the pound key # for
approximately 2 seconds.
2. DP handset screen will show “Keypad
Locked” message briefly and key lock icon will
appear.
To disable the keypad lock
1. Press and hold the pound key # for
approximately 2 seconds to unlock the keypad.
2. DP handset screen will show “Keypad Unlocked”
message.
EDITING THE HANDSET’S NAME
1.On DP72x/DP730 handset, press “Menu” .
2. Use arrow keys to reach Settings > Handset
Name.
3. Enter the desired name and press “Save“ softkey.
CHANGING THE BASE PIN
1. On DP72x/DP730 handset, press “Menu” .
2. Use arrow keys to reach Settings >
System Settings.
3.Navigate to “Change Base Pin”
4. Enter current base PIN code (Default is 0000).
5. Enter the desired base code PIN.
6. Press “Save” softkey to confirm.
SELECTING THE MENU LANGUAGE
1. On DP72x/DP730 handset, press “Menu” .
2. Use arrow keys to reach Settings >
Phone Language.
3. Choose the desired language and press
“Select” softkey.
4. Press “Yes” softkey to confirm.
DATE AND TIME
1. On DP72x/DP730 handset, press “Menu” .
2. Use arrow keys to reach Settings > Date
and time .
3. Edit current values in date/time fields (you can
change date/time format using left and right arrow
keys) and then press “Set” softkey.
4. Press “Save” softkey to confirm.
DP750
DP752
DP720
DP722
DP730
Page 2

2. The call will be put on Hold.
3. To resume the call, press right softkey again to
Unhold.
CALL TRANSFER
Blind transfer
1. During an established call, press (left softkey) to
access Options > Blind Transfer. The initial call
will be on hold.
2. Enter the number to transfer the call to.
3. Press Dial key to complete transfer.
Attended Transfer
1. During an established call, press (left softkey) to
access Options > Attended Transfer. The initial
call will be on hold.
2. Choose the line and enter the number you want to
transfer the call to, then press Dial Key
3. Once second call is established, press Transfer.
3- WAY CONFERENCE
1. During an established call, press “Left Softkey” to
access Options > Conference. The initial call will
be on hold.
2. Enter the number of the second party you want to
add to the conference and press Dial key
MUTE/UN-MUTE MICROPHONE
1. Press (Mute key) to switch off the
microphone during an established call. Mute icon
will be displayed on the screen.
2. Press again to switch microphone back on.
ACTIVATE CALL WAITING
1. Press “Menu” .
2. Use arrow keys to reach Call Features >
Call waiting.
3. Select the account for which you want to enable /
disable the call waiting feature, and press “Select”
softkey.
4. Select Enabled and press “Save” to confirm.
ACTIVATE DO NOT DISTURB MODE
1. Press “Menu” .
2. Use arrow keys to reach Call Features >
Do Not Disturb.
3. Select the account for which you want to enable
DND feature, and press “Select” softkey.
4. Select Enabled and press “Save” to confirm.
ACTIVE CALL FORWARD
1. Press “Menu” .
2. Use arrow keys to reach Call Features >
Call Forward.
3. Select the account for which you want to
enable/disable the call forward feature and then
press “Select” softkey.
4. Select the type of call forwarding (all, on busy,
or no answer) and enter destination number, then
press “Save” softkey to confirm.
DIRECT IP CALL
Direct IP calling allows two parties, that is, a
handset and another VoIP device, to talk to each
other in an ad hoc fashion without a SIP proxy.
Elements necessary to complete a Direct IP
Call:
• Both DP72x/DP730 and other VoIP Device,
have public IP addresses, or
• Both DP72x/DP730 and other VoIP Device are
on the same LAN using private IP addresses, or
Both DP72x/DP730 and other VoIP Device can be
connected through a router using public or private
IP addresses (with necessary port forwarding or
DMZ).
Users can perform IP calls using Star code
following the below steps:
1. Pick up the handset and press Dial key .
2. Dial *47 followed by the target IP Address.
Note: You can enter directly *47 + target IP
address, and then press the dial key to initiate the
call.
CALL FEATURES
ACTIVATE / DEACTIVATE HANDS-FREE
MODE
1. Press (Hands-free key) while making a
call or on the idle screen to activate.
2. Press again to deactivate.
MAKING CALLS
Method 1
Using default outgoing line
1. Enter desired number to dial using keypad
buttons.
2. Press Dial key
or Speaker key to
initiate the call.
Selecting outgoing line to use
1. Enter desired number to dial using keypad
buttons.
2. Press “Line” softkey.
3. Select a line from available lines displayed on
the screen to use for dialing out.
Method 2
1.Press Dial key or Speaker key .
2. Enter desired number to dial using keypad
buttons.
3. Press Dial key or wait for 4 seconds and
the call will be initiated automatically.
ANSWERING CALLS
Press Dial Key
or Hands-free key or
“Left softkey” (“Answer” on DP720 and “Accept”
on DP722/DP730) to answer incoming call.
ENDING CALLS
Press On-hook key to terminate the call.
HOLD/RESUME CALLS
1. During an established call, press (right
softkey) to Hold or press the softkey Transfer
for DP730.
SPEED DIAL
1. Press Menu to bring up operation menu.
2. Access to Shortcut and then to Speed Dial
sub-menu.
3. Choose the digit keys (2-9) and press Assign
to specify the number (from the shared
directory) to be as speed dial. You can press
Edit or Clear Entry softkeys to modify/delete a
speed dial key .
4. Once configured, hold press on the according
key to make the speed dial call.
PLAY VOICE MAIL MESSAGES
1. Press “Menu” to bring up operation menu.
2. Access to Voice Mail and then select
Play Message sub menu.
3. Select the account to retrieve your voice
messages saved on your voice mail.
 Loading...